Published on
Last updated on
Mini Red Velvet Cheesecake
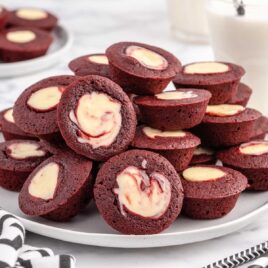
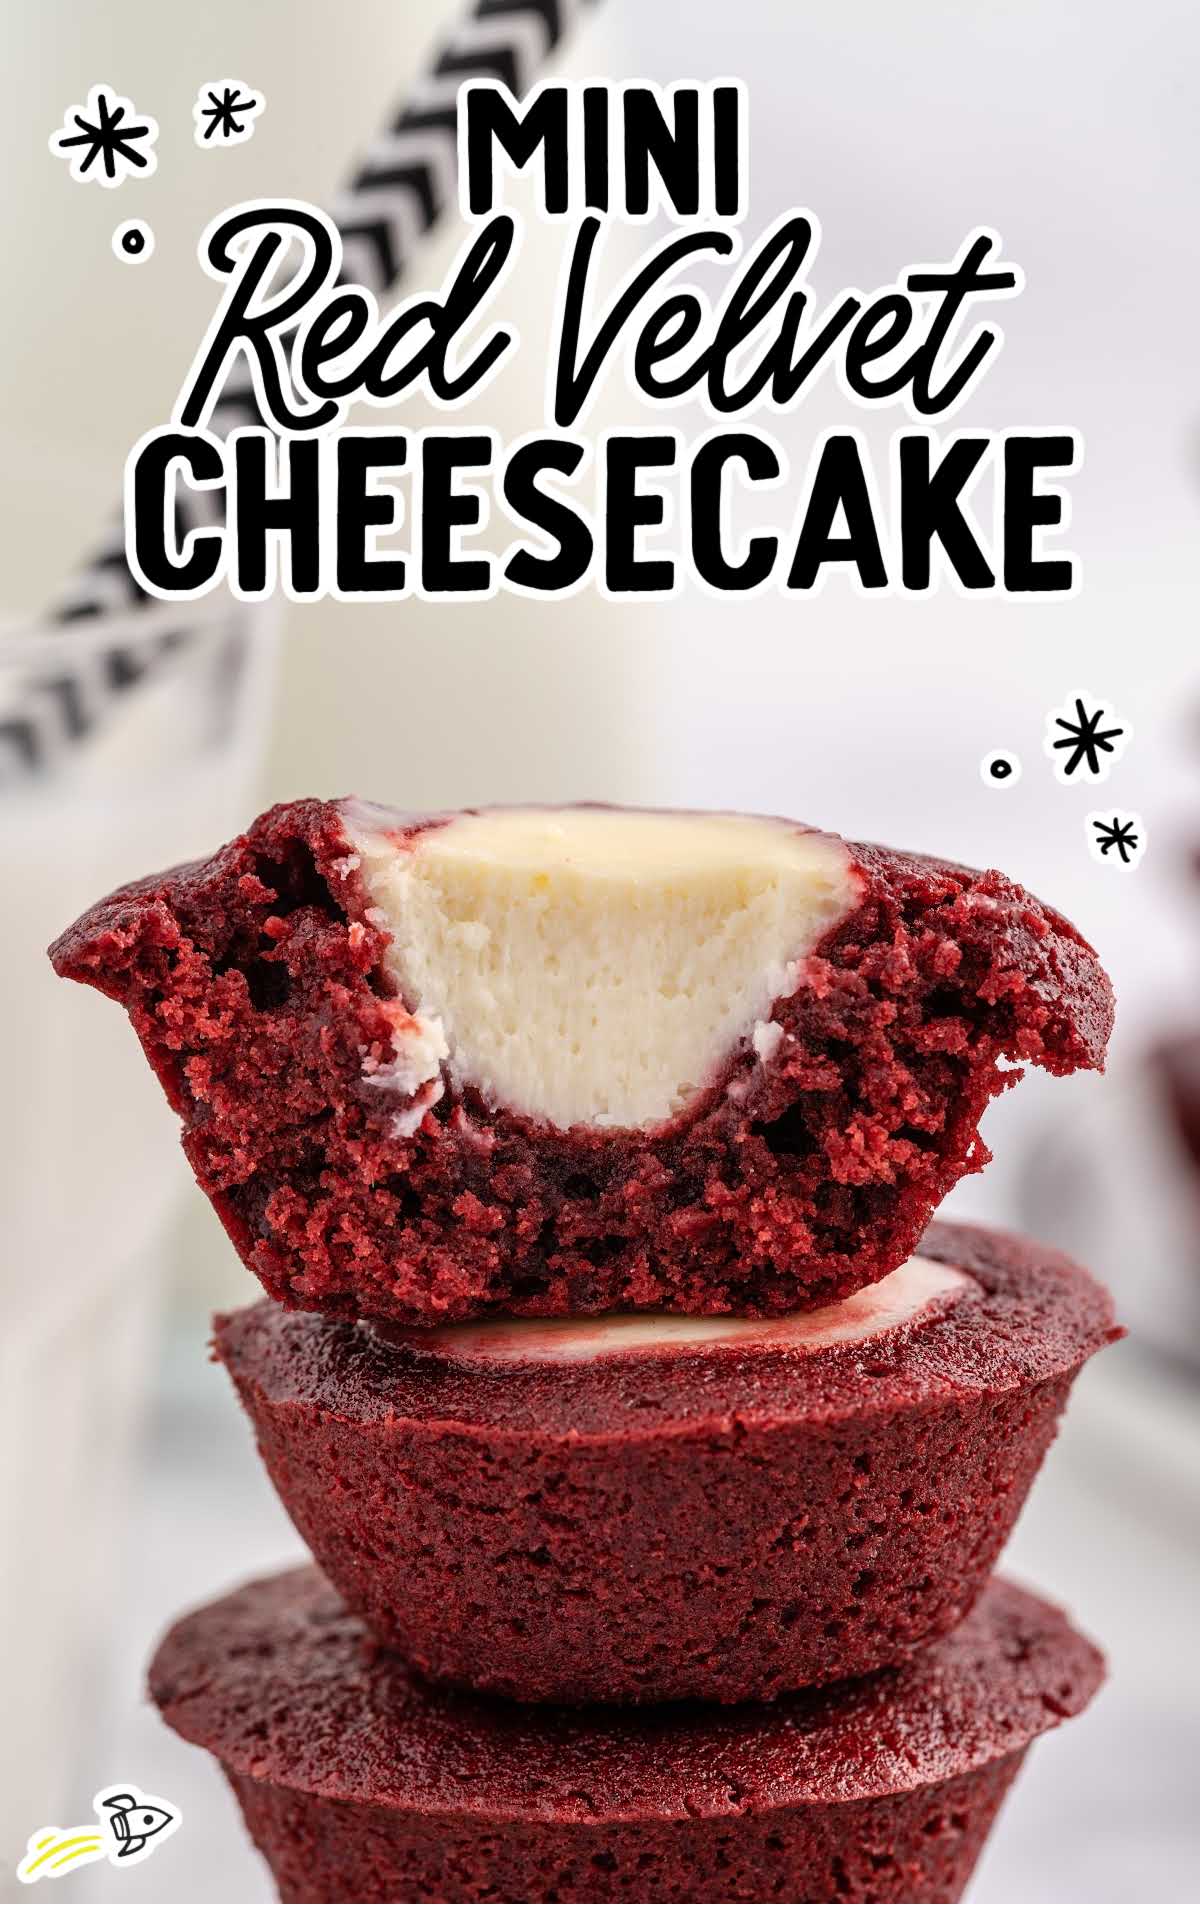
This mini red velvet cheesecake recipe creates a treat that’s cute, small, and insanely delicious; plus, they are the perfect bite-sized dessert for any occasion. With a creamy cheese filling and a delicious red velvet crust, these are sure to be a hit.
Mini Red Velvet Cheesecake Ingredients
Mini red velvet cheesecakes are undeniably indulgent and luxurious.
They have a soft, velvety texture that melts in your mouth, and the tangy cream cheese filling cuts through the sweetness of the cake for an absolutely delightful balance of flavors.
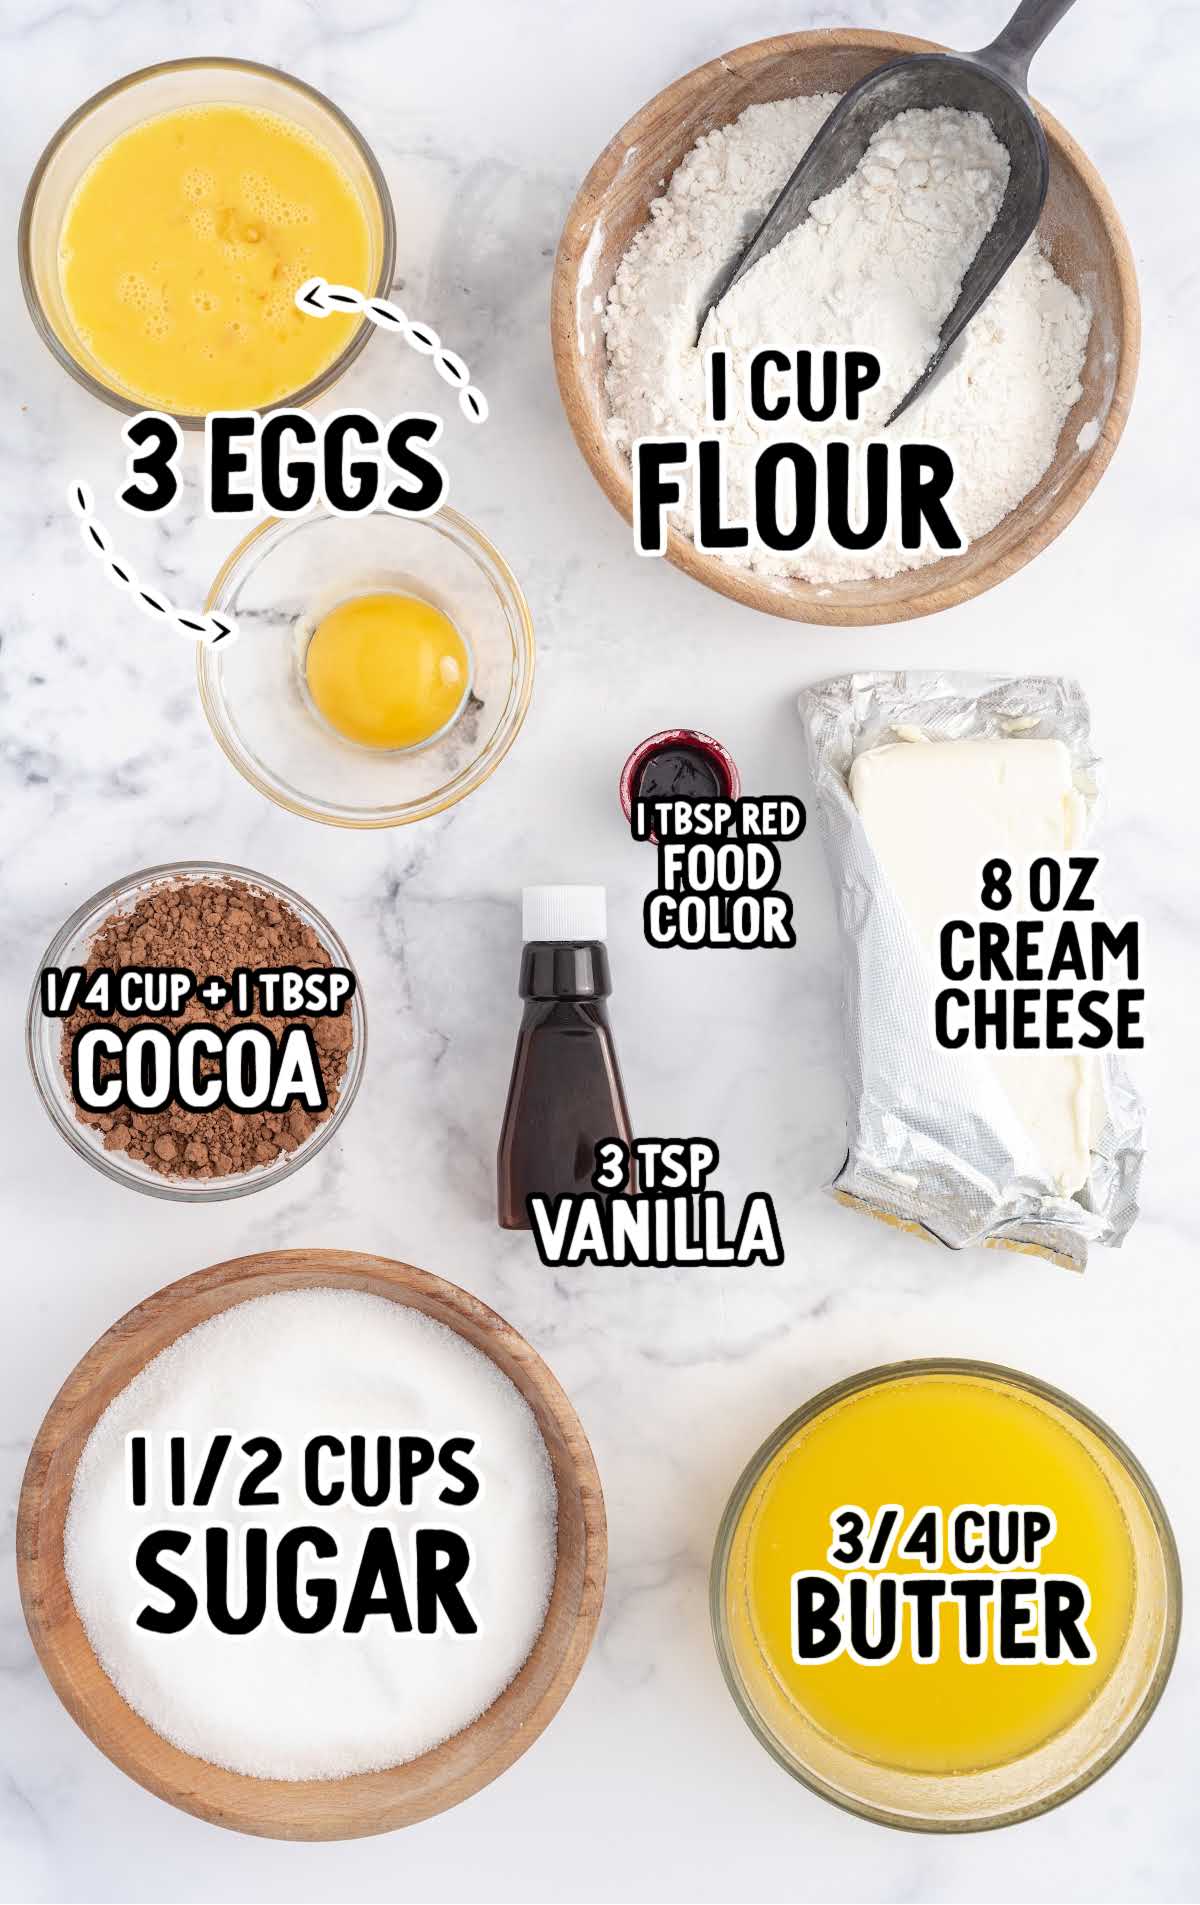
To make these bite-size treats, you’ll need:
For The Red Velvet Cup:
- 1 cup of all-purpose flour
- ¼ cup + 1 tablespoon of unsweetened cocoa powder
- ¾ cup of salted sweet cream butter, melted and cooled
- 1¼ cups of granulated sugar
- 1 tablespoon of red gel food color
- 2 teaspoons of pure vanilla extract
- 2 large eggs, room temperature and beaten
For The Cheesecake Filling:
- 1 (8-ounce) package of cream cheese, softened
- ¼ cup of granulated sugar
- 1 teaspoon of pure vanilla extract
- 1 large egg yolk
Substitutions And Additions
COCOA POWDER: You can substitute unsweetened Dutch cocoa powder for regular unsweetened cocoa powder in these mini cheesecakes.
How To Make This Mini Red Velvet Cheesecake Recipe
The first step to making these little desserts is to make the red velvet cups. You’ll make the batter following our simple directions and scoop it into a mini muffin pan.
Next, you’ll make a sweet and tangy cheesecake filling. Pipe it on top of the red velvet cake and bake these tasty treats.
Follow the step-by-step instructions below to make this decadent recipe.
STEP ONE: Preheat the oven to 350°F. Spray a mini muffin pan with nonstick cooking spray. Set it aside.
STEP TWO: Add the flour and unsweetened cocoa powder to a small bowl. Whisk to combine. Set it aside.
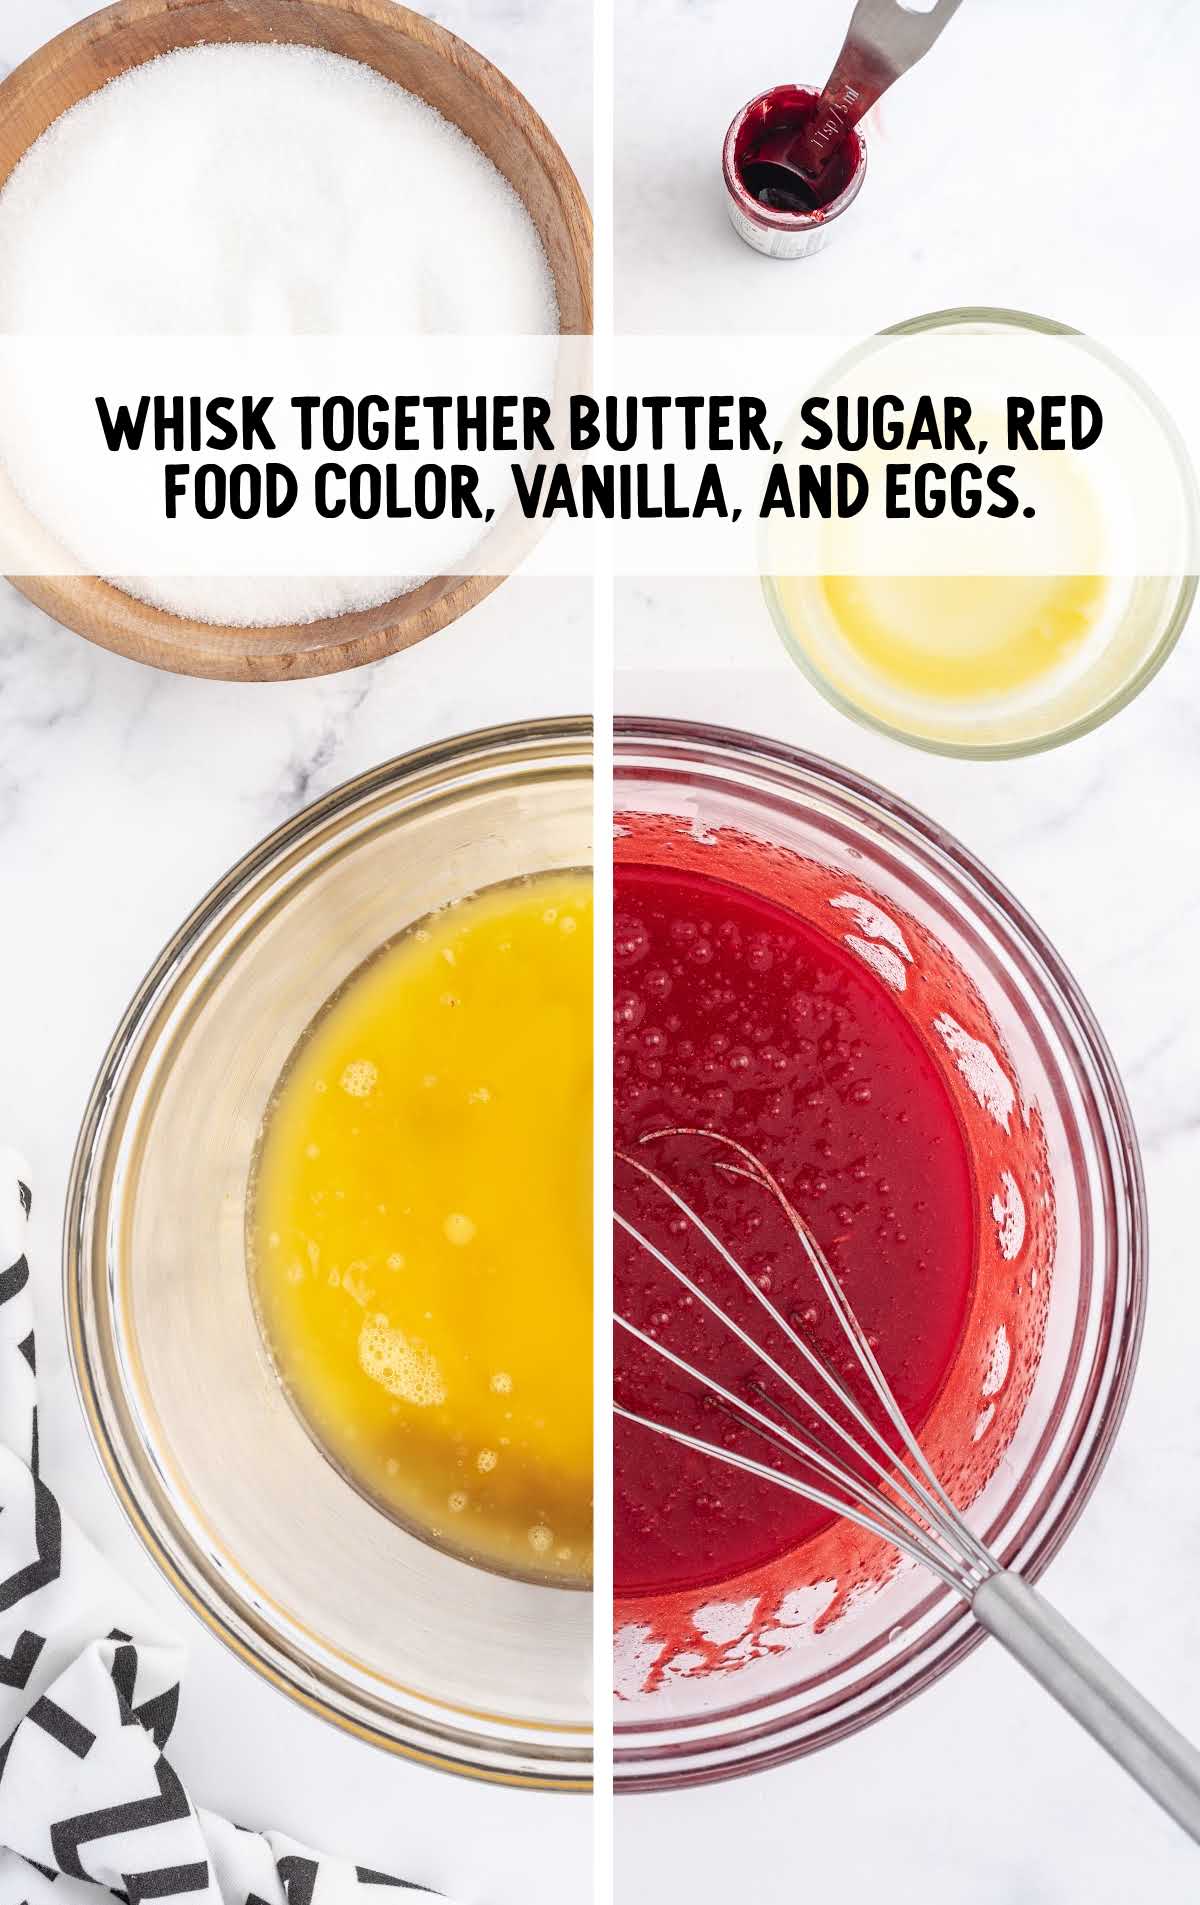
STEP THREE: Add the melted butter, sugar, red food coloring, vanilla, and eggs to a medium-sized mixing bowl. Whisk to combine.
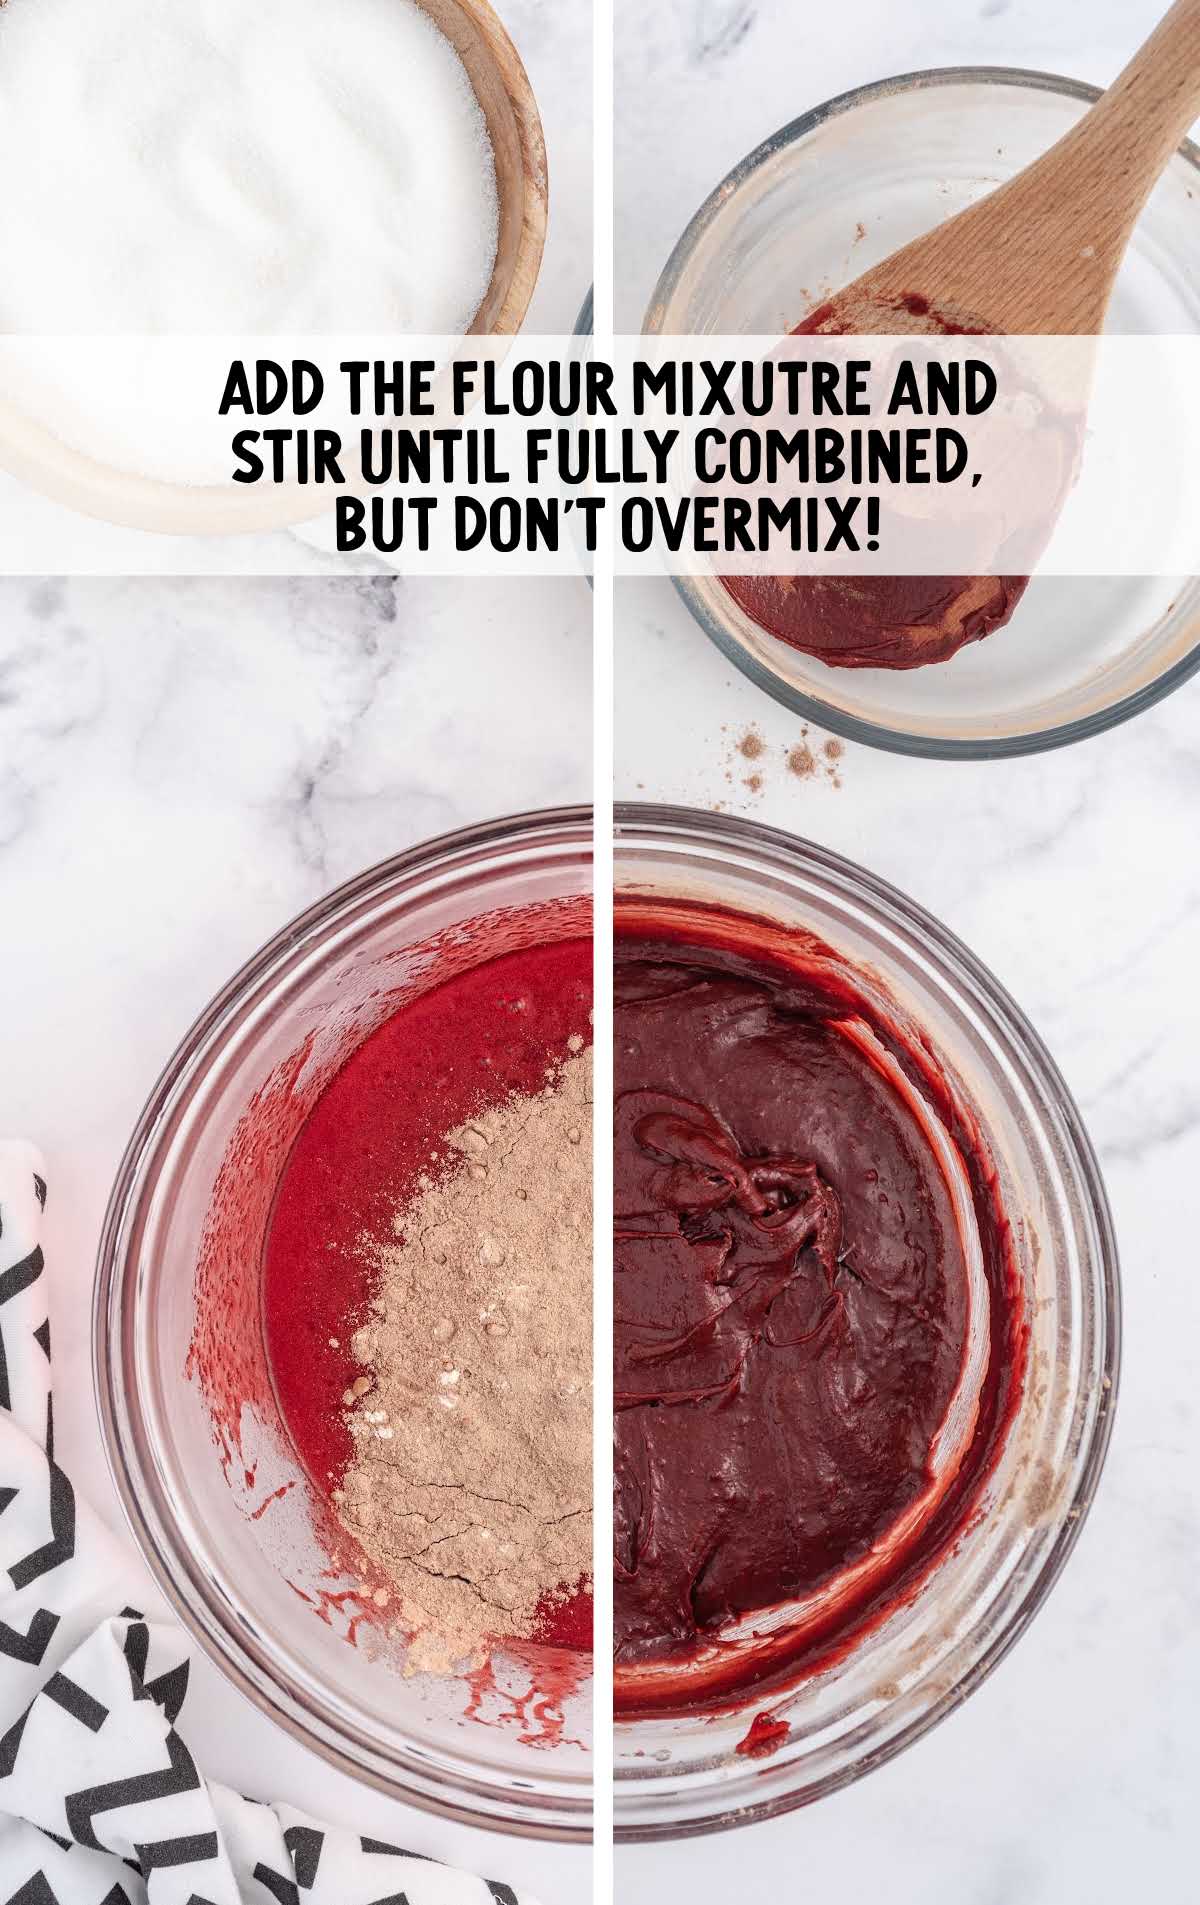
STEP FOUR: Stir in the flour mixture. Continue stirring just until the flour mixture is well incorporated. Do not overmix.
STEP FIVE: Add the cream cheese to a separate medium-sized mixing bowl. Use a hand mixer at medium-high speed to beat the cream cheese for one minute.
OUR RECIPE DEVELOPER SAYS
Make sure to use room temperature cream cheese, so you don’t end up with lumps in your cheesecake mixture.
STEP SIX: Add the sugar and vanilla. Mix for another 1 to 1½ minutes until well combined.
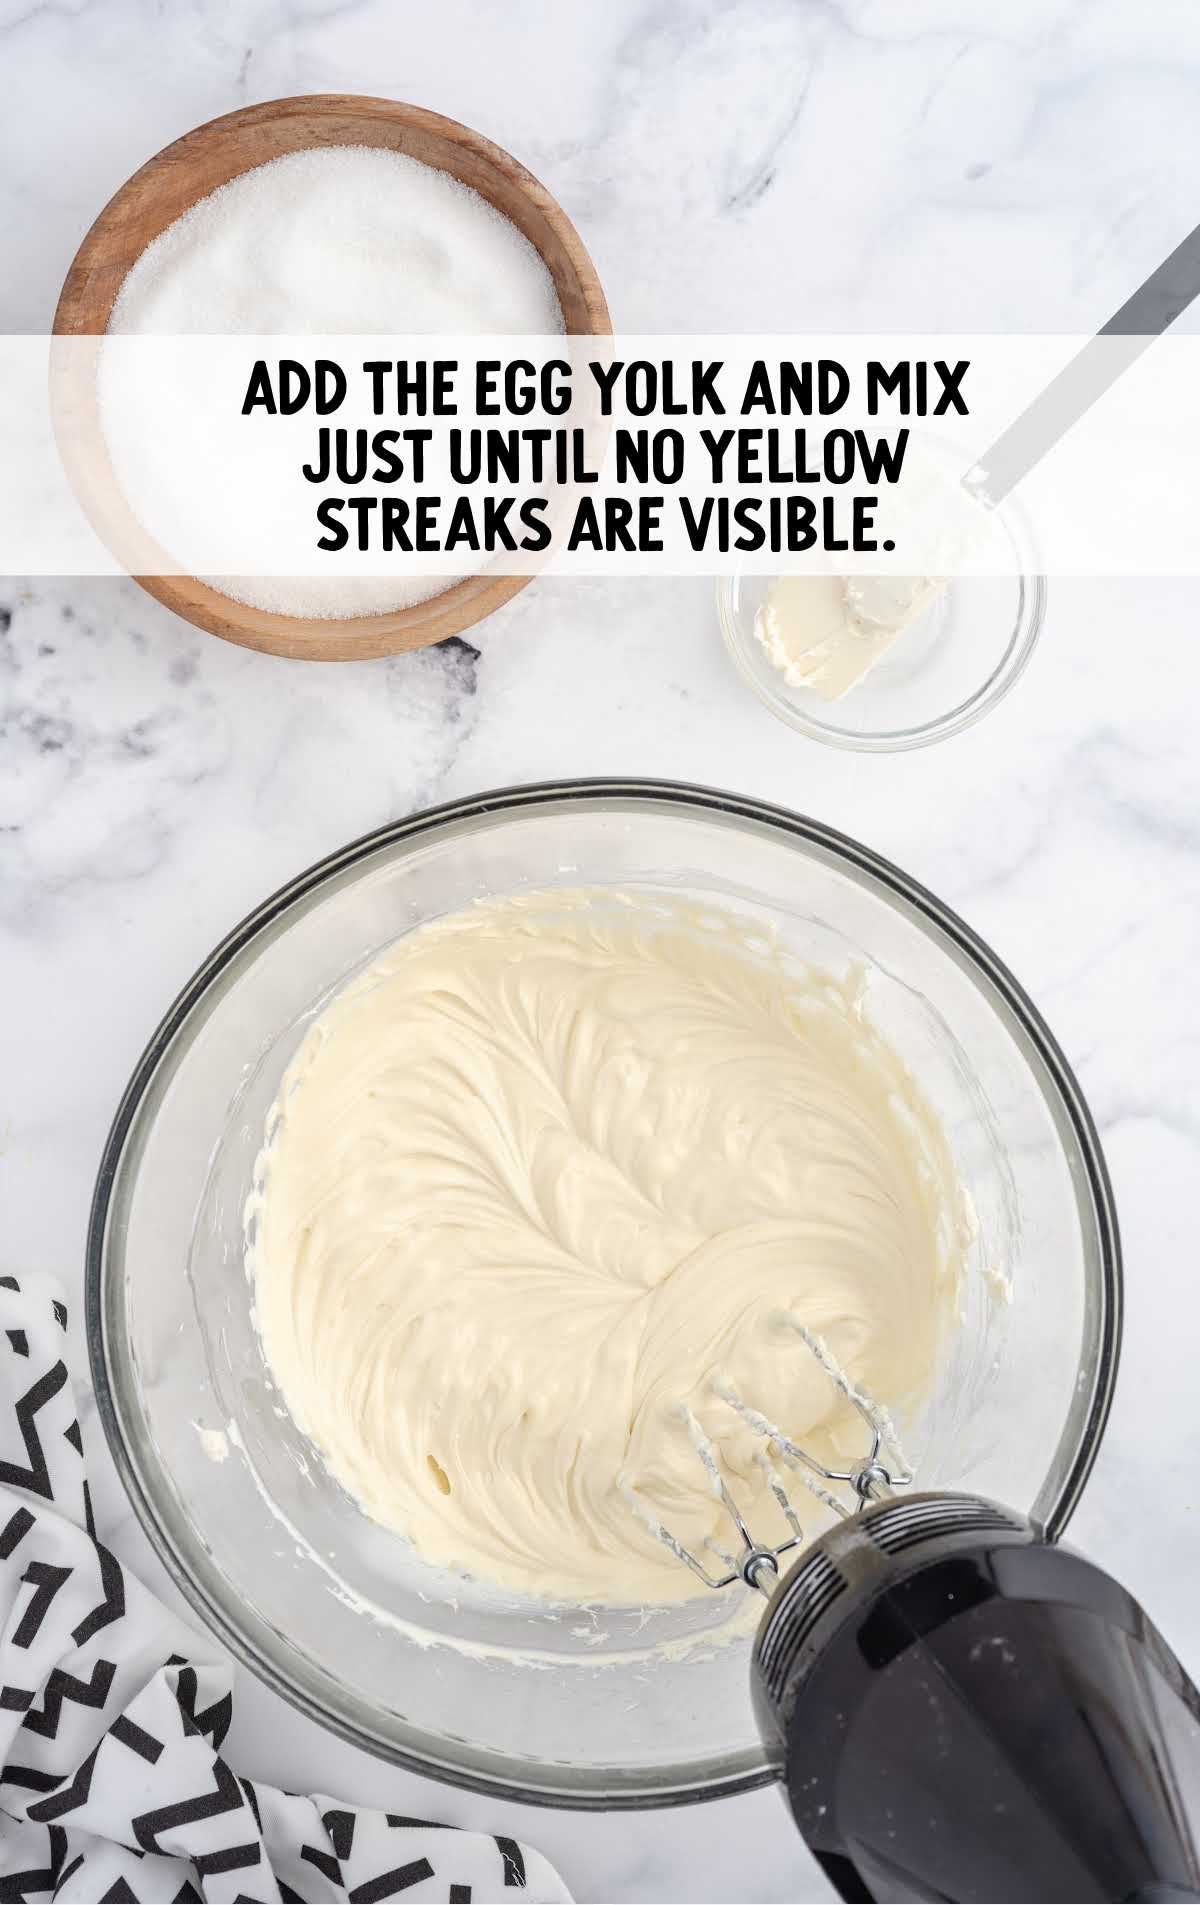
STEP SEVEN: Add the egg yolk and mix just until no yellow streaks are visible.
STEP EIGHT: Add the cream cheese mixture to either a disposable piping bag or a quart-size ziplock bag.
PRO TIP:
You can spray the tablespoon cookie scoop with nonstick spray before scooping the red velvet base.
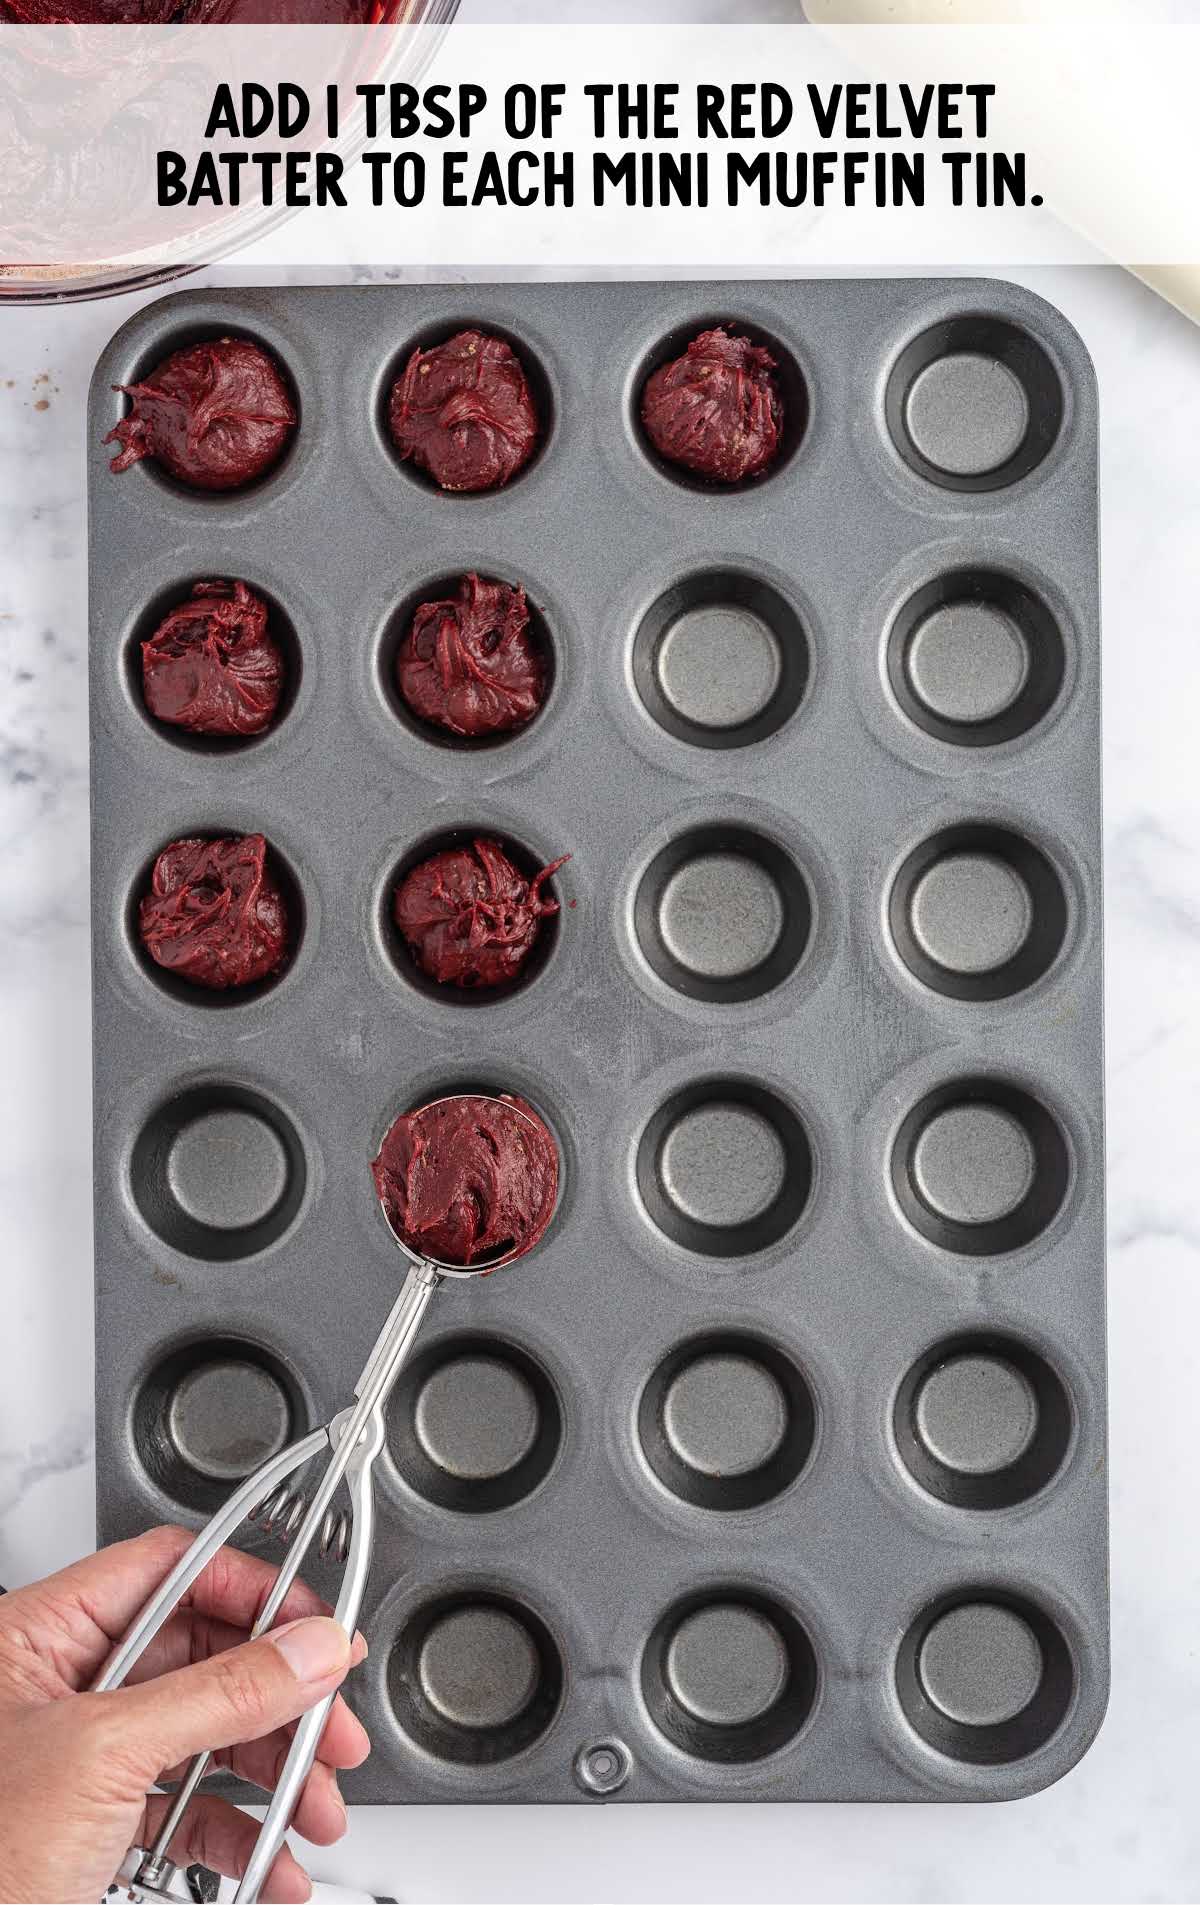
STEP NINE: Add one tablespoon of the red velvet mixture to the prepared mini muffin pans.
PRO TIP:
You can use a rounded ½ teaspoon to make a small depression in the red velvet base before piping the cheesecake filling. Be sure to dampen the bowl portion of the measuring spoon with oil to keep it from sticking to the base.
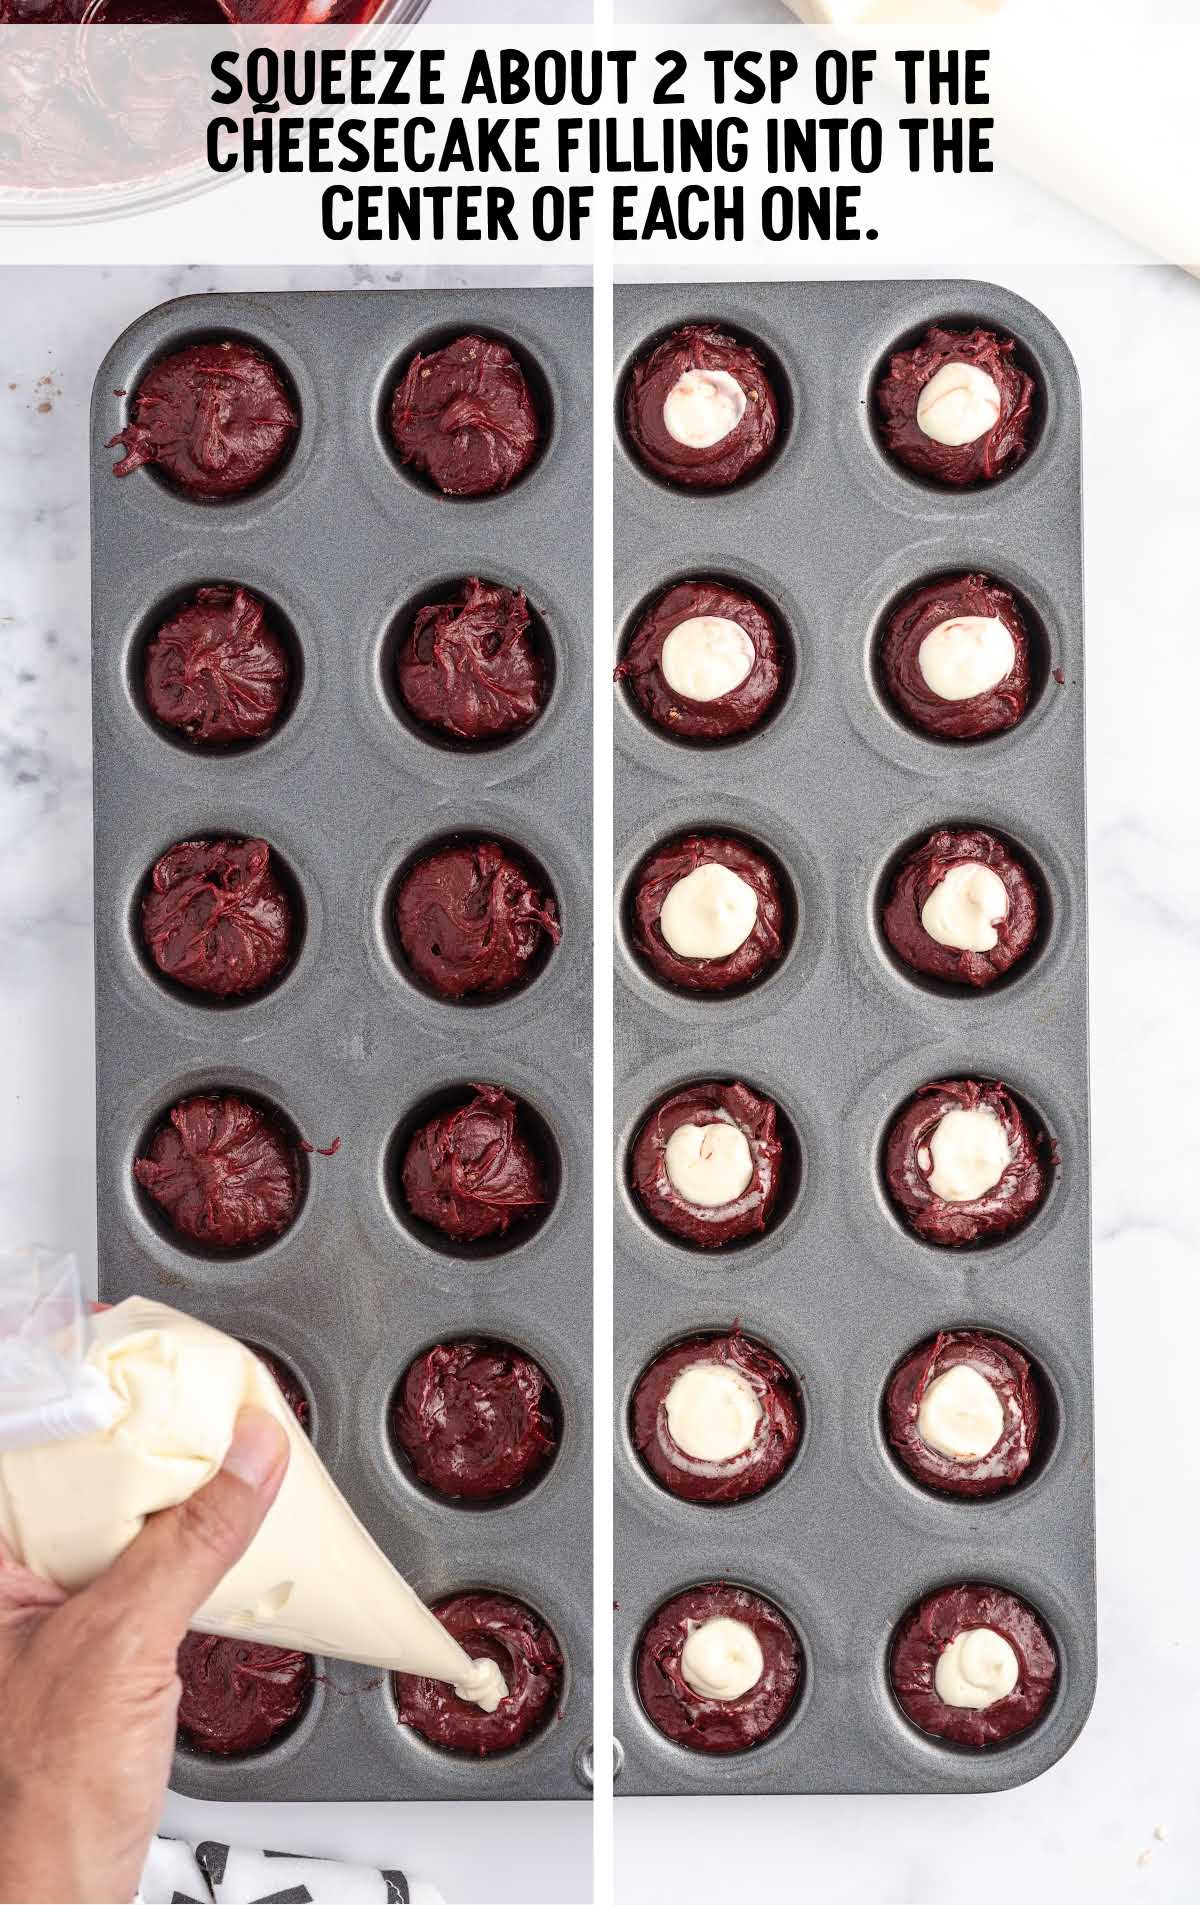
STEP TEN: Snip the end of the piping bag or ziplock bag off. Squeeze about two teaspoons of the cheesecake filling into the center of the red velvet bases.
PRO TIP:
You can use a toothpick to make a swirl pattern on the top of the cheesecake after you pipe in the cheesecake filling.
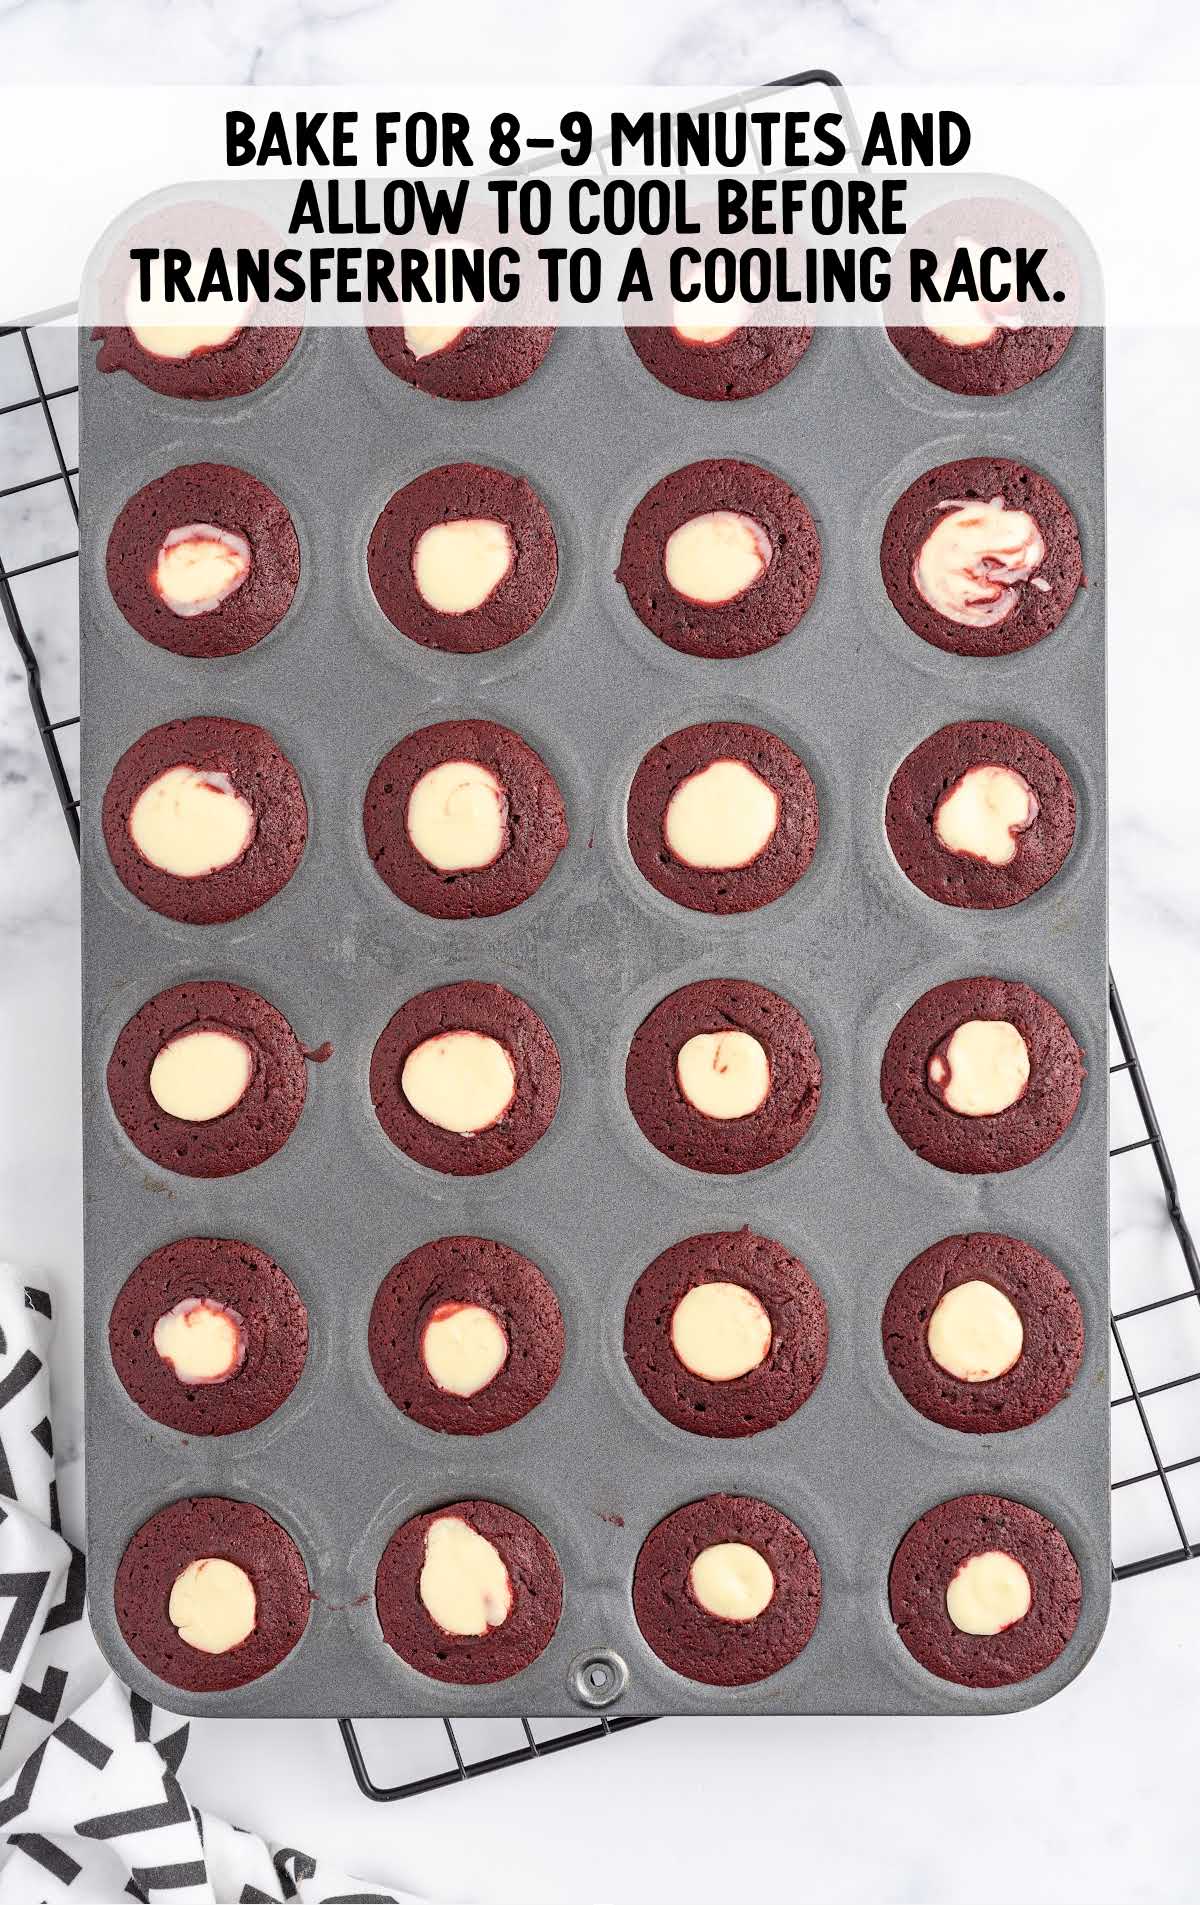
STEP ELEVEN: Bake for 8 to 9 minutes.
Remove from the oven and allow the cheesecake bites to cool for 20 to 30 minutes before removing them from the pan and transferring them to a wire cooling rack to cool completely.
PRO TIP:
Oven temperatures vary and may need to be recalibrated periodically to ensure they are accurate. Make sure to check your cheesecake cups at the lower end of the recommended baking time.
How To Serve
Serve these decadent mini desserts for a special dessert or any time you have a craving for a little something sweet.
Their rich red color makes them the perfect choice to serve for Christmas or Valentine’s Day, along with a scoop of vanilla ice cream.
Topping them with some fresh berries and a dollop of whipped cream provides a burst of sweetness and a hint of tartness that perfectly contrasts the velvety red velvet taste.
Check out a few of our other delicious red velvet recipes, including our red velvet cheesecake and red velvet cheesecake bites.
MORE RED VELVET RECIPES
Storage
IN THE FRIDGE: Store any leftovers of these mini red velvet cheesecakes recipe in an airtight container in the refrigerator for up to five days.
IN THE FREEZER: You can freeze this red velvet recipe for up to two months.
Label the container to ensure you enjoy them while they are at their best.
Allow the bites to thaw overnight in the refrigerator.
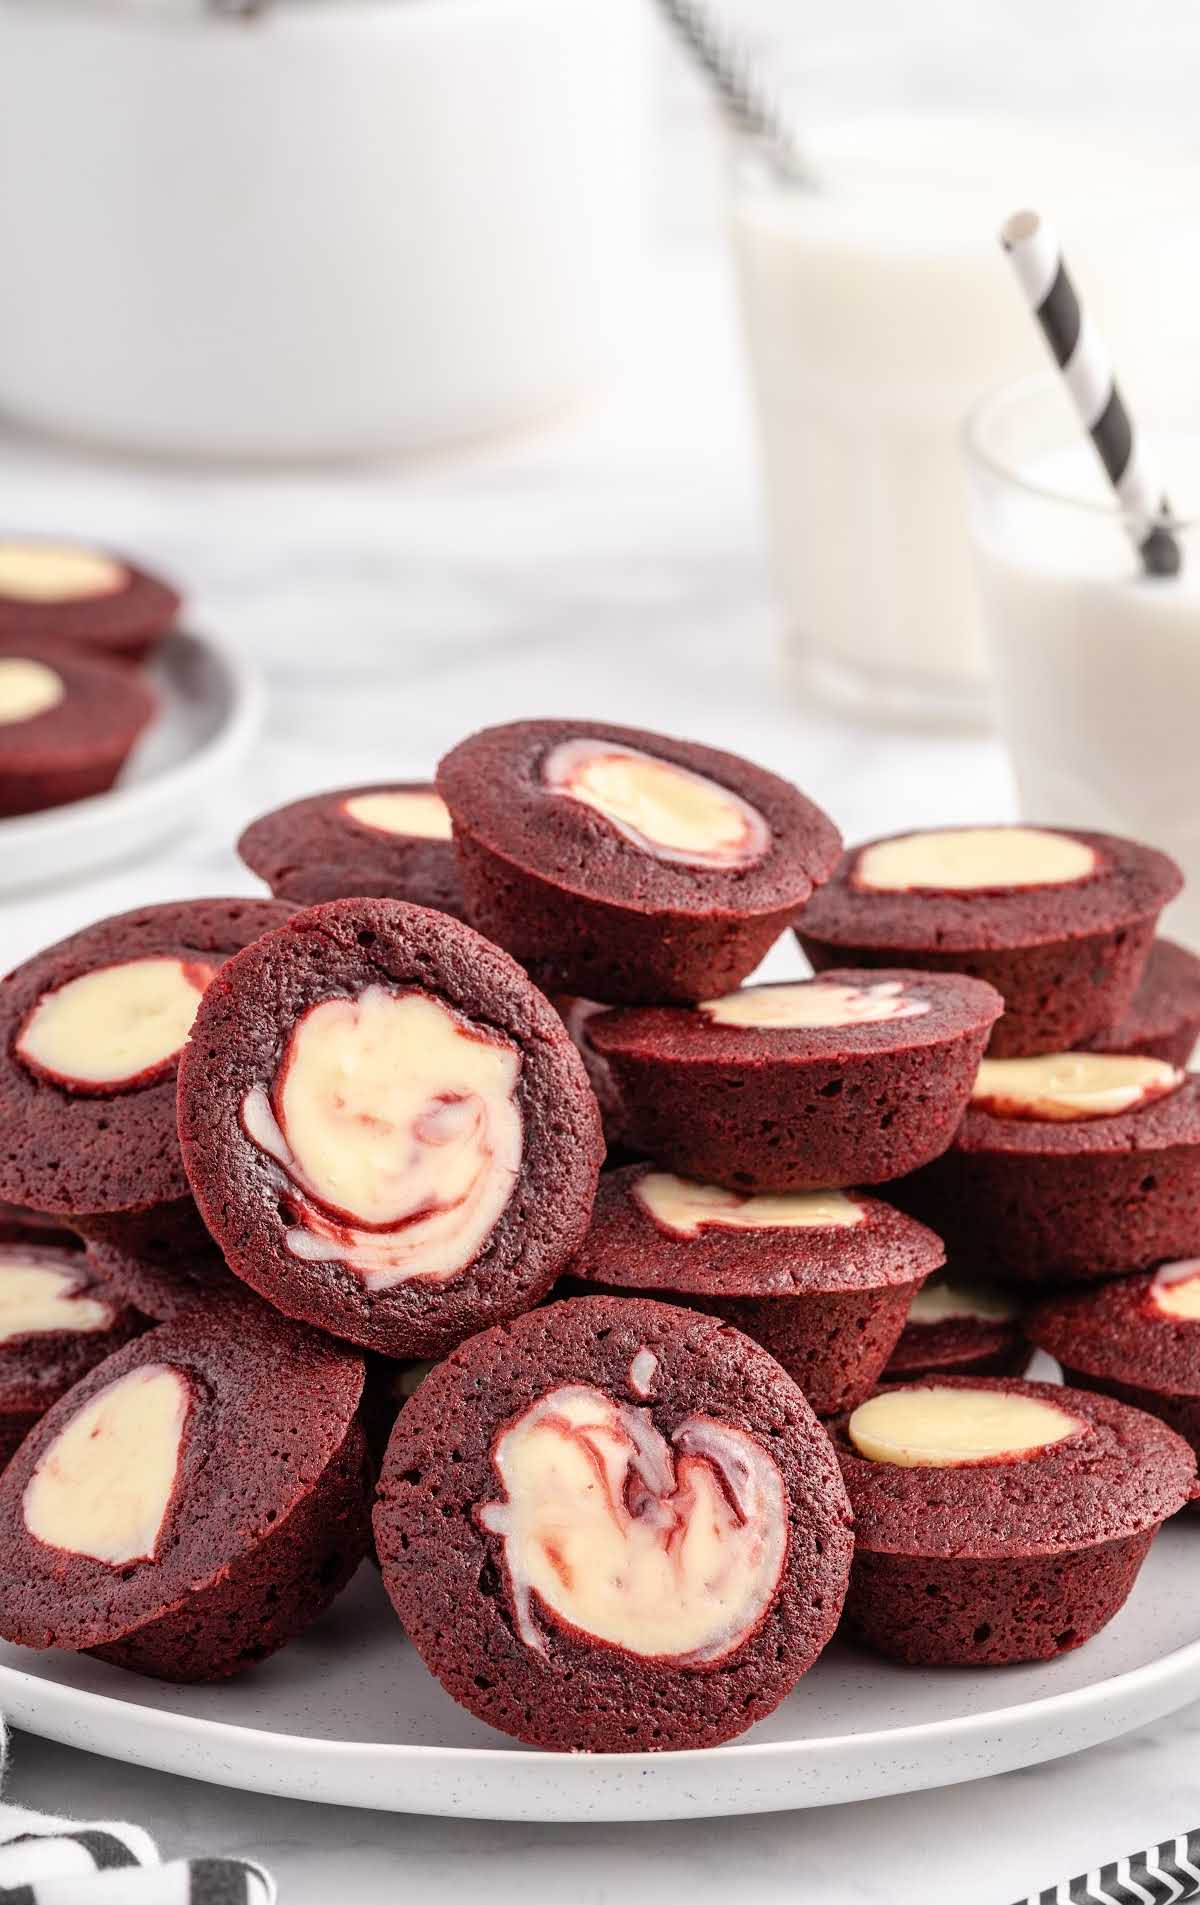
The creamy texture of cheesecake and the moist red velvet cake is an out-of-this-world combination. This mini red velvet cheesecake would make a perfect dessert any time of year when all you need is a little bit of sweetness.
Frequently Asked Questions
Red velvet is a cake that has a mild chocolate flavor and a crimson coloring. Some recipes add buttermilk or vinegar to give the cake a slightly tangy flavor as well.
These mini cheesecake bites can be stored in the freezer for up to two months.
To get the cream cheese to room temperature quickly, cut it into cubes and place it on a plate for about 20 minutes.
More Recipes You’ll Love
- Mini Pecan Cheesecake Bites
- Mini Cheeseball Bites
- Pecan Pie Bites
- Pecan Pie Cheesecake
- Christmas Cheesecake

Mini Red Velvet Cheesecake
Ingredients
Red Velvet Base
- 1 cup all-purpose flour
- ¼ cup unsweetened cocoa powder
- 1 tablespoon unsweetened cocoa powder
- ¾ cup salted sweet cream butter, melted and cooled
- 1¼ cups granulated sugar
- 1 tablespoon red gel food color, I used the Sunny Side Up Bakery brand
- 2 teaspoons pure vanilla extract
- 2 large eggs, room temperature and beaten
Cheesecake Filling
- 8 ounces cream cheese, softened
- ¼ cup granulated sugar
- 1 teaspoon pure vanilla extract
- 1 large egg yolk
Instructions
- Preheat the oven to 350°F. Spray a mini muffin pan with nonstick cooking spray. Set it aside.
- Add the flour and unsweetened cocoa powder to a small mixing bowl. Whisk to combine. Set it aside.
- Add the melted butter, sugar, red food color, vanilla, and eggs to a medium-sized mixing bowl. Whisk to combine.
- Stir in the flour mixture. Continue stirring just until the flour mixture is well incorporated. Do not overmix.
- Add the cream cheese to a separate medium-sized mixing bowl. Use a handheld mixer at medium-high speed to beat the cream cheese for 1 minute.
- Add the sugar and vanilla. Mix for another 1 to 1½ minutes until well combined.
- Add the egg yolk and mix just until no yellow streaks are visible.
- Add the cheesecake mixture to either a disposable piping bag or a quart-size ziplock bag.
- Add 1 tablespoon of the red velvet base to the prepared mini muffin pans.
- Snip the end of the piping bag or ziplock bag off. Squeeze about 2 teaspoons of the cheesecake filling into the center of the red velvet bases.
- Bake for 8 to 9 minutes. Remove from the oven and allow the cheesecake bites to cool for 20 to 30 minutes before removing them from the pan and transferring them to a wire rack to cool completely.
Video
Notes
- Make sure to use room temperature cream cheese, so you don’t end up with lumps in your cheesecake mixture.
- You can spray the tablespoon cookie scoop with nonstick spray before scooping the red velvet base.
- You can use a rounded ½ teaspoon to make a small depression in the red velvet base before piping the cheesecake filling. Be sure to dampen the bowl portion of the measuring spoon with oil to keep it from sticking to the base.
- You can use a toothpick to make a swirl pattern on the top of the cheesecake after you pipe in the cheesecake filling.
- Oven temperatures vary and may need to be recalibrated periodically to ensure they are accurate. Make sure to check your cheesecake cups at the lower end of the recommended baking time.







Comments
Debbie Long says
Looks so yummy !!!
Nan Waites says
I added some chopped fresh strawberries on top. Yum!
Tina T says
YUMMM!!! Can’t wait to try these! Thanks for the recipe! I would add a little scoop of ice cream! My hubby is going to love these! Red velvet is his fave! 🙂
Maureen says
This recipeis perfect. Just in time for Valentines Day. They look so delicious and can’t wait to make them. I would have to serve them with strawberries and whipped cream on top. That makes the perfect dessert.
Victoria says
I have fresh strawberries now – I’ll use them!😊
Karen says
I would add nothing to this dessert – the recipe sound and the picture looks wonderful without adding anything to it. I think the flavors compliment each other.
Gabriela B. says
Would you add fresh strawberries to this mini red velvet cheesecake recipe?
– Mixed Berries