

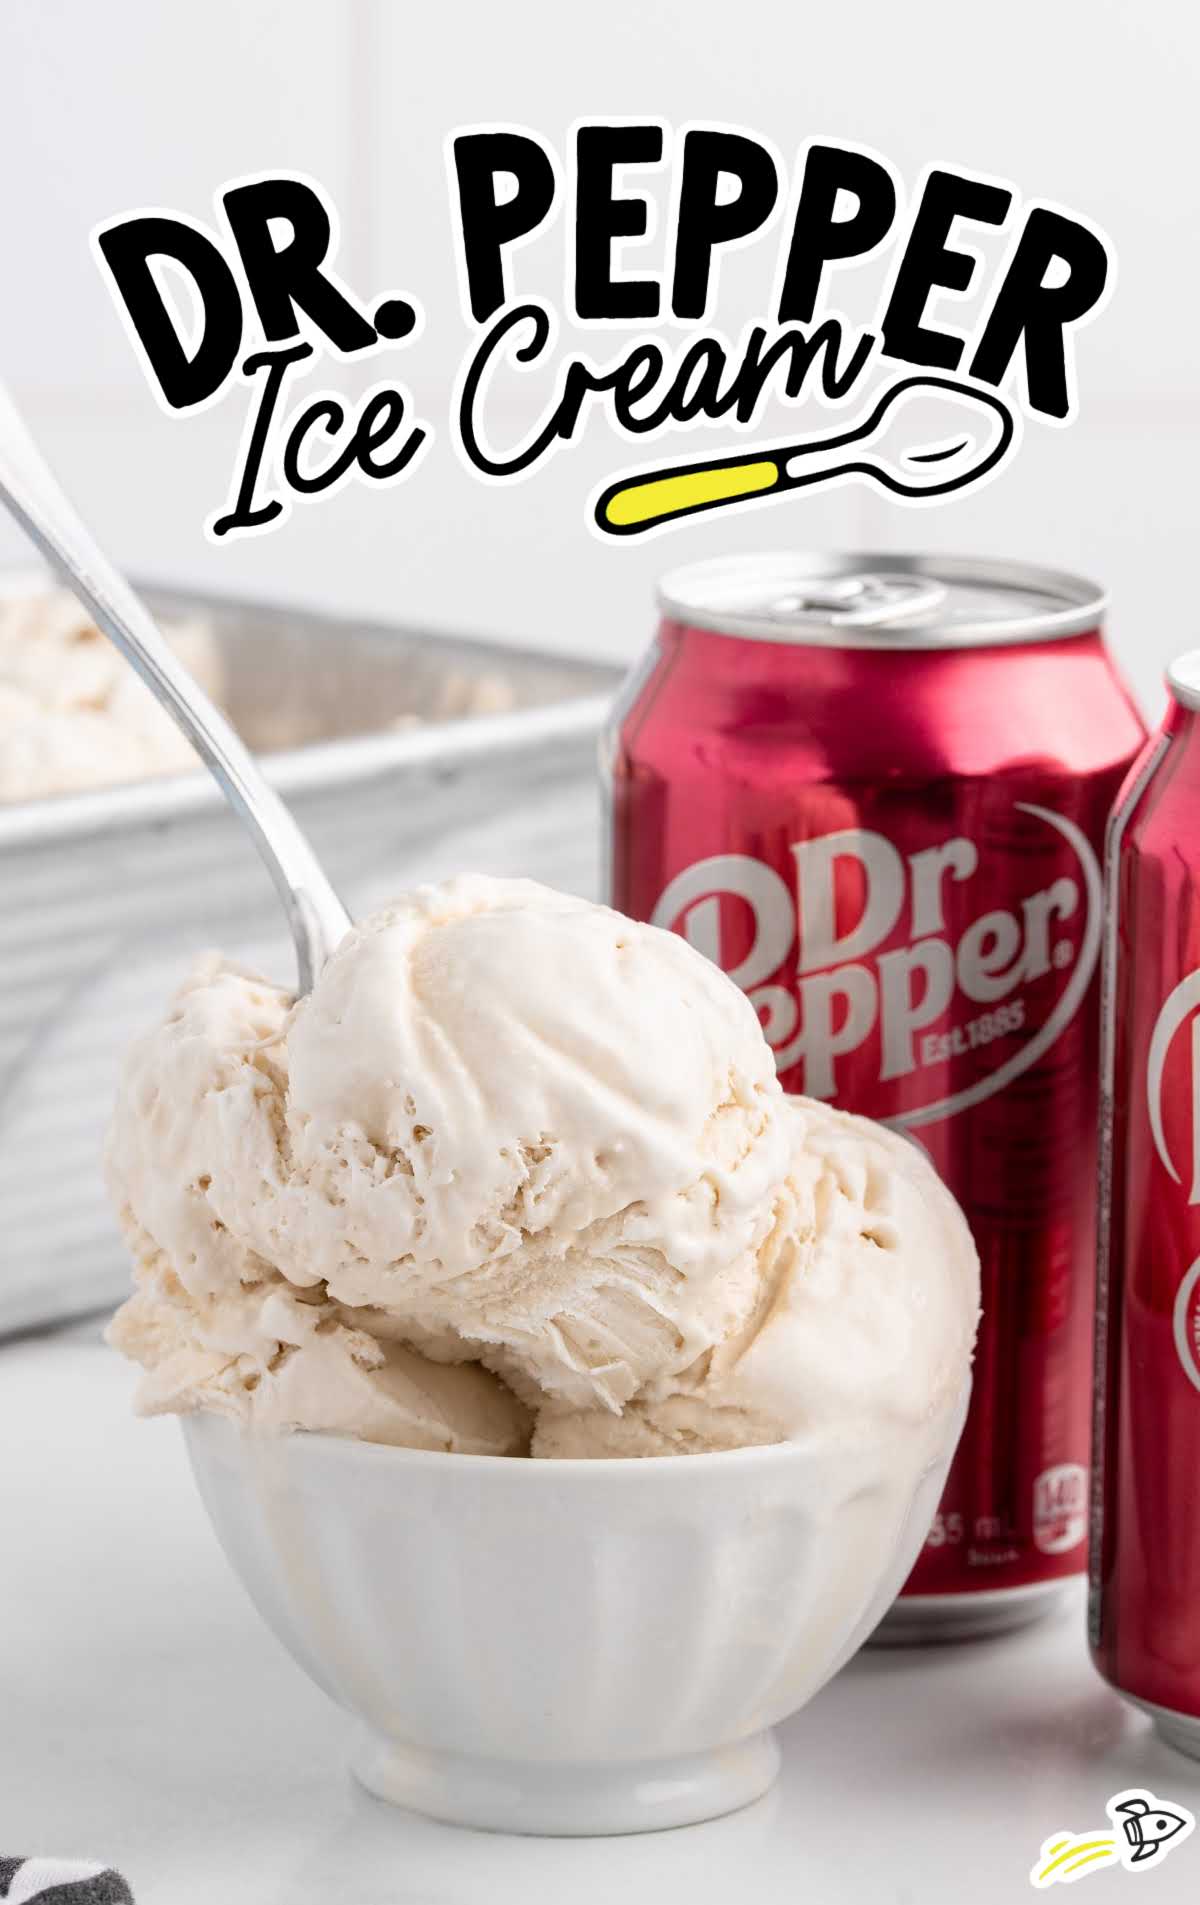
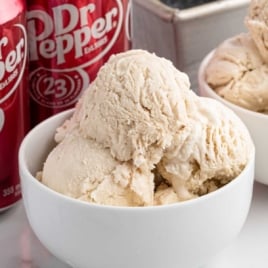
Our homemade Dr Pepper ice cream recipe makes a unique and easy-to-make treat that combines the iconic soda’s distinctive flavor with a creamy ice cream base. Three simple ingredients—sweetened condensed milk, cold Dr Pepper, and heavy cream—come together to create an ice cream that’s both refreshing and rich.
The key to achieving the perfect texture lies in whipping the cream to stiff peaks and folding it gently into the soda mixture, a step that ensures the ice cream remains light and airy.
We chose sweetened condensed milk for its ability to add both sweetness and a smooth texture without the need for additional sugar.
By using cold Dr Pepper, we help the ice cream freeze faster, resulting in a dessert that’s ready to enjoy after just a few hours in the freezer.
Our Dr Pepper ice cream recipe has been tested in our kitchens to guarantee that it delivers the best possible results every time.
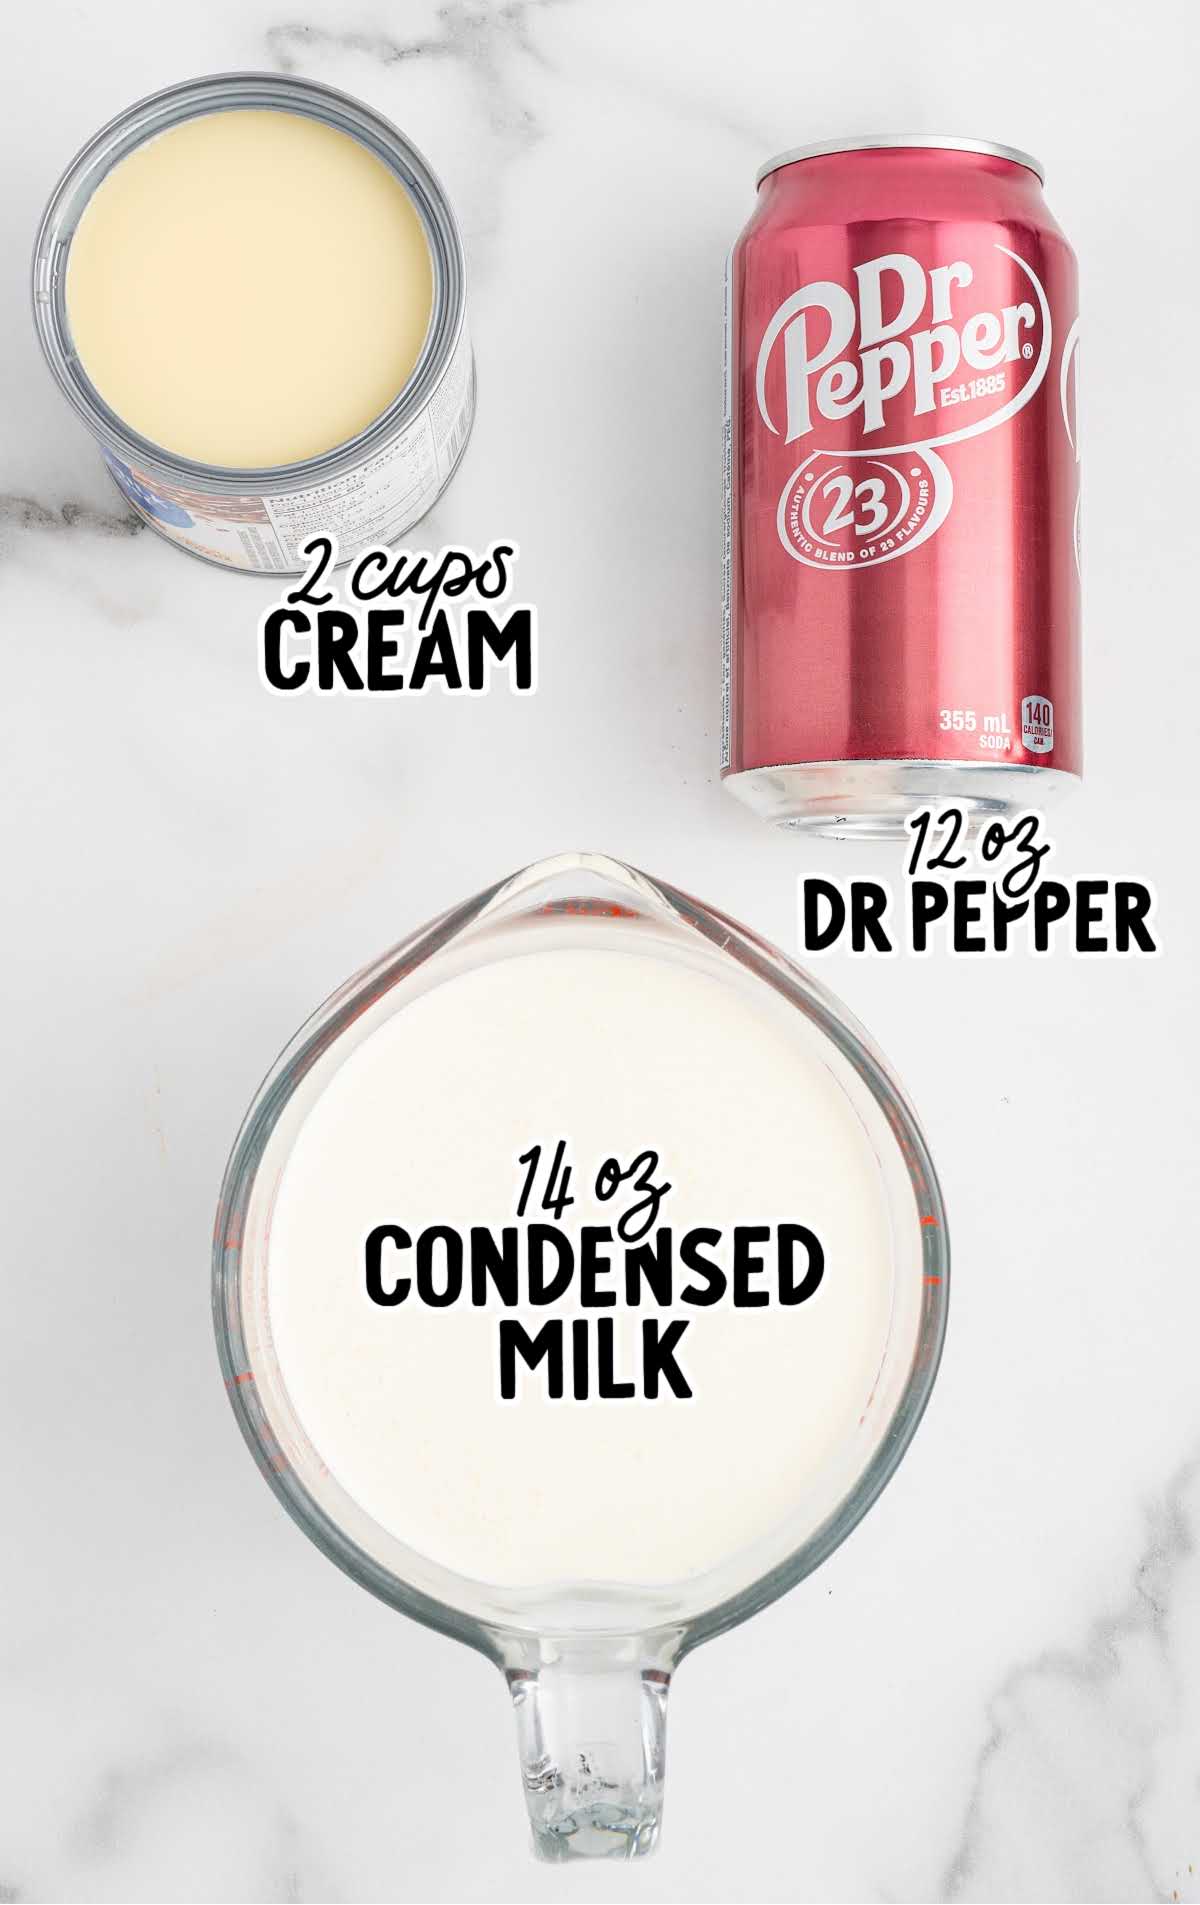
Dr Pepper Ice Cream Ingredients
You’ll love the unique flavor of this soda-flavored ice cream. It’s a simple recipe that brings the iconic taste of Dr Pepper into a creamy and refreshing dessert.
Here’s what you’ll need:
- 1 (14 ounce) container of sweetened condensed milk
- 1 (12 ounce) can of Dr. Pepper, cold
- 2 cups cold heavy cream
Substitutions and Additions
Customizing this no-churn Dr Pepper ice cream to suit your tastes or dietary needs is easy with these simple substitutions and additions.
Keep in mind that making changes to the ingredients might alter the taste and texture of the recipe, so use them at your own discretion.
Add-ins: Consider mixing in some mini chocolate chips, crushed cookies, or chopped nuts before freezing. These additions will give your ice cream a fun and crunchy texture.
Flavor Extracts: Add a teaspoon of vanilla or almond extract to the mixture for an extra layer of flavor.
Sugar-Free Option: Use a sugar-free version of Dr Pepper and sweetened condensed milk to make a lower-sugar version of this ice cream.
How To Make This Dr Pepper Ice Cream Recipe
Our copycat recipe of Blue Bell Dr Pepper Ice Cream is an easy, no-churn homemade treat. Making Dr Pepper ice cream at home is surprisingly straightforward and yields a uniquely flavorful treat.
This recipe not only infuses the nostalgic taste of Dr Pepper into a creamy dessert but does so with minimal fuss, making it an excellent choice for both new and experienced cooks.
STEP ONE: Before you start, it’s crucial to prepare your equipment to ensure everything is set for the smooth execution of the recipe. Place a loaf pan and the mixing bowl and whisk attachment of a stand mixer (or a medium-sized mixing bowl and the beaters of a handheld mixer) in the freezer for 30 minutes to chill. This step helps in maintaining the temperature during the whipping process, which is essential for achieving the right texture in your ice cream.
STEP TWO: In a medium-sized bowl, pour in the sweetened condensed milk. Gradually stir in the cold Dr Pepper.
PRO TIP: Introducing the soda slowly is key to reducing foam and bubbles, which helps in achieving a smoother texture in the final product. Make sure the soda is cold to speed up the freezing time once it’s mixed.
STEP THREE: Retrieve your chilled mixing bowl and beaters or whisk attachment from the freezer. Pour the cold heavy cream into the bowl and start whipping. Begin on medium-high speed until the cream becomes slightly frothy (about 1 minute), then increase to high speed. Continue until stiff peaks form, which should take another 1 ½ to 2 minutes. The cold equipment will help keep the cream stable and airy.
STEP FOUR: Using a silicone spatula, carefully fold the whipped cream into the Dr Pepper and milk mixture. Add the whipped cream one cup at a time to gently combine the two mixtures without losing the air incorporated during whipping. This method is essential for maintaining the fluffy texture of the ice cream.
STEP FIVE: Take the chilled loaf pan from the freezer and transfer the creamy soda ice cream mixture into it. Smooth the surface with an offset spatula or the back of a spoon to ensure an even freeze.
STEP SIX: Cover the pan tightly with heavy-duty aluminum foil and place it back in the freezer. Freeze for at least 6 hours or until the ice cream is firm. Check the consistency at the 4-hour mark, as freezer temperatures can vary, and adjust the freezing time accordingly.
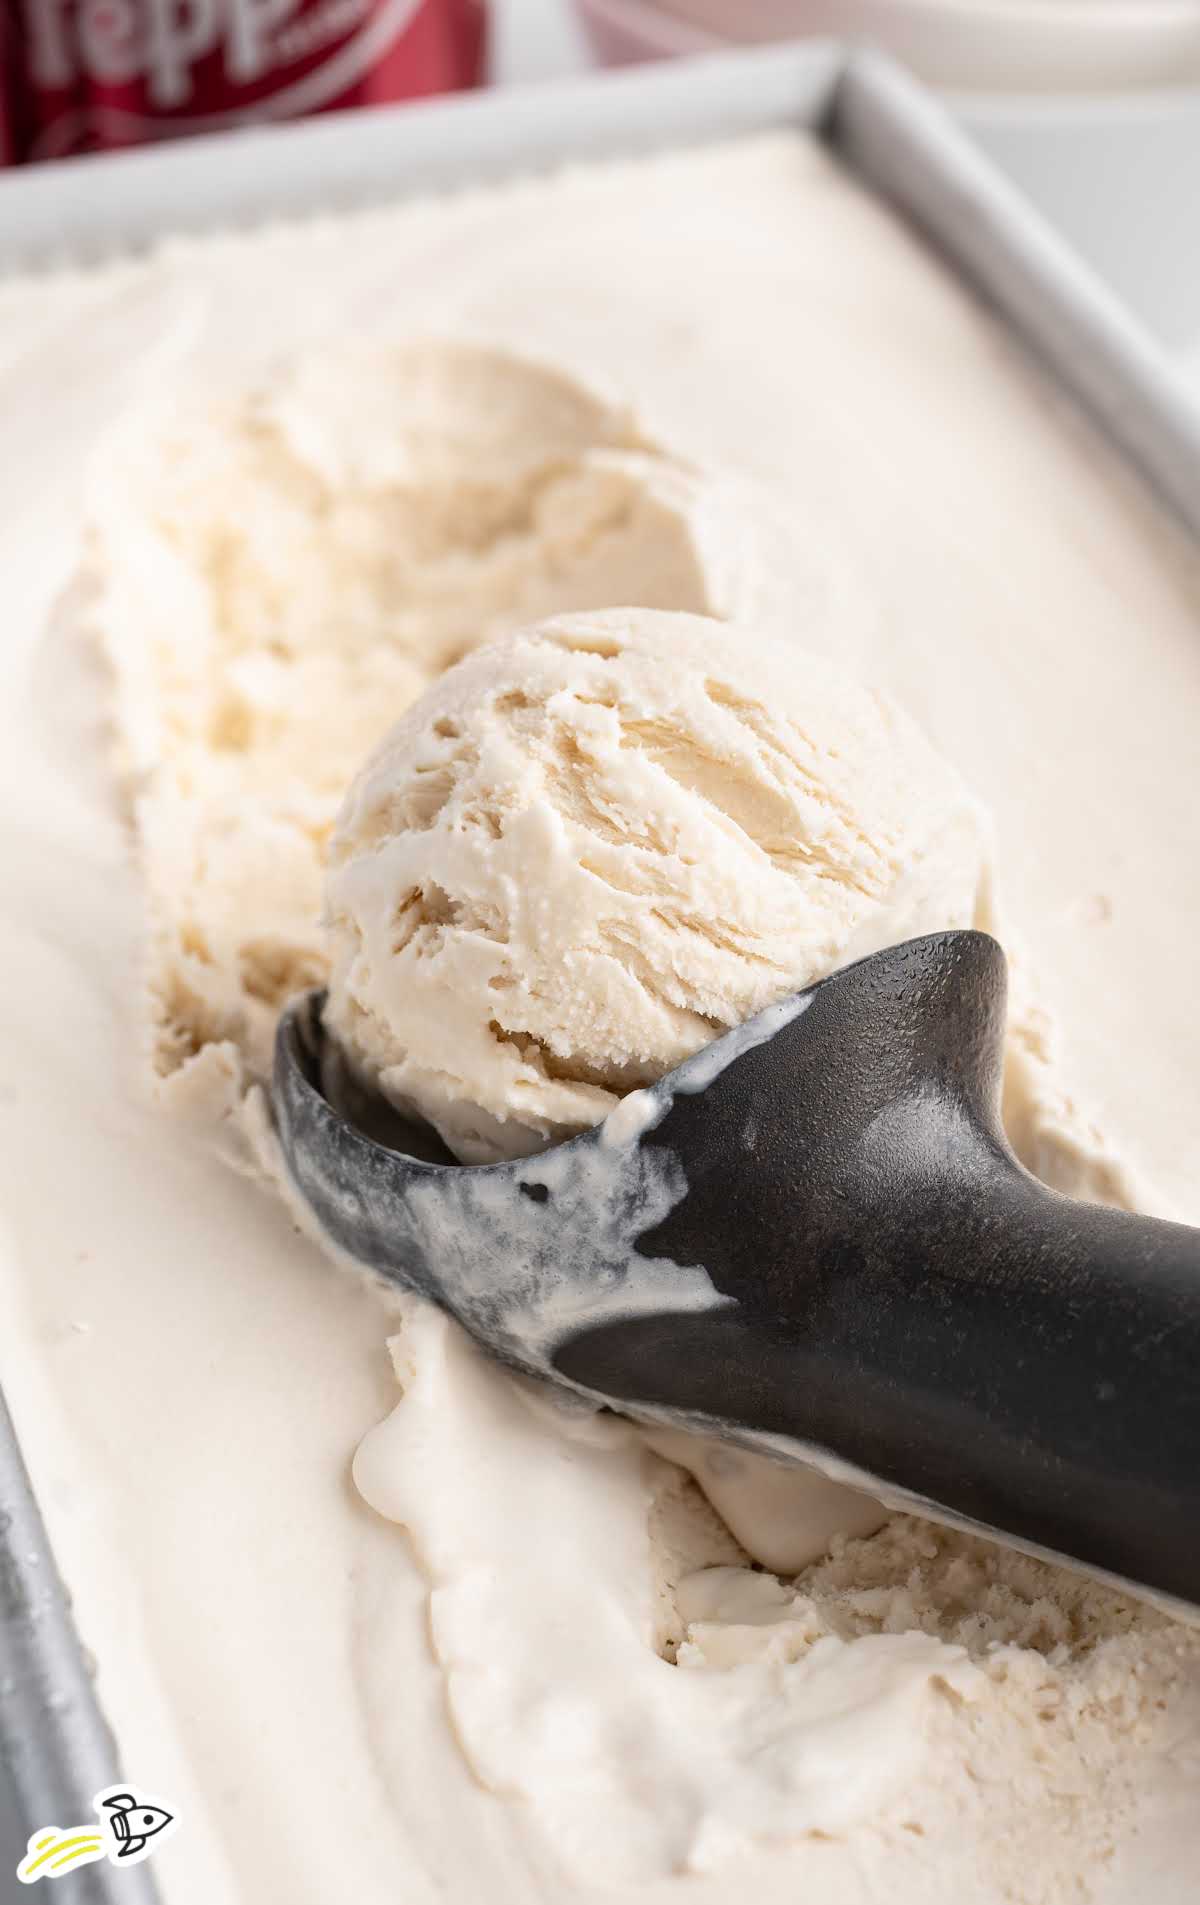
STEP SEVEN: Once the ice cream is set, scoop it into bowls or cones.
How To Serve Dr Pepper Ice Cream
Whether you’re enjoying Dr Pepper ice cream on a hot summer day or serving it at a party, it’s sure to be a hit! Let’s explore some creative serving suggestions and pairings that will make your Dr Pepper ice cream experience even better.
Classic Cone or Bowl: Serve your Dr Pepper ice cream in a waffle cone or a chilled bowl. Add a dollop of whipped cream and a maraschino cherry on top for a classic, soda-fountain look.
Dr Pepper Float: For a nostalgic twist, create a Dr Pepper float ice cream dessert by pouring Dr Pepper over a few scoops of the ice cream in a tall glass. This fizzy, creamy treat is sure to be a hit.
Brownie Sundae: Pair the ice cream with warm, fudgy brownies. The rich chocolate complements the unique flavor of the Dr Pepper, making a decadent dessert.
Ice Cream Sandwiches: Place a scoop of the ice cream between two chocolate chip cookies or soft sugar cookies. This fun treat is perfect for kids and adults alike.
Milkshake: Blend the ice cream with a splash of milk to create a thick, creamy Dr Pepper milkshake. Top with whipped cream and a drizzle of chocolate fudge sauce for extra indulgence.
How To Store Homemade Dr Pepper Ice Cream
Properly storing your Dr Pepper ice cream will help maintain its creamy texture and unique flavor. Here are some tips for making ahead, storing, and reheating this delicious dessert.
MAKE AHEAD: Dr Pepper ice cream can be made ahead of time and stored in the freezer. Prepare the recipe as directed, then transfer the mixture to a loaf pan and cover tightly with heavy-duty aluminum foil. Freeze for at least 6 hours or until firm. This makes it a convenient option for planning ahead for events or gatherings.
IN FREEZER: Store the Dr Pepper ice cream tightly covered with heavy-duty aluminum foil in the freezer. It will keep well for up to one month. For best results, press a piece of parchment paper directly on the surface of the ice cream before covering it with foil. This helps prevent ice crystals from forming on the surface.
Frequently Asked Questions
Yes, you can use diet Dr Pepper, but it might slightly alter the taste and texture of the ice cream.
It usually takes about 1 ½ to 2 minutes on high speed after initially frothing it for about 1 minute on medium-high speed.
Use a gentle folding motion with a silicone spatula to combine the whipped cream without deflating it.
Yes, a hand mixer works just as well. Just make sure the beaters are chilled along with the mixing bowl.
Chilling them helps the cream whip up more quickly and maintain its volume.
The ice cream should be firm to the touch. You can start checking for firmness after about 4 hours.
Yes, feel free to add your favorite mix-ins before transferring the mixture to the loaf pan.
Let it sit at room temperature for a few minutes to soften before serving.
Pour the Dr Pepper slowly into the condensed milk to minimize foam and bubbles.
Yes, you can double the recipe, but make sure you have enough space in your freezer to accommodate the larger volume.
Dr Pepper ice cream combines the iconic soda’s flavor with creamy goodness for a fun and easy treat. Enjoy making this unique dessert at home with just a few simple ingredients!
More Delicious Recipes You’ll Love


Dr Pepper Ice Cream
Ingredients
- 14 ounces sweetened condensed milk
- 12 ounces Dr. Pepper, cold
- 2 cups cold heavy cream
Instructions
- Place a 10x5x3 loaf pan, the bowl and whisk attachment of a stand mixer, or a medium size (2-3 quart) mixing bowl and the beaters of a handheld mixer in the freezer for 30 minutes.
- Add the sweetened condensed milk to a medium size bowl.
- Slowly stir the Dr Pepper into the sweetened condensed milk. (Stirring the soda in slowly helps reduce the amount of bubbles when combining. The ice cream will freeze a bit quicker if the soda is cold when mixing into the sweetened condensed milk.)
- Next, remove the mixer bowl and attachments from the freezer.
- Add the cold heavy cream to the cold mixing bowl. Beat on medium high speed until the cream is slightly frothy, about 1 minute. Increase the mixer speed to high and continue to mix until the cream forms stiff peaks, about 1 ½ – 2 minutes.
- Use a silicone spatula to gently fold the beaten heavy cream into the Dr. Pepper milk mixture, 1 cup at a time. (Folding is a way to gently combine 2 different textures together without deflating the whipped cream.)
- Remove the loaf pan out of the freezer. Evenly spoon the ice cream base into the cold loaf pan. Use an offset spatula, or a silicone spatula to smooth the top of the ice cream.
- Cover tightly with heavy duty aluminum foil and freeze for 6 hours, or until the ice cream is firm. (Remember that all freezers cool differently, so you can begin checking the firmness of the ice cream around the 4 hour mark.)
- When you are ready to serve, scoop the Dr. Pepper ice cream into bowls or into ice cream cones.
- Pouring the soda into the cream slowly is key to reducing foam and bubbles, which helps in achieving a smoother texture in the final product. Make sure the soda is cold to speed up the freezing time once it’s mixed.
Notes
- Introducing the soda slowly is key to reducing foam and bubbles, which helps in achieving a smoother texture in the final product.
- Make sure the soda is cold to speed up the freezing time once it’s mixed.
Nutrition


Leave a Comment