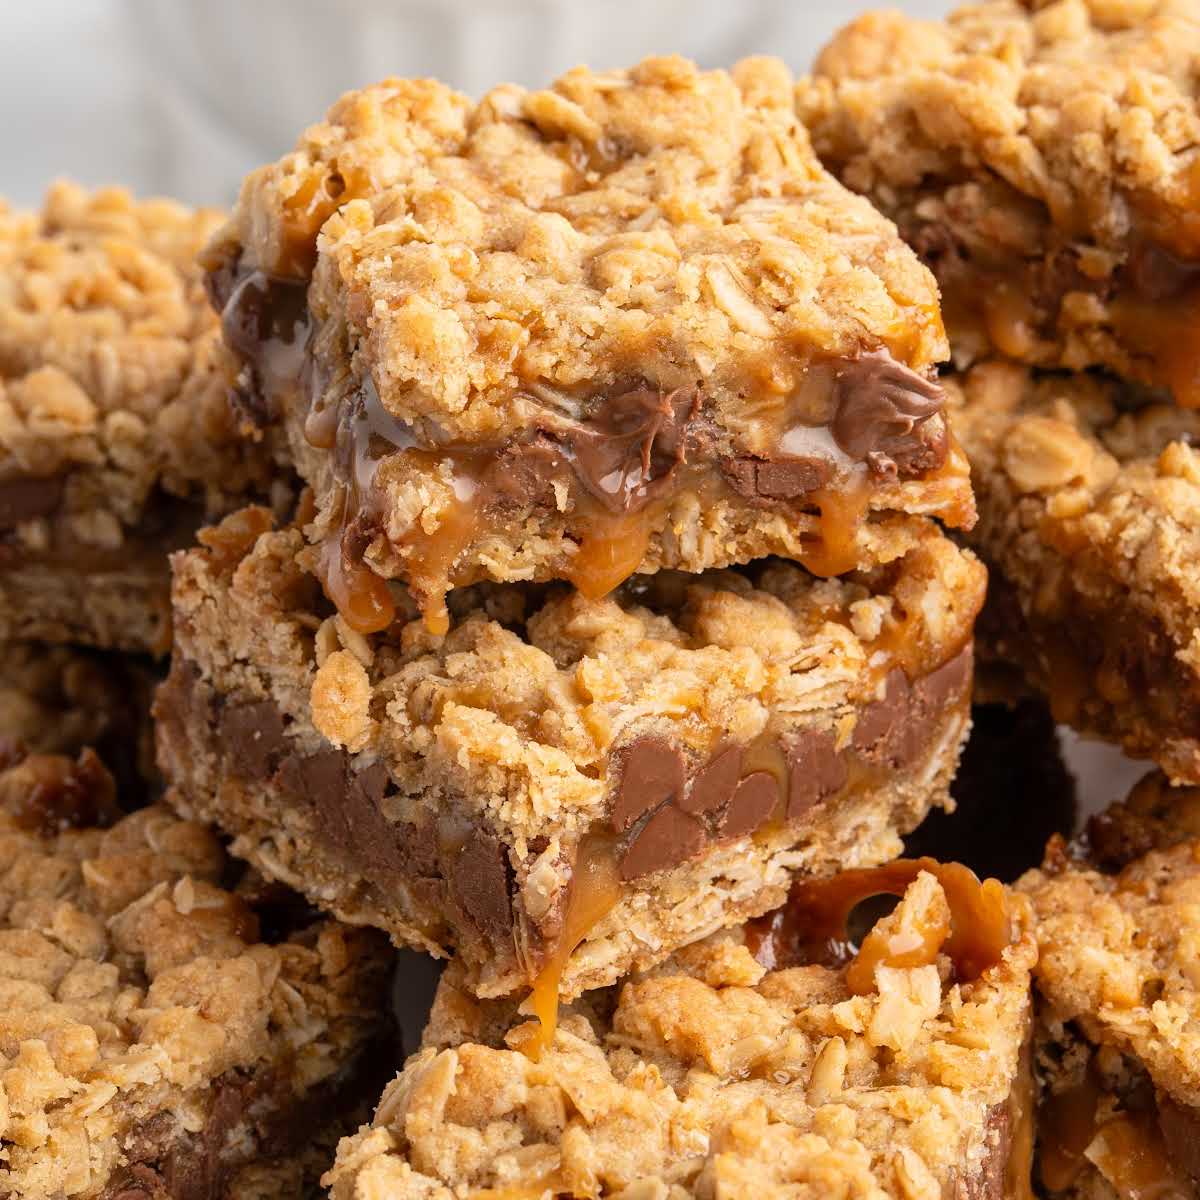


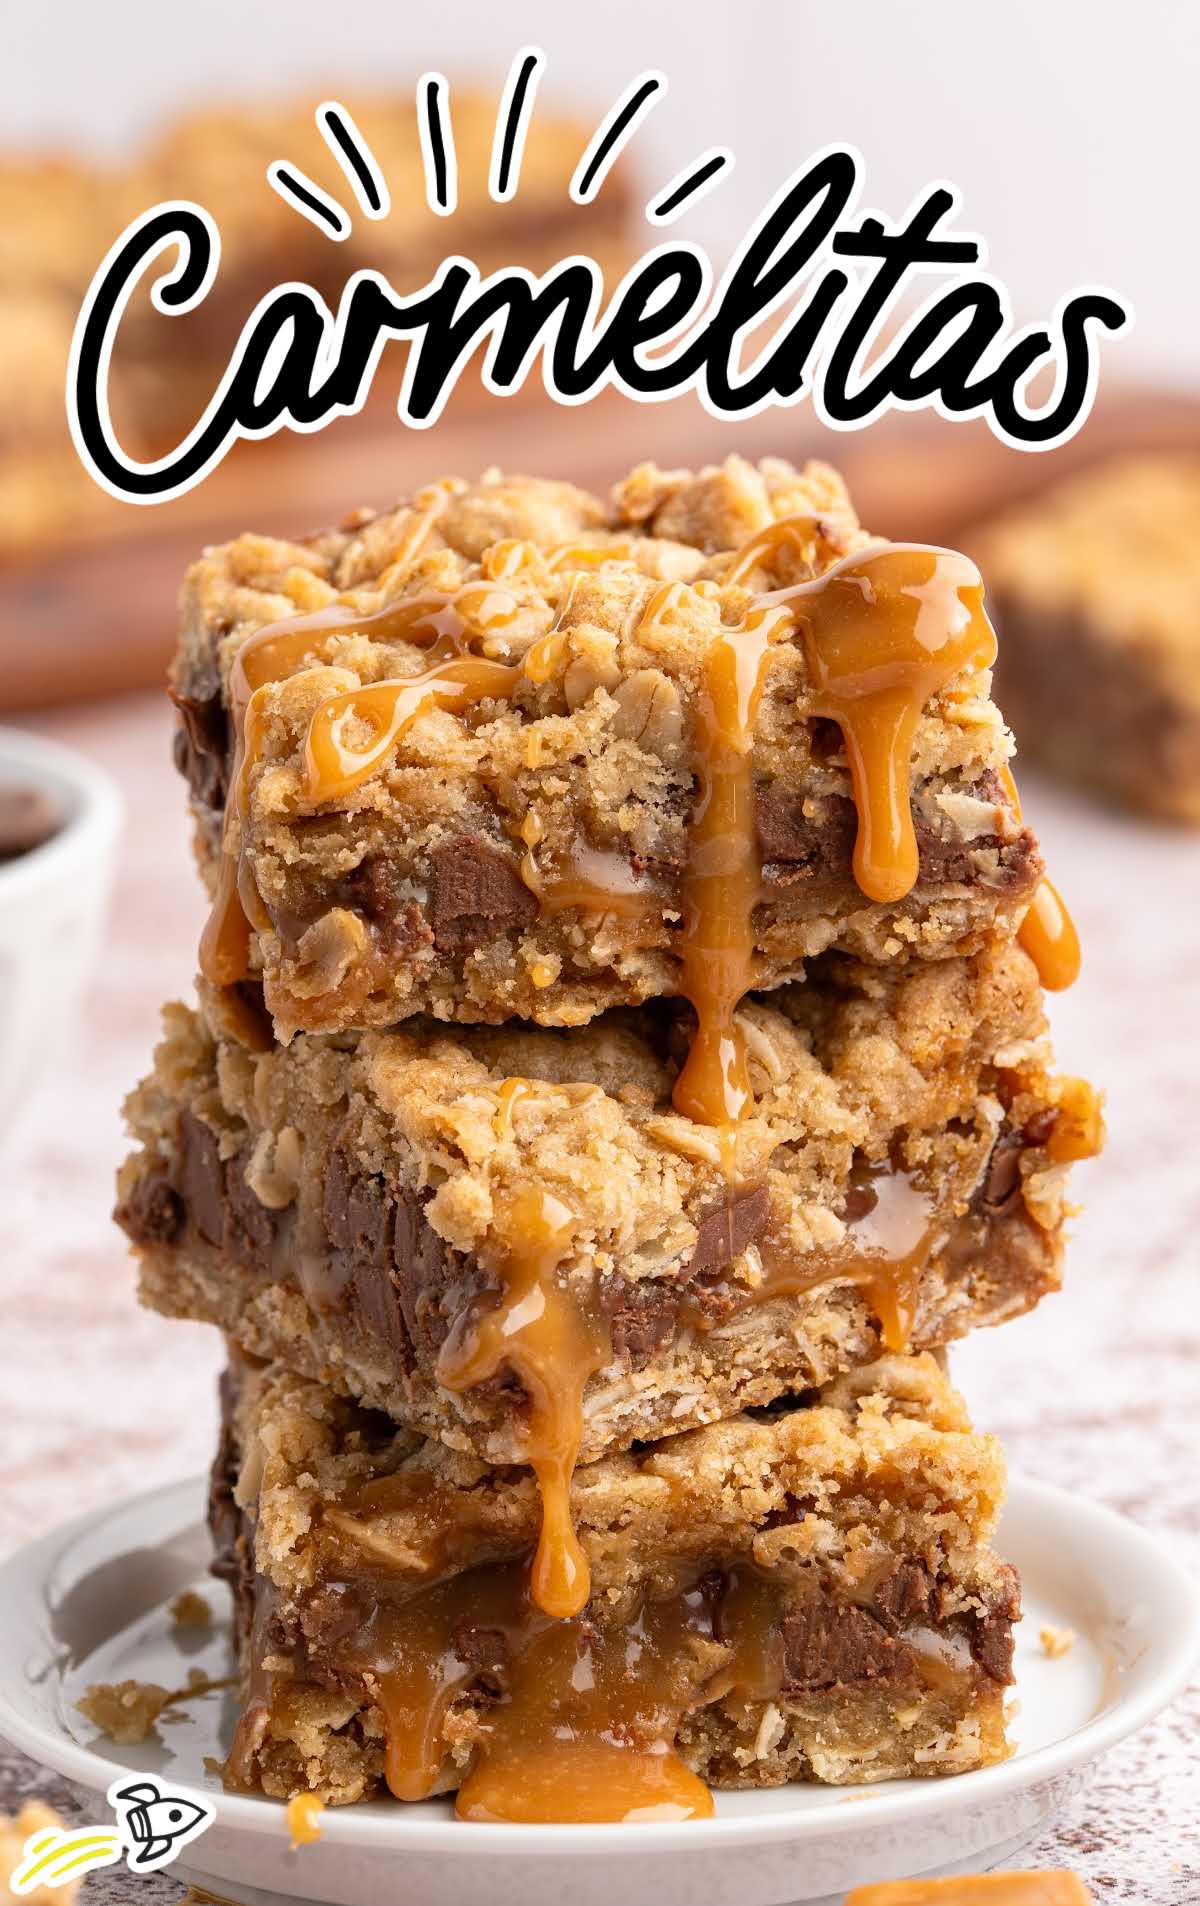
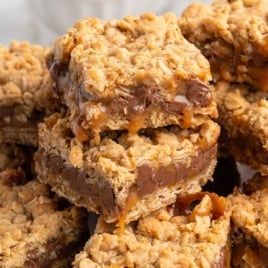
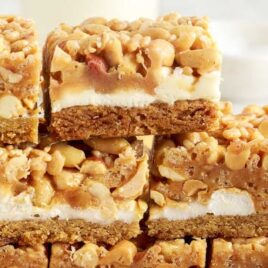
If you’re looking for the ultimate dessert bar, these Carmelitas are it: a buttery oatmeal cookie base, a river of gooey caramel, melty chocolate, and a crumbly oat topping that bakes into golden perfection. They’re the kind of recipe that other people taste once and immediately ask for.
I’ve baked these bars more times than I can count—sometimes for my own family, other times for neighbors, potlucks, and even bake sales—and they never last more than a few hours. I’ve put in the work so you don’t have to. You can bake these bars knowing they’ll come out absolutely delicious every single time.
Carmelitas Ingredients
Cookie Base
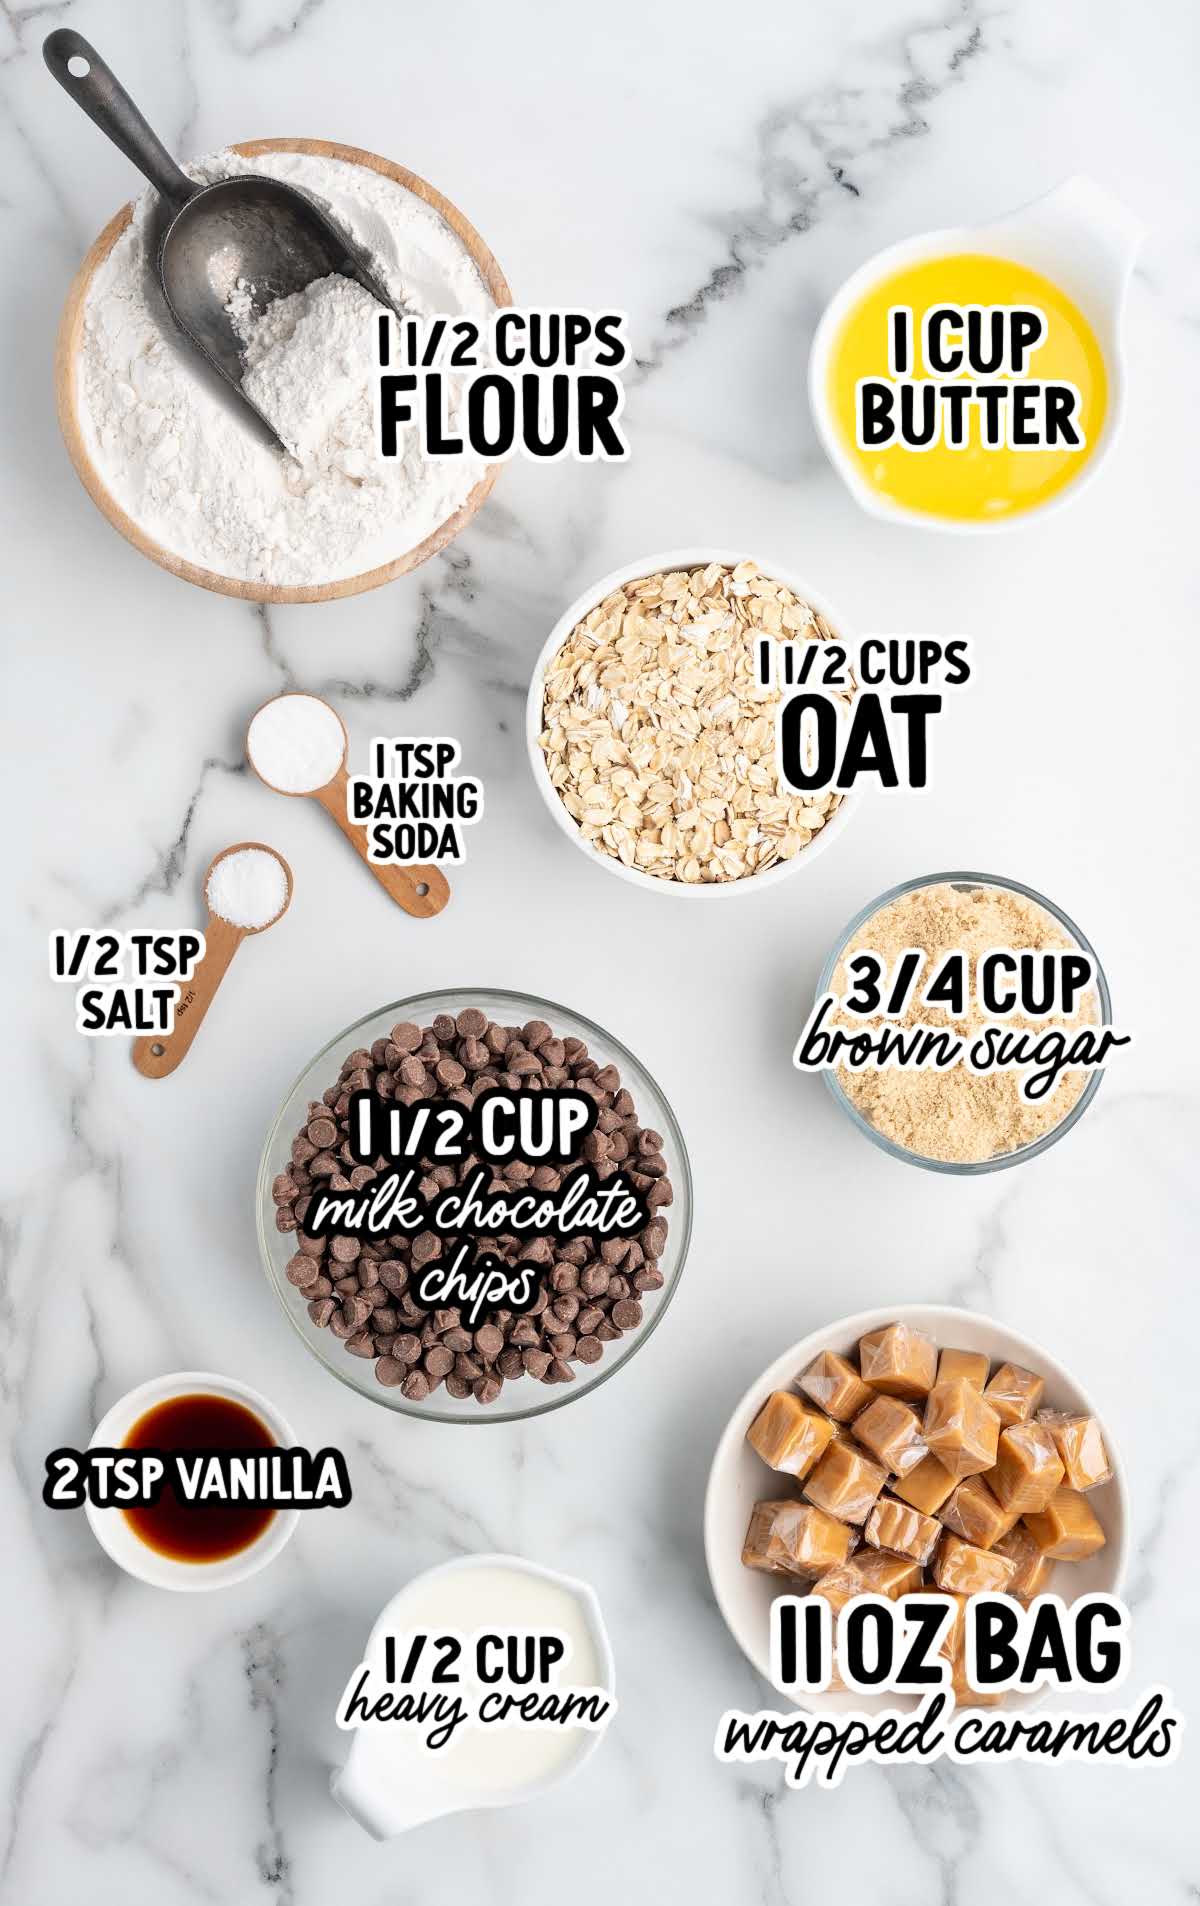
- 1 ½ cups flour
- 1 ½ cups old fashioned oats
- 1 cup salted butter
- ¾ cup brown sugar
- 2 tsp vanilla extract
- 1 tsp baking soda
- ½ tsp kosher salt
Chocolate and Caramel layer
- 1 ½ cup chocolate chips
- 1 bag caramels
- ½ cup heavy cream
Can I switch caramel sauce for the caramel candy? Stick with soft caramels melted with cream—bottled caramel sauce is too thin and will soak into the crust instead of giving you that gooey layer.
Tips We Learned During Recipe Testing These Carmelitas
✔ Metal vs Glass
We’ve tested these bars in both glass and metal pans. A metal baking dish gives the best, even browning. Glass pans tend to hold heat longer, so if that’s all you have, reduce your bake time by about three minutes to avoid over-baking the base.
Creating The Delicious Layers
✔ Firmly Press the Crust
The oat mixture is meant to be crumbly before baking. Press it firmly into the pan using the bottom of a measuring cup. This keeps the base from falling apart when you cut into bars later.
✔ Chocolate Layer Trick
Sprinkle the chocolate chips onto the hot base fresh from the oven. The residual heat helps them soften slightly, which anchors them to the crust so they don’t float up when the caramel is poured on top.
✔ Caramel Consistency
Your caramel should be smooth, pourable, and slightly thick—not watery. If it looks too thin, keep it on the heat for an extra 1–2 minutes while stirring constantly. If it seizes up (turns stiff), just add a splash more cream and whisk until silky again.
✔ Don’t Stress About Gaps
When sprinkling the top crust over the caramel, you’ll see some gaps. That’s okay—those gaps are where the gooey caramel peeks through, which is part of the magic of Carmelitas.
How You’ll Know These Bars Are Done
The top should be golden brown and feel firm to the touch. If it still looks pale, bake for another two to three minutes. But don’t over-bake—the caramel layer needs to stay gooey.
Carmelitas
Ingredients
Cookie Base
- 1 ½ cups all purpose flour
- 1 ½ cups old fashioned oats
- 1 cup salted butter, melted
- ¾ cup light brown sugar, tightly packed
- 2 teaspoon pure vanilla extract
- 1 teaspoon baking soda
- ½ teaspoon kosher salt
Chocolate and Caramel layer
- 1 ½ cup milk chocolate chips
- 11 ounces individually wrapped caramels
- ½ cup heavy cream
Instructions
- Preheat the oven to 350°F. Line a 9×9 baking dish with parchment paper, leave a bit of an overhang to lift the bars out of the baking dish. Lightly grease the parchment paper with nonstick cooking spray.
- Add the flour, oats, melted butter, brown sugar, vanilla, baking soda and kosher salt. Stir until just combined.
- Press half of the cookie base into the bottom of the prepared baking dish. Bake for 10 minutes. While the base is baking, unwrap the caramels.
- In a small heavy bottomed saucepan over medium heat, add the unwrapped caramels and heavy cream, stirring continuously until the caramels are completely melted. You can also microwave the caramels and cream stirring 45 seconds until smooth.
- Immediately after you remove the cookie base from the oven, sprinkle the chocolate chips.
- Once the caramels have melted and the mixture is smooth, pour the caramel sauce evenly over the chocolate chips.
- Sprinkle the remaining cookie base over the caramel layer. Don’t worry about small gaps in the cookie layer, they will close while baking.
- Bake for 20 minutes or until the top layer is golden brown and firm to the touch. Allow the carmelitas to rest for a few minutes before chilling in the refrigerator for 1 ½ to 2 hours, or until completely cool.
- Use the overhang to lift the carmelitas out of the baking dish and place on a cutting board. Slice the carmelitas into 16 equal pieces before serving.
Notes
- Milk chocolate or dark chocolate chips can be substituted for semi sweet chocolate chips.
Nutrition
They were even better the next day!
Serving Instructions
After coming out of the oven, the caramel needs time to firm up. If you try to cut them warm, you’ll end up with a delicious mess.
I recommend chilling the pan for two hours, then lifting the whole slab out using the parchment overhang. Use a warm, sharp knife for bakery-style slices.
Storing Recipes With Gooey Caramel
One of the best things about Carmelitas—aside from how good they taste—is how well they store. I’ve made these countless times for potlucks, bake sales, and holidays, and here’s what’s worked best for me:
Room Temperature: Store your Carmelitas in an airtight container at room temperature for up to four days. I like to separate layers with parchment so they don’t stick together. They hold their texture beautifully without needing refrigeration.
Refrigerator: If your kitchen runs warm, or if you like the caramel a little firmer, tuck them into the fridge for up to one week. Just let them sit out for 15–20 minutes before serving so the caramel softens back up.
Freezer: These bars are surprisingly freezer-friendly. I slice them into squares, wrap each one tightly in plastic, and layer them in a freezer container with parchment between. They’ll keep for up to two months. When you’re ready to serve, just thaw at room temperature for about an hour—no one will ever know they were frozen.

More Dessert Bars
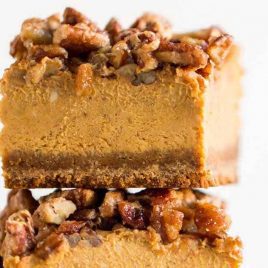
- Caramel Cheesecake Bar Recipe
- Salted Caramel Chocolate Chip Cookie Bar Recipe
- Chocolate Peanut Butter Dream Bar Recipe
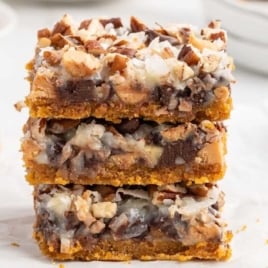
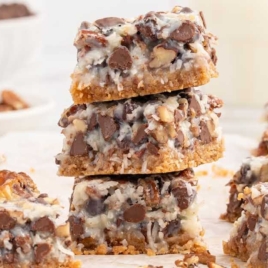
- 7 Layer Bar Recipe


MORE DESSERT BAR RECIPES


Comments
Jane Thoms says
What temperature do you bake it at?
Layne Kangas says
350 degrees! Enjoy 🙂
Toni Thomason says
What a great dessert!!!
Rachel F. says
Hello, question. Due to a dairy allergy, I’ll be using coconut caramels…. what size are the bags of caramels you use, ie how many ounces is each package? Thank you in advance!
Layne Kangas says
Each package was 11 ounces, so we used 22 ounces all together in this recipe. I hope you enjoy!
Gloria says
These are so gooey and perfect!