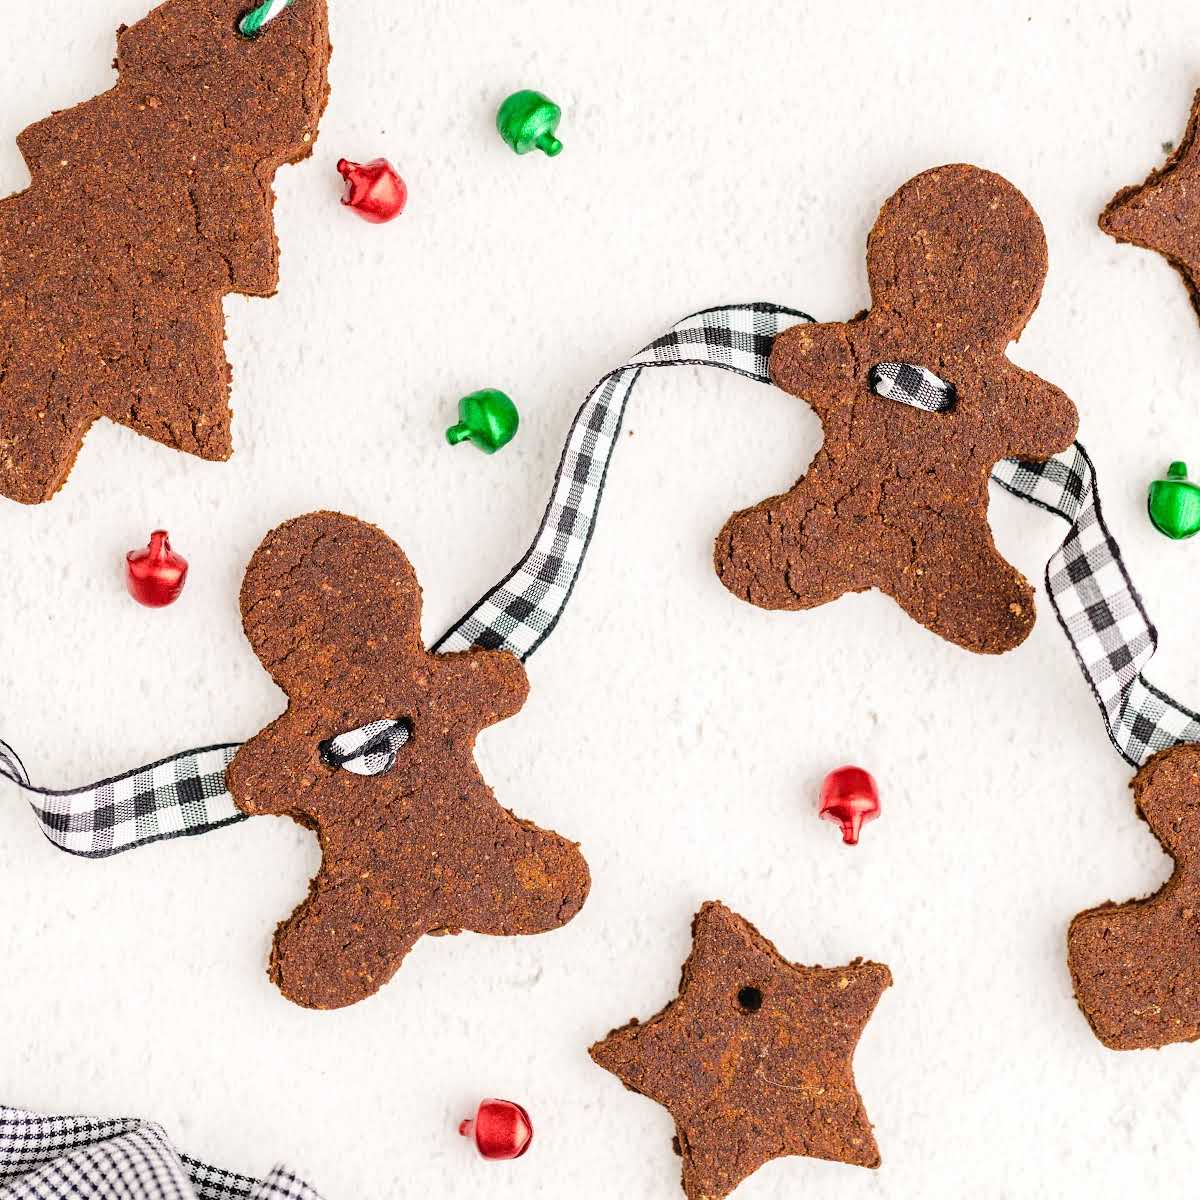


Simple and beautiful, these classic old-fashioned cinnamon ornaments are the perfect Christmas craft to do with your kids this holiday season. A longtime family favorite, an easy dough is baked into shapes with the help of your favorite cookie cutters to create these magical decorations.

Cinnamon Ornaments Ingredients

You’ll need:
- 1 cup of ground cinnamon
- 1 tablespoon of ground cloves
- 1 tablespoon of ground nutmeg
- ¾ cup of applesauce
- ½ cup of white all-purpose glue
PRO TIP:
These ornaments are not edible and are to be used for decoration only!
Substitutions And Additions
CINNAMON APPLESAUCE: I used cinnamon applesauce for my homemade ornaments. If you use regular applesauce, you’ll probably want to increase the amount of cinnamon.
How To Make This Cinnamon Ornaments Recipe
STEP ONE: Preheat the oven to 200°F. Line a baking sheet with parchment paper and set aside.
Using a whisk or wooden spoon, combine the cinnamon with the cloves and nutmeg in a medium bowl.

Next, add the applesauce and glue. Mix by hand to form a smooth, clay-like dough.

Roll dough out to about ¼-inch thickness.
OUR RECIPE DEVELOPER SAYS
You can layer your dough between two sheets of plastic wrap to make it easier and less messy while rolling it out.

Cut out holiday shapes with cookie cutters. Knead the excess dough lightly, roll again, and cut as necessary.

Lift shapes carefully by hand and place the ornaments on your prepared baking sheet.
Add small holes in the ornaments wherever you want to add string. Use a chopstick, straw, or toothpick. Decorate as desired with oven-safe decorations as you would like.
PRO TIP:
You have to plan ahead when poking the holes in the ornaments. Also, you could use a patterned rolling pin or stamps to press a pattern into the ornaments before proceeding.

Bake at 200°F for 3 hours until dry and hard.
PRO TIP:
You can let the ornaments air dry for two to three days instead of baking them, but we found that the shapes curled as they dried. For flatter ornaments that hold their shape better, we recommend using the oven method.

Tie the ornaments with a pretty ribbon and hang them on your tree, or use as a package decoration or DIY gift. You can also decorate your ornaments with glue, metallic paint, craft paint, and glitter after baking.
PRO TIP:
If your edges are a little rough, you can use fine-grit sandpaper to smooth them out. Also, you can use a Sharpie to write the year on the back.
How To Paint Cinnamon Ornaments
Once your cinnamon ornaments are completely dry and cool, you can decorate them with craft acrylic paint or dimensional puffy paint.
Craft acrylic paint goes on smoothly without soaking into the ornament or leaving patchy spots. For the best color coverage, apply three coats, letting each coat dry before adding the next.
Dimensional puffy paint is a good choice for adding raised designs, outlines, or small details. Unlike regular acrylic paint, it holds its shape and leaves a textured finish.
Painting does make the cinnamon scent less noticeable on the decorated side, but the back of the ornament will still have a strong cinnamon fragrance. You can leave the back unpainted if you want to keep more of that cinnamon smell.
How To Hang Cinnamon Applesauce Ornaments
Once you bake your ornaments, you can decorate any way you would like with glitter glue, sparkles, markers, or paint. All the decorations to dry before hanging your ornaments on the Christmas tree. They also make fantastic handmade gifts for friends and grandparents.
Want more DIY? Add a cozy Christmas scent to the air with homemade Christmas potpourri.
Storing Cinnamon Ornaments With Applesauce
I recommend placing these gems in sandwich baggies when you’re putting away decorations, especially if they’re decorated. They will keep at room temperature and can be displayed every year during the holiday season.

Easy to make and filled with the sweet scent of cinnamon, these cinnamon ornaments will become a fun tradition for your family each Christmas. It only takes a few minutes to make these darling ornaments that are perfect for decorating or homemade gifts.
Frequently Asked Questions
These easy cinnamon dough ornaments will not go bad and can be stored with your other holiday decorations to be displayed year after year.
Stainless steel cookie cutters work well for this recipe. Cover them in flour before using them, so they don’t stick to the dough.
The easy homemade cinnamon ornaments can be threaded with either twine or ribbon to hang from your tree.
Recipes You’ll Love



Cinnamon Ornaments
Ingredients
- 1 cup ground cinnamon
- 1 tablespoon ground nutmeg
- 1 tablespoon ground cloves
- ½ cup white all-purpose glue
- ¾ cup applesauce
Instructions
- Preheat the oven to 200°F. Line a baking sheet with parchment paper and set aside.
- Using a whisk or wooden spoon, combine the cinnamon with the cloves and nutmeg in a medium bowl.
- Next, add the applesauce and glue. Mix by hand to form a smooth, clay-like dough.
- Roll dough out to about ¼-inch thickness.
- Cut out holiday shapes with cookie cutters. Knead the excess dough lightly, roll again, and cut as necessary.
- Lift shapes carefully by hand and place the ornaments on your prepared baking sheet.
- Add small holes in the ornaments wherever you want to add string. Use a chopstick, straw, or toothpick. Decorate as desired with oven-safe decorations as you would like.
- Bake at 200°F for 3 hours until dry and hard.
- Tie the ornaments with a pretty ribbon and hang them on your tree, or use as a package decoration or DIY gift. You can also decorate your ornaments with glue, metallic paint, craft paint, and glitter after baking.
Video
Notes
- These ornaments are not edible and are to be used for decoration only!
- You can layer your dough between two sheets of plastic wrap to make it easier and less messy while rolling it out.
- You have to plan ahead when poking the holes in the ornaments. Also, you could use a patterned rolling pin or stamps to press a pattern into the ornaments before proceeding.
- If your edges are a little rough, you can use fine-grit sandpaper to smooth them out. Also, you can use a Sharpie to write the year on the back!
- You can let the ornaments air dry for two to three days instead of baking them, but we found that the shapes curled as they dried. For flatter ornaments that hold their shape better, we recommend using the oven method.
Nutrition