
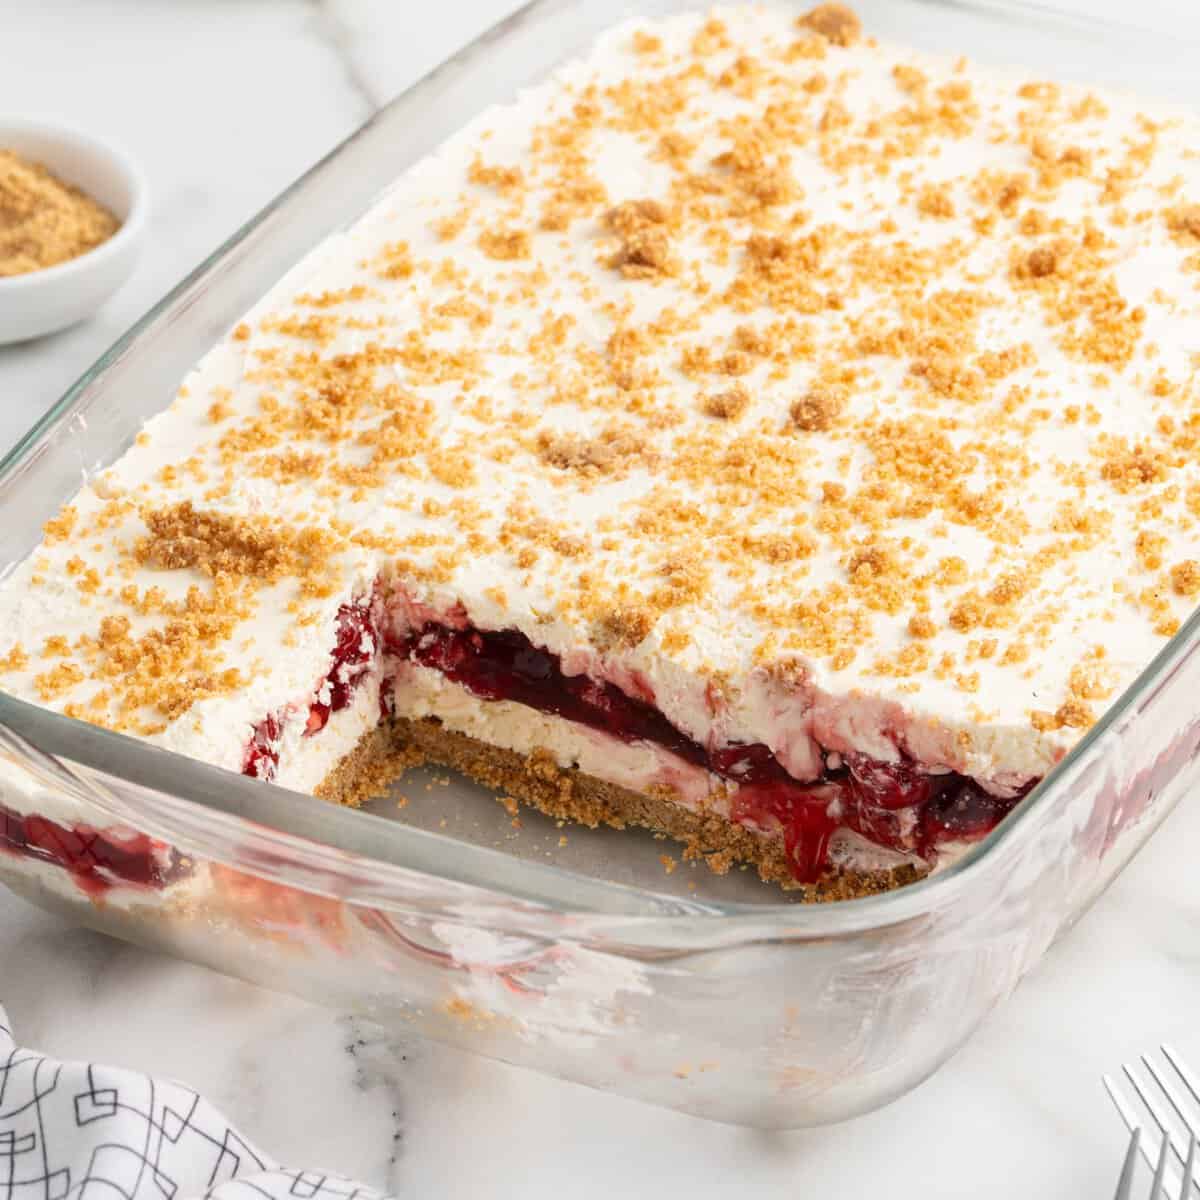

Cherry yum yum disappears at gatherings in a way fancier desserts don’t. Pans of it go home empty from church suppers. It has beaten the pumpkin pie at Thanksgiving, shown up on breakfast plates the next morning, and been requested as a birthday cake.
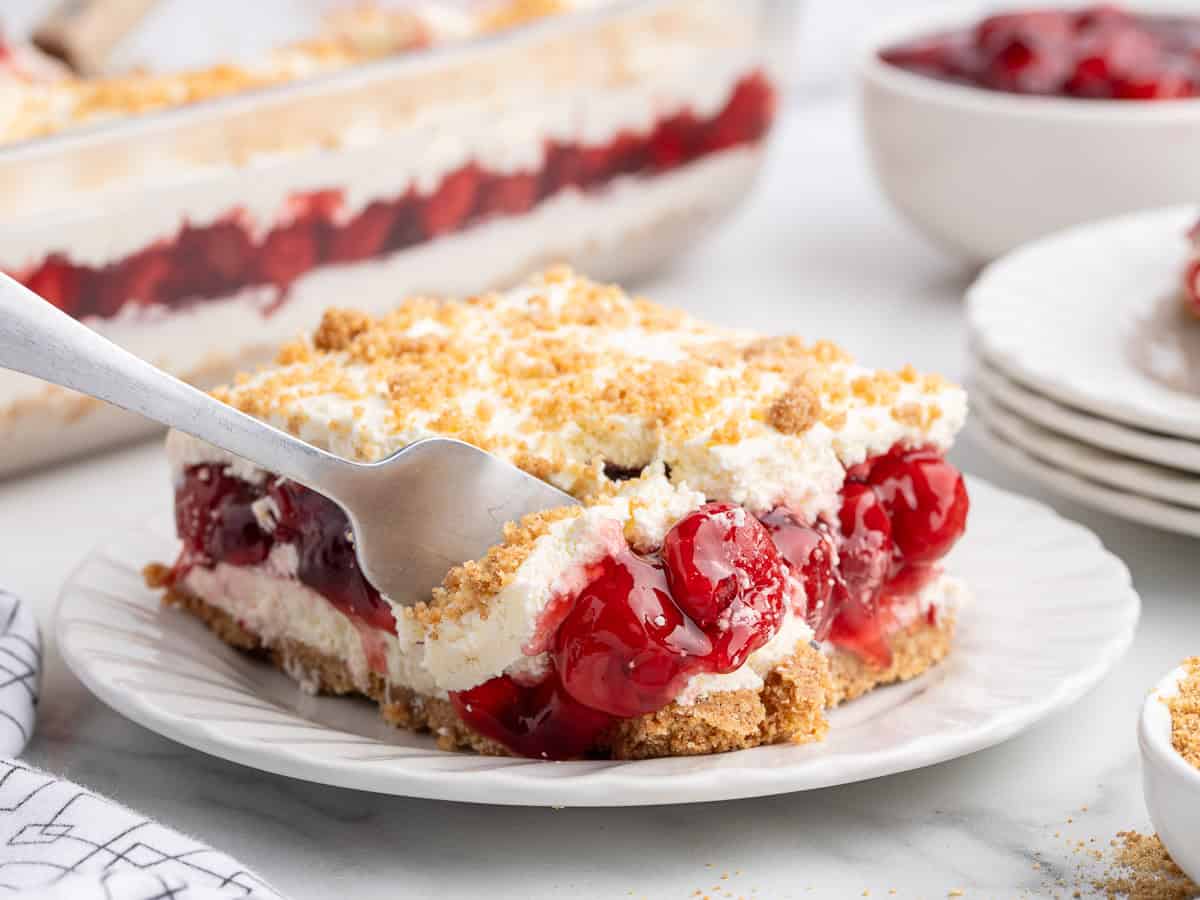
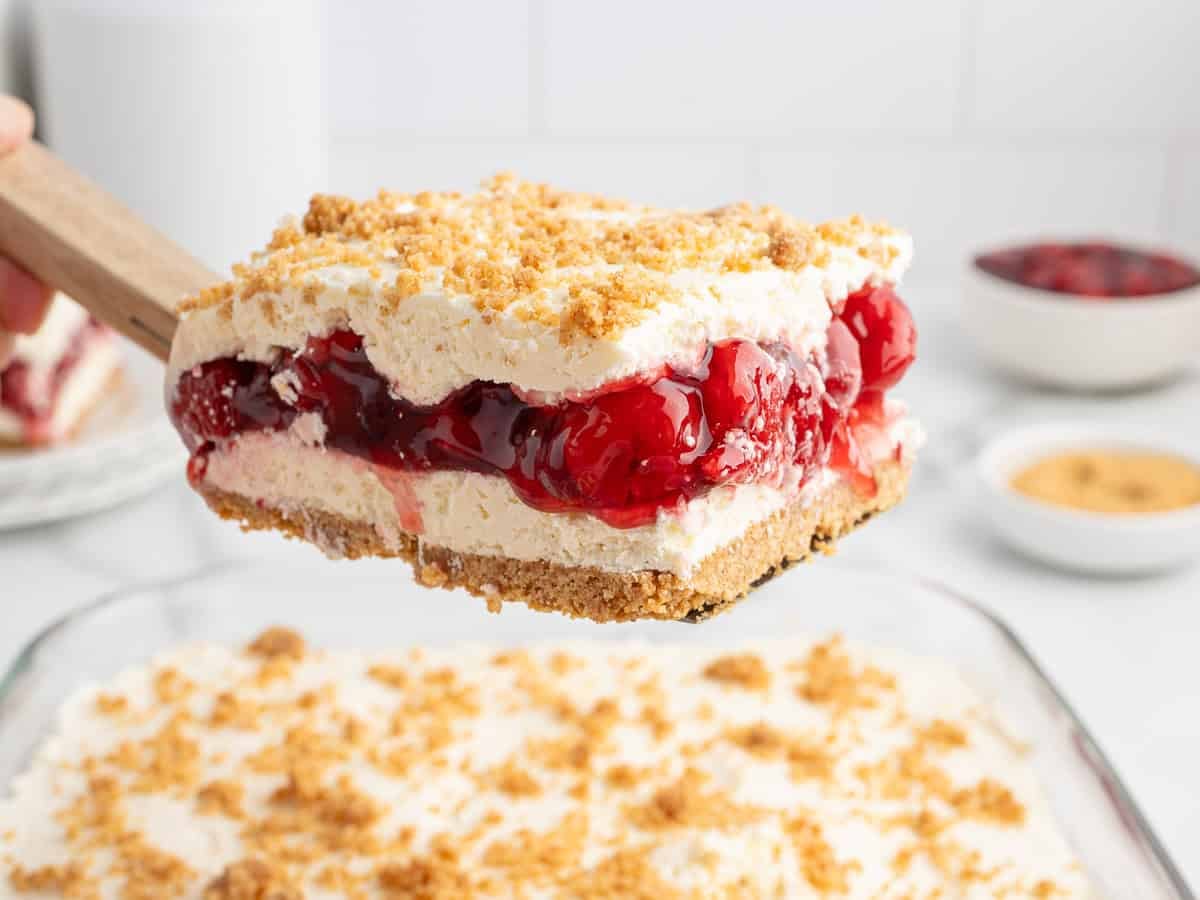
It’s an old-fashioned no-bake dessert, a buttery graham cracker crust under tart cherries, with a cold, fluffy cream cheese filling above and below them. It isn’t too sweet, and the cherry flavor comes through.
Why There’s No Sugar In The Crust
Most graham cracker crusts call for a little sugar, but this one skips it on purpose. I tested the crust both ways. With sugar, the crust didn’t fully set. Without it, the crumbs and melted butter pressed firm and held together.
Cool Whip Vs. Real Whipped Cream
A lot of cooks feel like Cool Whip is cheating, so I made one pan with Cool Whip and one with real whipped cream to settle it. The Cool Whip pan won.
The Cool Whip folded into the cream cheese light and fluffy and spread smoothly over the cherries.
The real whipped cream pan came out flatter and wouldn’t hold a cut until the next morning. That’s because, unlike Cool Whip, whipped cream has no stabilizers.
“The taste reminds me of a lightened up version of a no-bake cherry cheesecake in the best way. Great potluck dish!”
How To Keep Pink Streaks Out Of The Top Layer
When the cherry layer is in, the rest of the cream cheese filling goes on top. Don’t try to spread it from one big scoop. The spatula will drag the cherry filling along with it, and you’ll see pink streaks through the white across the whole pan.
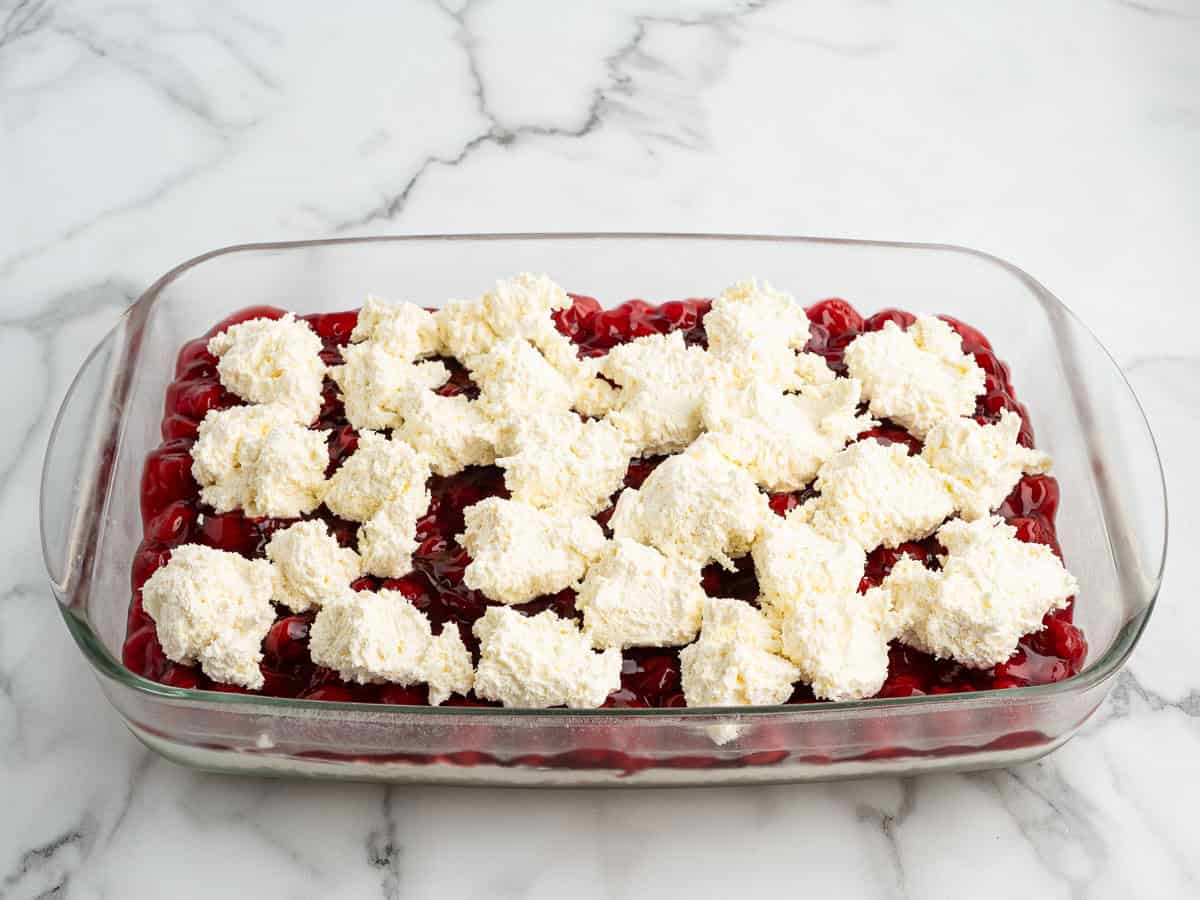
Instead, drop the cream cheese filling over the cherries in small dollops, spaced apart. Then gently join the dollops into one layer with an offset spatula.
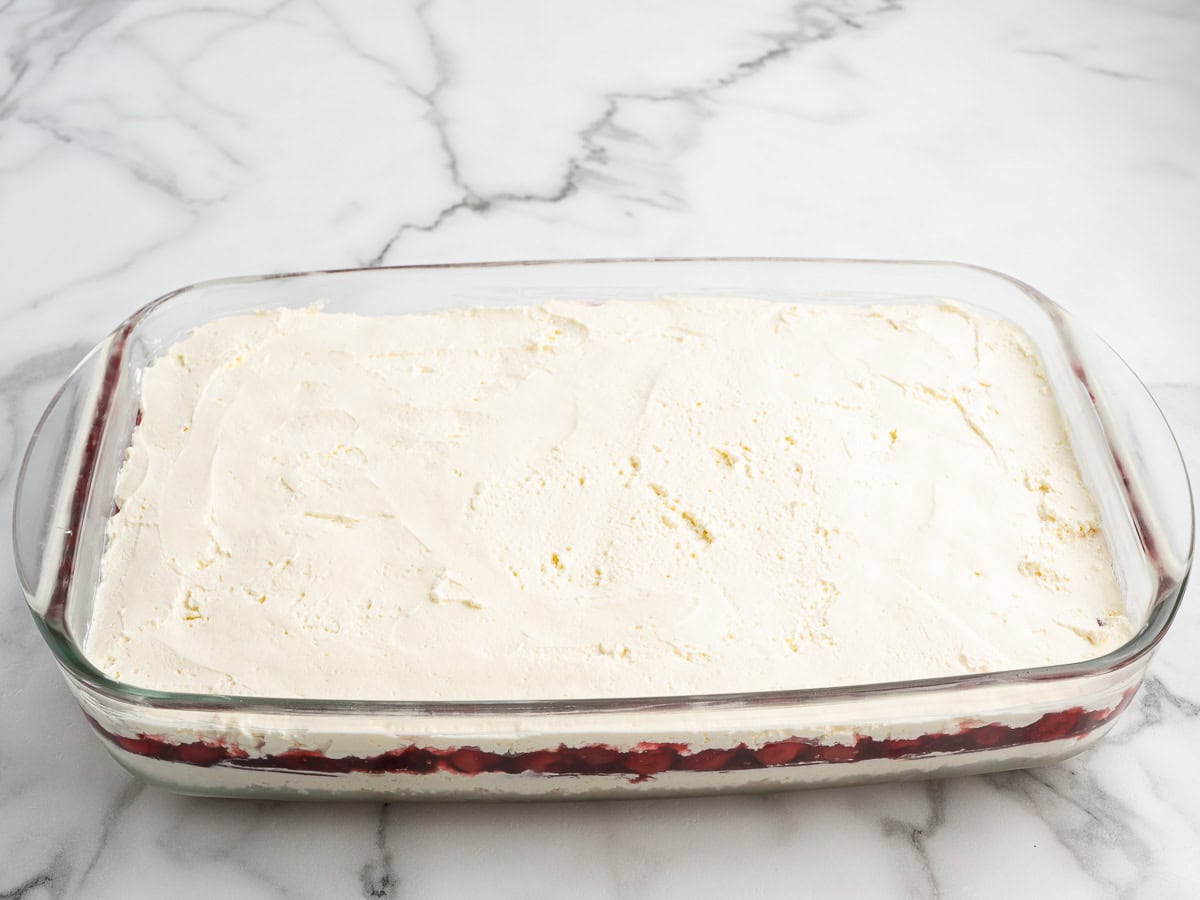
They barely move as they come together, so the cherry layer underneath stays put and the top stays white.
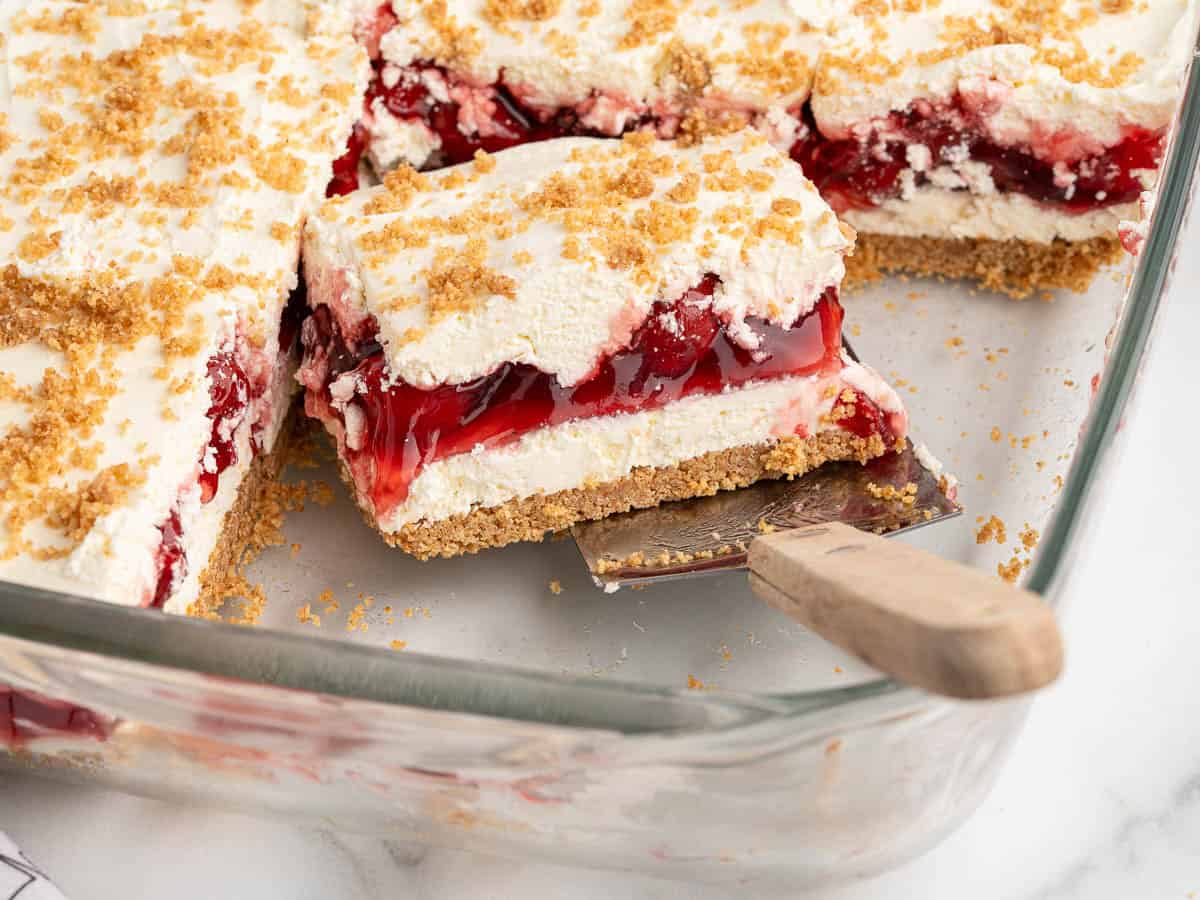
Many cherry yum yum recipes are written for a small 9×9 pan. Scaling it up to a 9×13 for a crowd means guessing at amounts and leaving half-used packages in the fridge.
My recipe is written for a 9×13 from the start. That means there’s no ingredient waste. The two blocks of cream cheese, two tubs of Cool Whip, and two cans of pie filling all go into the recipe whole.
Make It The Night Before
The longer cherry yum yum chills, the better it slices. During recipe testing, I cut the dessert at three specific chill times.
- At 4 hours, the slices were soft, more scoopable than sliceable.
- At 6 hours, the slices cut clean and lifted out with the crust in one piece.
- Overnight, the pan looked best of all.
So if you’re making cherry yum yum for a holiday table or a potluck, and you have the time, build it the evening before and just let the fridge work while you sleep.
Storage And Freezing
Cherry yum yum keeps covered in the refrigerator for 3 days. If water pools in the pan after a few days, the dessert is still fine to eat, just softer.
I don’t freeze this recipe because the pie filling turns watery as it thaws and that water soaks into the layers.
This recipe was originally published in May 2023. It was updated in August 2026 with a more stable top layer and new photos.
If you keep cherry pie filling in the pantry, my heaven on earth cake spoons the same filling over angel food cake, and my cherry cheesecake lush puts it to work in one more layered dessert.

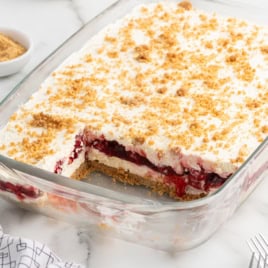
Cherry Yum Yum
Ingredients
- 2 cups graham cracker crumbs (Kellogg's brand used)
- ½ cup unsalted butter, melted and cooled
- 16 ounces cream cheese, softened to room temperature (two 8-ounce blocks)
- 1 cup powdered sugar, sifted
- 1 teaspoon vanilla extract
- 16 ounces frozen whipped topping, thawed (Cool Whip brand used) (two 8-ounce containers)
- 42 ounces cherry pie filling, Duncan Hines COMSTOCK More Fruit brand used (two 21-ounce cans)
Instructions
- Lightly spray a 9×13 baking dish with nonstick spray and set aside.
- To a medium bowl, add the graham cracker crumbs and melted butter, then stir to combine. The mixture should resemble wet sand. Reserve 2 tablespoons of the buttered graham cracker crumbs for the topping.
- Press the graham cracker crumb mixture (minus the reserved 2 tablespoons) firmly into the bottom of the prepared 9×13 baking dish to form a crust. Place the crust into the freezer for 15 minutes to harden while preparing the remaining ingredients.
- In a large mixing bowl, beat the cream cheese for 2-3 minutes using a handheld mixer on medium-high speed until no lumps remain.
- Add the powdered sugar and vanilla extract, then beat for an additional 1-2 minutes or until smooth and creamy.
- Gently fold in the thawed whipped topping until evenly combined and the mixture is light and fluffy.
- Remove the crust from the freezer, top the crust with half the cream cheese mixture, and gently spread to an even layer.
- Spoon the cherry pie filling over the cream cheese layer, spreading into an even layer, then add small dollops of the remaining cream cheese mixture over the cherries. Using a small offset spatula, carefully spread the cream cheese mixture in an even layer, being careful not to mix the layers.
- Sprinkle the reserved 2 tablespoons graham cracker crumb mixture evenly over the top of the final cream cheese layer for garnish.
- Cover with plastic wrap and refrigerate for a minimum of 6 hours (up to overnight) or until well chilled for clean cuts when sliced and served.
Notes
- For a firmer crust, bake in a 350°F preheated oven for 10 minutes. Allow the crust to cool completely at room temperature before adding the cream cheese and cherry layers.
- I find that using brands of cherry pie filling labeled “more fruit” or “premium” tend to have more fruit and less of the gooey glaze.
- I used the box of Kellogg’s brand graham cracker crumbs found in the baking aisle for this recipe. If making your own crumbs, you will need about 14 to 16 full-sized graham crackers pulsed in a food processor for 20 to 30 seconds or until fine crumbs are formed.
- Two cups of very cold heavy cream whipped to stiff peaks with ¼ cup powdered sugar can be substituted for the thawed Cool Whip whipped topping in this recipe.
Nutrition










Comments
Abby says
A childhood favorite!
Karen Hall says
I love your recipes!
Paige says
I made this, I did not use cherry I used blueberry, I made it using two 8 0z cream cheese plus some lemon zest