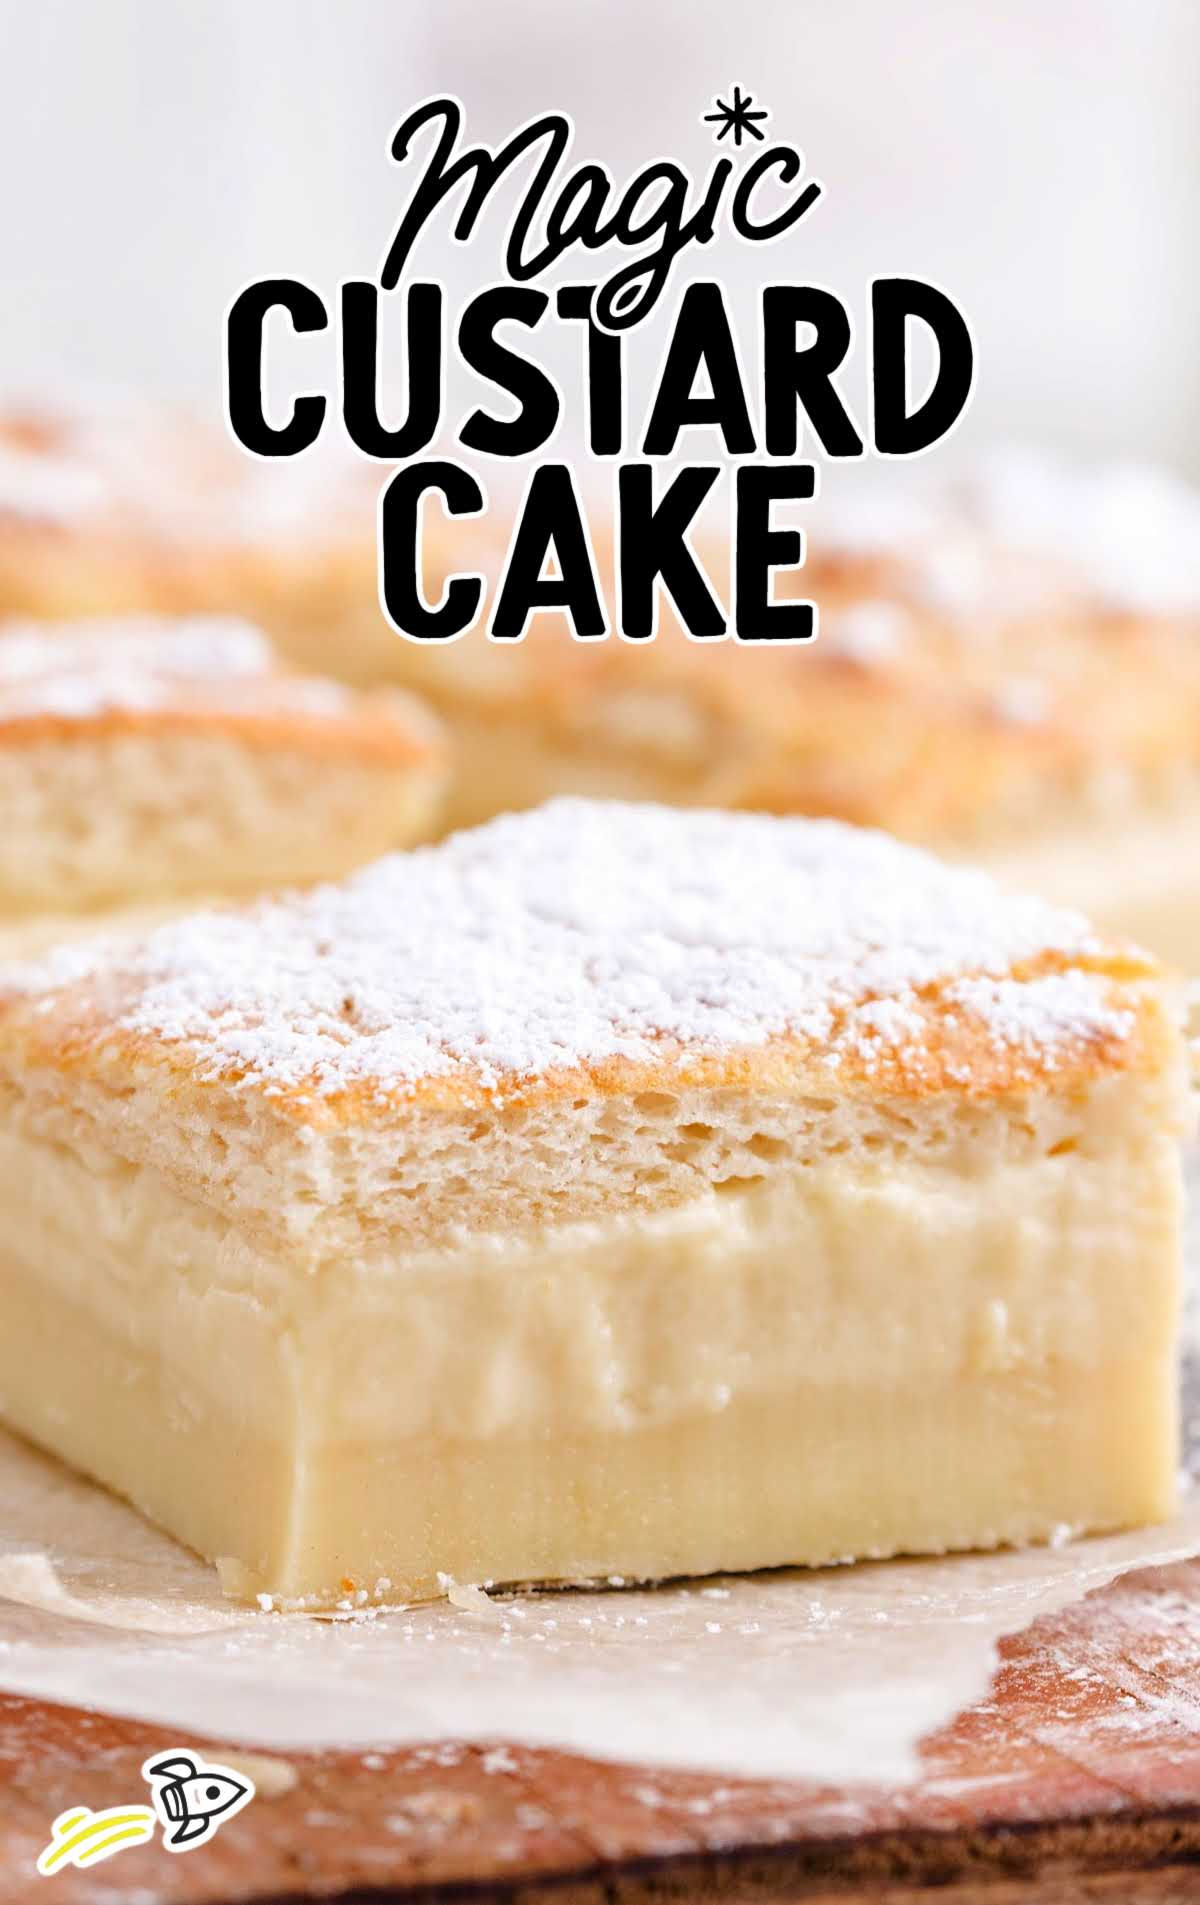
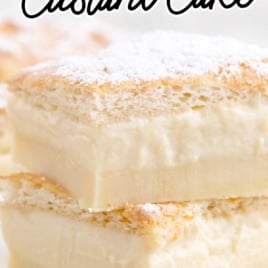
I first made this magic custard cake on a whim, curious to see if the rumors were true. The method felt almost too easy—egg yolks whisked with sugar until creamy, a swirl of melted butter and vanilla, flour folded in, then a gentle stream of warm milk and cream.
Whipped egg whites are floated over the top, and in the oven, the magic happens. The heat teases apart the mixture into layers that feel like they were made separately… but weren’t.
Magic Custard Cake is a a dessert that defies logic and delivers pure comfort. For another flavor variation on this magic cake, try our pumpkin magic cake.
Magic Custard Cake Ingredients
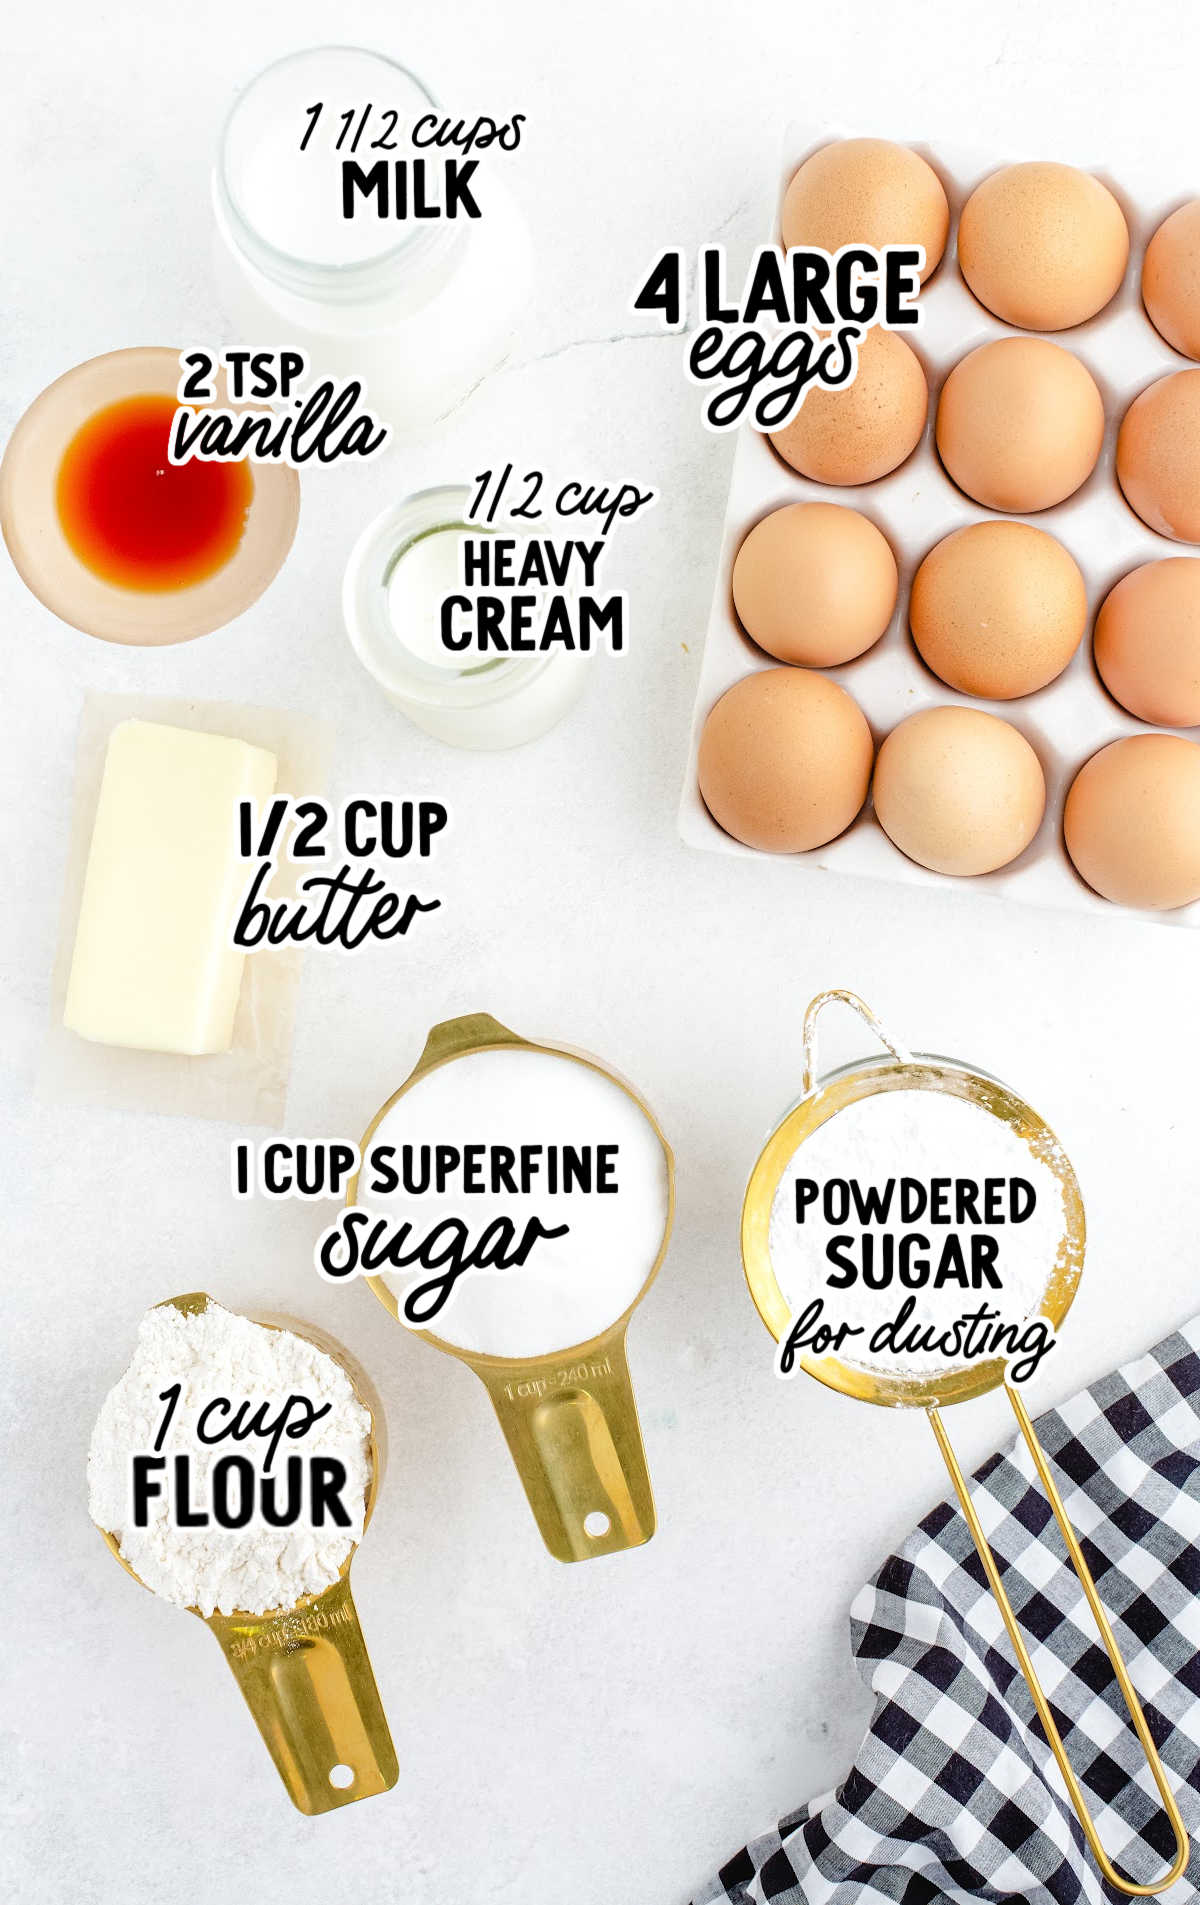
You will need:
- 4 large eggs, separated, at room temperature
- 1 cup of baker’s sugar (superfine sugar)
- ½ cup of salted butter, melted and cooled
- 2 teaspoons of vanilla extract
- 1 cup all-purpose flour
- 1 ½ cups of whole milk, lukewarm
- ½ cup of heavy cream, lukewarm
NOTE: Baker’s sugar is not the same as granulated sugar or confectioner’s sugar. Look for sugar that is labeled superfine or caster sugar. If you cannot find this type of sugar, you can make your own by running one cup plus two teaspoons of granulated sugar through a food processor for 30 seconds.
Custard has such a velvety smooth texture and is a delicious base for so many desserts. Try our custard pie and cream puff dessert for two other custard-based treats.
Tried and Tested Pro Tips
Get the complete step-by-step instructions in the recipe card at the end of this post.
The key to success is respecting the batter’s two personalities—runny custard base meets airy whites.
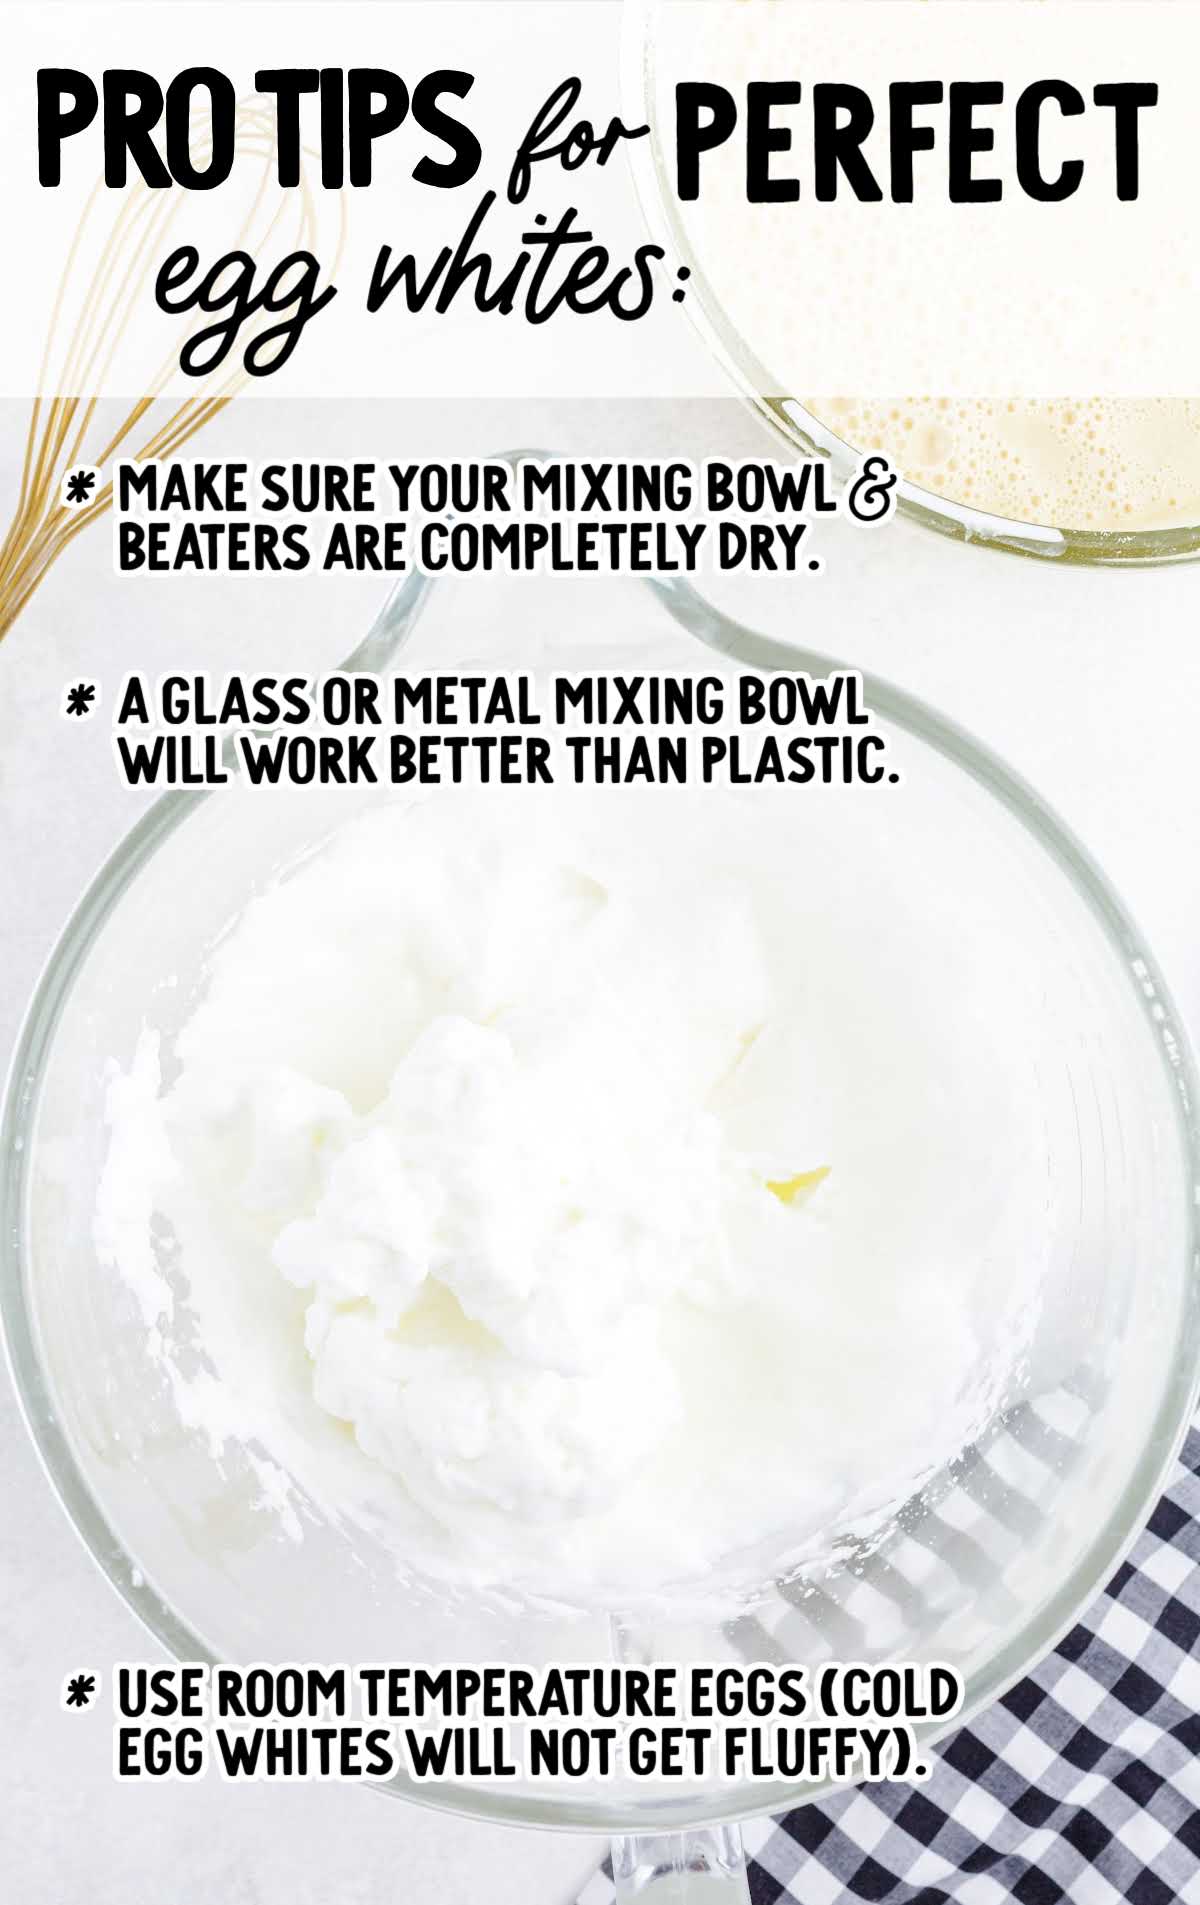
The batter will be very runny and thin, and that is the consistency you want for the magic layering to happen.
You’ll want to whisk the egg whites into the custard batter gently, so they don’t fully disappear.
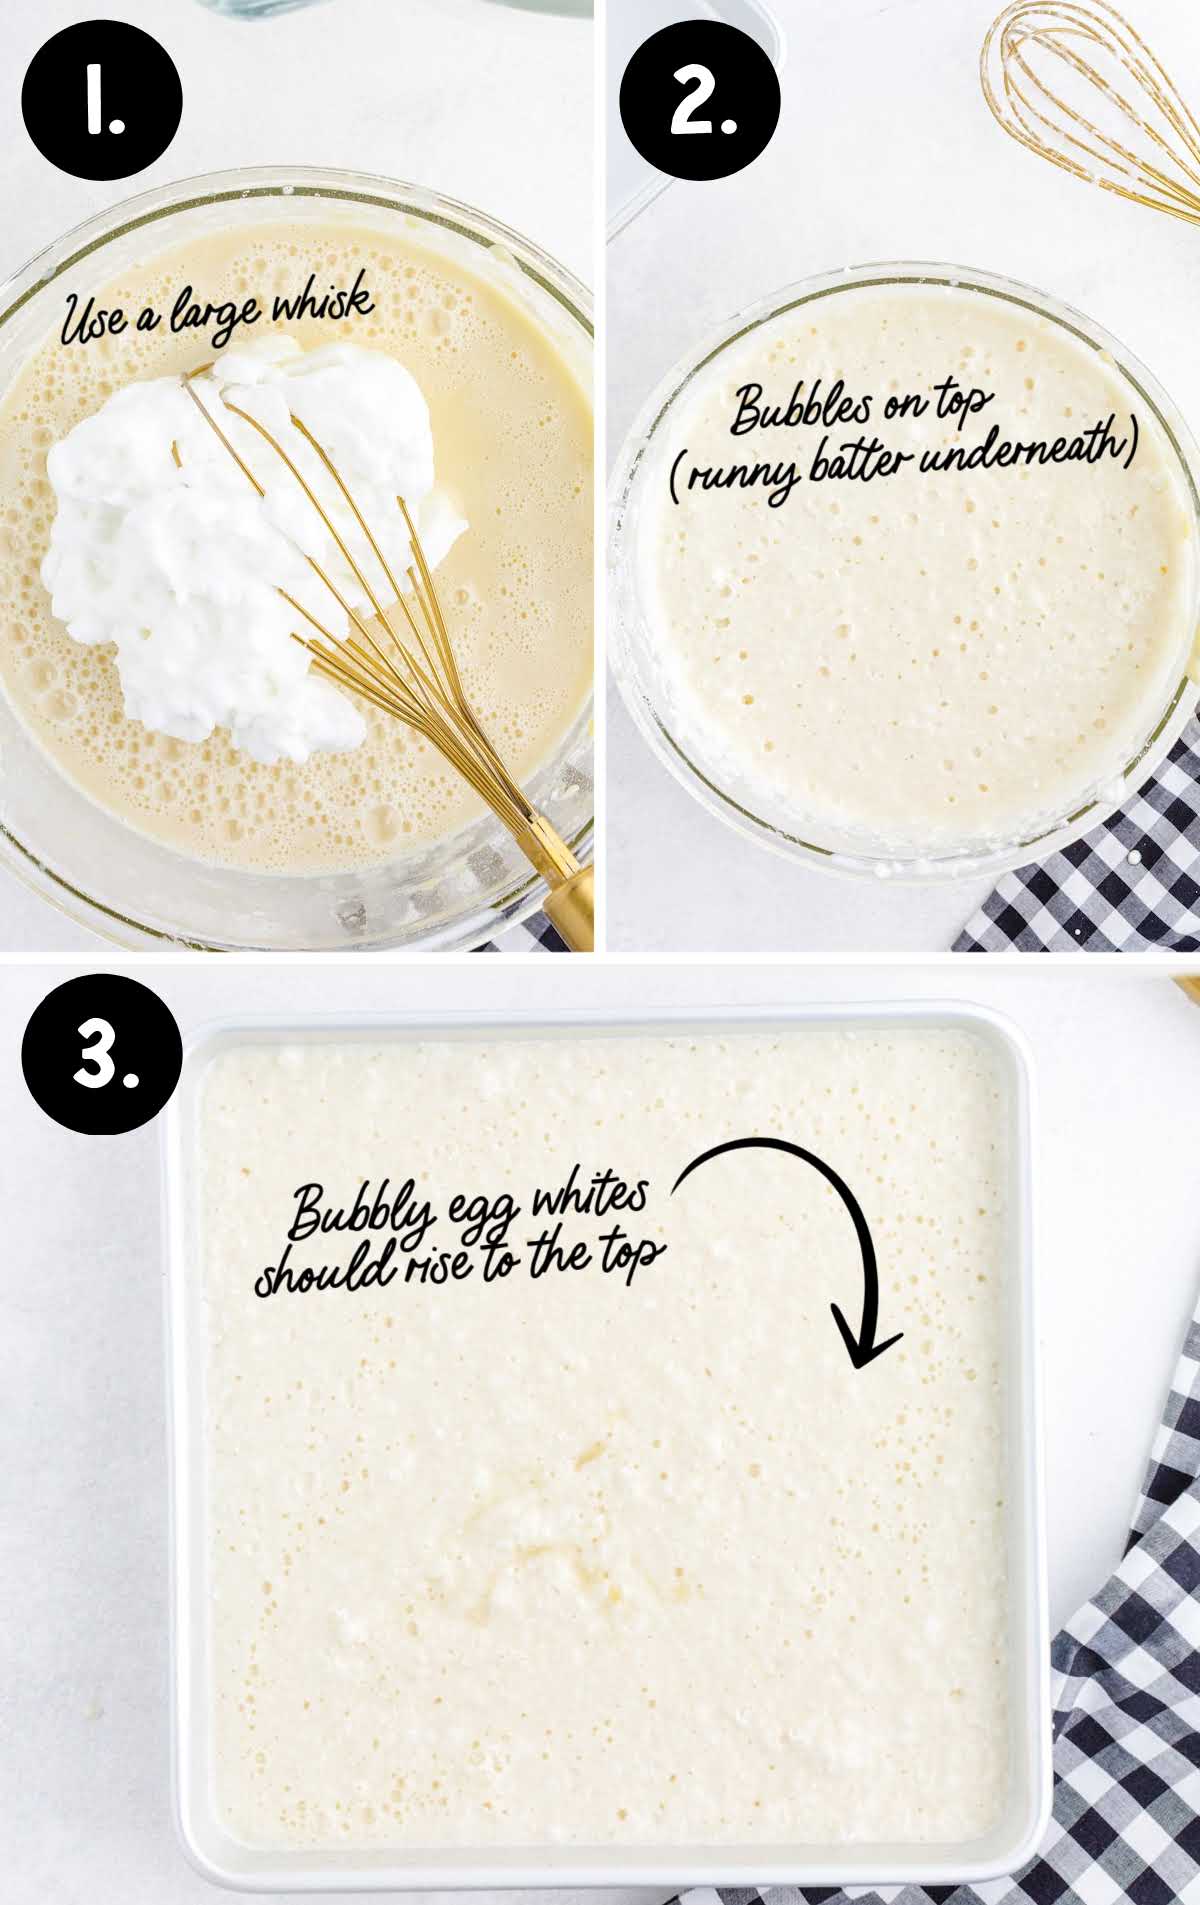
It’s important to use an 8×8 square pan — as it will achieve the three distinct layers. A larger pan will spread the cake batter too thin for the custard layer to form. The batter won’t fit in a smaller pan.
When baked, you’ll know it’s done if the top is golden and the center is just a bit jiggly (think gentle wobble, not soup).
Serving Ideas
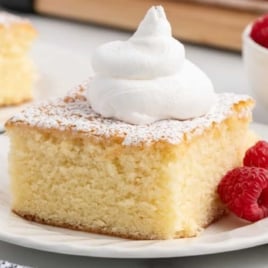
Allow the cake to sit for two to three hours before serving. Then. dust the top of the cake with confectioner’s sugar and add fresh berries for the perfect presentation. For an extra indulgence, add a spoonful of homemade whipped cream.
It’s best to remove the pieces from the pan one at a time rather than trying to remove the entire cake at once. To slice the cake cleanly, pop your knife in the freezer to cool it, and it should cut the cake easily.
How To Store
This magic three-layer custard cake recipe is best eaten right away, but you can store it in the refrigerator in an airtight container or covered in aluminum foil for up to two days. Freezing isn’t recommended.
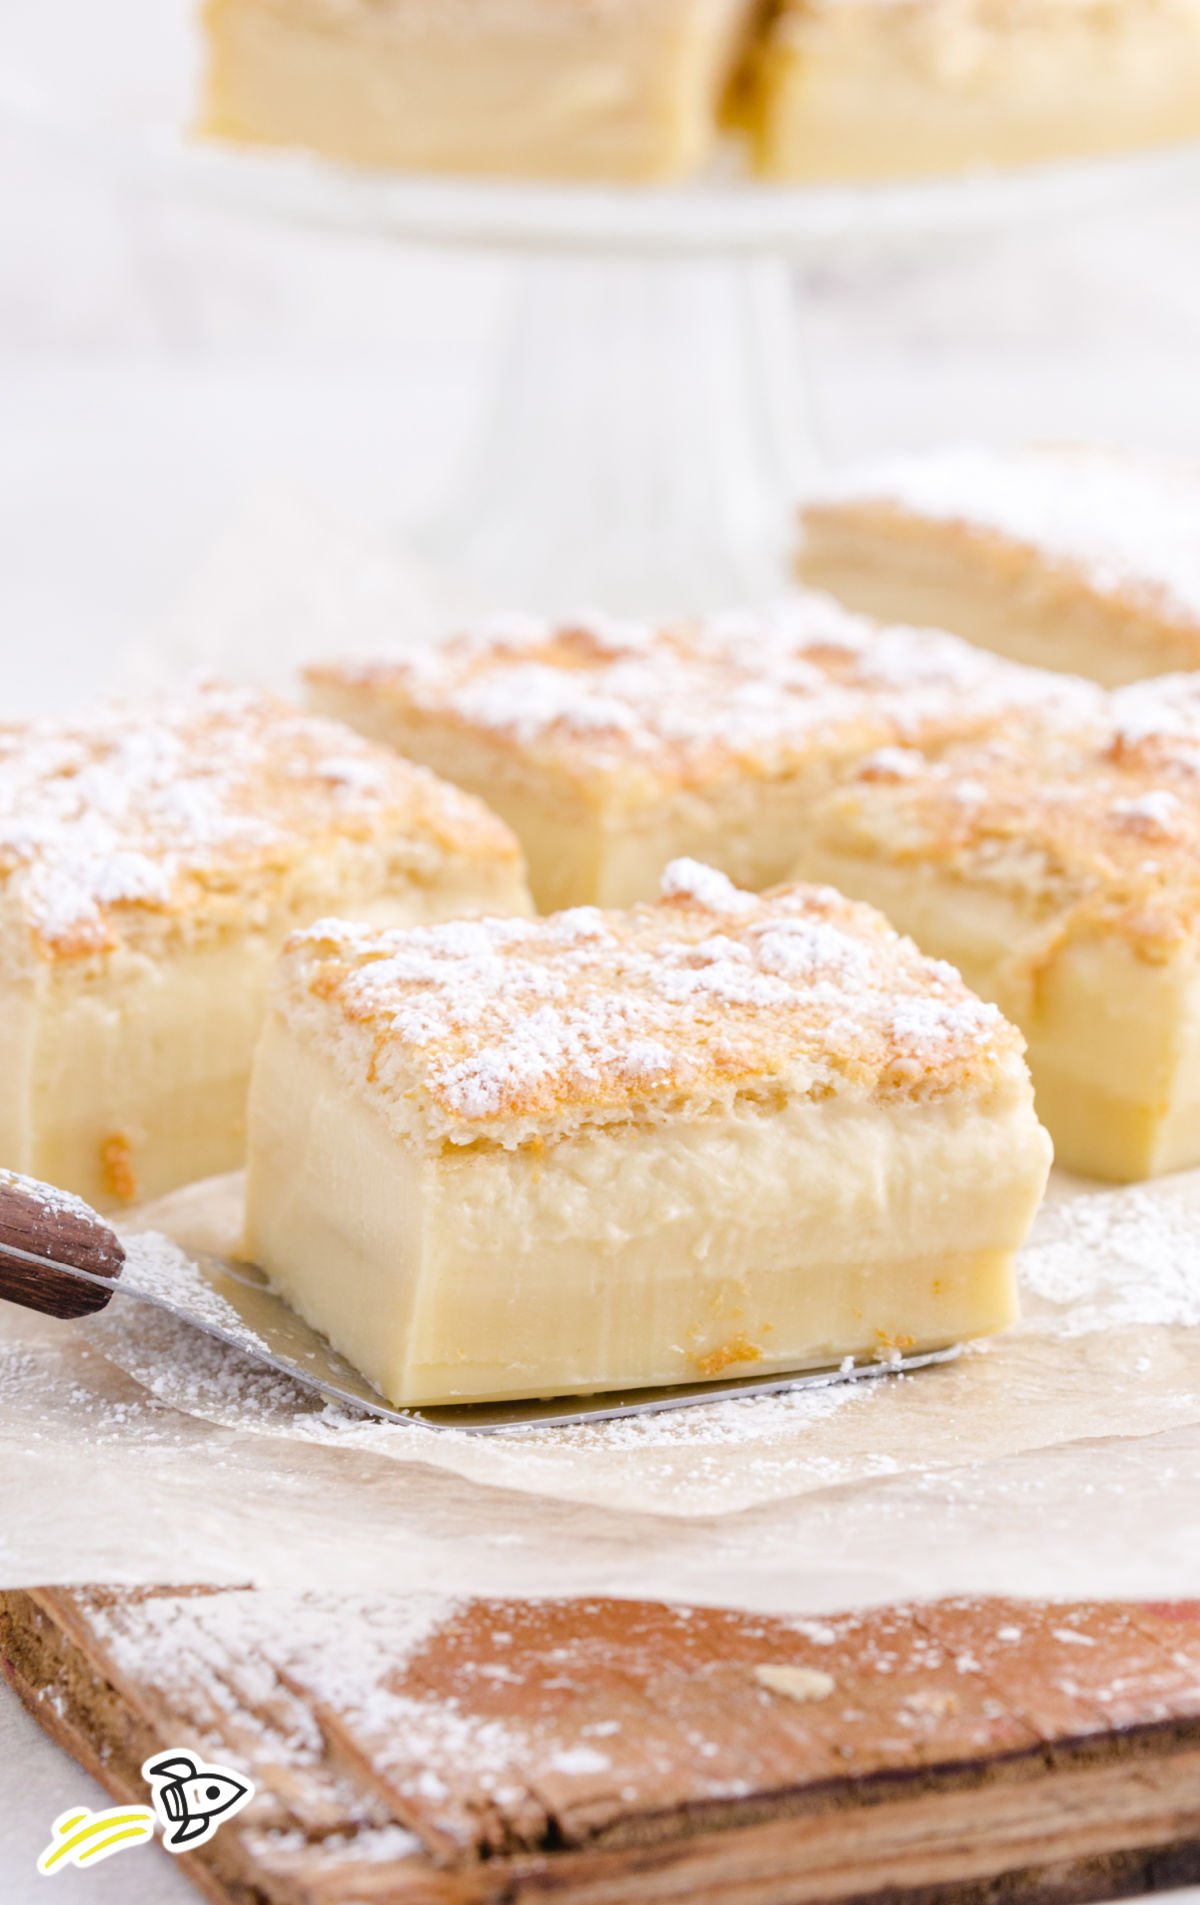
One Easy Batter, Three Gorgeous Layers
Final Thoughts
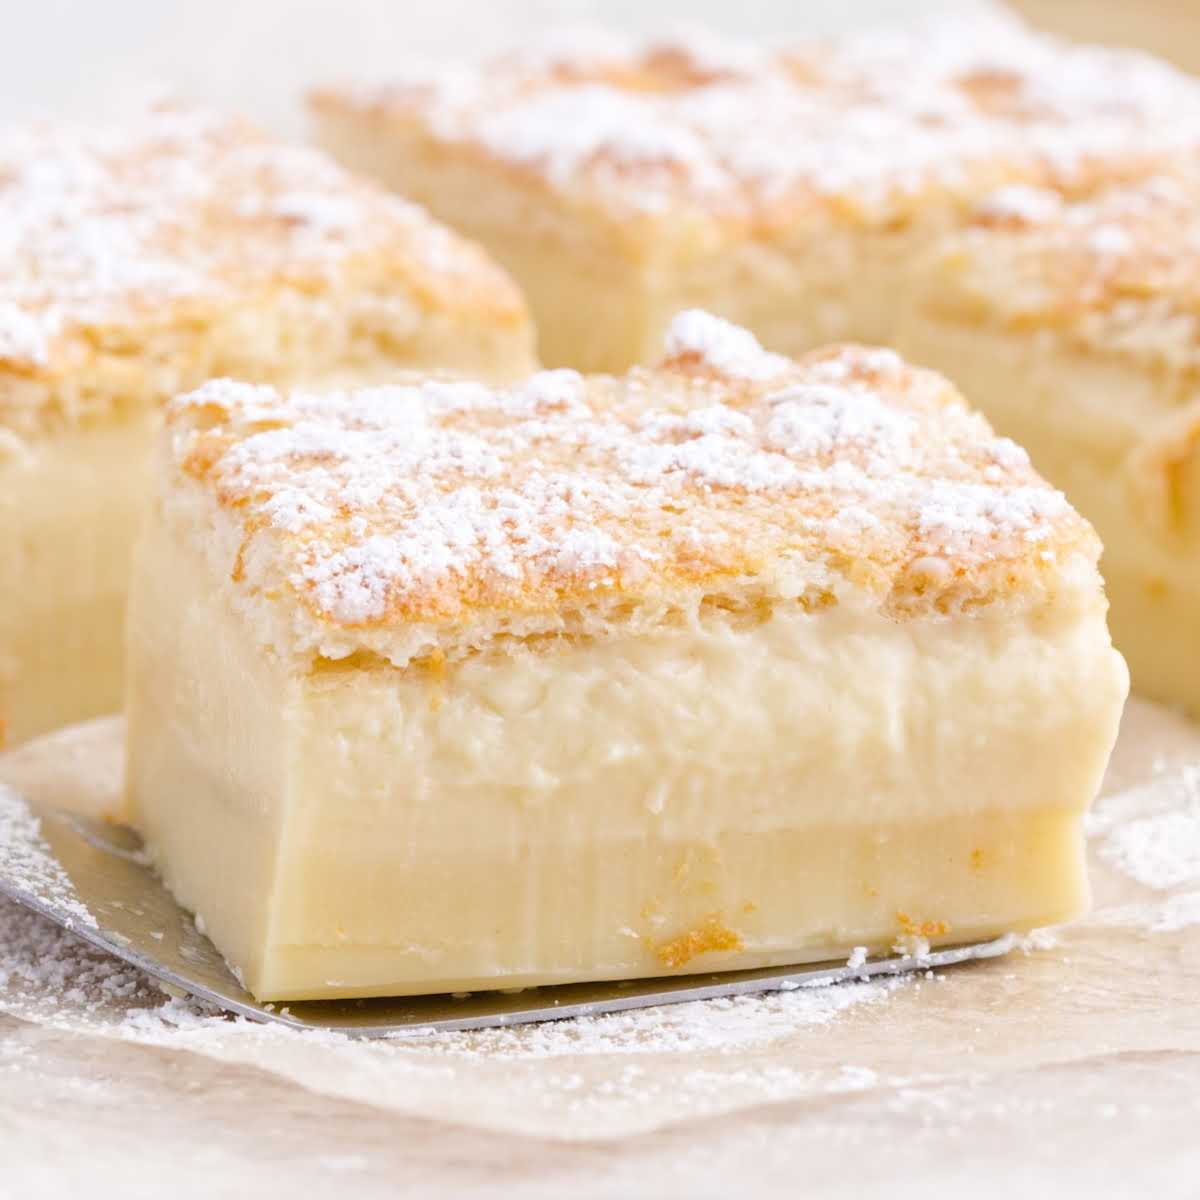
Baking this magic custard cake recipe is one of those rare kitchen moments where simple ingredients truly surprise you. After years of testing and fine-tuning, I can confidently say this method delivers consistent layers—a light sponge top, silky custard center, and firm base—every single time.
Whether you’re making it for a holiday, a dinner party, or just because, follow the tips above—especially for whipping perfect egg whites—and you’ll have a dessert that feels both impressive and comforting.
If you make this magic custard cake, I’d love to hear how it turns out. Share your results in the comments or tag me so I can see your gorgeous layers in action.
More Cake Recipes
Magic Custard Cake
Ingredients
- 4 large eggs, separated and at room temperature
- 1 cup baker’s sugar, superfine sugar
- ½ cup salted butter, melted and cooled
- 2 teaspoons vanilla extract
- 1 cup all-purpose flour
- 1 ½ cups whole milk, lukewarm
- ½ cup heavy cream, lukewarm
Instructions
- Preheat oven to 325°F. Butter an 8”x8” square baking pan.
- In a mixing bowl, beat the egg yolks and sugar until pale yellow and creamy, about 1 to 2 minutes.
- Add the melted and cooled butter and vanilla extract and beat to combine fully.
- Beat in the flour.
- Combine the milk and cream together and slowly pour into the batter, mixing to combine.
- Beat egg whites in a standing mixer with the whisk attachment until stiff peaks form.
- Use a large whisk to lightly incorporate egg whites into the batter. Add in 2 to 3 additions and only whisk slightly. The batter will have two distinct textures – a very thin, runny batter with the lightly incorporated egg whites floating on the top of the batter.
- Pour batter into the prepared baking pan.
- Bake for approximately 40 to 45 minutes. The cake is done when the center is still jiggly, but the batter does not slosh in the pan. The top will be lightly browned.
- Remove from the oven and allow to cool completely.
- Allow the cake to sit for 2 to 3 hours before dusting with powdered sugar and cutting into 9 pieces. It is best to remove the pieces from the pan one at a time rather than trying to remove the entire cake at once.
Video
Notes
- While we would suggest only removing one piece at a time from the pan, if for some reason you do want to remove the entire cake at once, lining the pan with parchment paper may help to lift the cake out of the pan. We can’t guarantee that you won’t get a bit of custard that will try to ooze out the side of the cake.



Comments
Gloria says
This is so delicious!
Peggy Brady says
I am gluten free and want to try this recipe. What type of flour could I use instead of regular flour?
Layne Kangas says
I haven’t tried it gluten-free, so I would assume regular gluten-free flour would work but haven’t tested it that way. Please let me know if you try it!
Jean says
Looking forward to making Magic Custard Cake, Thank you
Patricia says
How hard is it getting the cake out of the pan? The recipe says after removing from the oven allow the cake to cool completely. Do you remove it from the pan at that point? Is there a technique for removing it from the pan to a plate without messing up the custard?
Layne Kangas says
Hi, Patricia – you can line your pan with parchment paper to make it easier to lift up and out after it cools. Enjoy!
Marisa says
Can’t wait to try! Could I use splenda?
Layne Kangas says
Hi, Marisa – I would think that would work fine but we haven’t tested it like that. Enjoy!
Dolores Deviney Knowles says
I can not wait to make this for the holiday tomorrow
Edie Perew says
Can’t wait to try this!! My sister come next weekend! Will try it out on her!!
Belinda nares says
I want to try it ,,,,,thank you for sharing