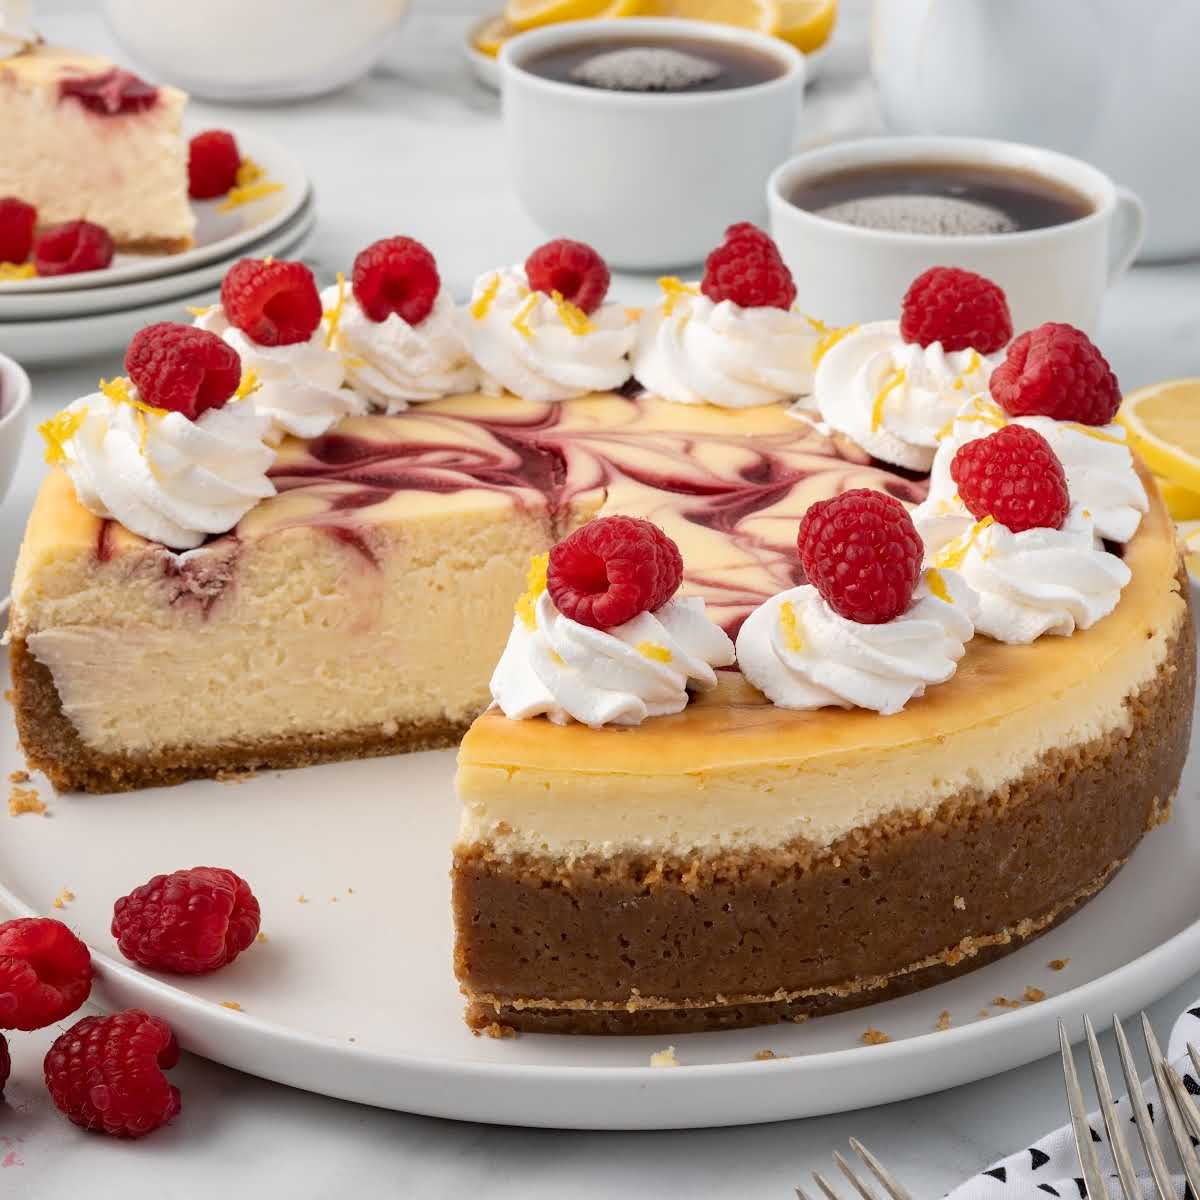


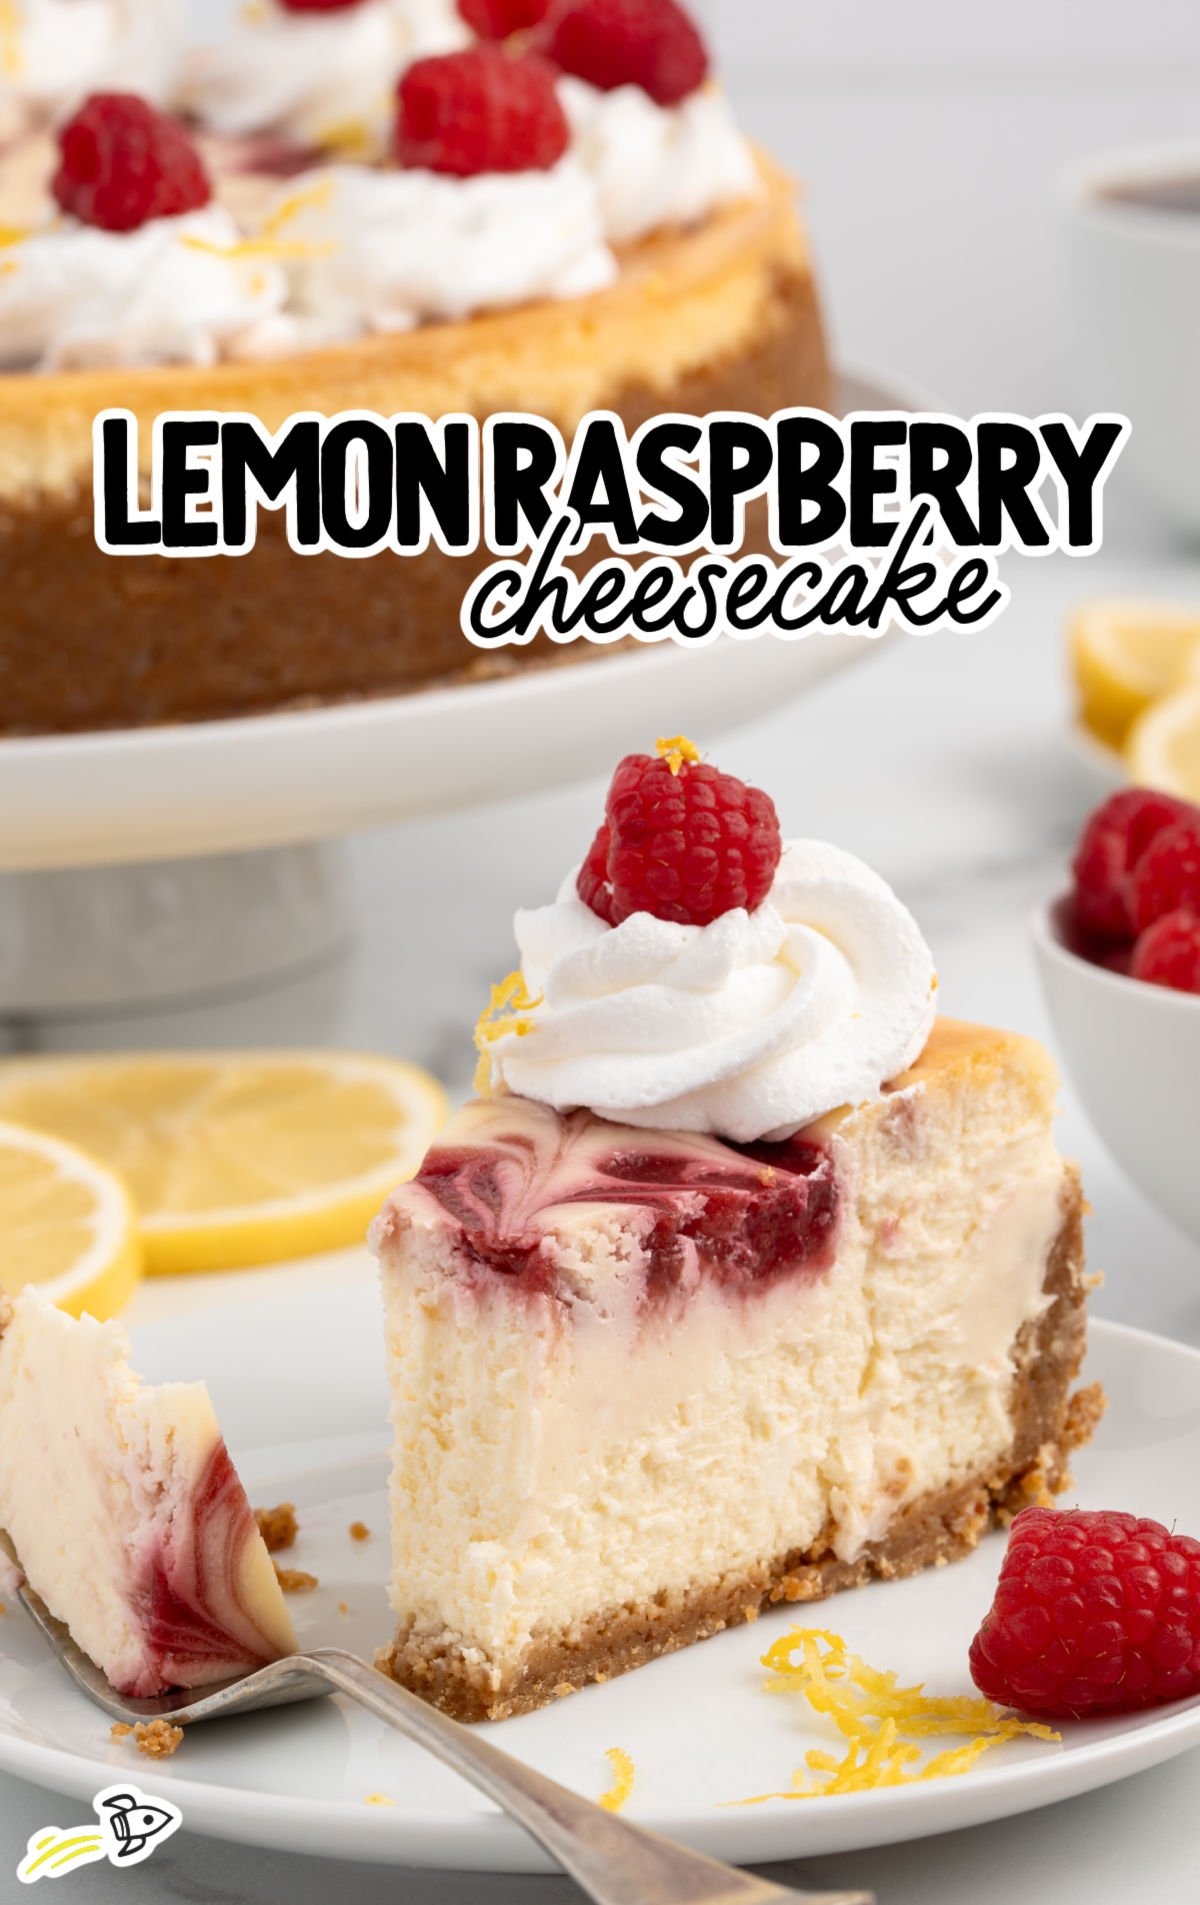
This Lemon Raspberry Cheesecake is going to hit every note you’re craving. The first bite is all creamy lemon—smooth, custardy, and just tangy enough to wake everything up—followed by pockets of real raspberry sauce that cut through with a delicious, sweet-tart burst.
For anyone new to making a cheesecake: If you’re worried about cracking or ending up with a dry center, this is a forgiving recipe to start with. Follow the order of the steps and don’t rush the chill, and you’ll get that clean, creamy slice with the raspberry swirl running right through it.
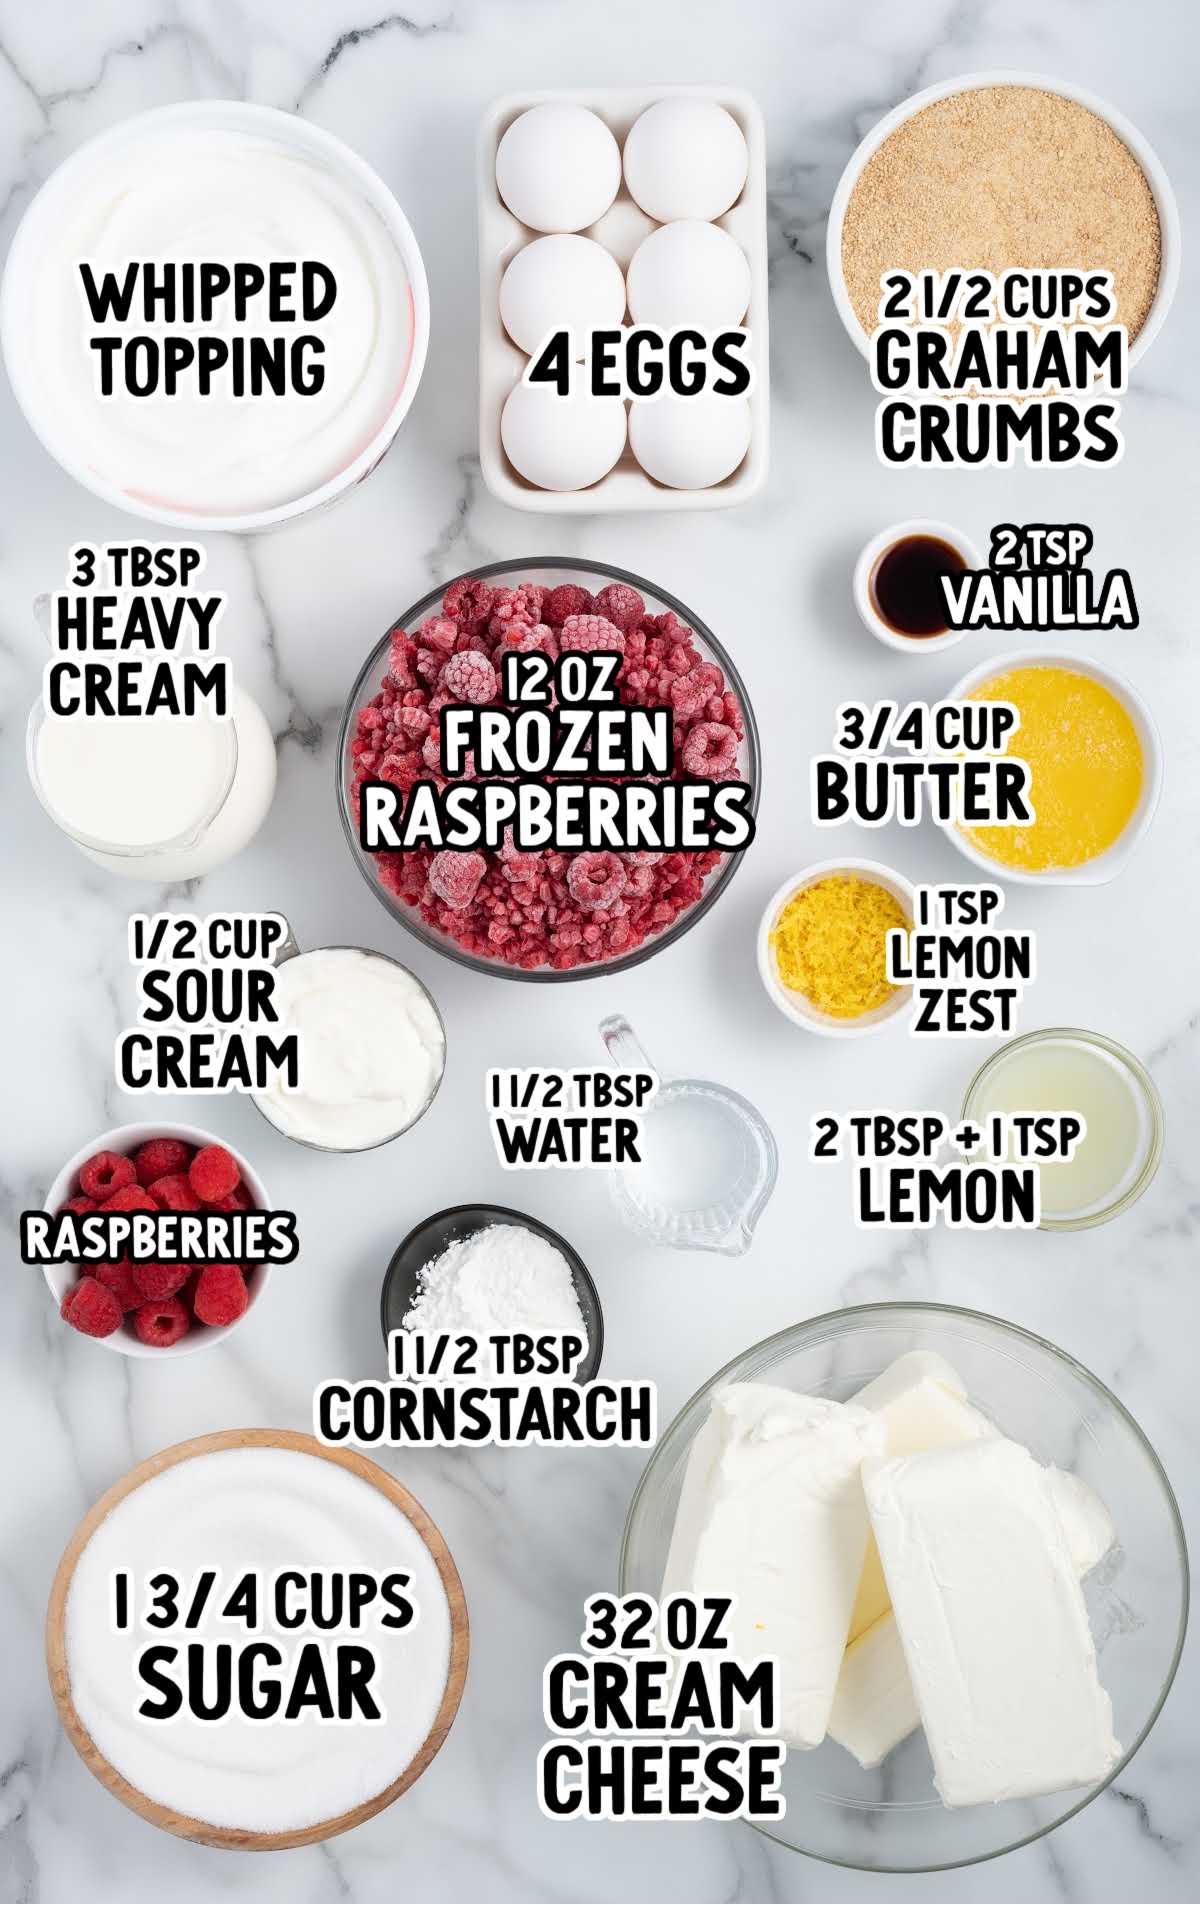
Ingredients You’ll Need For This Lemon Raspberry Cheesecake:
Ingredient Substitutions
CREAM CHEESE: Be sure to use full-fat cream cheese and sour cream. The lower and non-fat options do not bake up as well as full-fat dairy in this recipe.
RASPBERRIES: You can also use fresh raspberries to make the raspberry sauce for this cheesecake. You will need about 1½-2 cups of fresh berries. Raspberry jam is not recommended.
How to Get the Perfect Raspberry Swirl
A great swirl comes down to three simple things: the right sauce, the right placement, and a light hand.
The sauce is cooked in two stages: first to break down the berries, then to activate the cornstarch. This gives you a sauce that’s thick enough to sit on top of the batter instead of sinking. Straining removes the seeds, which is why the swirl slices cleanly.
Here’s what you need to know to achieve those sharp, visible streaks that show up beautifully on every slice:

- Use a thick, seedless sauce. If it’s runny or warm, it sinks. Our cooked-and-strained sauce has the perfect texture once fully cooled.
- Add small spoonfuls with space between them. Scattered dollops give you clean ribbons instead of one big pink patch.
- Drag a wooden skewer lightly across the surface. Skim just the top layer—don’t plunge down. A few gentle “S” shapes or figure-eights is enough.
- Stop early. The prettiest swirls come from doing less, not more.
How To Prevent The Cheesecake From Cracking
- This cheesecake stays smooth as long as you keep extra air out of the batter and avoid sudden temperature changes. Once the cream cheese and sugar are blended, the mixer should stay on low so the eggs and sour cream are worked in gently. That’s what keeps the filling creamy instead of fluffy, which is the biggest cause of cracking.
- Starting with room-temperature ingredients also matters—cold cream cheese never emulsifies properly, and the uneven mixing can show up later as splits on top.
- Finally, the slow cool-down is non-negotiable. Turning off the oven and cracking the door lets the cheesecake relax gradually, and the overnight chill in the fridge finishes setting it without stress. All of these small steps work together to keep the surface smooth and crack-free.
- The water bath is the other key piece. It surrounds the pan with gentle heat so the edges don’t set too quickly while the center is still loose.

Water Bath Tips
A water bath sounds fancy, but it’s really just a gentle way to bake cheesecake so it stays creamy and smooth. A few things make it easier:
Wrap the pan really well. We always use two layers of foil, pressed tightly around the bottom and up the sides. It feels excessive, but it keeps every drop of water out of the crust.
Use hot water from the start. Pouring boiling (or very hot tap) water into the larger pan helps the oven bounce back to the right temperature quickly.

Set the pans on the oven rack before pouring. Slide the rack halfway out, set the springform inside the roasting pan, then pour in the water. It’s much easier than trying to carry a sloshing pan across the kitchen.
Don’t fill the bath too high. You only need the water to come a couple inches up the sides of the pan—not to the top. Too much water can bubble over or splash into the foil.
Leave everything in place after baking. When the timer goes off, turn the oven off, crack the door, and let the cheesecake and water bath sit together. That slow cool is what prevents cracking.

Lemon Raspberry Cheesecake
Ingredients
Raspberry Sauce
- 12 ounces frozen raspberries
- 1 teaspoon fresh lemon juice
- ¼ cup granulated sugar
- 1½ tablespoons cornstarch
- 1½ tablespoons cold water
Graham Cracker Crust
- 2½ cups graham cracker crumbs
- ¼ cup granulated sugar
- ¾ cup salted butter, melted and cooled
Cheesecake Batter
- 32 ounces cream cheese, room temperature (four 8-ounces blocks)
- 1¼ cups granulated sugar
- 4 large eggs, room temperature
- ½ cup sour cream
- 3 tablespoons heavy cream
- 2 tablespoons fresh lemon juice
- 2 teaspoons vanilla extract
- 1 teaspoon lemon zest
Optional Garnish
- Extra creamy whipped topping
- Fresh raspberries
- Fresh lemon zest
Instructions
- To make the raspberry sauce, add the raspberries, lemon juice, and granulated sugar to a medium saucepan on medium-high heat. Bring to a simmer and allow the raspberries to cook for 5 to 6 minutes, stirring often.
- In a small bowl, whisk together the cornstarch and cold water together to create a slurry. Stir the slurry mixture into the raspberry sauce and cook for an additional 2 to 3 minutes or until the sauce thickens. Be sure that you are stirring the raspberry sauce often to prevent burning. Remove from the heat.
- Place a fine mesh strainer over a bowl, pour the raspberry sauce into the strainer, and, using a large spoon, push the raspberry puree through the strainer leaving the seeds in the strainer. You should get about ¾-1 cup of seedless raspberry sauce. Set the bowl of raspberry sauce aside to cool completely. You will discard the seeds.
- Preheat the oven to 350°F. Line the bottom of a 9-inch springform pan with a parchment round and spray the sides with baker’s spray.
- To make the graham cracker crust, stir together in a medium bowl the graham cracker crumbs, granulated sugar, and melted butter until thoroughly combined.
- Press the graham cracker crust mixture into the bottom and up the sides of the prepared springform pan. You can use a large dry measuring cup to press the crumbs tightly together to form a nice thick crust. Bake for 10 minutes. Remove the crust from the oven and allow it to cool.
- Reduce the heat of the oven to 325°F. Wrap the outside of the springform pan with a double layer of heavy-duty aluminum foil. Be sure to wrap the foil tightly and all the way up the sides of the pan. Set aside.
- To make the cheesecake batter, add the cream cheese to the bowl of a stand mixer fitted with the paddle attachment and beat on medium speed for 1-2 minutes or until the cream cheese is fluffy and no lumps remain. Scrape down the sides of the bowl.
- To the cream cheese, add the granulated sugar and beat again until fully combined.
- Turn the speed down to medium-low and add the eggs one at a time, beating well after each addition until all the eggs are fully incorporated. Do not overmix the eggs into the batter. You do not want a lot of air bubbles in your cheesecake batter. Be sure that you scrape down the bowl and paddle as needed.
- Add the sour cream, heavy cream, lemon juice, vanilla extract, and lemon zest. Mix just until combined. Scrape down the sides and bottom of the bowl, and give the cheesecake batter a final stir to ensure that the batter is smooth and evenly mixed.
- Pour the cheesecake batter into the graham cracker crust and smooth the top. Gently tap the springform pan on the counter to help release any air bubbles from the batter.
- There are a couple of ways to add the raspberry sauce swirl. You can fill a disposable piping bag or ziplock bag with the corner snipped off with the raspberry sauce. Add tablespoon-sized dollops of the raspberry sauce randomly over the surface of the cheesecake, being sure to leave space in between. You can also use a large spoon to drizzle the raspberry sauce over the cheesecake batter. With either of these methods, you will take a knife, wooden skewer, or even a chopstick to make swirls with the raspberry sauce. You will have some of the raspberry sauce left over (you will only need to use ½-¾ of the sauce) that can be used to drizzle over individual servings if desired.
- Carefully place the foil-wrapped springform pan in an oversized roasting pan (the size you would use for a large turkey) and place the roasting pan onto the center rack of the preheated oven.
- Pour very hot water (about 4 to 5 cups depending on the size of your roasting pan) into the roasting pan, being very careful not to splash any water into the cheesecake. The water should come up about 1 inch on the outside of your springform pan. This will create a water bath to gently cook the cheesecake and help avoid cracks from forming in the cheesecake as it bakes.
- Bake for 1 hour and 40 to 45 minutes. The center should just barely jiggle when moved. Turn off the oven and crack the oven door open about 1 inch. You can place the handle of a wooden spoon between the door and the oven to keep the oven door from closing completely. Allow the lemon raspberry cheesecake to sit in the oven for 1 hour.
- Remove the cheesecake from the oven and the water bath, and remove the foil wrap from the outside of the springform pan. Carefully run a knife with a thin blade around the sides of the cheesecake. Place the lemon raspberry cheesecake into the refrigerator to chill for at least 8 hours or up to overnight. An overnight chill will ensure your cheesecake is fully set up and chilled.
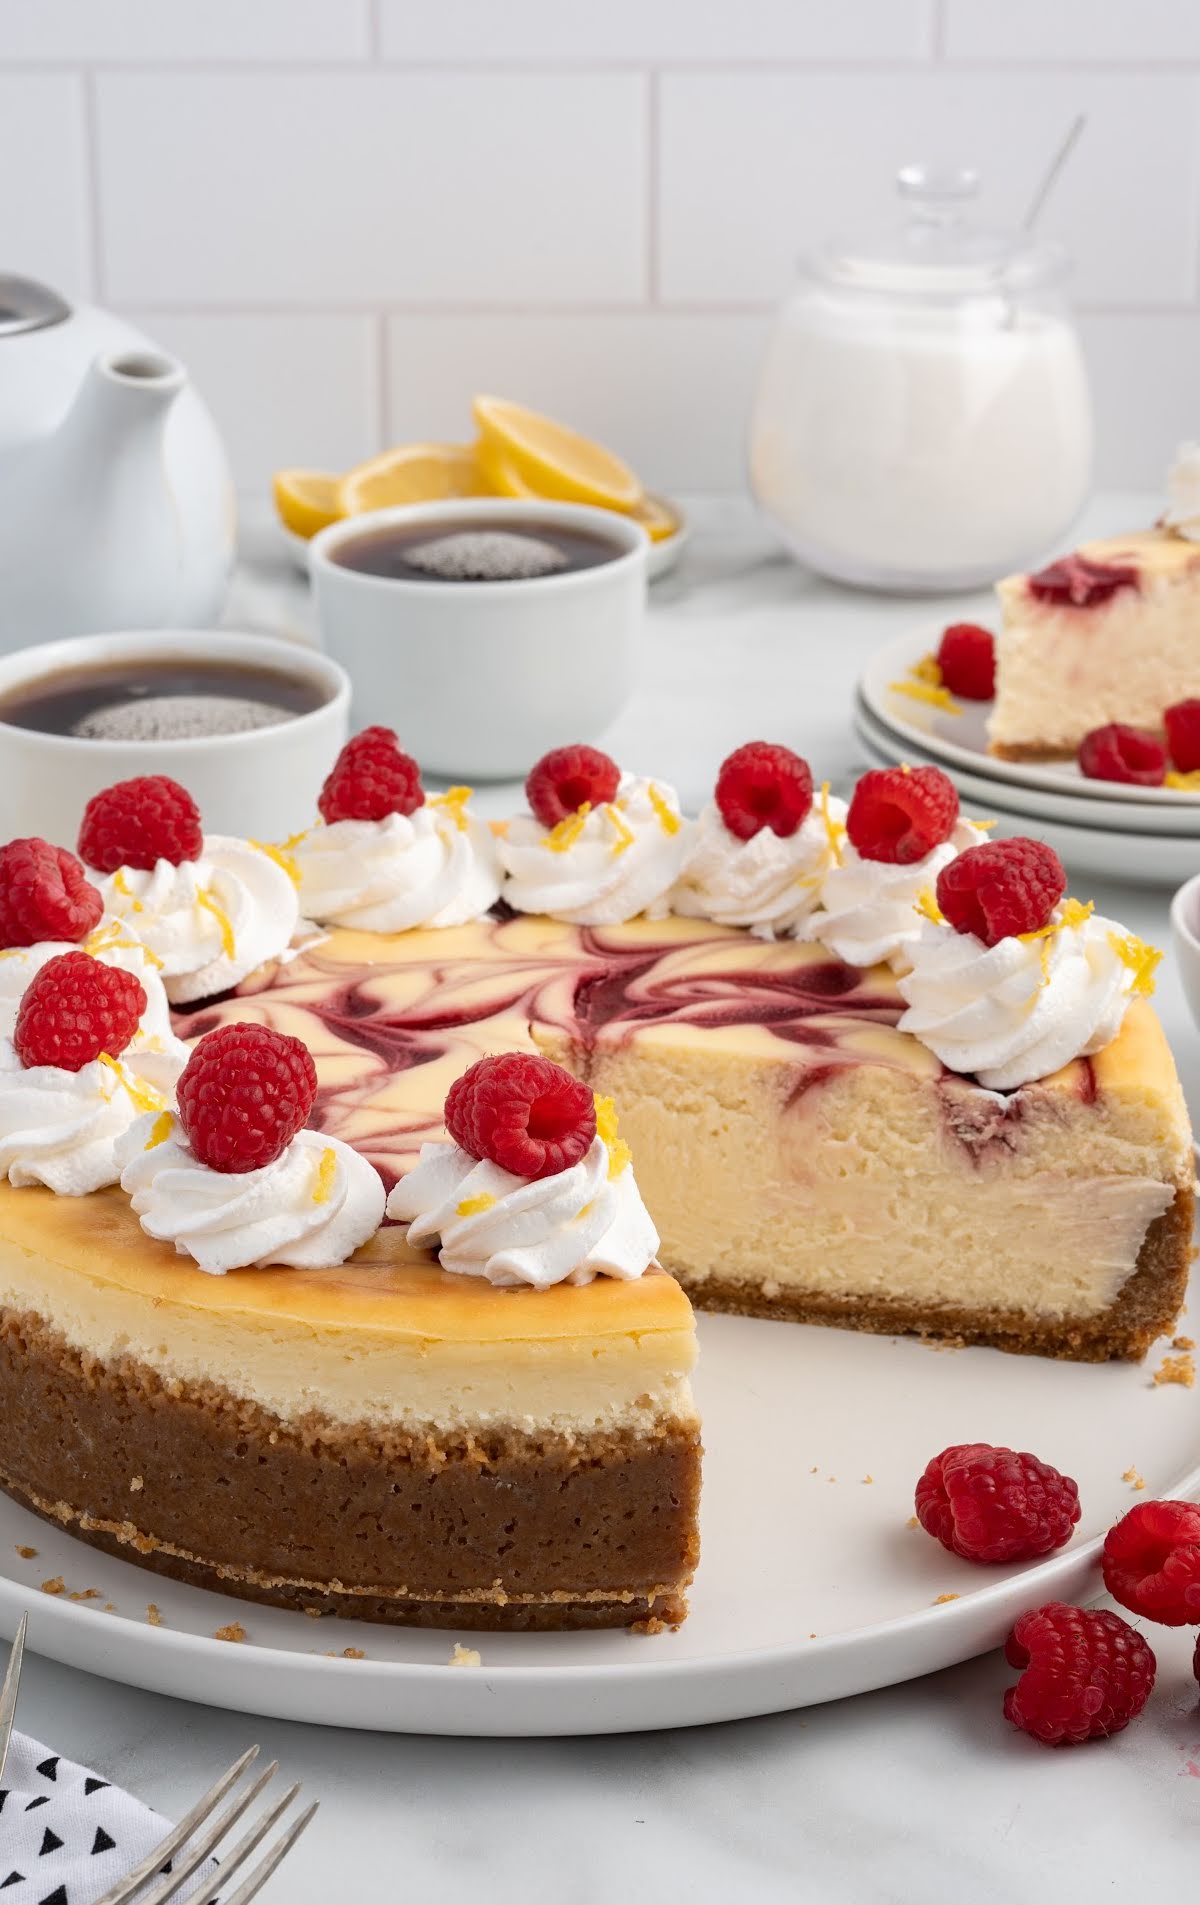
- Once fully chilled, and set up, remove the cheesecake from the refrigerator and remove the side ring of the springform pan. Carefully place the lemon raspberry cheesecake onto a serving plate and garnish with the extra creamy whipped cream, fresh raspberries, and lemon zest. Slice and serve.
Notes
- Always make sure your cream cheese, sour cream, and eggs are at room temperature. This will ensure that everything blends smoothly and bakes evenly.
- You can make the raspberry sauce up to 3 days in advance. Once you strain out the seeds and allow the sauce to cool completely, place it into an airtight jar and store it in the refrigerator until ready to use. You can add your sauce to a piping bag and tie up the end, but DO NOT snip the tip until you are ready to add the puree to your cheesecake.
- Oven temperatures vary and may need to be recalibrated periodically to ensure they are accurate. Make sure to check your cheesecake at the lower end of the recommended baking time.
- You can place the thawed whipped topping into a large piping bag fitted with a large decorative tip and pipe a dollop of the whipped topping around the outer edge of the cheesecake in the center of where you will cut each of the slices (a total of 12 evenly spaced dollops).
Nutrition
How To Serve
Once the cheesecake is out of the oven, lift it carefully out of the water bath and unwrap the foil. Run a thin knife around the edges while it’s still warm—it keeps the sides neat and helps the top settle without pulling or cracking.
From here, the fridge does the real work. Give it at least eight hours to chill, but overnight is when it turns into that perfectly set, creamy cheesecake everyone hopes for. It’s always worth the wait.
When it’s fully chilled, pop off the springform ring and move the cheesecake to a serving plate. A little whipped cream, a handful of raspberries, and a bit of lemon zest on top make it look as good as it tastes.

Storage Instructions
Refrigerator: Cover the cooled cheesecake and refrigerate up to four days. It slices cleanest when cold.
Freezer: Freeze whole or in slices. Wrap tightly in plastic plus a layer of foil, then freeze up to two months. Thaw overnight in the fridge.
More Cheesecake Recipes
- No Bake Cherry Cheesecake
- Cookies and Cream Cheesecakes
- Banana Cream Cheesecake
- Blackberry Cheesecake Recipe
- Cheesecake in a Jar


Leave a Comment