Published on
Last updated on
Frozen Dog Treats
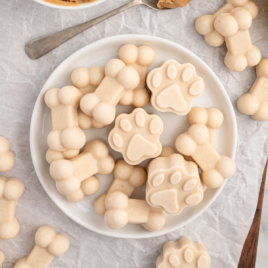
With our frozen dog treats recipe, we’ve created an easy and delicious snack for your favorite pup. The combination of ripe bananas and creamy peanut butter offers a taste dogs love, while honey provides a natural sweetness that’s hard to beat. Before serving, though, be sure to check with your vet to ensure these treats are safe for your pet’s diet.
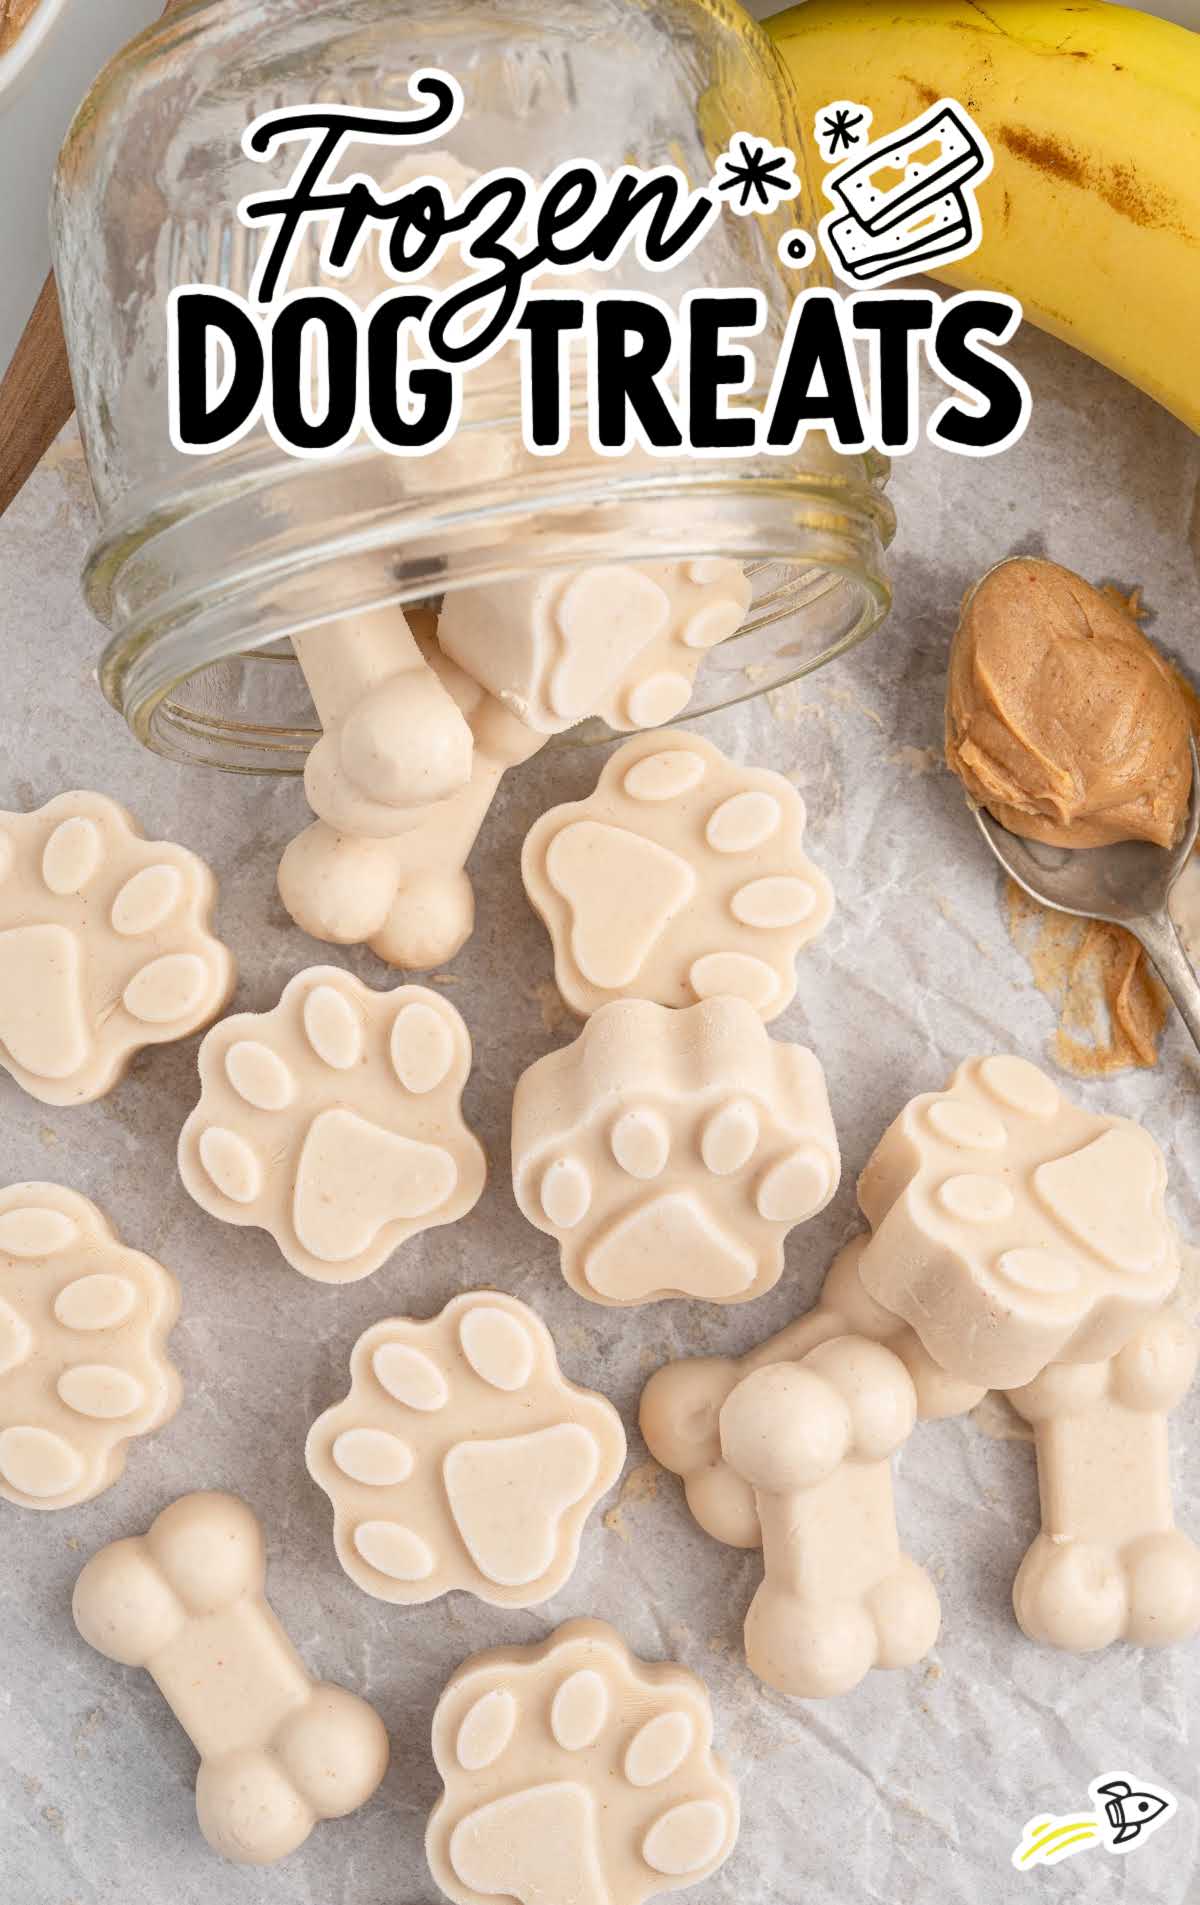
With years of experience in recipe development, we’ve tested this tasty treat blend to make sure it freezes perfectly, stays smooth, and is easy to prepare at home. We used silicone molds to make portioning a breeze, and with just a few minutes of prep time, you’ll have 64 treats ready to go—plenty to keep your dog happy for weeks!
Frozen Treats for Dogs Ingredients
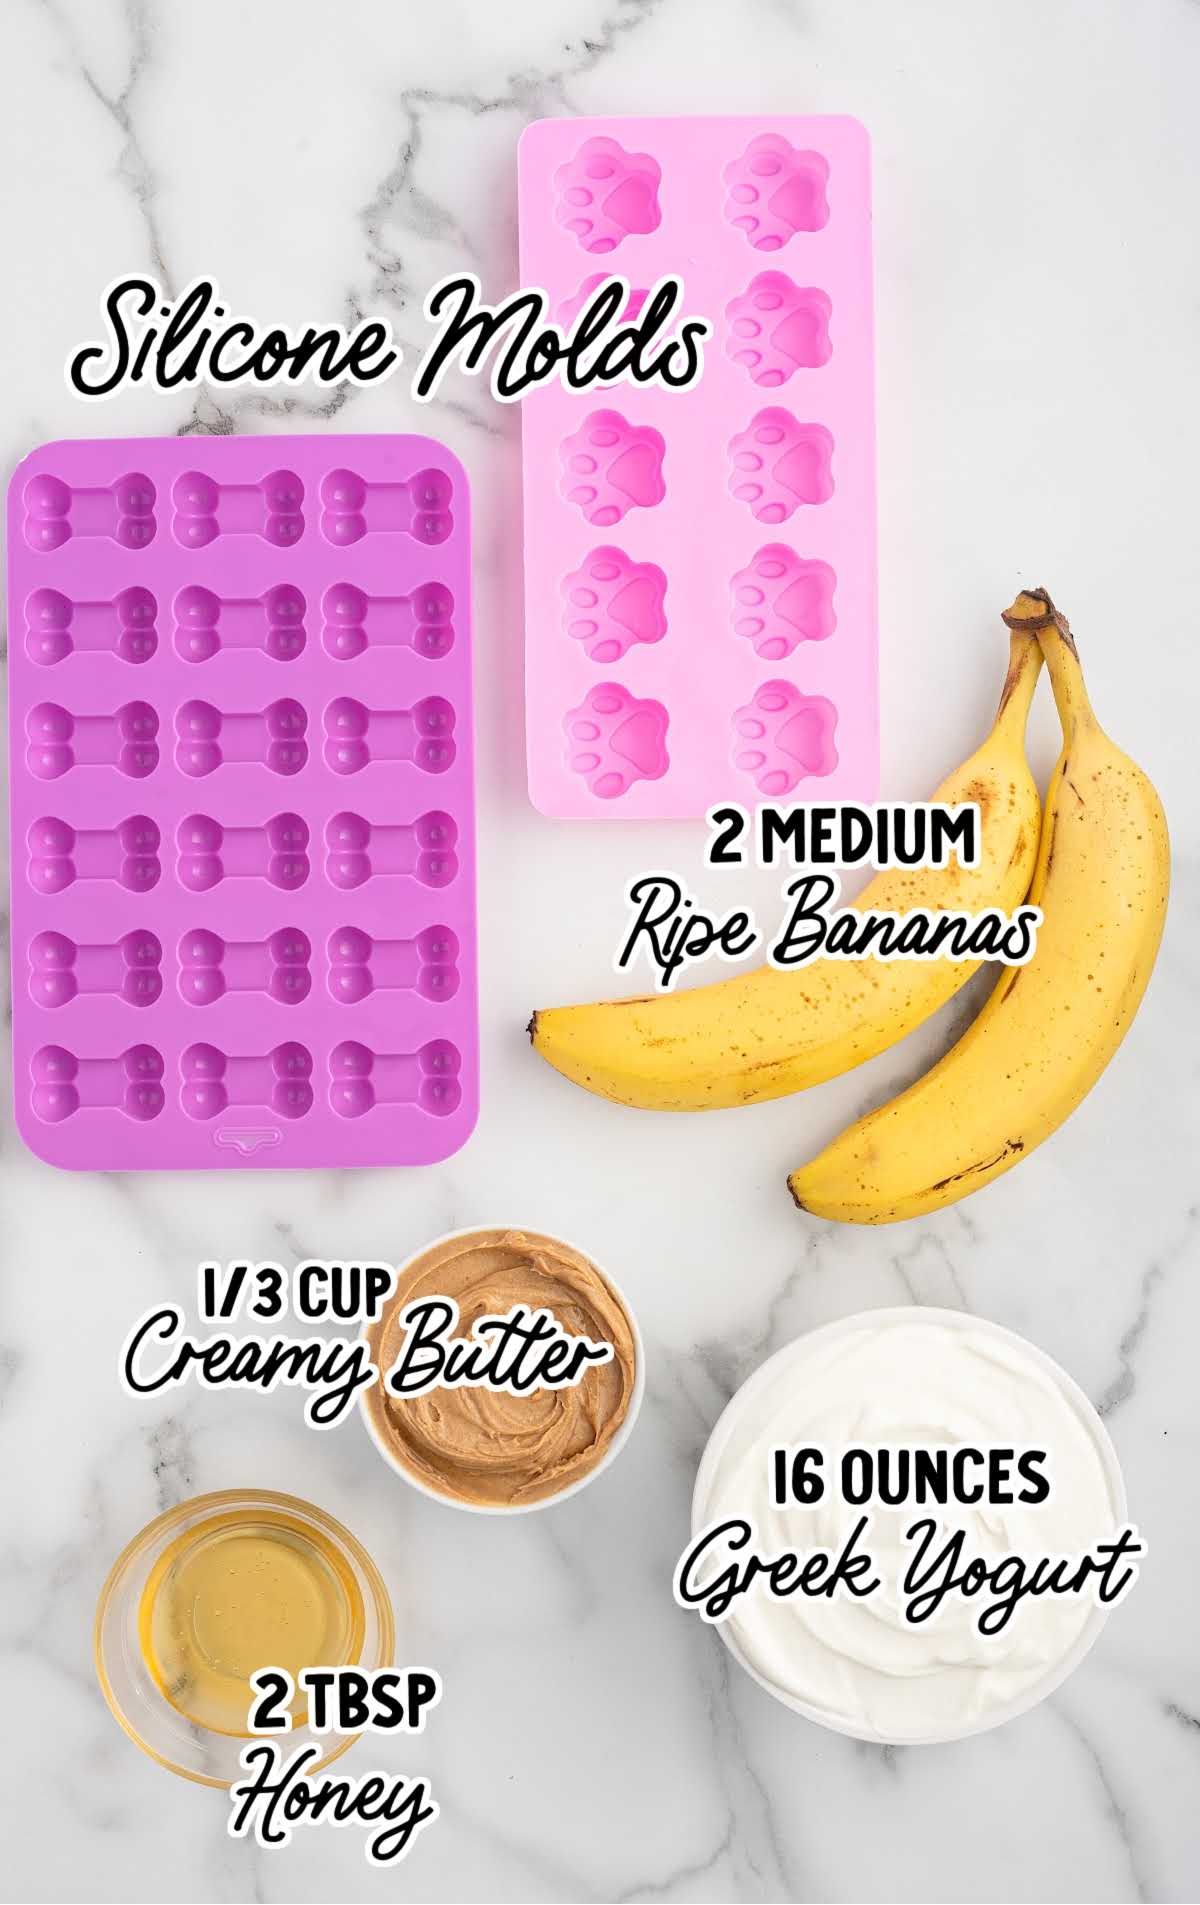
You’ll only need four simple ingredients to make these tasty frozen treats for your dog. We love making treats for our dogs at home because it gives us peace of mind knowing exactly what goes into our dog’s snacks.
We know you’ll love giving your dog these treats to cool off on a hot day, or anytime you want to treat your pup to something special.
Remember, while selecting ingredients for these, to pick a peanut butter that is xylitol free in order to be safe for your dog.
You’ll need these dog-friendly ingredients:
- 16 ounces plain Greek yogurt
- ⅓ cup creamy peanut butter (xylitol free)
- 2 medium-size ripe bananas, mashed (not frozen)
- 2 tablespoons honey
To help make it easier:
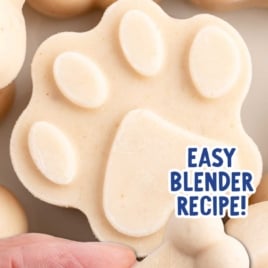
- Paw prints and bone-shaped silicone molds are ideal for these treats. You can also use small containers, paper cups, popsicle molds, ice pop molds, or an ice cube tray, just make sure they are an appropriate portion size for your four-legged friend.
- A blender, food processor, or a hand mixer will make these easy to make.
Substitutions and Additions for Cold Dog Treats
Here are some more suggestions to make these special treats for your fur babies
Plain Greek Yogurt: If you don’t have plain Greek yogurt on hand, you can use regular unsweetened plain yogurt instead. Keep in mind that regular yogurt may result in a slightly thinner consistency, so the treats might be a bit softer.
Peanut Butter: You can swap out regular peanut butter for natural peanut butter if you prefer a more straightforward ingredient list. Just be sure to check that it doesn’t contain xylitol, as this is toxic to dogs.
Bananas: If you’re out of bananas or your dog isn’t a fan, you can use unsweetened applesauce in equal amounts. This will give the treats a slightly different texture and a milder flavor.
Pumpkin: Alternatively, pumpkin puree is another excellent option, as it’s a taste that many dogs enjoy.
How To Make Frozen Treats For Dogs
You’ll love how simple and straightforward it is to make a batch of these treats for your furry friend. Whether it’s a hot summer day or you just want to pamper your pet, these treats are the perfect solution.
PRO TIP: Before you begin, prepare your work area. Set a baking tray beneath your molds to catch any spills, making your cleanup a breeze! This will also make it easy to move your molds to the freezer. Set aside for now.
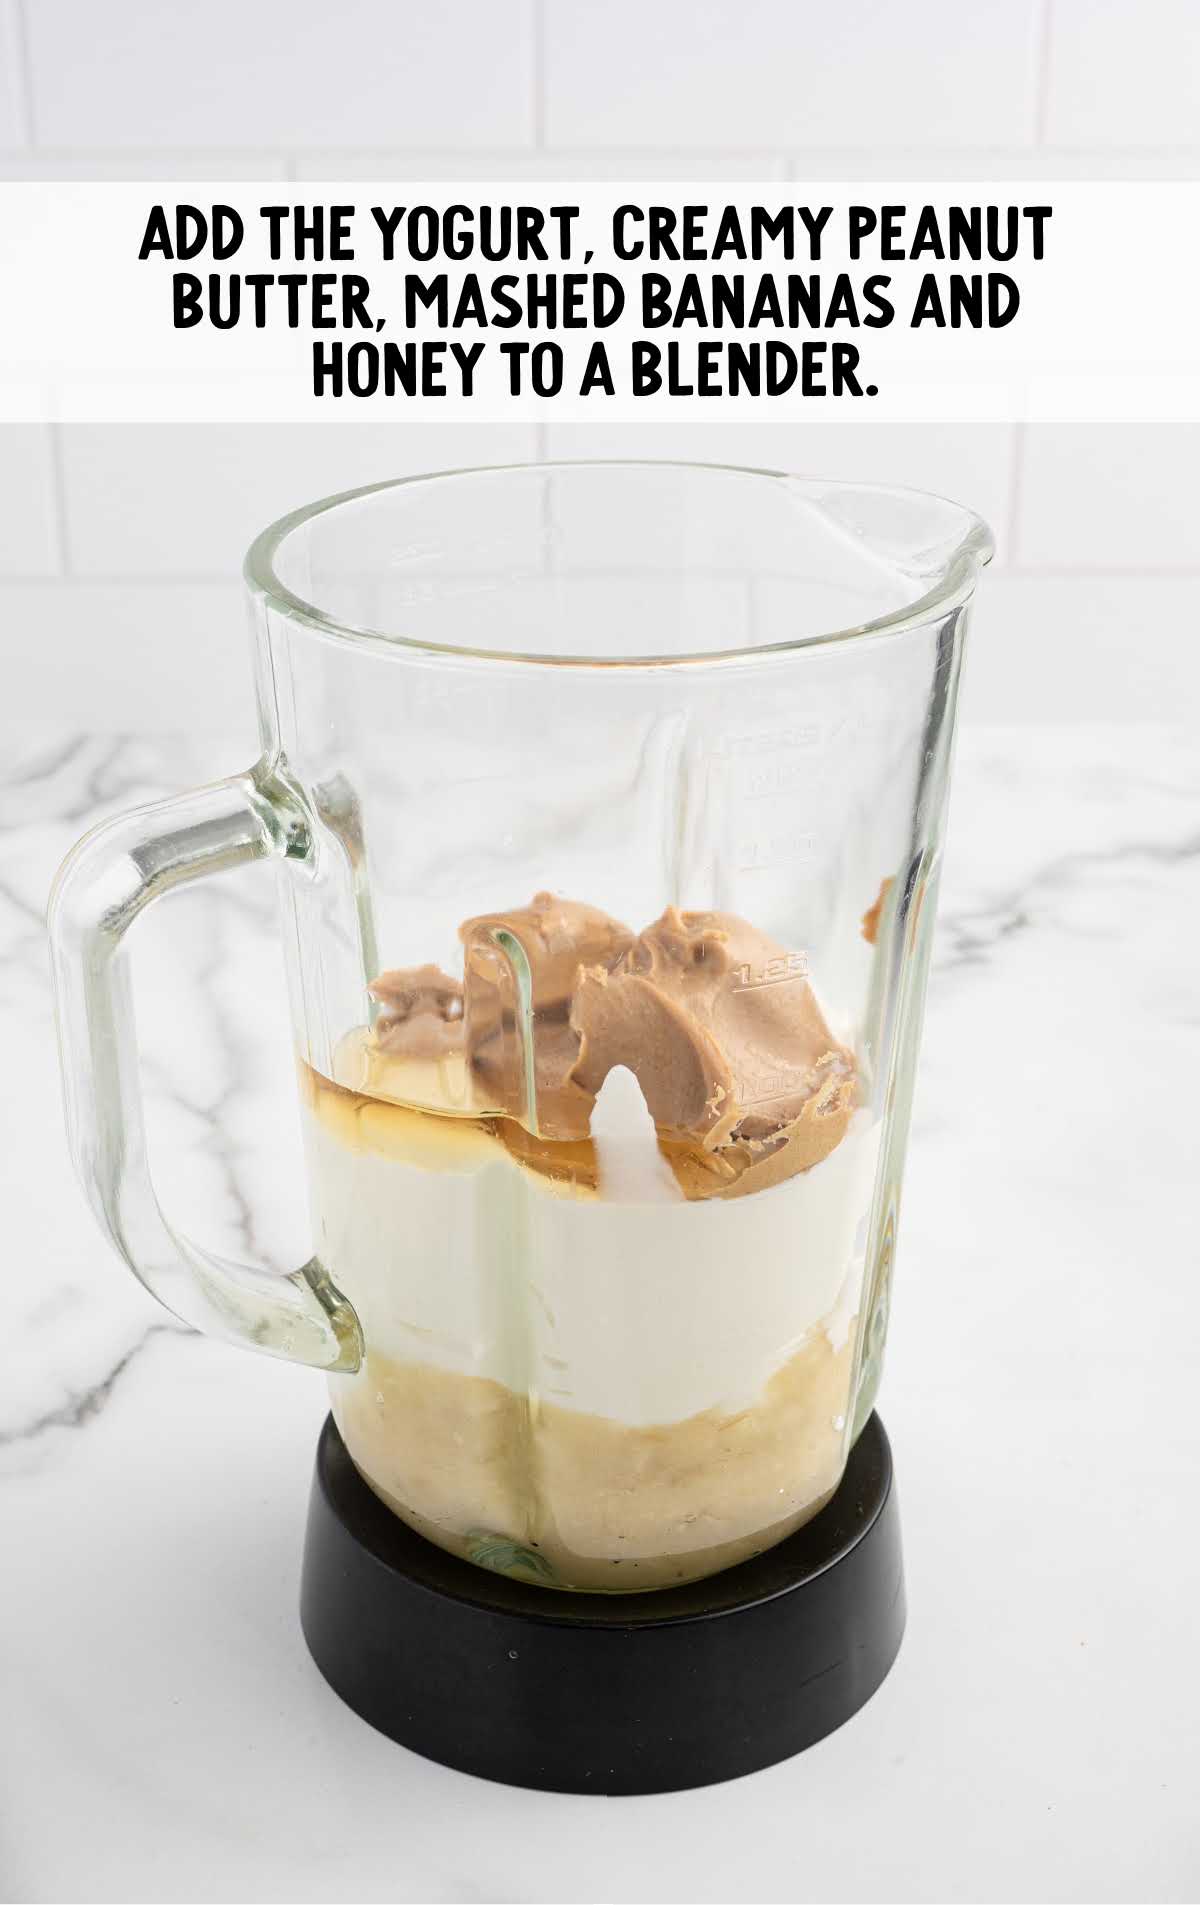
STEP ONE: Measure the yogurt, peanut butter, bananas, and honey into the blender.
PRO TIP: When adding ingredients to the blender, start with the softer ones like bananas and yogurt at the bottom. This can help the blender work more efficiently and prevent the mixture from getting stuck.
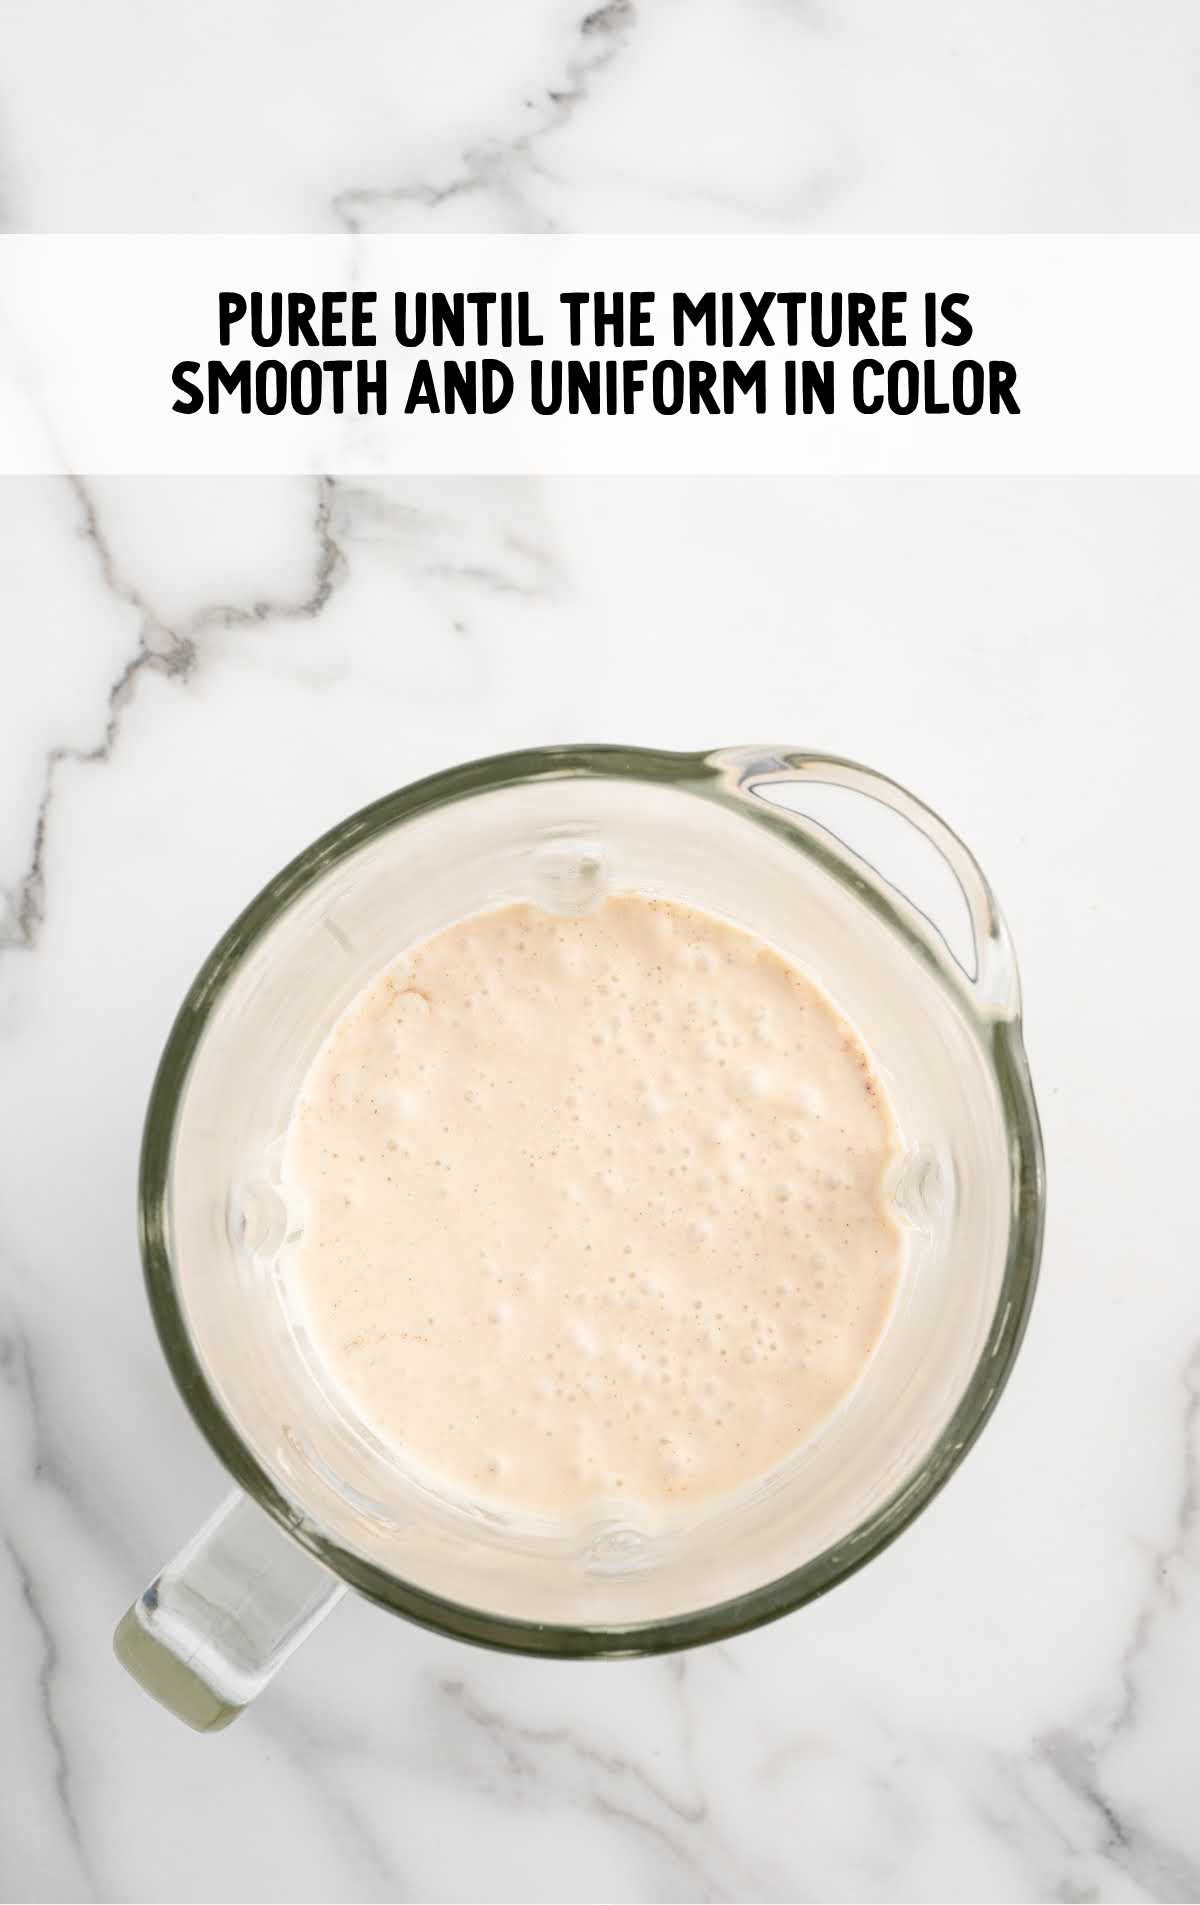
STEP TWO: Secure the lid and start blending on low for about 30 seconds to get everything mixed. Then, crank it up to high and blend for another one and a half to two minutes until the mixture is smooth and uniform in color.
You want to make sure there are no streaks of peanut butter left.
PRO TIP: If you see any streaks, scrape down the sides of the blender and blend for an additional 30 seconds. If the mixture is too thick, add a touch of water or unsweetened coconut milk to the mixture to thin it a bit.
STEP THREE: You can use a spoon, a disposable piping bag, or even a Ziploc bag with the corner cut off to fill your molds. If using a bag, fill it with the mixture, twist the top, and gently squeeze the mixture into each mold cavity.
Don’t overfill the molds! If you add too much, scrape off the top with a butter knife to even them out.
PRO TIP: For the cleanest edges, gently tap the tray on the counter to settle the mixture and remove any air pockets.
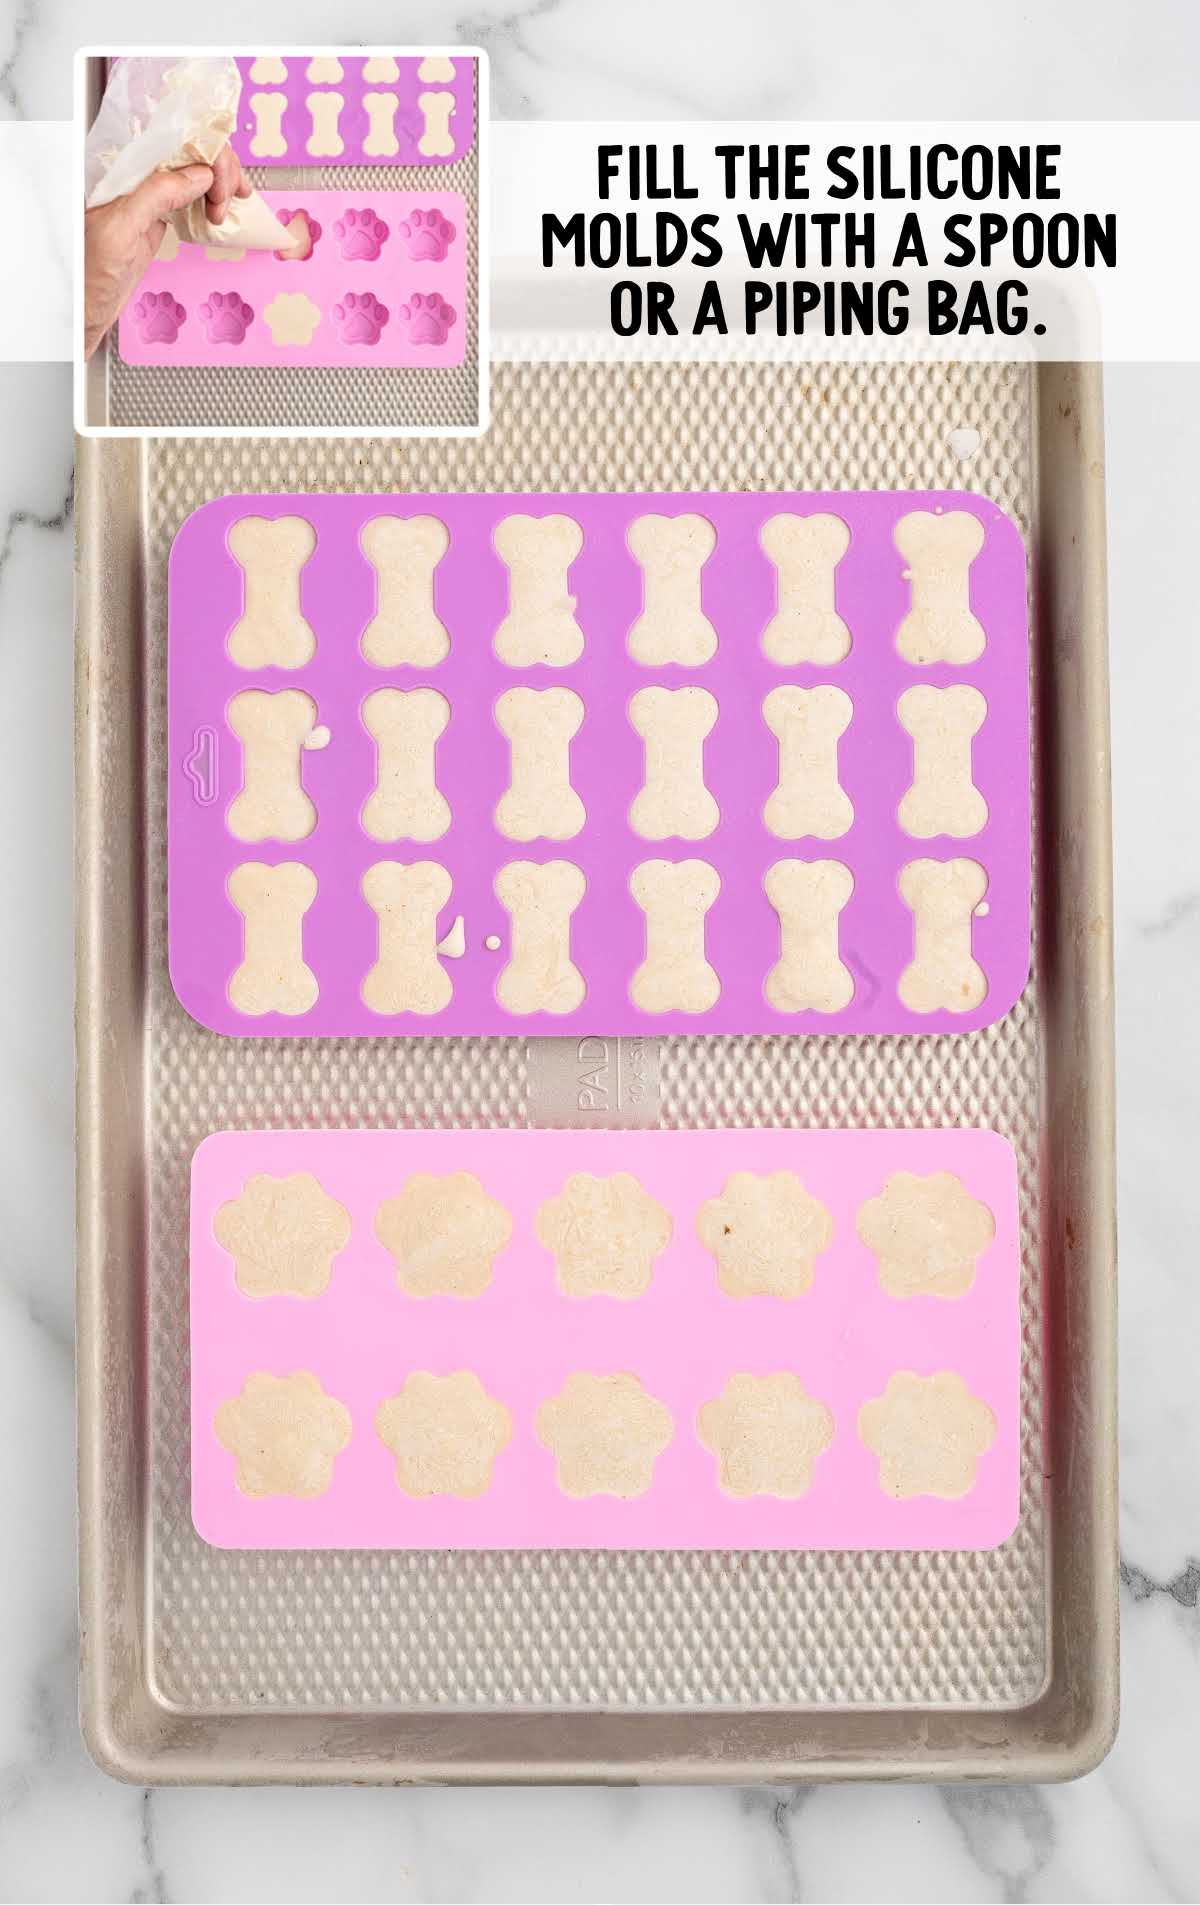
STEP FOUR: Once all the molds are filled, place the baking sheet in the freezer. Let the treats freeze solid, which should take about four hours.
PRO TIP: Don’t be tempted to remove the treats too early. They should be completely solid to maintain their shape when removed from the molds.
STEP SIX: After the treats are fully frozen, just push on the bottom of each mold to pop the treats out. Store any leftovers in an airtight container in the freezer. They’ll keep for up to two months.
How To Serve Cold Treats For Dogs
After you’ve carefully crafted your frozen treats for puppies, the next step is serving them in a way that brings out the best of this snack.
Here are some ways to serve these treats that will have your pet wagging their tail in delight.
As a Standalone Treat: These frozen dog snacks are a sweet treat that are perfect on their own. Serve them directly from the freezer for a refreshing treat that will cool your best friend down on a warm day. The creamy texture and the flavors of banana and peanut butter are a simple yet satisfying combination that dogs love.
Mealtime Topping: For a creative twist, you can use these treats as a topping for your dog’s regular meals. Simply crumble a frozen treat over their dry or wet food to add a burst of flavor and texture.
Incorporated in a Kong Toy: Fill a Kong toy with pieces of the frozen treat mixed with a bit of your dog’s regular kibble. This turns snack time into a fun and engaging activity that keeps your dog entertained.
Paired with Fresh Fruits: If your dog enjoys fruits like apples or blueberries, consider serving the frozen treats alongside a small portion of these fruits. Always be sure to avoid any fruits that are harmful to dogs.
As a Special Reward: These treats can also be used as a high-value reward during training sessions. Their unique taste and cooling effect make them an excellent incentive for dogs to focus and perform well during training.
When to Serve Homemade Frozen Dog Treats
Serving these homemade frozen dog treats isn’t just about keeping your pet cool; it’s about making special moments even better for your dog.
Here are some scenarios where these treats can play a key role in making your dog’s day a bit more special.
Hot Summer Days: On a sweltering afternoon, these are the perfect treat, offering a refreshing way to cool your dog down while providing a tasty snack that hydrates and satisfies.
Birthday Parties: If you’re throwing a birthday party for your dog, these treats can be the perfect addition to the celebration, offering an enjoyable treat for all the canine guests. Serve alongside a tasty homemade dog birthday cake!
Post-Walk Snack: After a vigorous walk or play session, these frozen treats serve as an excellent way to reward your dog, helping them cool off and relax after their exercise.
How To Store Frozen Homemade Dog Treats
Once you’ve made this frozen dog treat recipe, you’ll need to store them properly to keep them fresh and ready for your furry friend.
Whether you’re making them ahead of time or looking to store leftovers, there are a few simple steps to follow to maintain their quality.
MAKE AHEAD: These frozen banana dog treats are perfect for making ahead of time. You can prepare a large batch and store them in the freezer for up to two months. This allows you to always have a ready supply of treats on hand for your dog.
IN THE FREEZER: Store these pet treats in the freezer in an airtight container or a resealable freezer bag to prevent freezer burn. They will stay fresh for up to two months.
Frozen Dog Treats Frequently Asked Questions
Yes, you can use regular yogurt, but keep in mind that the treats may have a softer texture since regular yogurt is less thick than Greek yogurt.
The treats should be completely solid to the touch. Depending on your freezer, this typically takes around four hours.
Yes, you can add dog-safe ingredients like unsweetened applesauce or pumpkin puree, but avoid any ingredients that could be harmful to dogs.
If the mixture is too thick, try adding a small amount of water or extra yogurt to help it blend more smoothly. It also helps to use room temperature ingredients to make the mixture.
Greasing the molds isn’t necessary, but a light spray of non-stick spray can help make removing the treats easier.
Yes, you can use different-sized molds to make this homemade dog treat recipe. To make larger or smaller treats, adjust the freezing time accordingly.
Any standard blender should work fine as long as it’s powerful enough to blend the ingredients smoothly.
This recipe makes about 64 treats, depending on the size of your molds.
Yes, a food processor will also work well for blending the ingredients together smoothly.
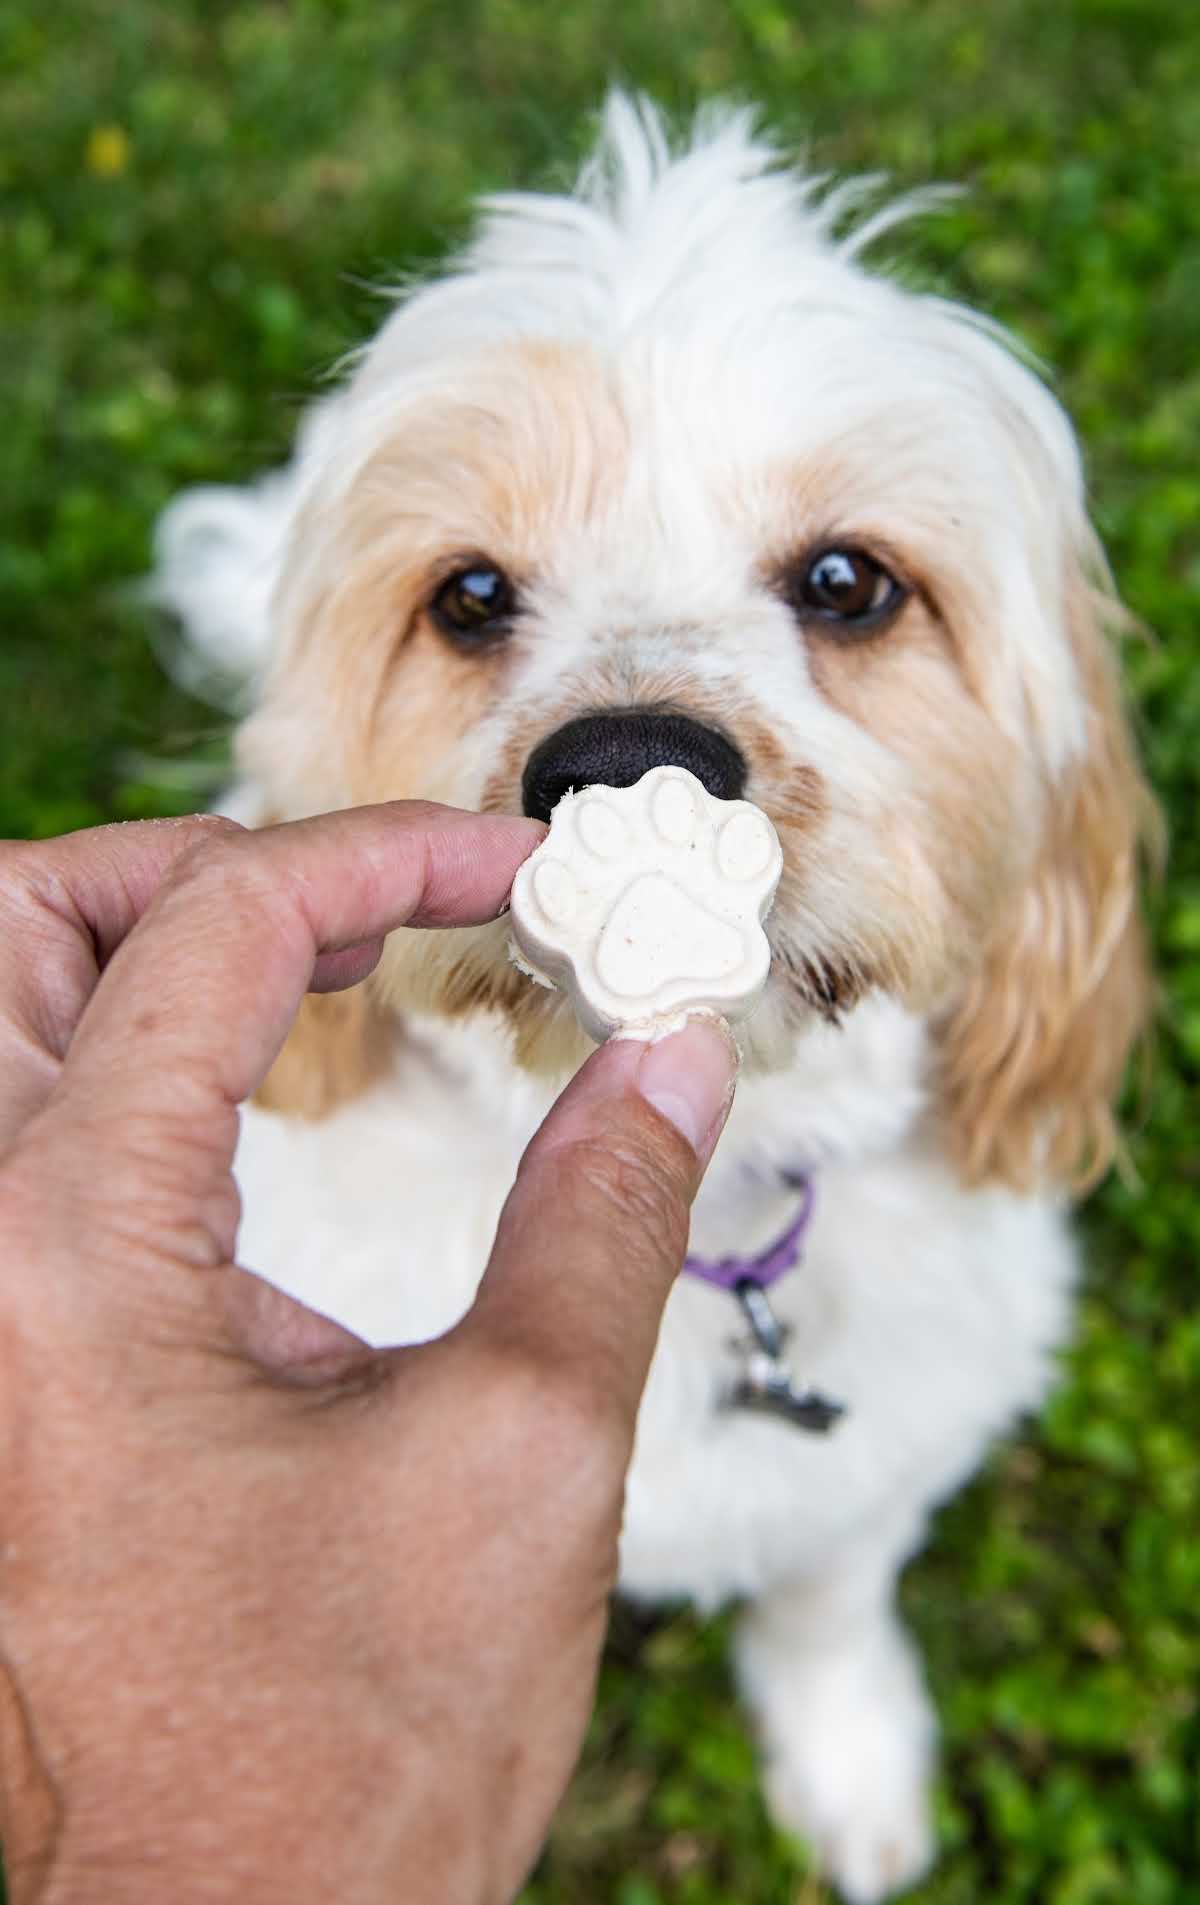
These frozen dog treats are a simple way to keep your dog happy and refreshed. With easy-to-find ingredients and straightforward preparation, they’re a must-try for any dog owner. Just be sure to check with your vet before offering these treats to ensure they’re a safe option for your pet.
More Dog Treat Recipes Your Pet Will Love
- Doggie Ice Cream
- Doggy Pumpkin Treats
- Homemade Dog Treats
- Dog Birthday Cake
- Easy Homemade Cat Treats

Frozen Dog Treats
Ingredients
- 16 ounces plain Greek yogurt
- ⅓ cup creamy peanut butter
- 2 medium size ripe bananas, mashed
- 2 tablespoons honey
Instructions
- Add the Greek yogurt, creamy peanut butter, mashed bananas and honey to a blender.
- Tightly place the lid on the blender and puree on low for 30 seconds. Increase the blender speed to high and continue to puree for 1 ½ -2 minutes until the mixture is smooth and uniform in color and no brown streaks from the peanut butter remain.
- Use a spoon, disposable piping bag, or gallon-size Ziplock bag with a corner snipped off to fill the molds.
- Fill only the cavity of the mold, but if you happen to overfill, just use a butter knife to gently scrape the excess filling off the top of the mold.
- Place the uncovered and filled molds in the freezer for 4 hours, or until the treats are frozen solid. When you are ready to serve the treats, simply push the bottom of the molds to dislodge the treats.
Notes
- Before you begin, prepare your work area. Set a baking tray beneath your molds to catch any spills, making your cleanup a breeze! This will also make it easy to move your molds to the freezer. Set aside for now.
- When adding ingredients to the blender, start with the softer ones like bananas and yogurt at the bottom. This can help the blender work more efficiently and prevent the mixture from getting stuck.
- If you see any streaks, scrape down the sides of the blender and blend for an additional 30 seconds.
- For the cleanest edges, gently tap the tray on the counter to settle the mixture and remove any air pockets.
- Don’t be tempted to remove the treats too early. They should be completely solid to maintain their shape when removed from the molds.


Comments
RONDA says
When I make these for my Jase I might have to try one they sound good she loves banana yogurt peanutbutter
Lori Keller says
Can’t wait to try these 🤗