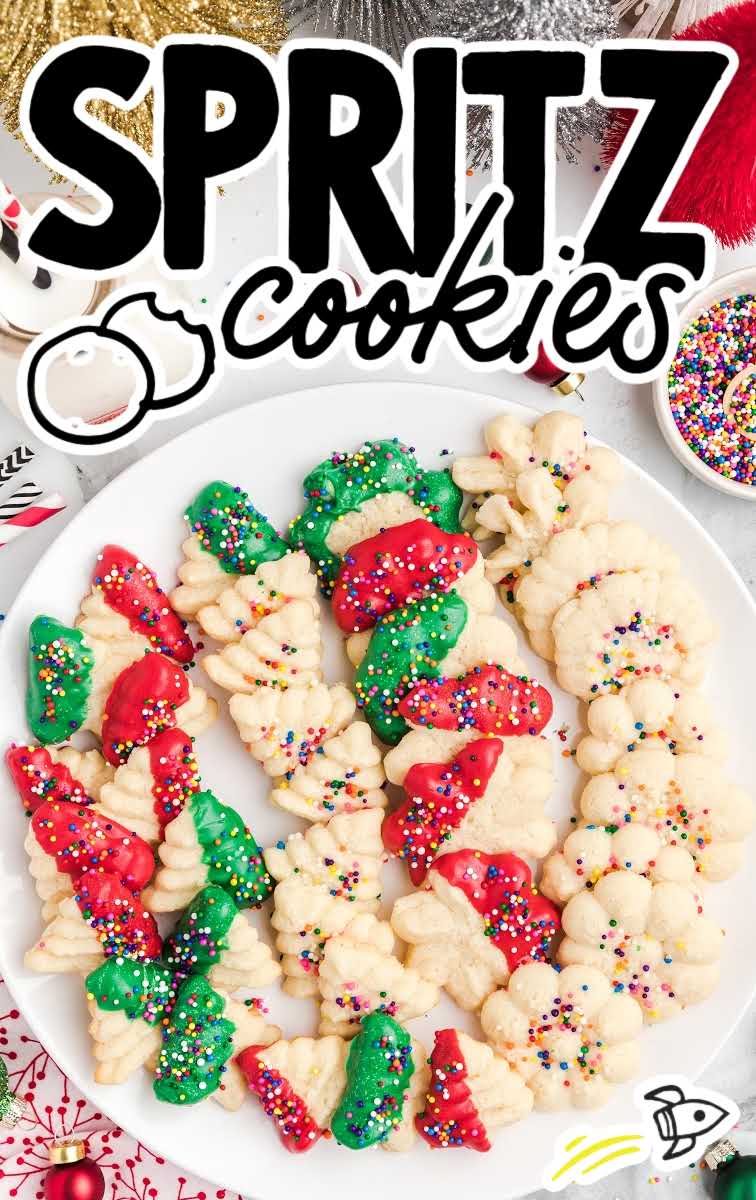
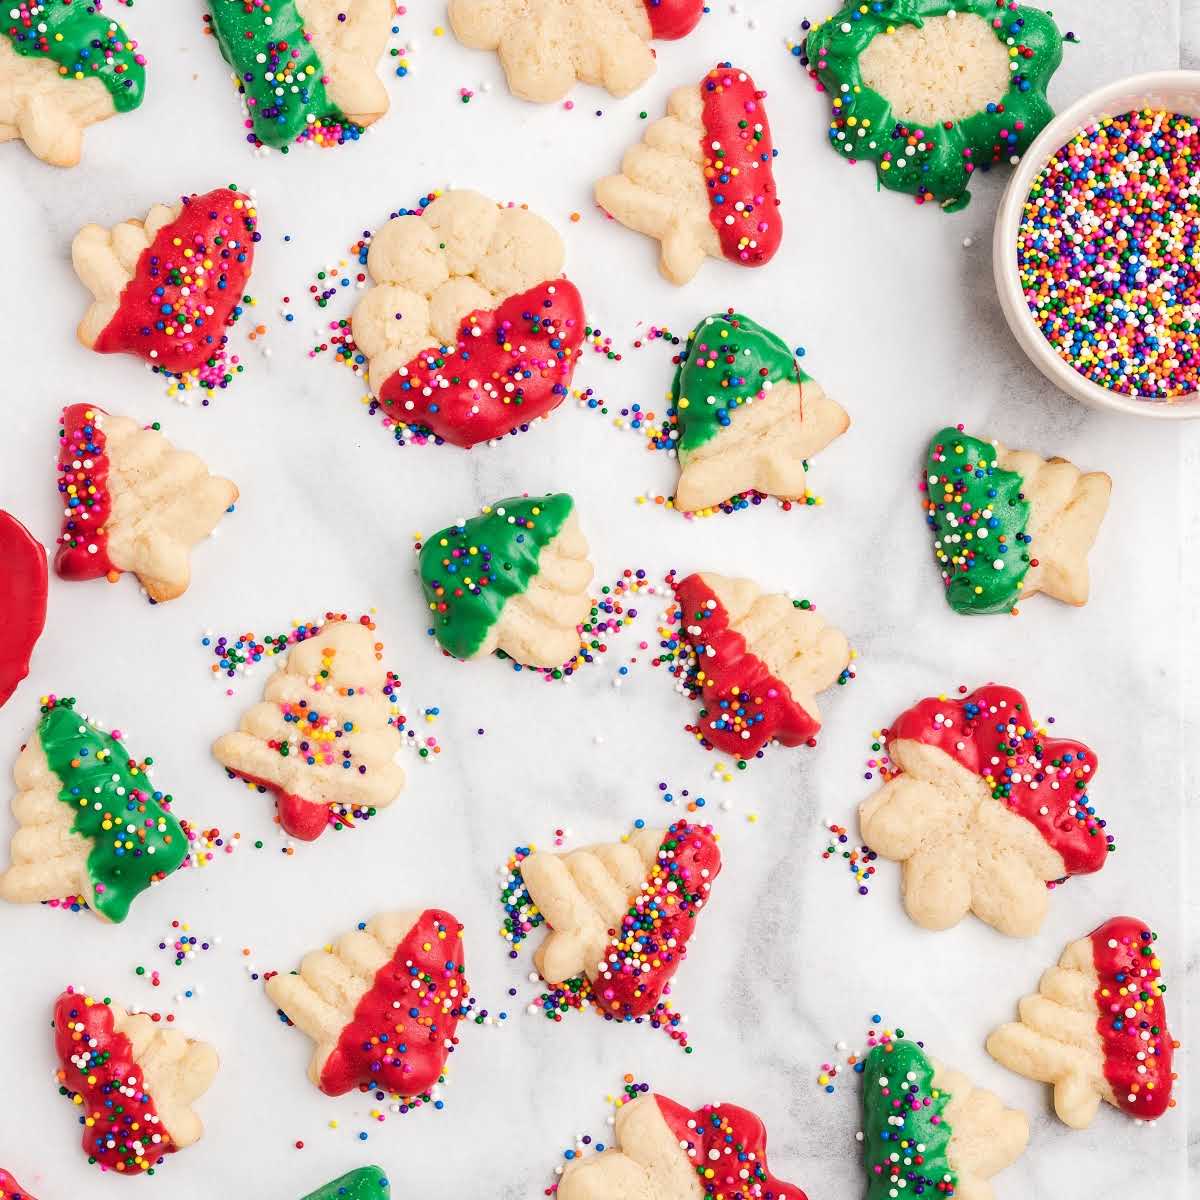
Our delightfully buttery spritz cookies are a fancy treat that is easy to make this holiday season. Similar to sugar cookies, these divine, sweet cookies are shaped into intricate designs using a cookie press to produce a beautiful cookie that will melt in your mouth.
Spritz Cookies Ingredients
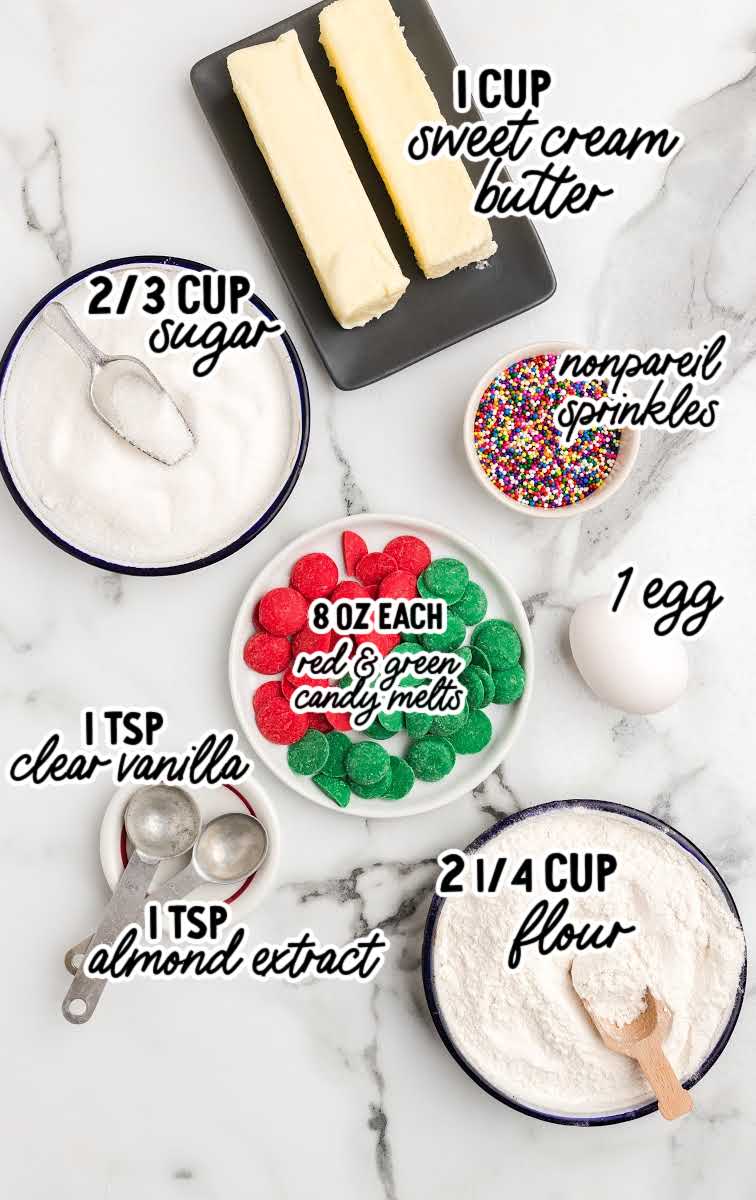
You’ll need:
- 1 cup of salted sweet cream butter, softened
- ⅔ cup of granulated sugar
- 1 large egg, room temperature
- 1 teaspoon of clear vanilla flavoring
- 1 teaspoon of almond extract
- 2¼ cups of all-purpose flour
- 8-ounce bag of red candy melts
- 8-ounce bag of green candy melts
- nonpareil sprinkles
Substitutions And Additions
ALMOND EXTRACT: You can substitute the almond extract for any other flavoring, for example, strawberry, peppermint, lemon, or even a teaspoon of rum extract in this easy spritz cookie recipe.
CHOCOLATE: You can make chocolate spritz cookies by adding ⅓ cup cocoa powder to your flour mixture.
How To Make This Spritz Cookie Recipe
OUR RECIPE DEVELOPER SAYS
We love this cookie press set from Amazon.
STEP ONE: Preheat the oven to 375°F.
STEP TWO: Use a stand mixer, or a medium bowl and a handheld electric mixer, on medium-high speed, to beat butter for 1 to 1½ minutes.
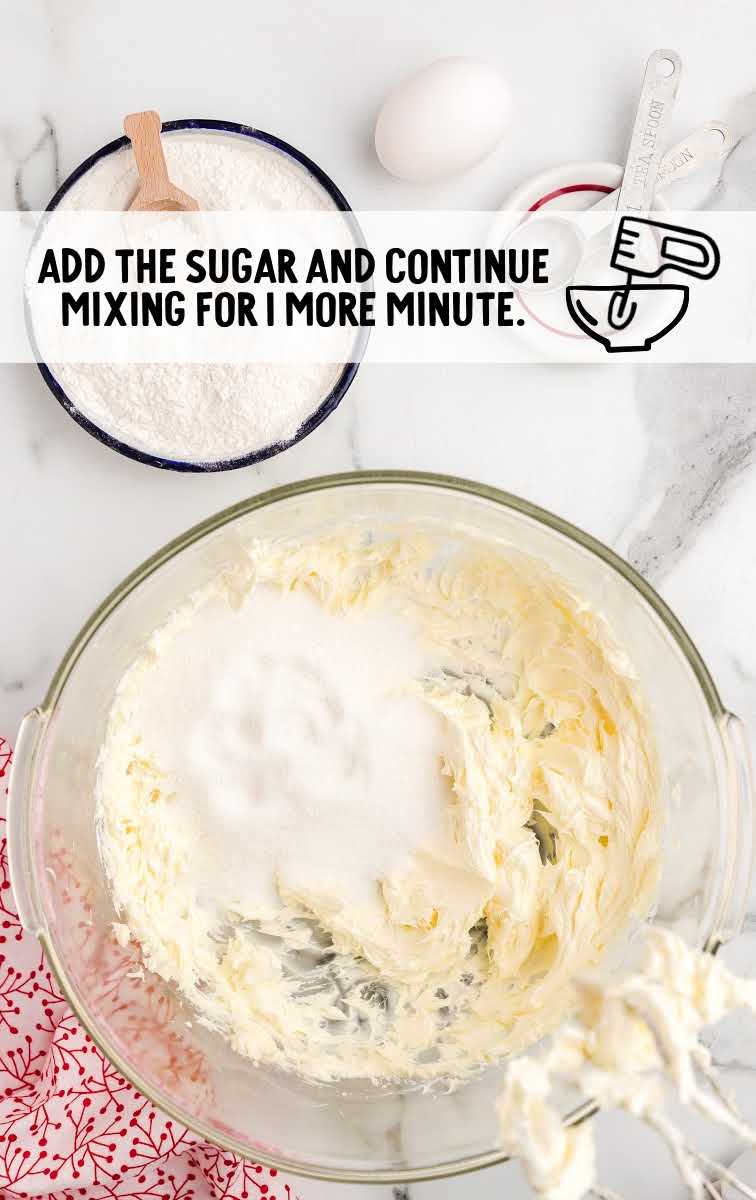
STEP THREE: Add the granulated sugar and continue mixing for one more minute.
STEP FOUR: Add the egg, clear vanilla flavoring, and almond extract. Mix on medium-low speed until well combined.
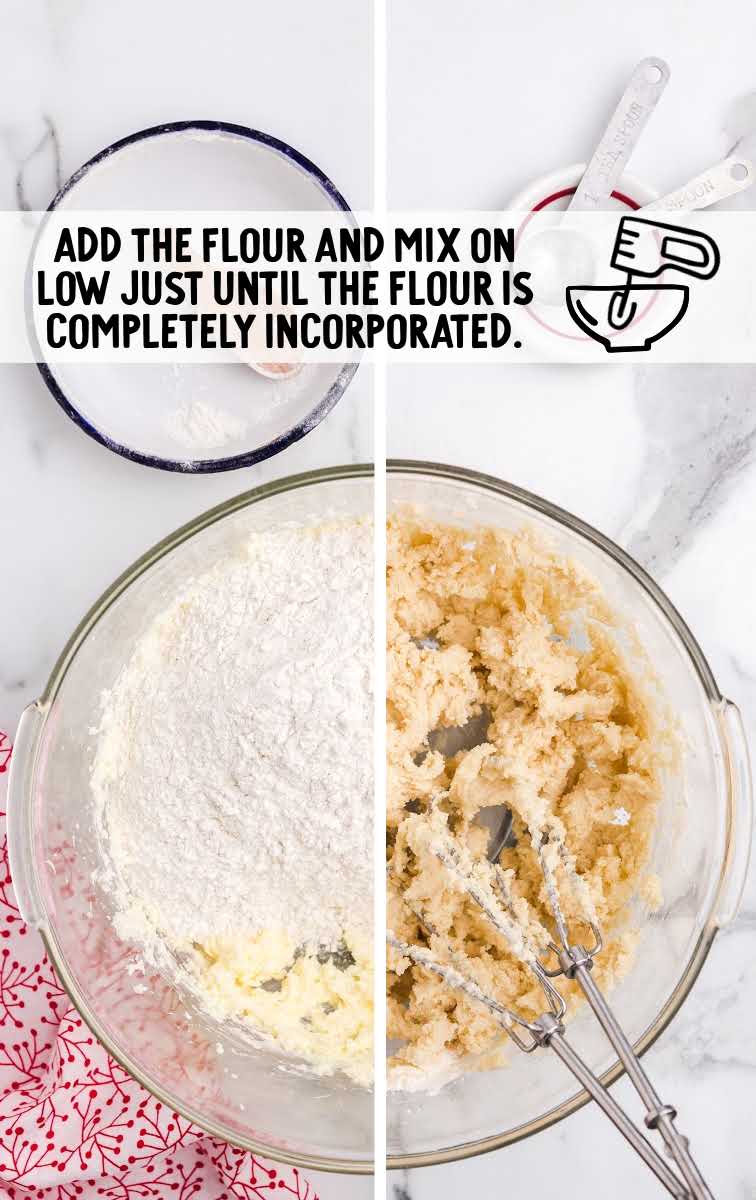
STEP FIVE: Add the all-purpose flour, and mix on low just until the flour is completely incorporated.
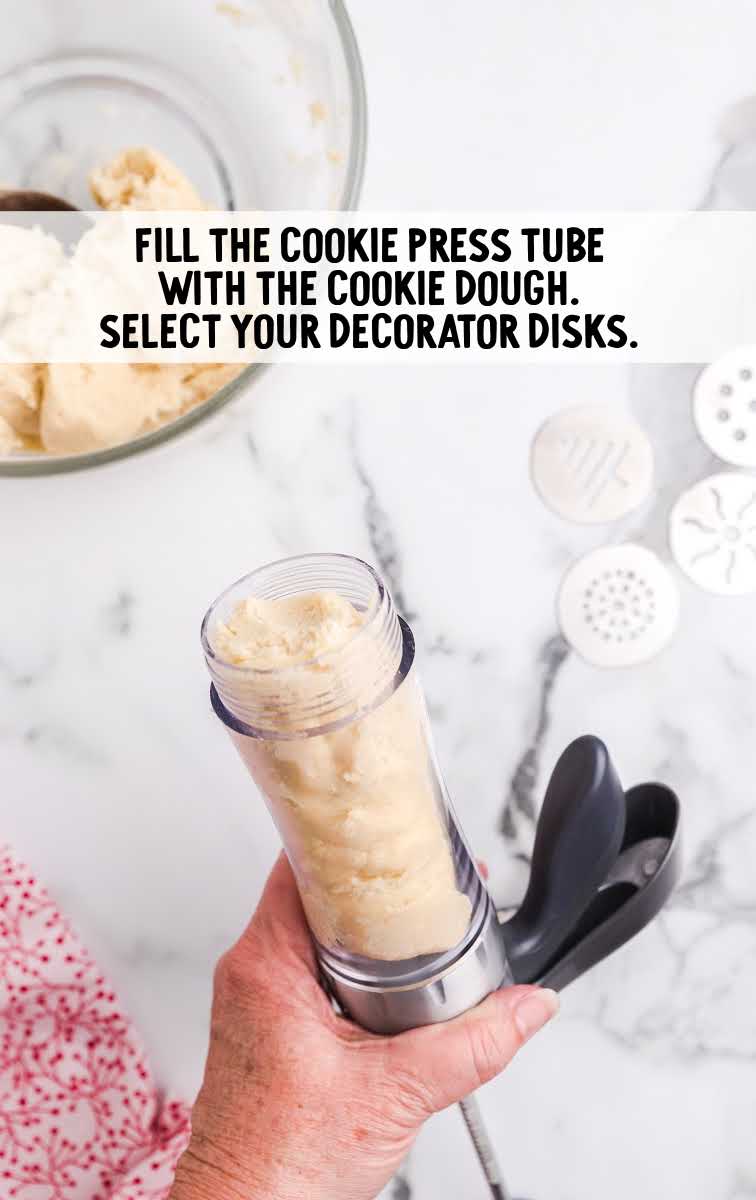
STEP SIX: Using a cookie press, select a decorator disk to shape your cookies.
Roll a portion of the dough into a log for easier insertion into the chamber of the cookie press.
You can place dough on some cling wrap to roll it or just roll it in your hands. Fill the cookie press tube with the rolled spritz cookie dough.
PRO TIP:
If you do not have a cookie press, you can use a piping bag with a decorator’s tip.
If the dough comes out misshapen or comes out only partially shaped, you can just load dough back into the cookie press.
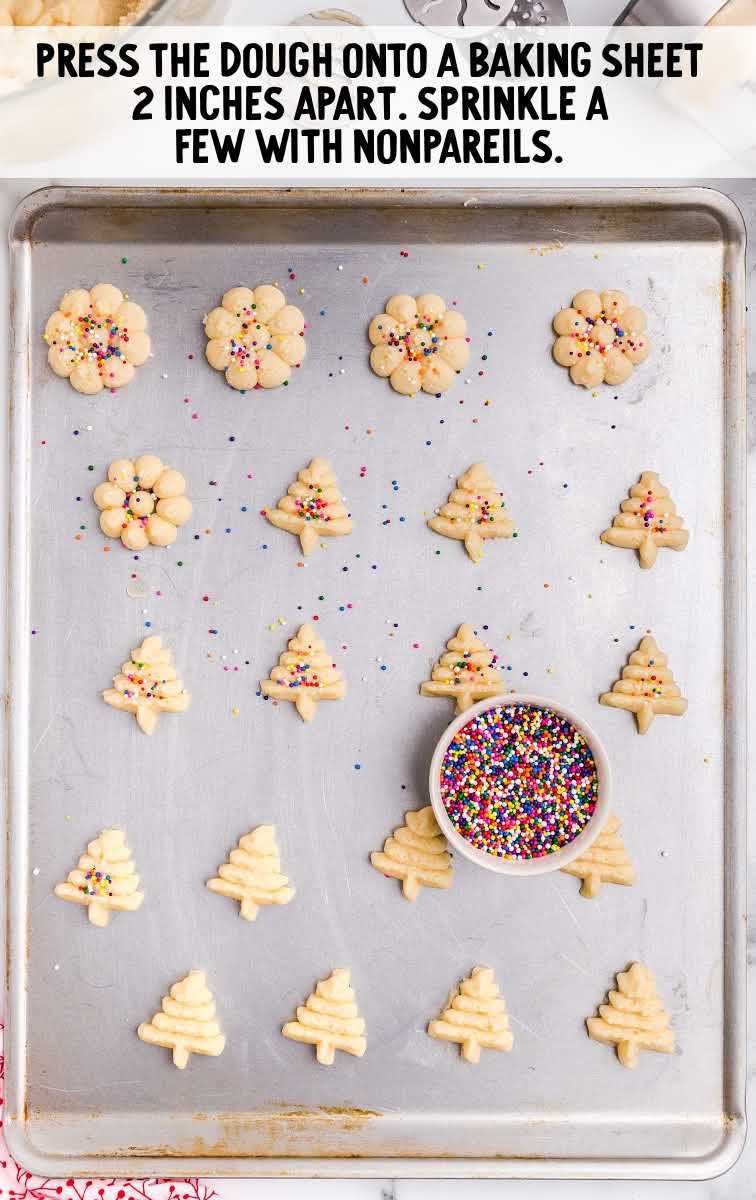
STEP SEVEN: Press dough onto an ungreased cookie sheet, two inches apart. You can sprinkle a few of the cookies with nonpareils.
PRO TIP:
It is very important to decorate the unbaked cookie dough before baking. The sprinkles will not adhere to the baked cookie dough.
STEP EIGHT: Bake cookies for eight minutes.
PRO TIP:
If you are using a darker colored baking sheet, watch the baking time because they will bake quicker on a dark sheet.
STEP NINE: Allow the cookies to cool on the cookie sheet for five minutes, then transfer them to a wire rack to completely cool.
STEP TEN: Using two small heat-safe bowls, pour ½ the bag of the green candy melts into one bowl and ½ the bag of red candy melts into the other bowl.
STEP ELEVEN: Microwave the candy melts for one minute and stir.
Continue to microwave in 20-second intervals, stirring after each interval until the candies are completely melted and smooth.
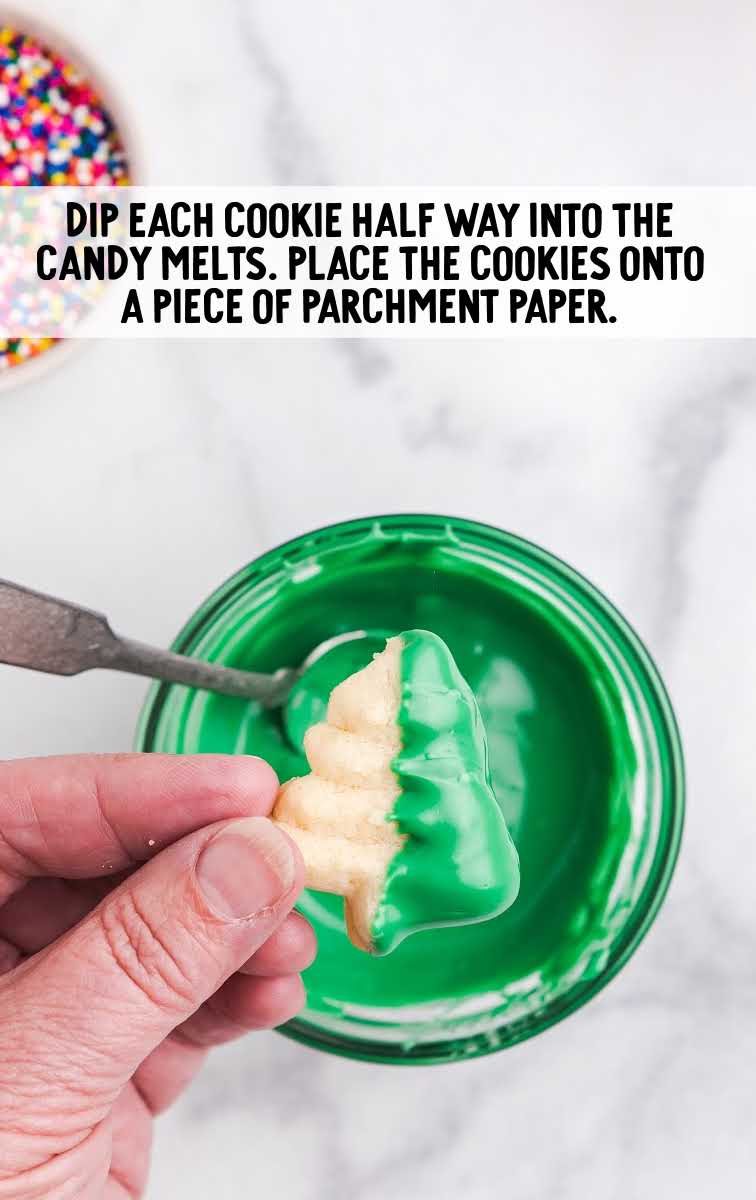
STEP TWELVE: Dip each cookie halfway into the desired color of candy melts. Place the dipped cookies onto a piece of parchment paper.
PRO TIP:
Don’t leave your stirring spoon in the baking melts when you’re done because the baking melts go hard and your spoon will get stuck and you can’t put metal in the microwave to soften it again.
STEP THIRTEEN: Evenly sprinkle the dipped section of the cookie with the nonpareils.
Allow the candy-dipped section of the cookie to completely dry and harden before serving.
How To Serve
These gorgeous and delicious cookies will impress your friends and family when they make an appearance on your Christmas cookie tray.
Make a variety of shapes of these old-fashioned Spritz cookies to celebrate the festive holiday season.
If you like this traditional Christmas cookie, try these other festive recipes. Check out our eggnog fudge and Christmas pinwheels for two yummy options.
MORE COOKIE RECIPES
Storage
ON THE COUNTER: Store any leftovers of these butter cookies in an airtight container, at room temperature, for up to five days.
IN THE FRIDGE: If the room temperature is very warm, you will need to store the baked cookies in the refrigerator to keep the dipped section of the cookie from melting.
IN THE FREEZER: You can freeze the baked and undipped cookies in the freezer for up to three months.
Allow the cookies to thaw before dipping them in the candy melts.
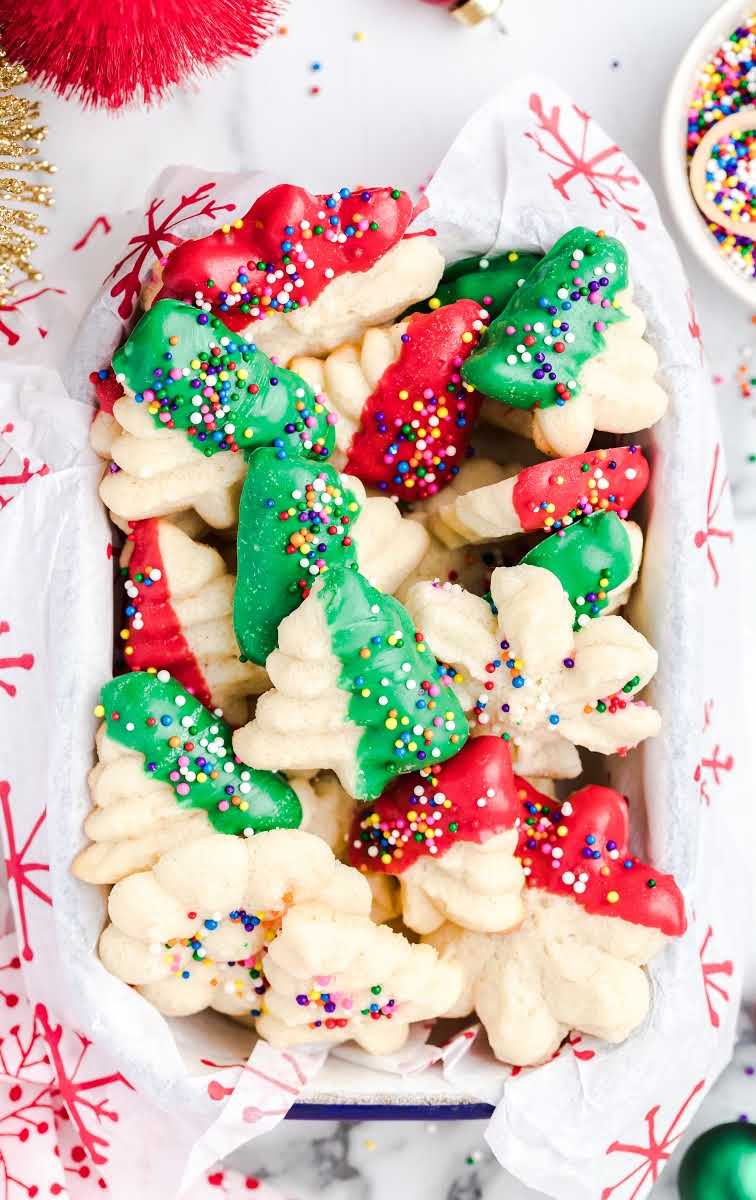
This easy spritz cookie recipe is a popular treat in many Scandinavian countries, and now you can make them at home. These buttery cookies can be pressed into all kinds of shapes and look incredibly beautiful once decorated.
Frequently Asked Questions
Classic spritz cookies are very similar to sugar cookies. While sugar cookies are cut into different shapes using cookie cutters, spritz cookies are shaped by putting the soft dough into a cookie press.
These simple cookies should be frozen before dipping in the candy melts. They will keep in the freezer for up to three months.
You do not want to chill dough in the fridge as it needs to stay soft enough to move through the press.
A cookie press pushes the cookie dough through a metal plate to create beautifully shaped cookies.
More Recipes You’ll Love

Spritz Cookie Recipe
Ingredients
- 1 cup salted sweet cream butter, softened
- ⅔ cup granulated sugar
- 1 large egg, room temperature
- 1 teaspoon clear vanilla flavoring
- 1 teaspoon almond extract
- 2 ¼ cup all-purpose flour
- 8 ounces red candy melts
- 8 ounces green candy melts
- nonpareil sprinkles
Instructions
- Preheat the oven to 375°F.
- Using a stand mixer, or a medium-size mixing bowl and a handheld mixer on medium-high speed, beat the butter for 1 to 1½ minutes.
- Add the granulated sugar and continue mixing for 1 more minute.
- Add the egg, clear vanilla flavoring and almond extract. Mix medium-low speed until well combined.
- Add the all-purpose flour, and mix on low just until the flour is completely incorporated.
- Using a cookie press, select a decorator disk for each color. Fill the cookie press tube with the cookie dough.
- Press the cookie dough onto an ungreased bare baking sheet, 2 inches apart. You can sprinkle a few of the cookies with nonpareils.
- Bake for 8 minutes.
- Allow the cookies to cool on the cookie sheet for 5 minutes, then transfer to a cooling rack to completely cool.
- Using 2 small heat-safe bowls, pour ½ the bag of the green candy melts in one bowl, and ½ the bag of red candy melts into the other bowl.
- Microwave the candy melts for 1 minute and stir. Continue to microwave in 20-second intervals,stirring after each interval until the candies are completely melted and smooth.
- Dip each cookie halfway into the desired color of candy melts. Place the dipped cookies onto a piece of parchment paper.
- Evenly sprinkle the dipped section of cookie with the nonpareils. Allow the candy-dipped section of the cookie to completely dry and harden before serving.
Notes
- If you do not have a cookie press, you can use a piping bag with a decorator’s tip.
- If the dough comes out misshapen or comes out only partially shaped, you can just load dough back into the cookie press.
- It is very important to decorate the unbaked cookie dough before baking. The sprinkles will not adhere to the baked cookie dough.
- If you are using a darker colored baking sheet, watch the baking time because they will bake quicker on a dark sheet.
- Don’t leave your stirring spoon in the baking melts when you’re done because the baking melts go hard and your spoon will get stuck and you can’t put metal in the microwave to soften it again.








Comments
Gloria says
These are such a classic, we make them every Christmas and they’re so yummy and fun to decorate!