
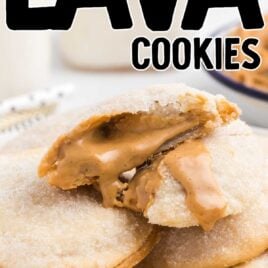

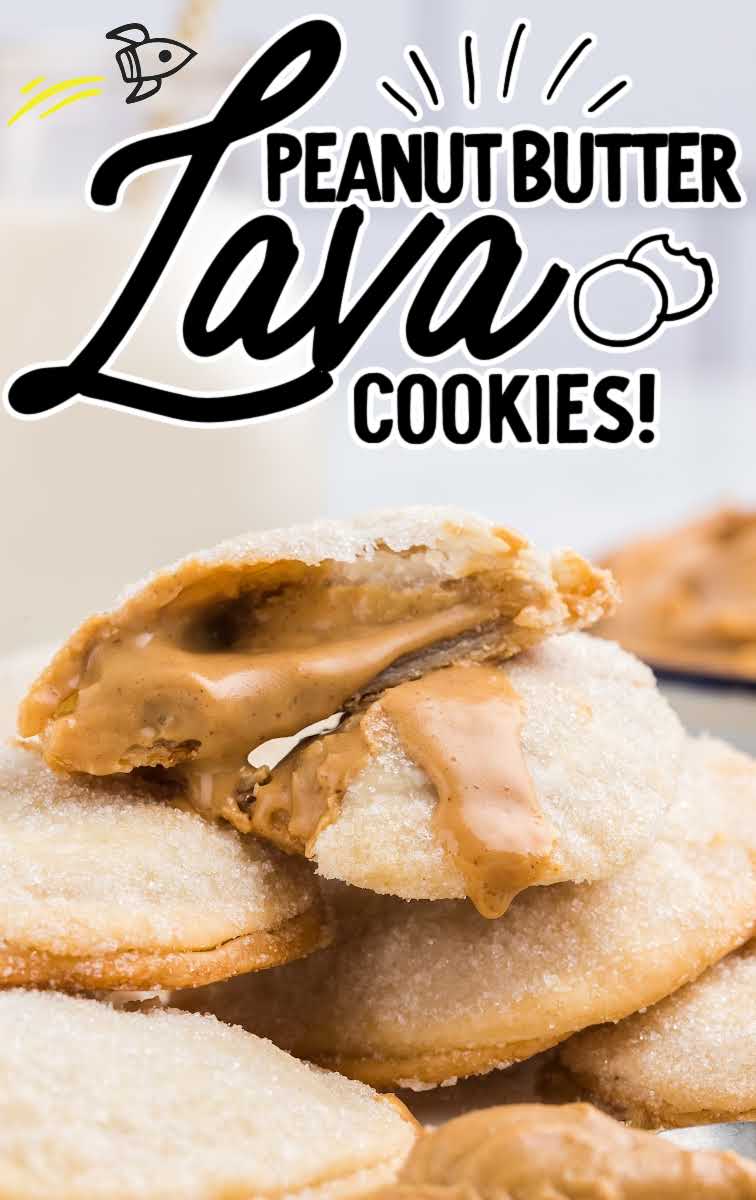
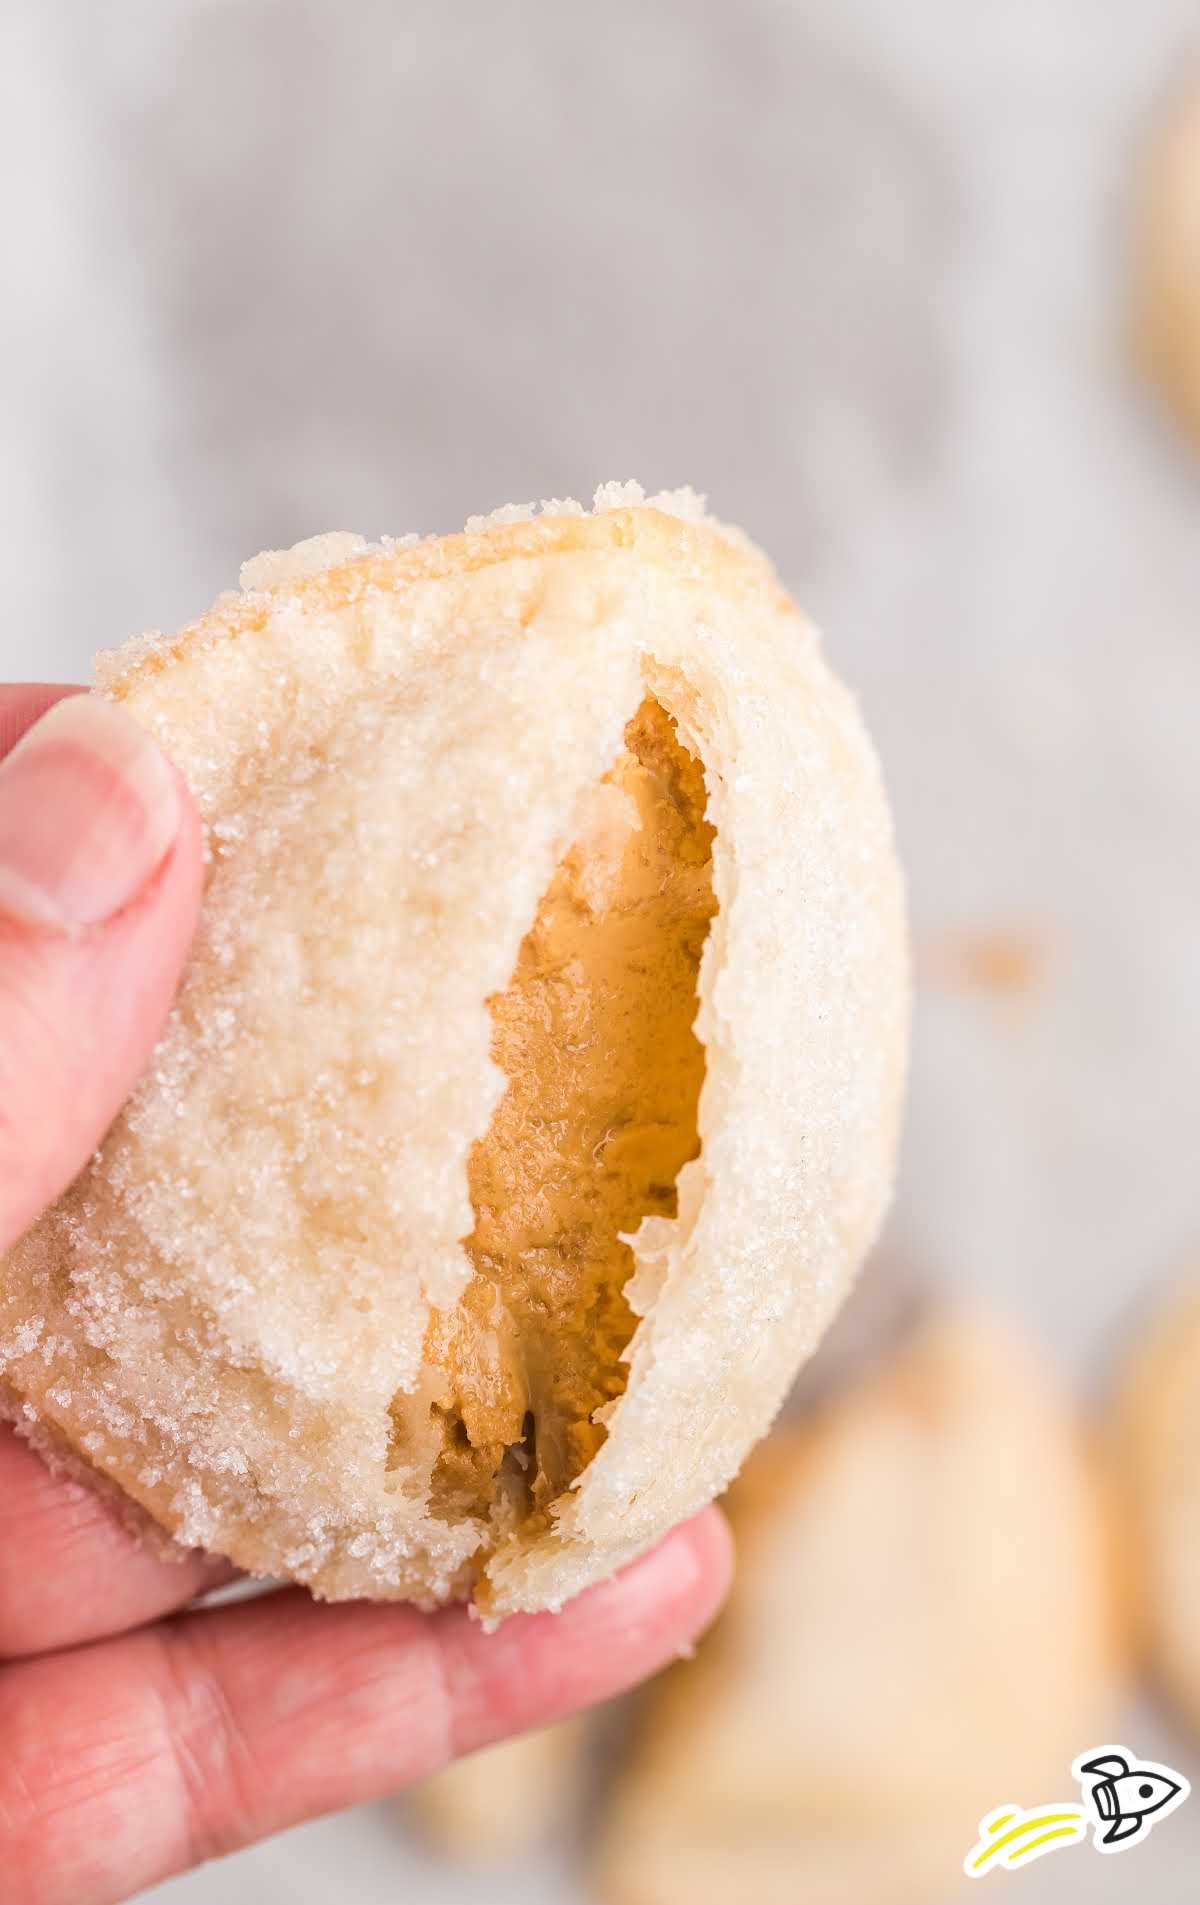
Peanut butter lava cookies are a molten cookie recipe that’s irresistible, easy to make, and only requires three simple ingredients. From the warm, gooey peanut butter-filled center to the soft cookie outside, these are sinfully delicious.
Peanut Butter Lava Cookies Ingredients
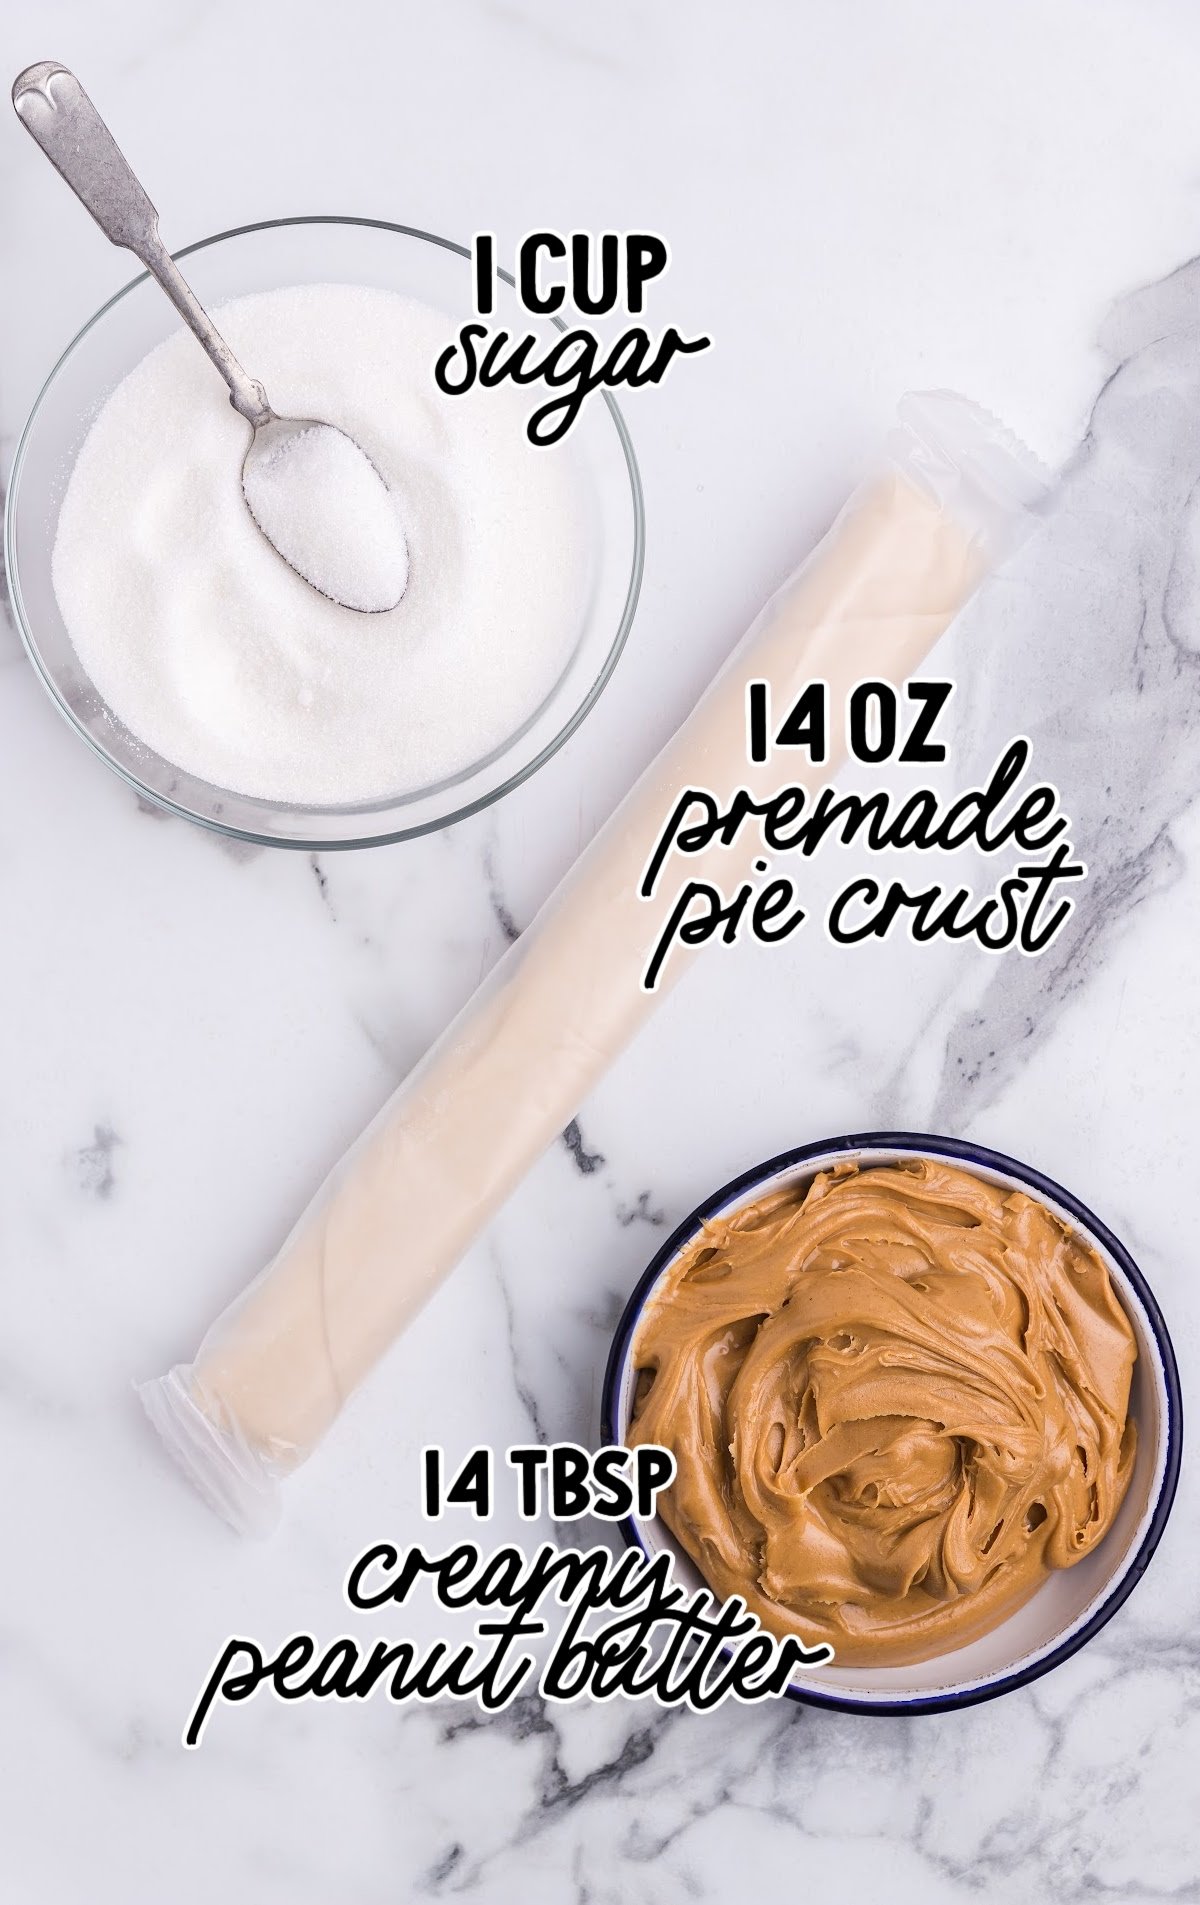
You’ll need:
- 14-ounce package of pre-made rolled pie crust, 2 crusts
- 14 tablespoons of creamy peanut butter
- 1 cup of granulated sugar
Substitutions And Additions
PEANUT BUTTER: I have found that Peter Pan Original or Skippy No-Stir natural are great options in place of JIF Original if you can’t find it. Traditional natural peanut butter with its natural oils doesn’t tend to give the lava effect we are looking for.
PIE CRUST: You can use the store-bought pie crust as mentioned above, or if you have a homemade pie crust recipe you prefer, that will work as well.
How To Make This Peanut Butter Lava Cookies Recipe
STEP ONE: Preheat the oven to 400°F. Set out the pie crusts until they are at room temperature. It’s best to refer to the package instructions for time requirements.
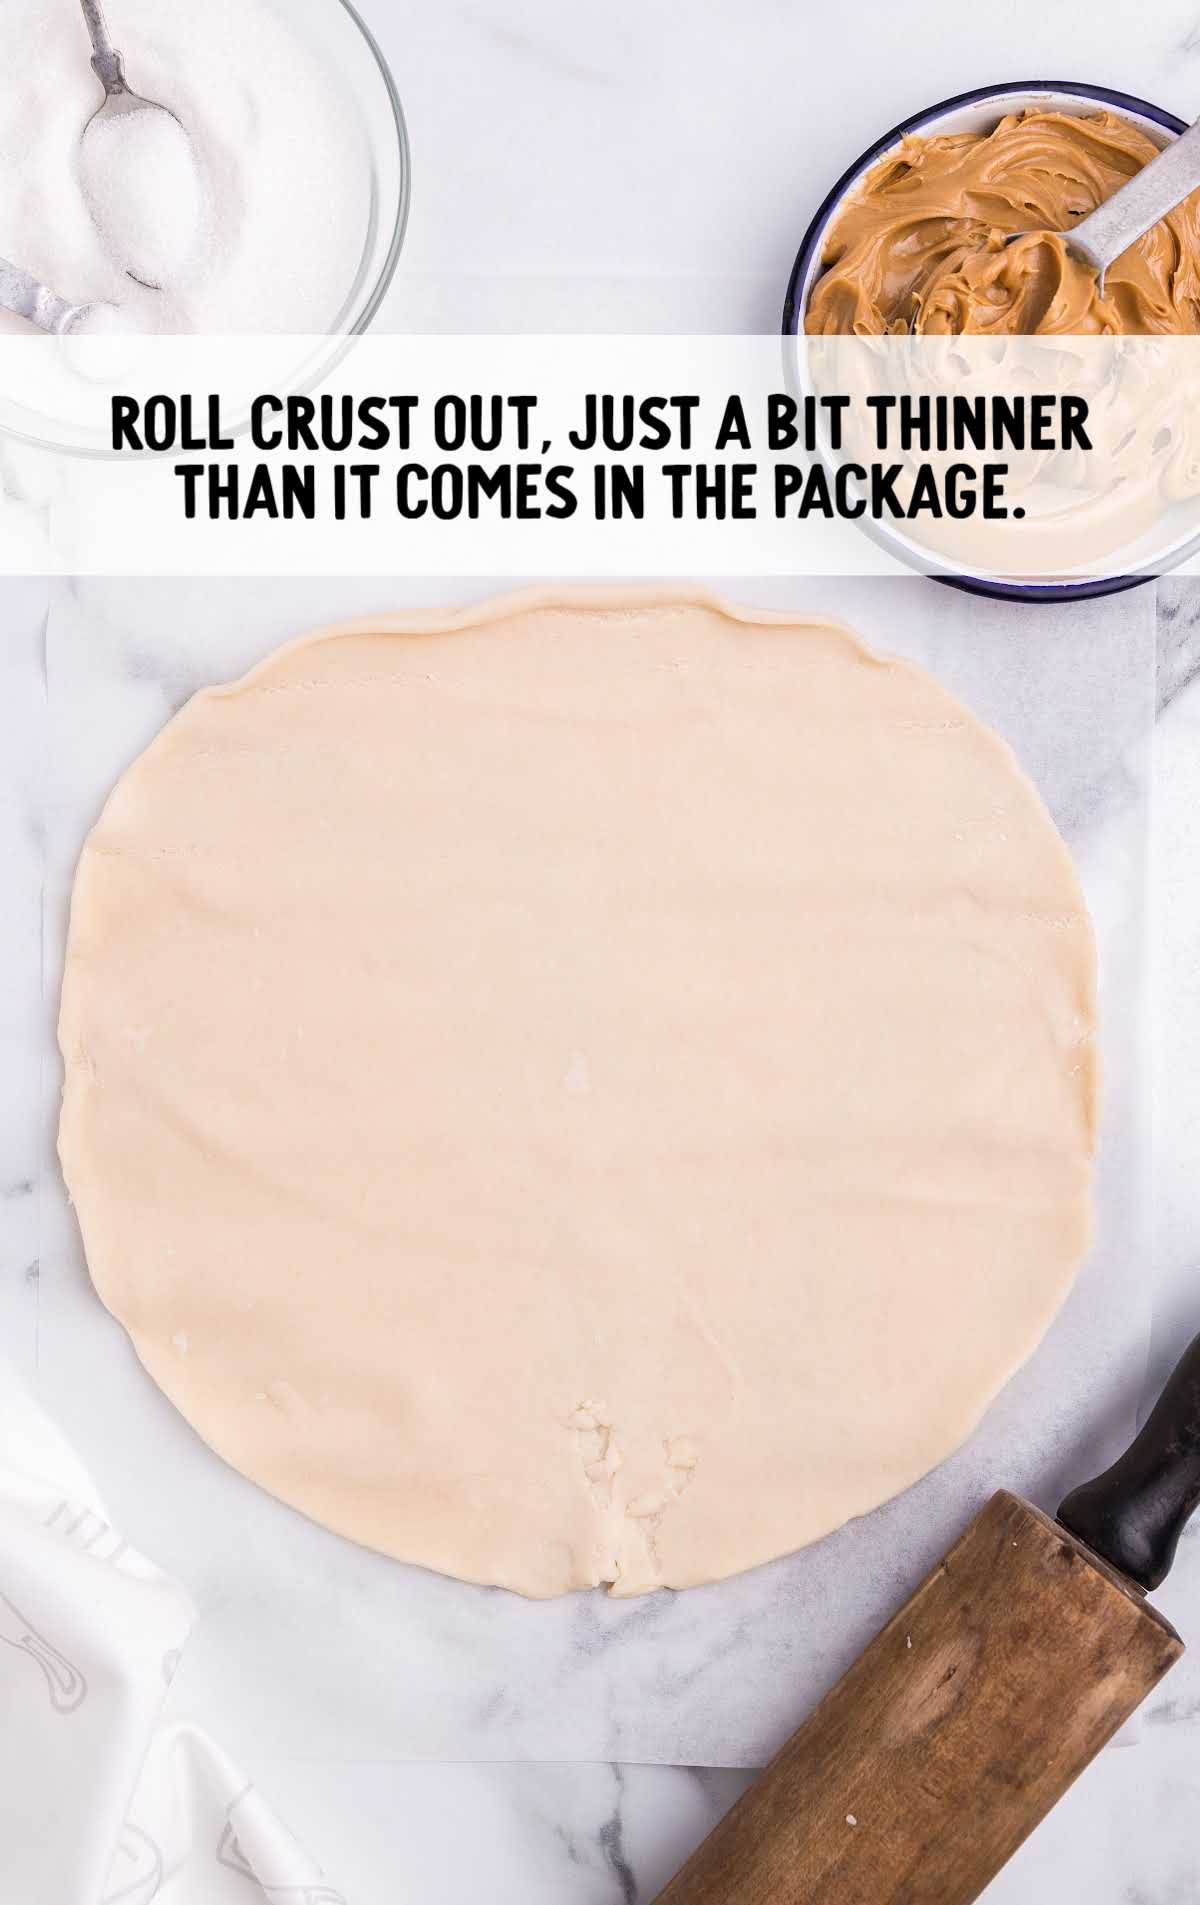
STEP TWO: On a piece of parchment paper, unroll one pie crust layer and roll it slightly with a rolling pin to achieve a crust just a bit thinner than it comes in the package. You want it to be about 1/16 to ⅛ of an inch.
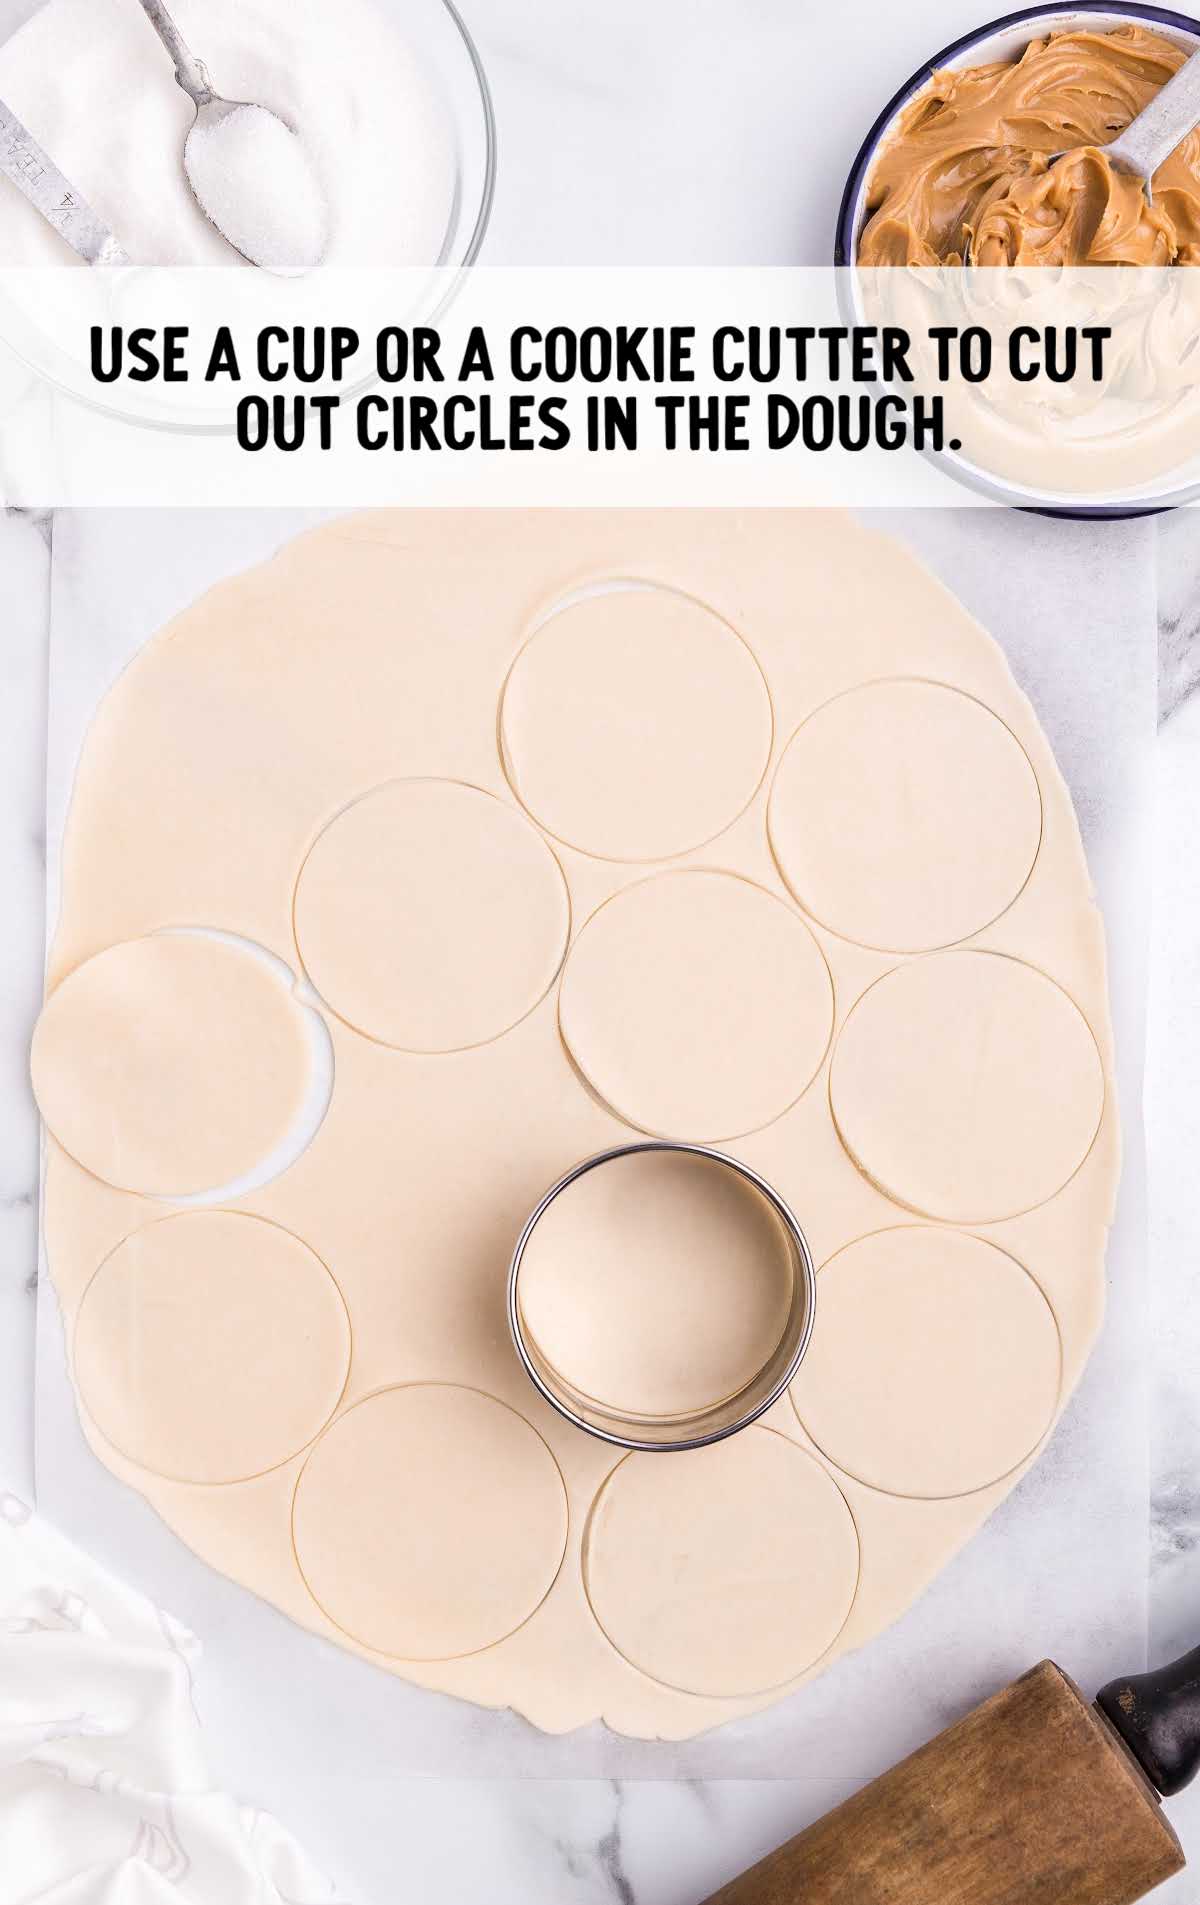
STEP THREE: Use a 3-inch round cookie cutter or a glass/jar to cut as many circles as you can fit from the crust.
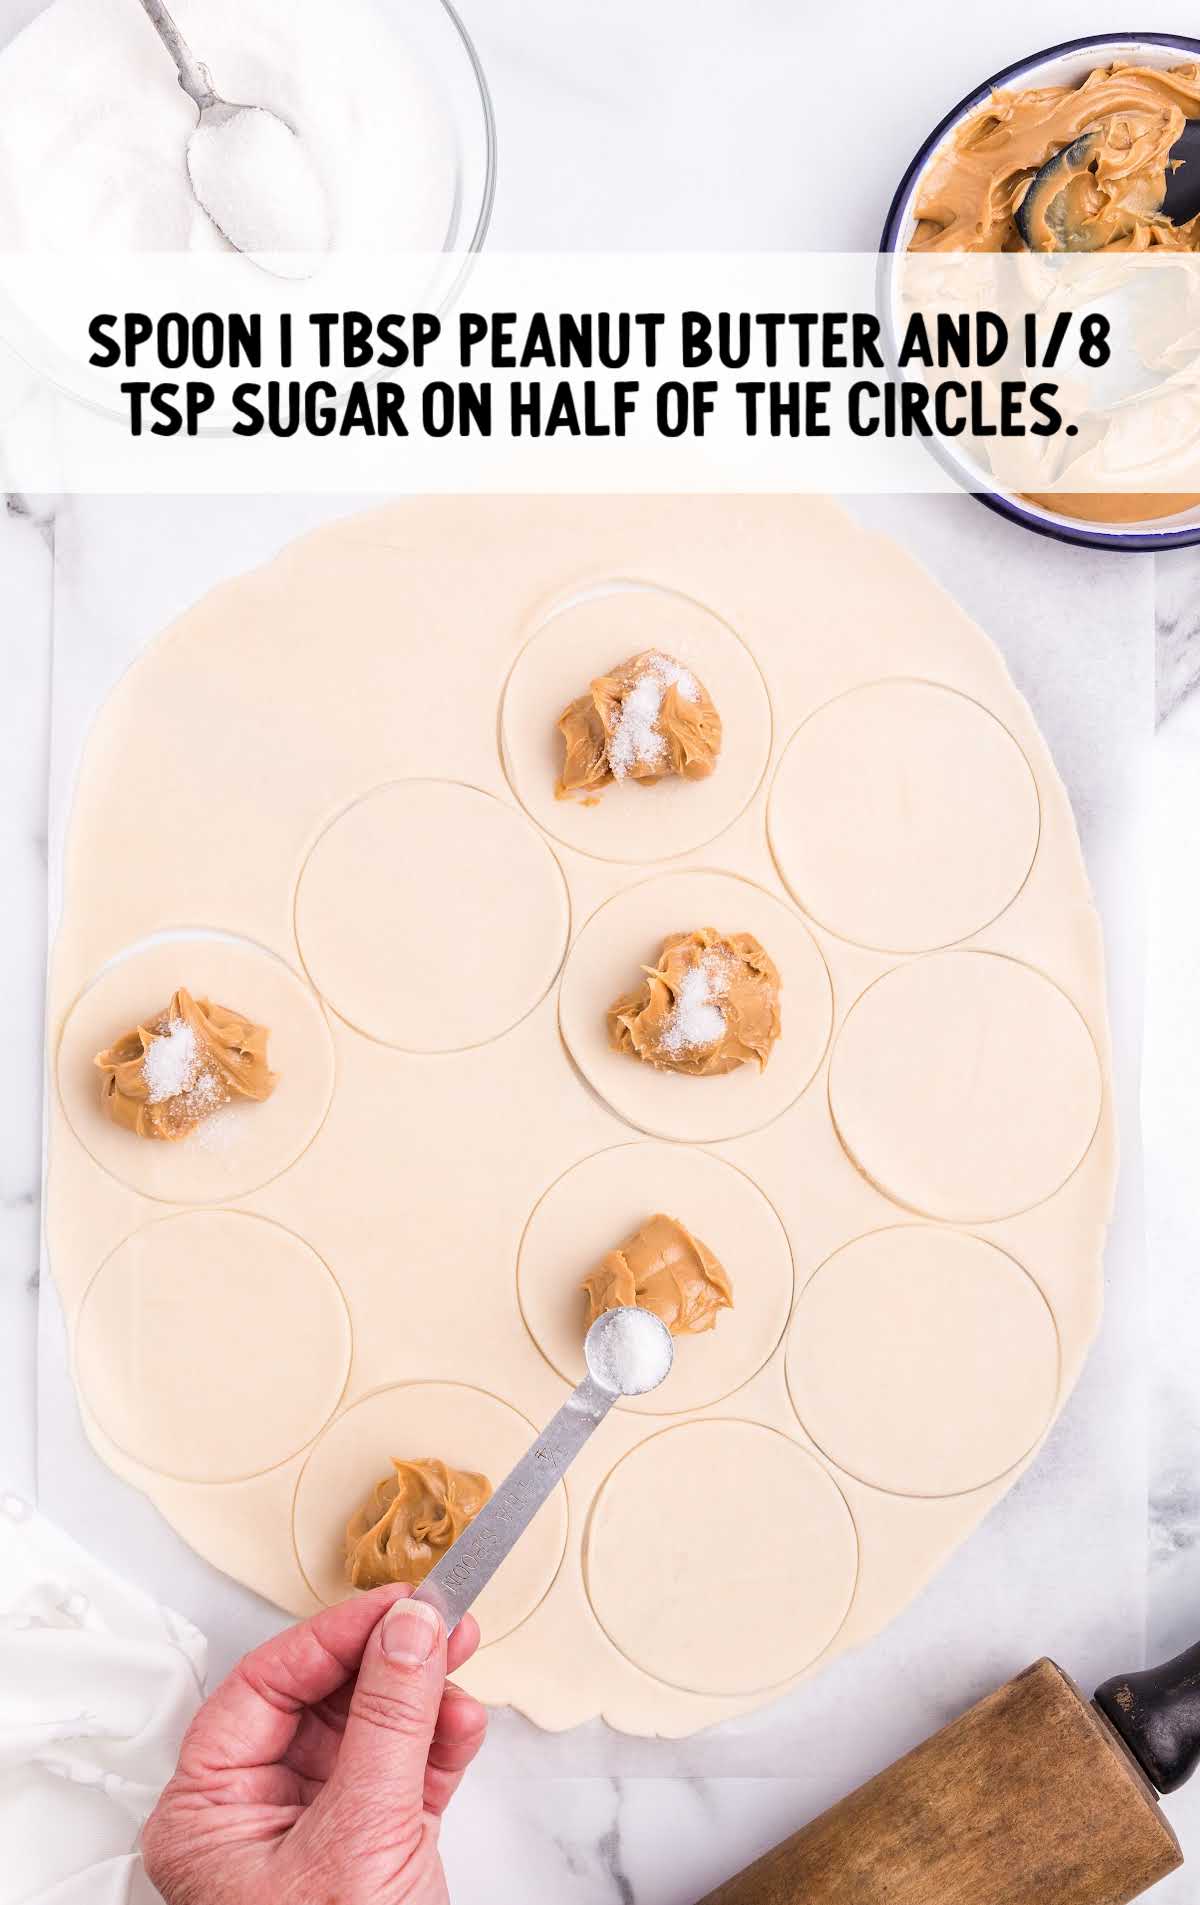
STEP FOUR: Spoon one tablespoon of creamy peanut butter onto the center of the round pie piece.
Sprinkle it with ⅛ teaspoon of granulated sugar, making sure the sugar stays right on the peanut butter and does not spread to the edges of the pie crust.
This will prevent the top from sealing to the bottom piece when we sandwich them together.
OUR RECIPE DEVELOPER SAYS
The best way to get the lava effect is with a big dollop of peanut butter in the center and to be sure to smush the edges of the pie crust together really well.
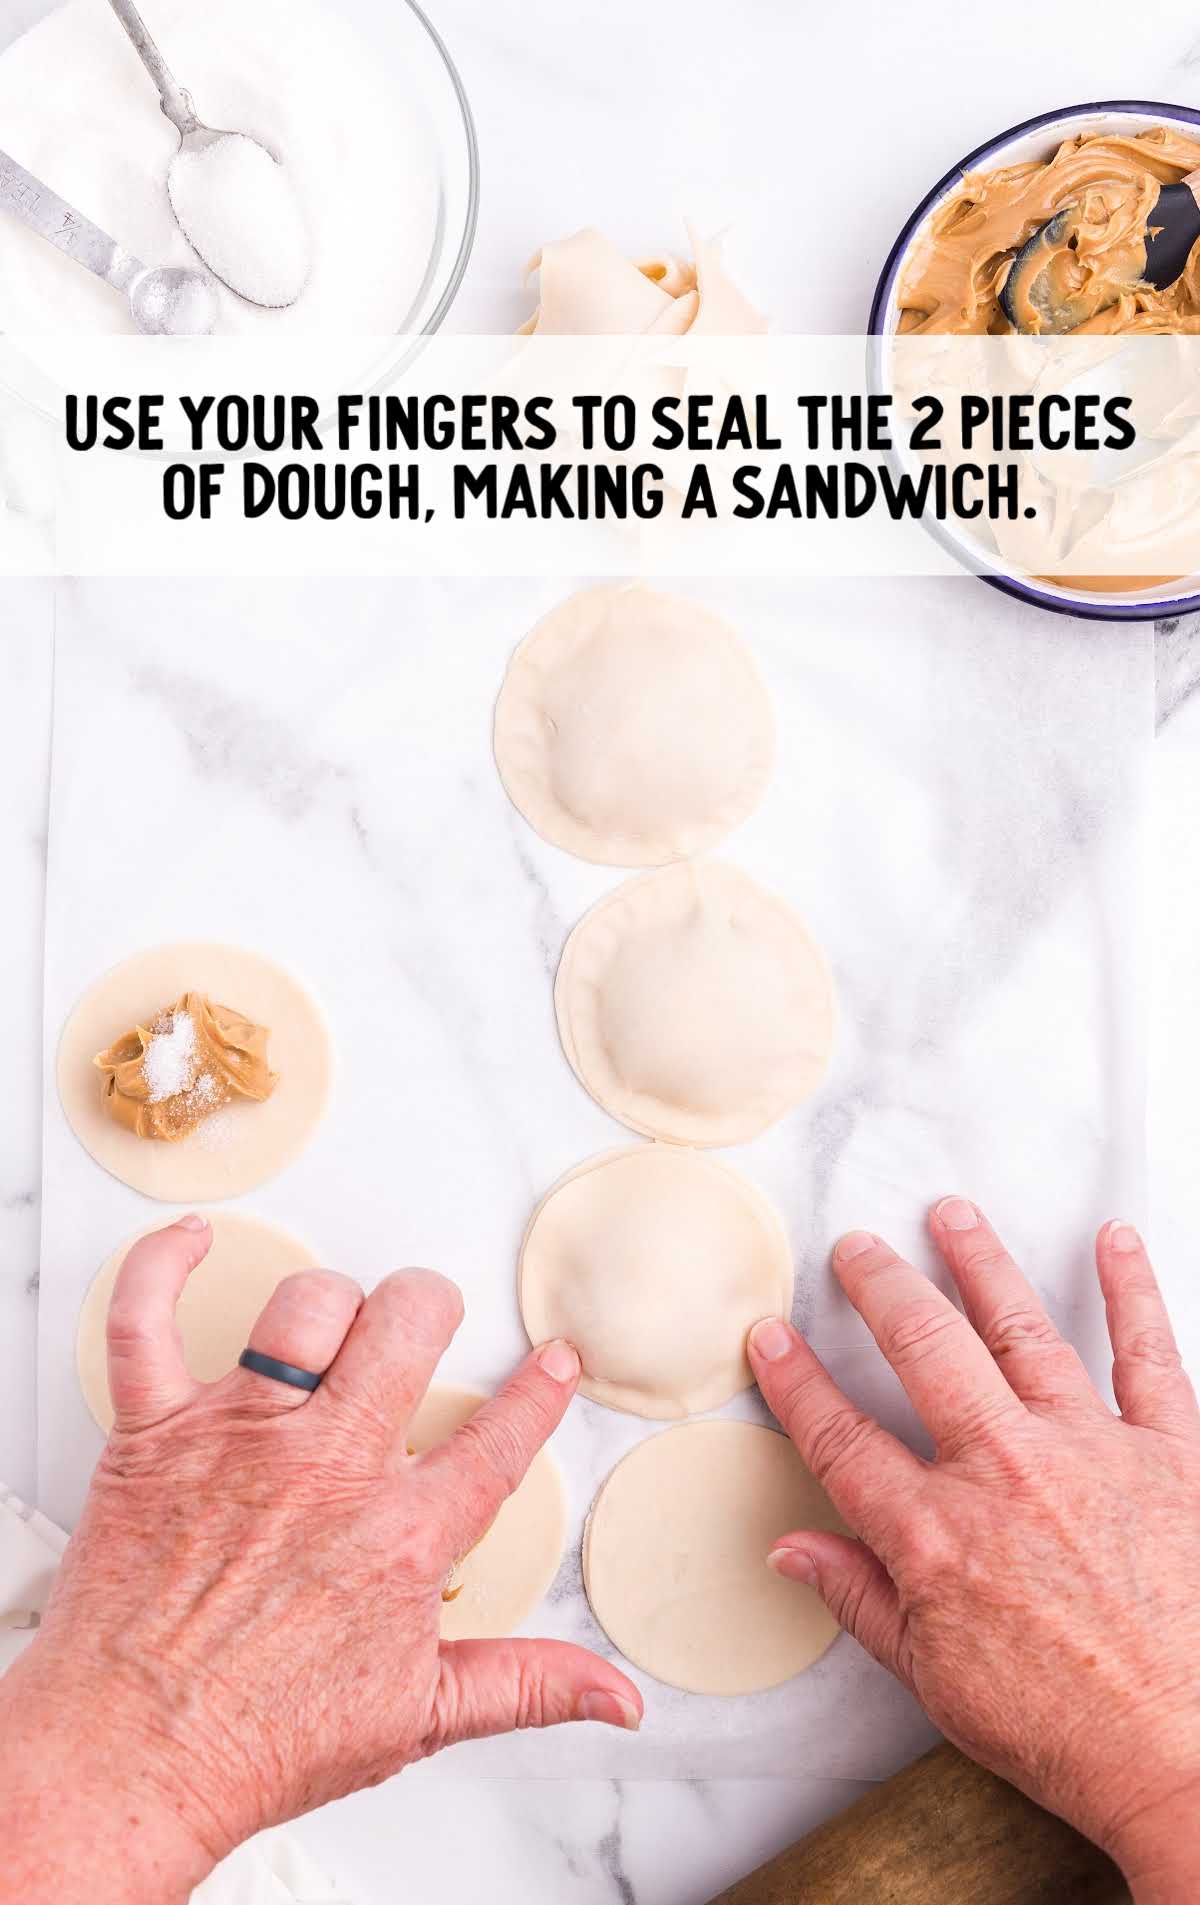
STEP FIVE: Place a second pie circle over the first to form a sandwich. Use your fingers to pinch the edges together firmly all the way around the cookie.
PRO TIP:
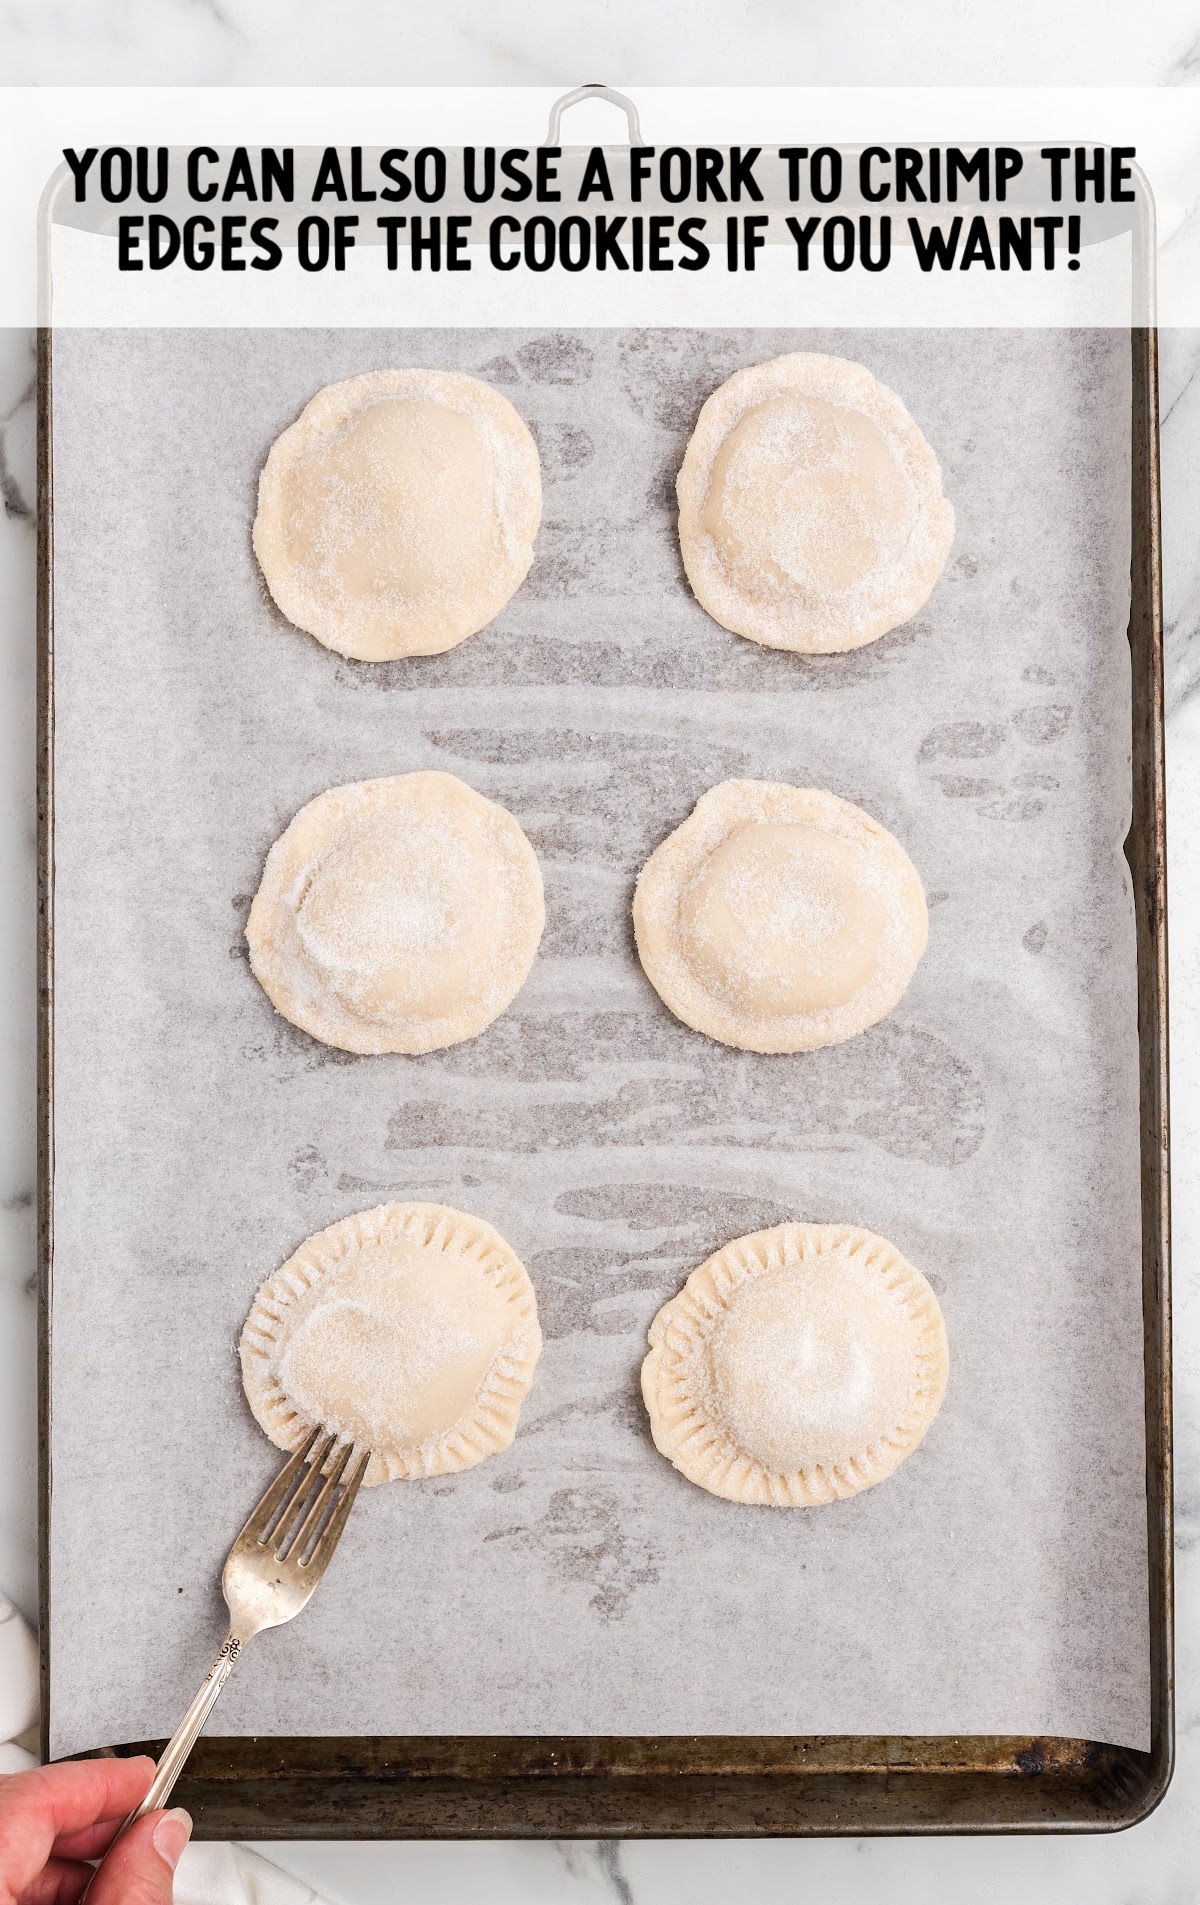
You can also use the tips of a fork to crimp and seal each cookie.
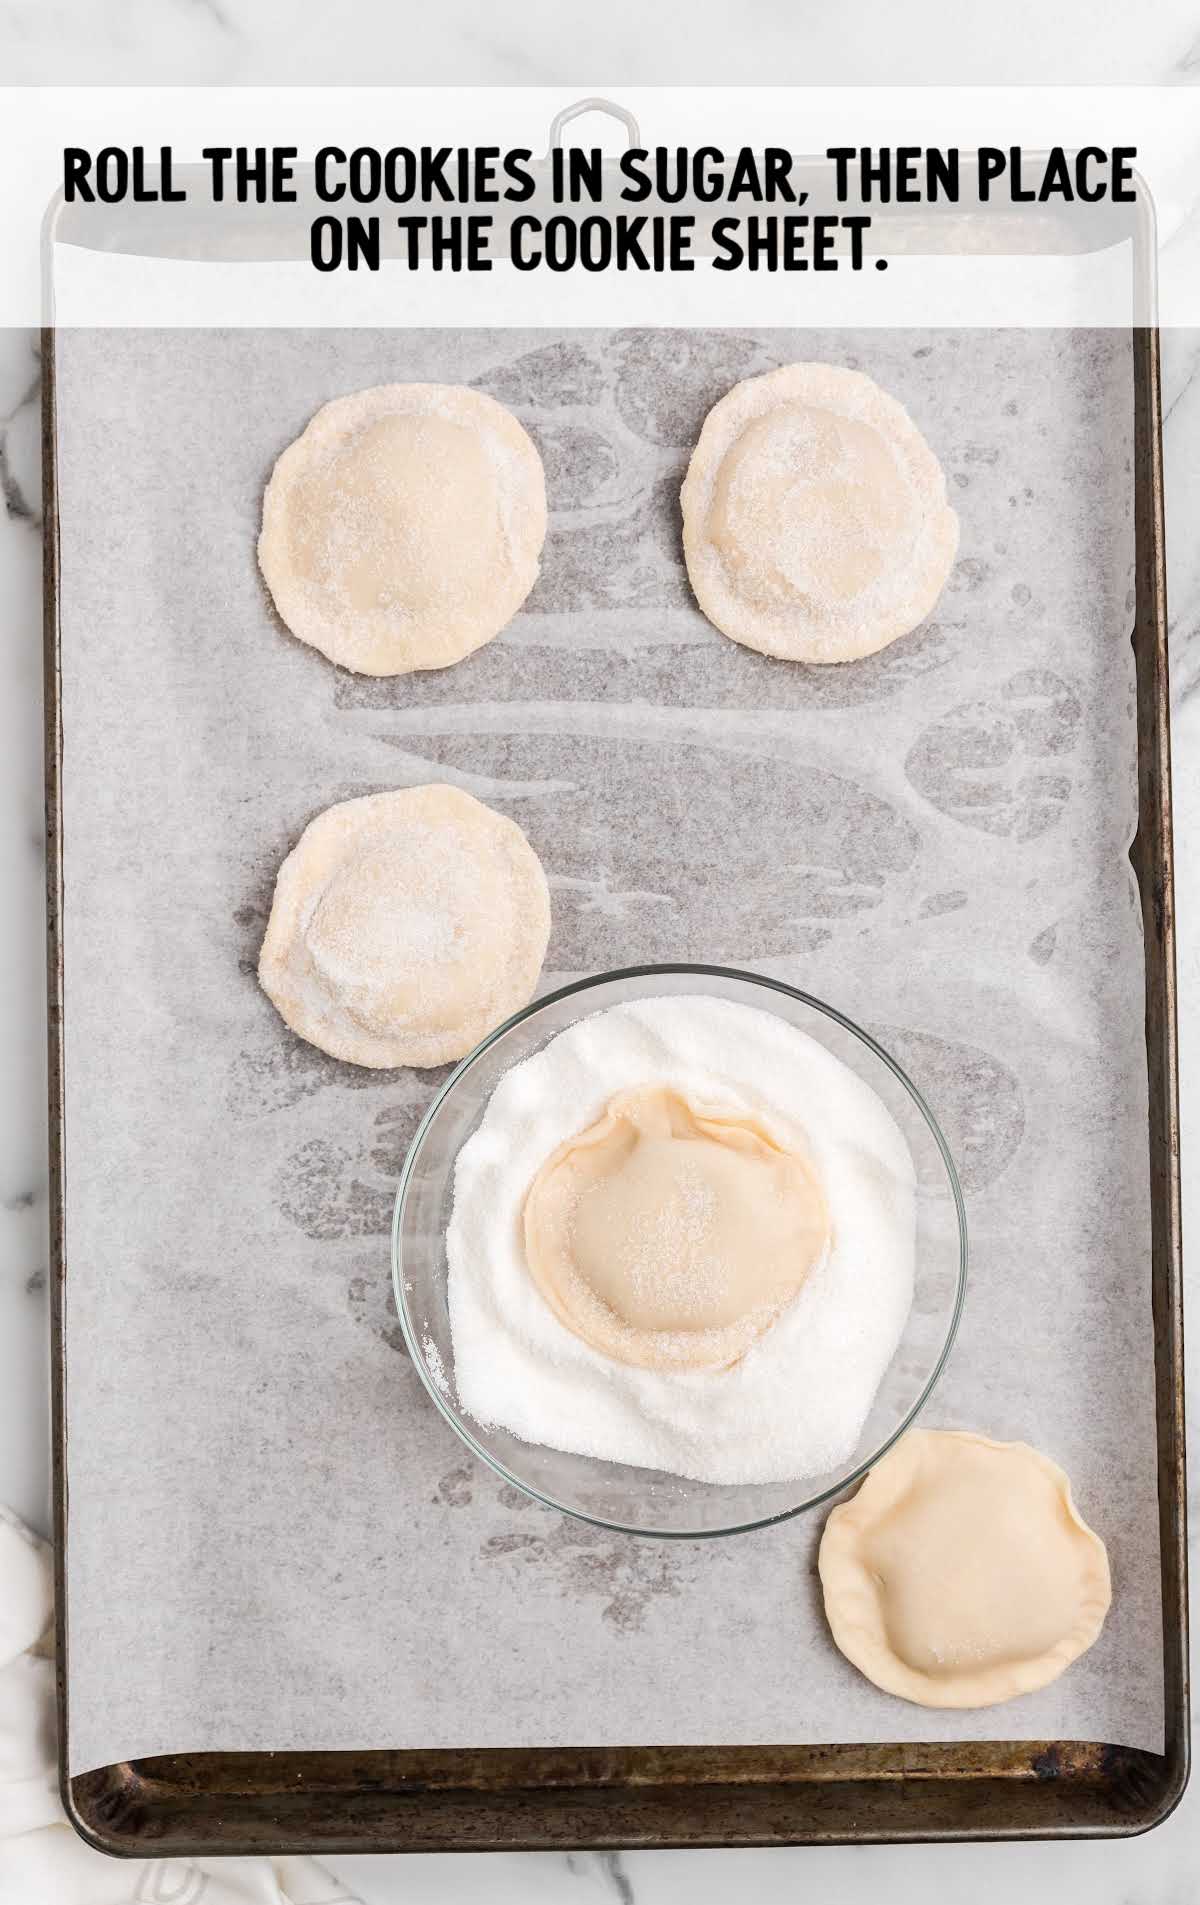
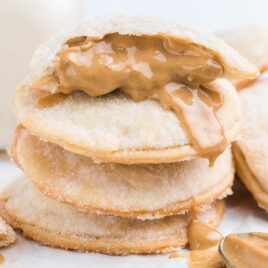
STEP SIX: Gently toss the formed cookie in granulated sugar and place it on a baking sheet lined with parchment paper.
PRO TIP:
The sugar on the inside and this double coating of sugar on the outside helps sweeten these cookies up. The pie crust doesn’t tend to be sweet enough for a good flavor.
STEP SEVEN: Repeat for the remaining pie crust pieces. Collect the excess pie crust, press it into a ball, and re-roll to form additional rounds.
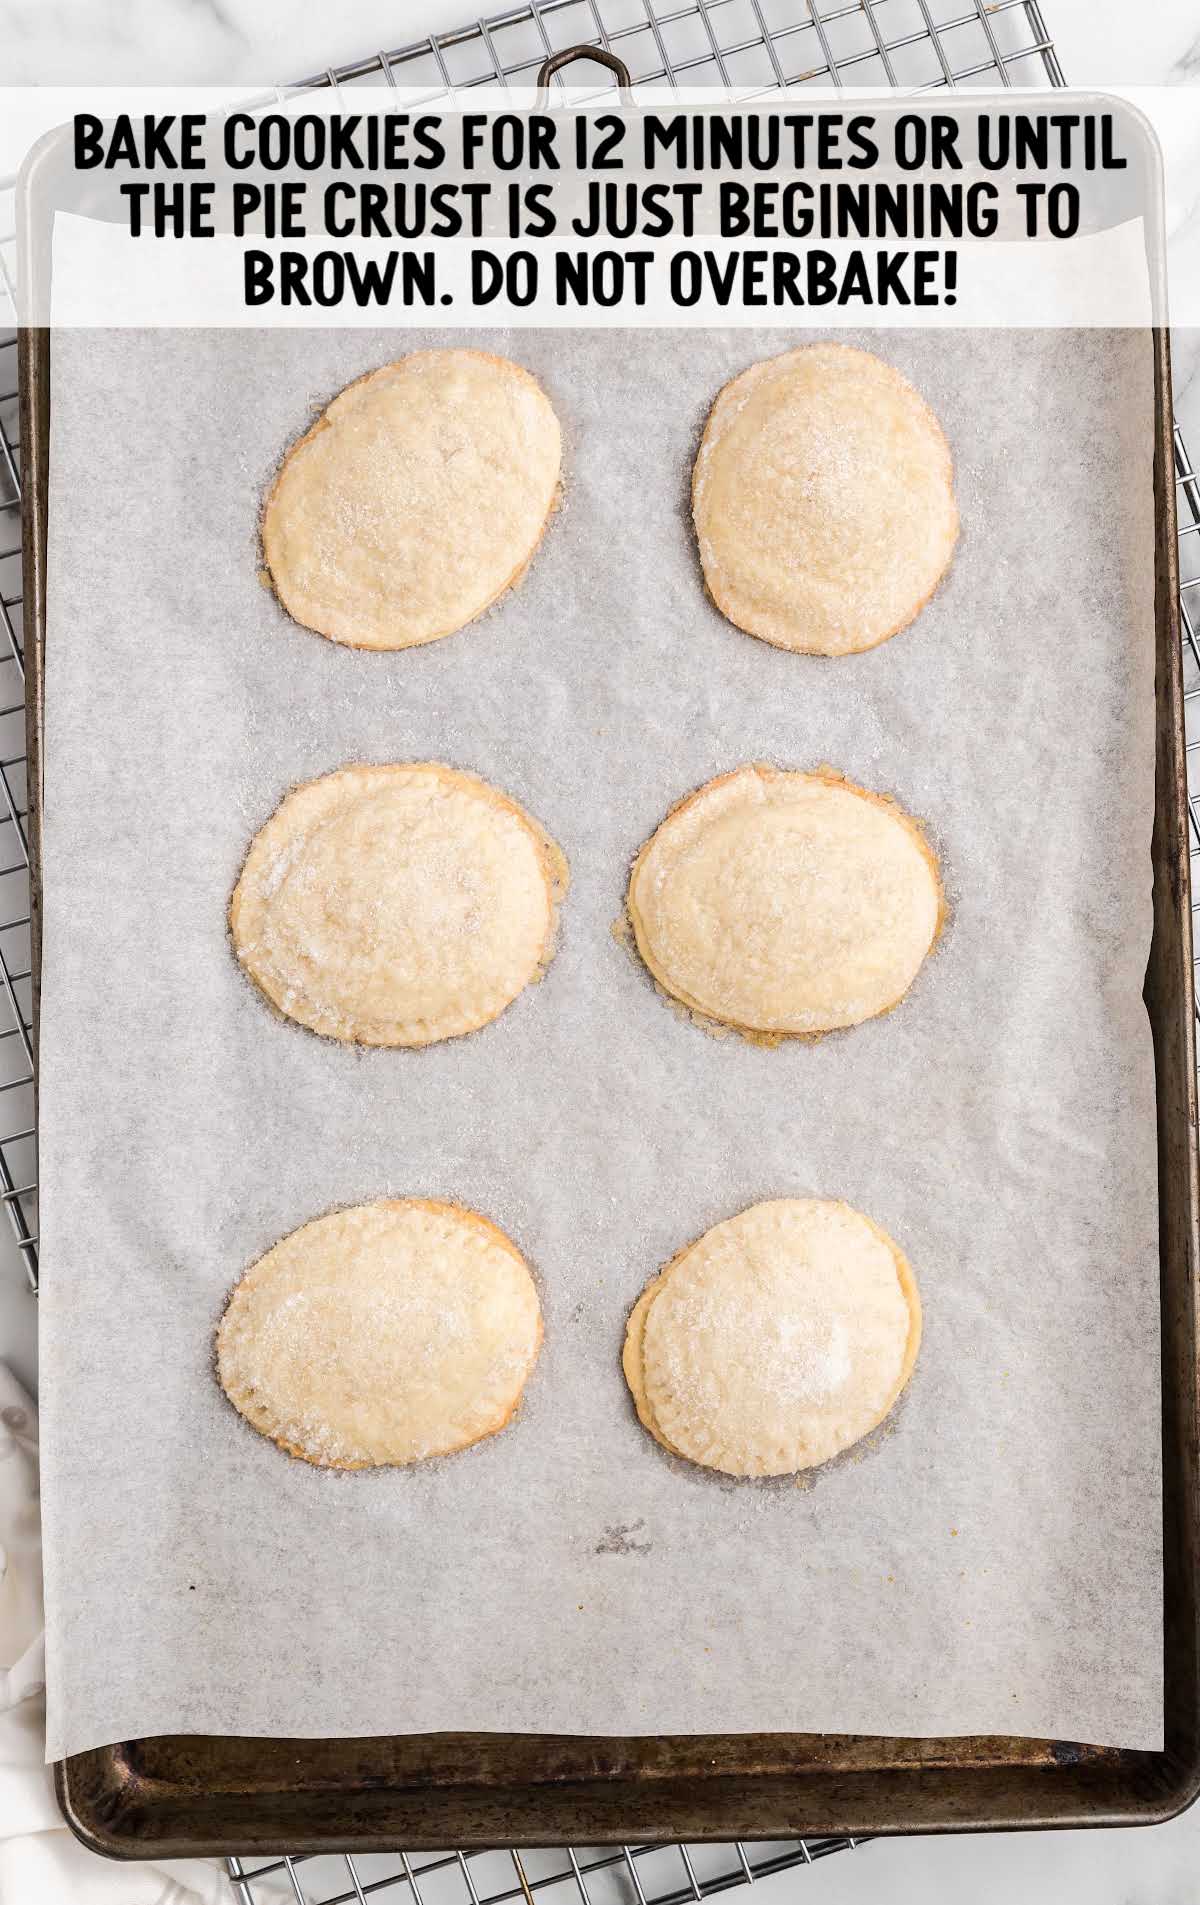
STEP EIGHT: Bake cookies for 12 minutes until the pie crust is flaky and just beginning to brown. Do not overbake.
PRO TIP:
Oven temperatures vary and may need to be recalibrated periodically to ensure they are accurate. Make sure to keep a close eye on your cookies as the suggested baking time approaches.
STEP NINE: While the cookies are baking, repeat the above steps with the other roll of pie crust.
STEP TEN: Remove from the oven and let cool for just a few minutes before serving.
Be careful because the peanut butter will still be very hot while in the “lava” state.
The peanut butter in the center remains in a lava state while the cookies are warm and firm up as they cool.
PRO TIP
No matter what kind of peanut butter you use or how much you put in there, the lava effect comes from being warm and melty, so once the cookies cool down, the peanut butter goes back to its room temperature state.
How To Serve
This sinfully decadent dessert is amazing on its own. Serve with a cold glass of milk to wash it down.
Or, you can turn it into an even more indulgent dessert with a scoop of vanilla ice cream on the side and a drizzle of hot fudge on the top.
Peanut butter lovers, you are in luck. We have a couple more easy peanut butter cookie recipes to share with you.
We love these chocolate peanut butter cookies for the chocolate lover out there and these peanut butter no-bake cookies. Both recipes are creamy and delicious!
MORE COOKIES RECIPES
Storage
IN THE FRIDGE: You can store them in an airtight container for up to two days, but these are really at their peak when they are still warm straight out of the oven.
IN THE FREEZER: These cookies don’t do well in the freezer because they are meant to be served warm.
If stored for too long, the peanut butter will harden completely and lose its lava effect.
With just three items on the ingredients list, these are the easiest peanut butter lava cookies you’ll ever make. Bake and serve these straight out of the oven for a gooey and delicious molten dessert.
Frequently Asked Questions
Either a 3-inch cookie cutter or glass would work fine. A ring top from a mason jar would also work if the size is right.
The oils in natural peanut butter do not give the oozing lava effect we want for these cookies. Stick to regular peanut butter for this recipe.
These cookies will not freeze well. They are meant to be served warm, and the peanut butter will harden and lose the lava effect once frozen. Since this recipe is so easy to make, it is best to stick to enjoying them right after they are baked.
More Recipes You’ll Love
- Peanut Butter Cookies
- Chocolate Peanut Butter No Bake Cookies
- S’mores Stuffed Cookies
- Rocky Road Cookies

Peanut Butter Lava Cookies
Ingredients
- 14 ounce package premade pie crust, 2 crusts
- 14 tablespoons creamy peanut butter (We used JIF Original, and it worked best for the lava)
- 1 cup granulated sugar
Instructions
- Preheat the oven to 400°F. Set out the pie crusts until they are at room temperature. Refer to the package instructions for time requirements.
- On a piece of parchment paper, unroll/unfold one pie crust layer. Roll slightly with a rolling pin to achieve a crust just a bit thinner than it comes in the package, it should be 1/16 to ⅛ of an inch.
- Use a 3-inch round cookie cutter or a glass/jar to cut as many circles as you can fit from the crust.
- Spoon 1 tablespoon of creamy peanut butter onto the center of the round pie piece. Sprinkle with ⅛ teaspoon of granulated sugar, making sure the sugar stays right on the peanut butter and does not spread to the edges of the pie crust. This will prevent the top from sealing to the bottom piece when we sandwich them together.
- Place a second pie round over the first to form a sandwich. Use your fingers to pinch the edges together firmly all the way around the cookie.
- Gently toss the formed cookie in granulated sugar and place it on a baking sheet lined with parchment paper.
- Repeat for the remaining pie crust pieces. Collect the excess pie crust, press it into a ball, and re-roll to form additional rounds.
- Bake cookies for 12 minutes until the pie crust is flaky and just beginning to brown. Do not over bake.
- While the cookies are baking, repeat the above steps with the other roll of pie crust.
- Remove from the oven and let cool for just a few minutes before serving. The peanut butter in the center remains in lava state while the cookies are warm and will firm up as they cool.
Video
Notes
- The best way to get the lava effect is with a big dollop of peanut butter in the center and to be sure to smush the edges of the pie crust together really well.
- You can also use the tips of a fork to crimp and seal each cookie.
- The sugar on the inside and the double coating of sugar on the outside helps sweeten these cookies up. The pie crust doesn’t tend to be sweet enough for a good flavor.
- Oven temperatures vary and may need to be recalibrated periodically to ensure they are accurate. Make sure to keep a close eye on your cookies as the suggested baking time approaches.
- No matter what kind of peanut butter you use or how much you put in there, the lava effect comes from being warm and melty, so once the cookies cool down, the peanut butter goes back to its room temperature state.
Nutrition


Comments
Gloria says
These are AMAZING… the melted peanut butter in the middle is irresistible!
SHIRL says
Gotta try these !
Karen Roberts says
Can these be reheated to get the lava effect back after they have cooled?
Layne Kangas says
You could try reheating – we ate them fresh so I am not sure if it will impact the quality if they are reheated later. Enjoy!
Ginny says
Next on my list.