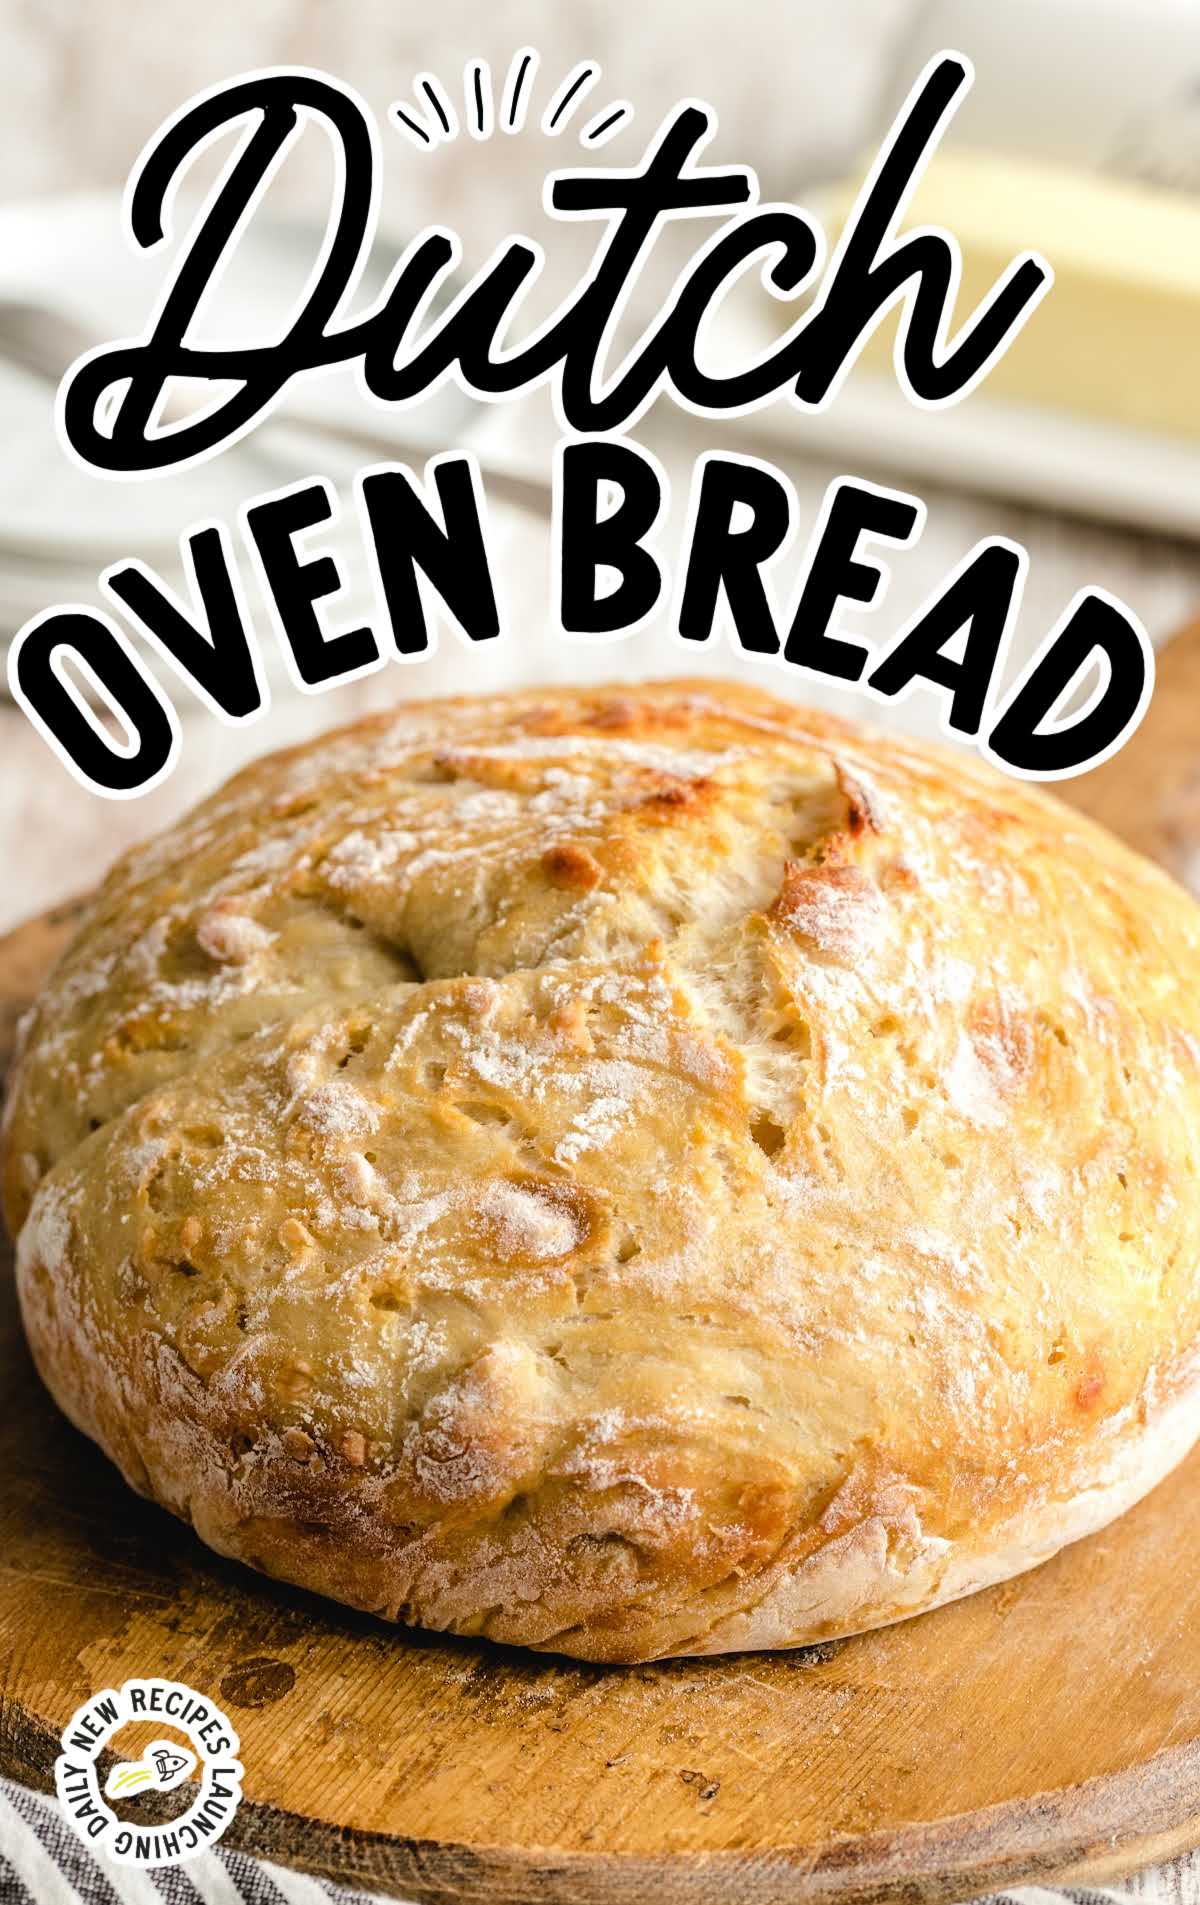
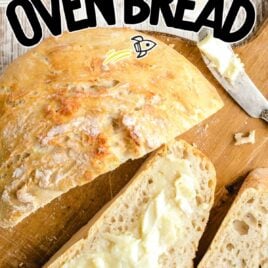
This recipe for Dutch oven bread is an easy way to bake artisan bread at home. Using a no-knead dough made with a handful of simple ingredients, it rises overnight and bakes into a fresh, homemade loaf of bread.
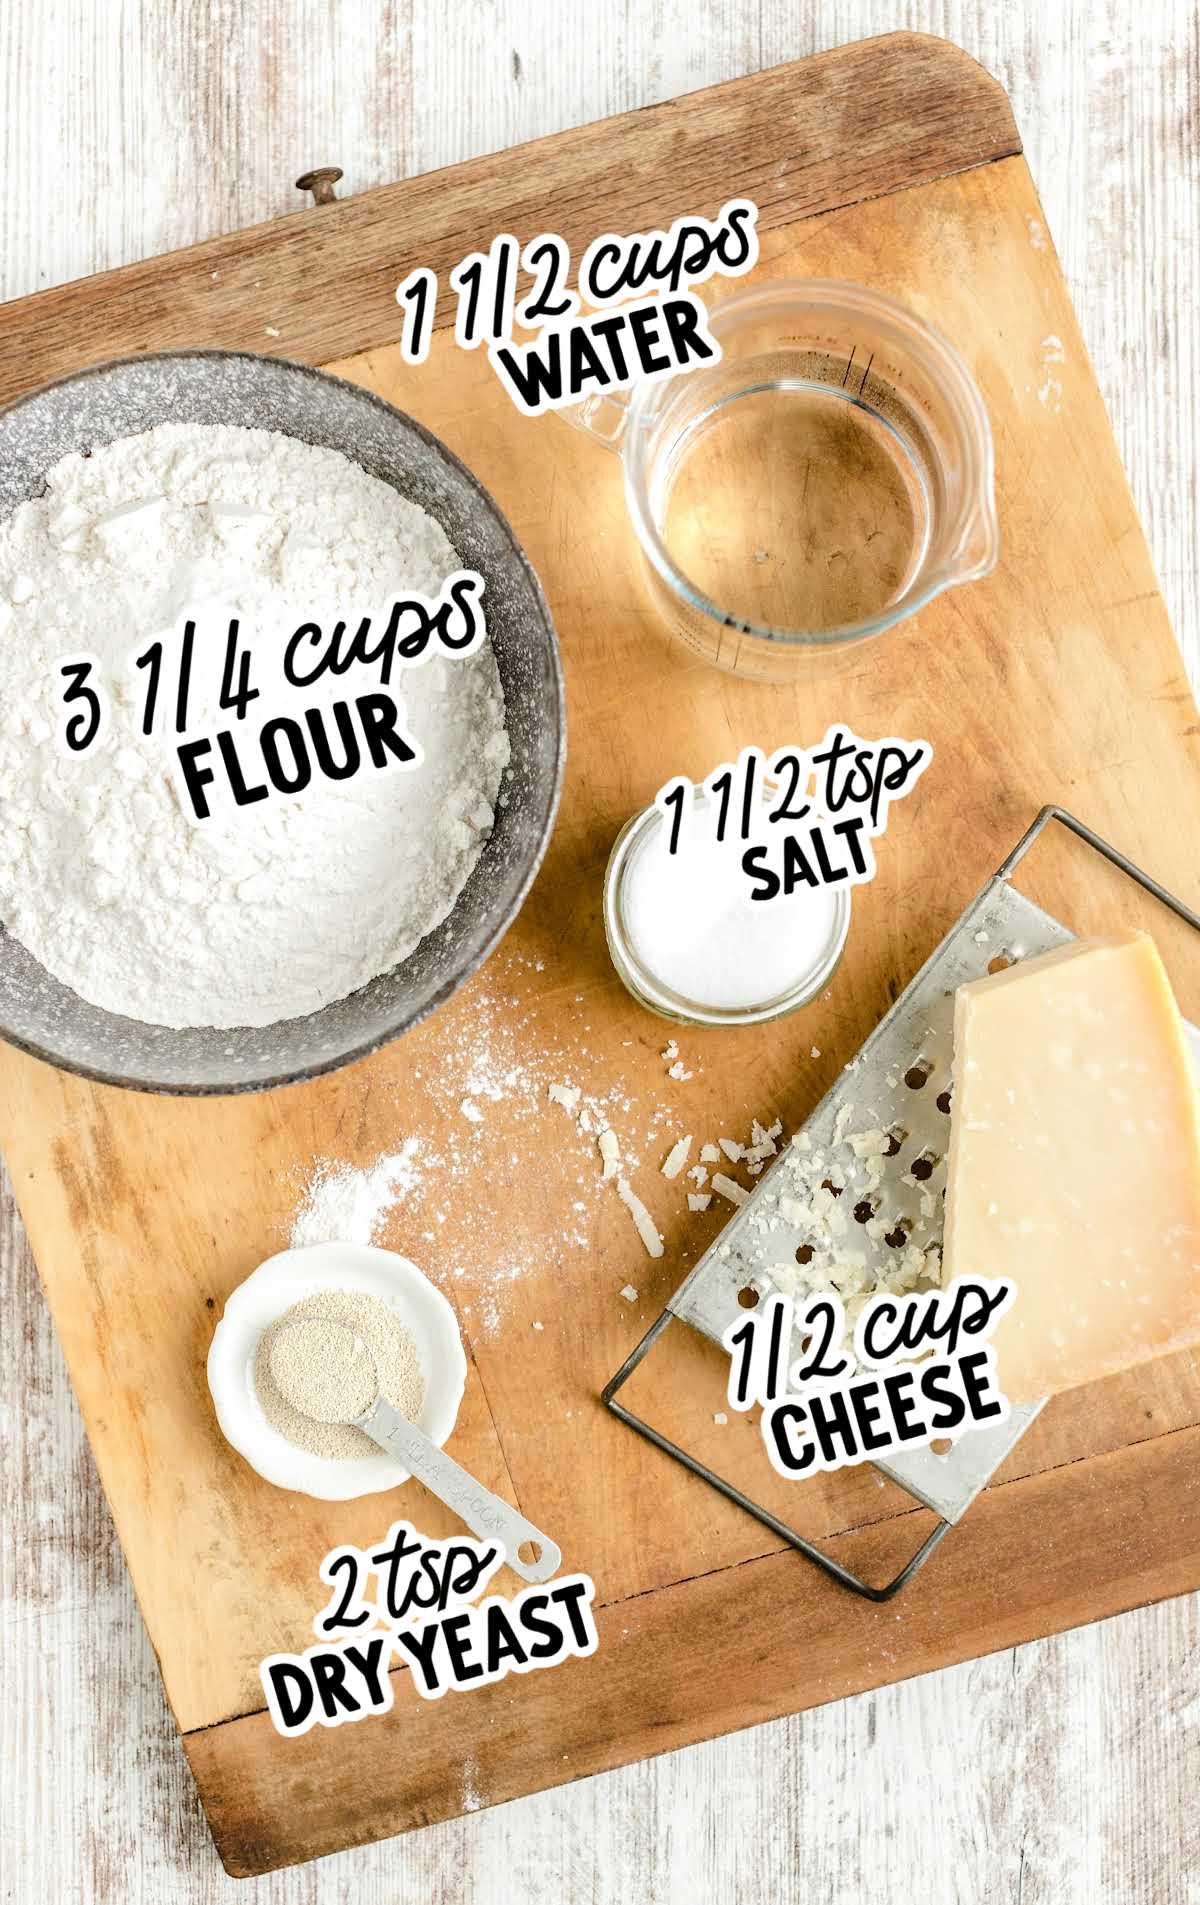
No Knead Bread Recipe Ingredients
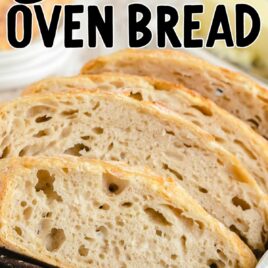
This Dutch oven bread recipe is a delightful blend of flavors with a chewy interior and crusty exterior.
The key ingredient is shredded parmesan cheese, which adds a rich, savory complexity, complemented by sea salt for balance.
You’ll need:
- 1½ cups of warm water (105°F)
- 2 teaspoons of active dry yeast
- 3 cups of all-purpose flour
- 1½ teaspoons of sea salt
- ½ cup of shredded parmesan cheese
- ¼ cup of flour, for cutting board
Dutch Oven Bread Substitutions And Additions
ITALIAN SEASONING: Add one to two teaspoons of Italian seasoning for a delicious herb flavor in this bread.
Fold in the seasoning after your bread rises and just before it goes into the oven.
ROSEMARY: Rosemary is our favorite herb to add to this bread! It adds just the right amount of flavor and goes well with the parmesan cheese.
Gently fold it into your bread right before it goes into the oven.
ROASTED GARLIC: Add a head of roasted garlic to turn this easy bread recipe into yummy garlic bread.
Once you’ve roasted your head of garlic, fold in the individual cloves to your risen bread.
FRESH HERBS: If you have any other herbs you’d like to try in this bread, you can get creative and give them a try.
Fold them into your risen bread before baking.
How To Make Bread In A Dutch Oven
We will walk you through the simple steps for making this easy bread recipe.
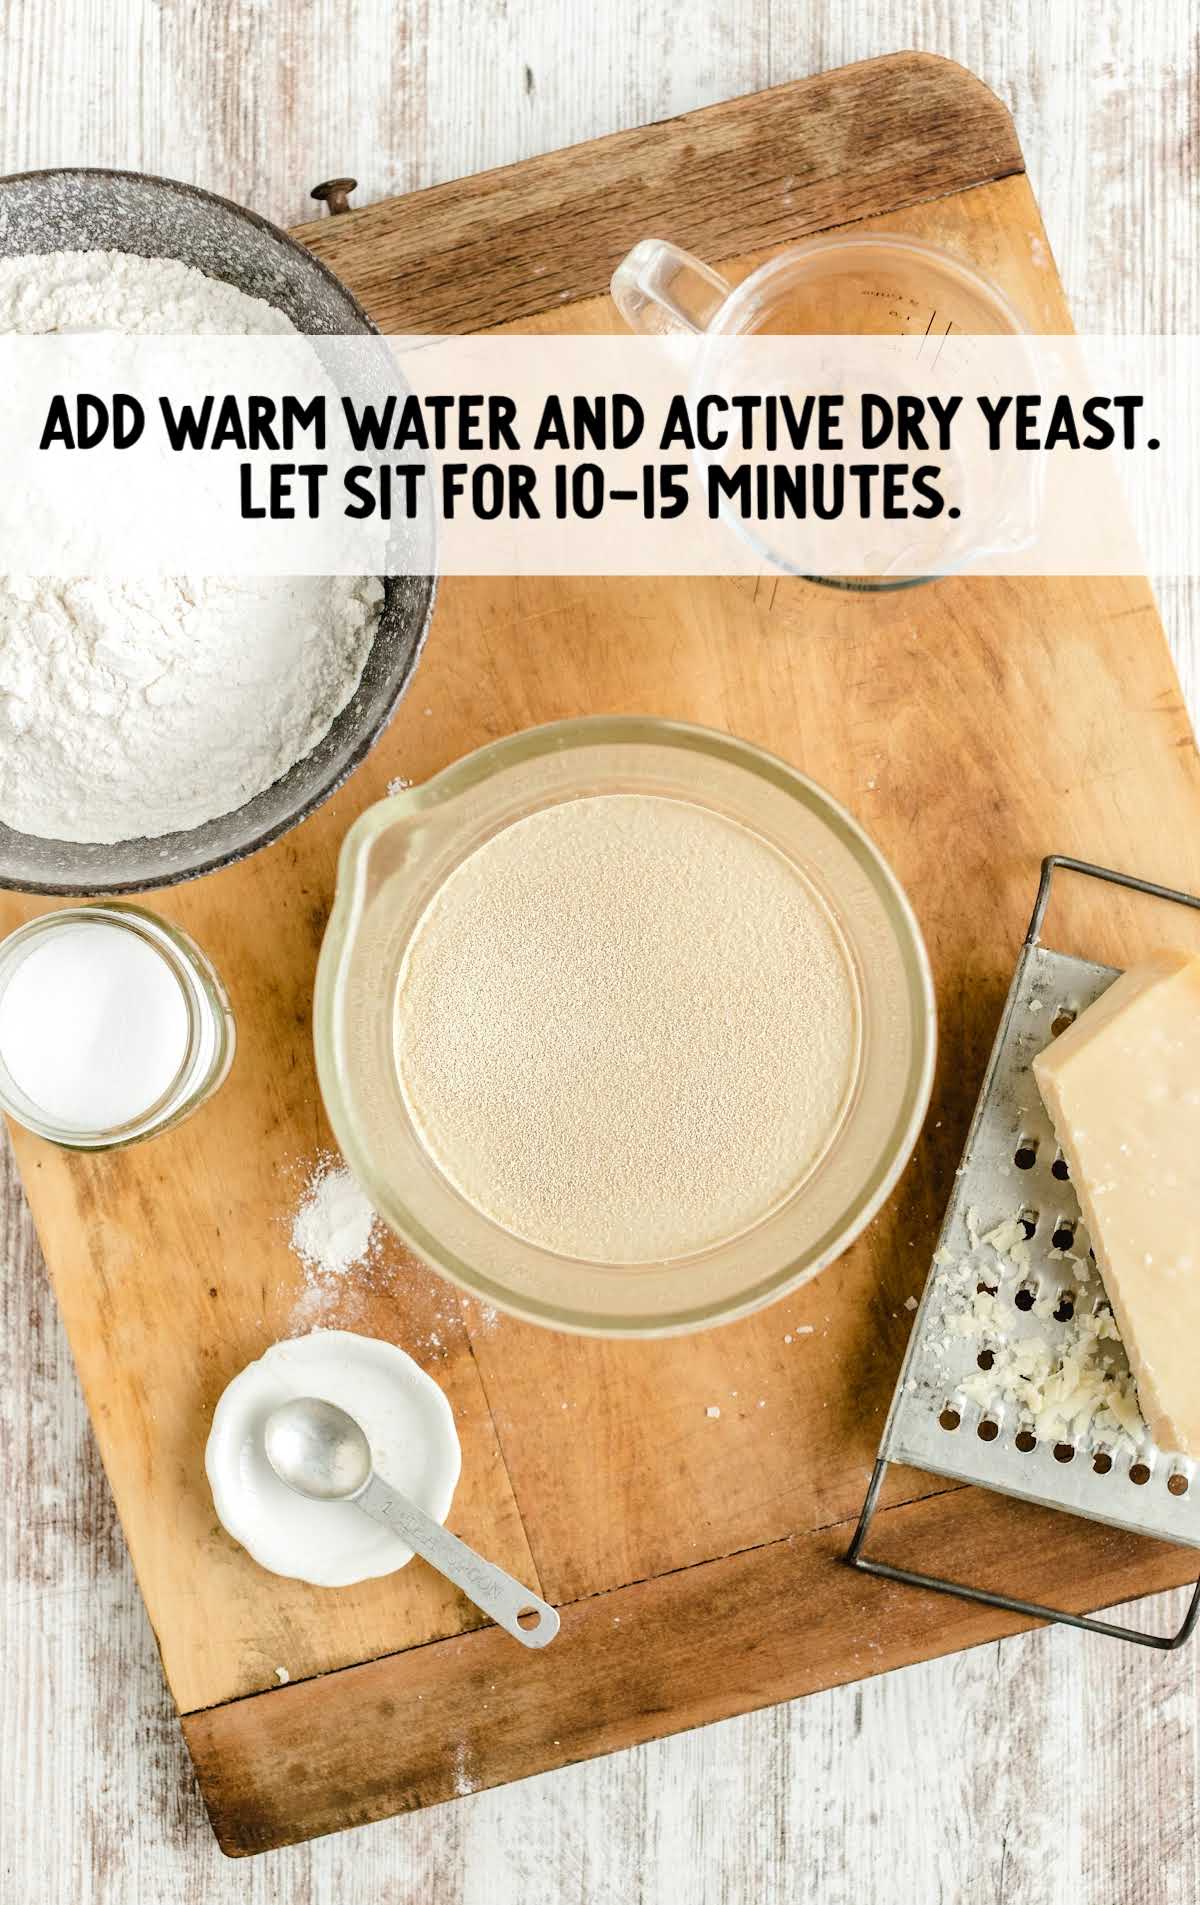
STEP ONE: In a small mixing bowl or measuring cup, add warm water and active dry yeast. Let it sit for 10 to 15 minutes.
OUR RECIPE DEVELOPER SAYS
Make sure you are using warm water (105°F) and not cold water to mix with your yeast. Cold water will not activate the yeast and your dough won’t rise.
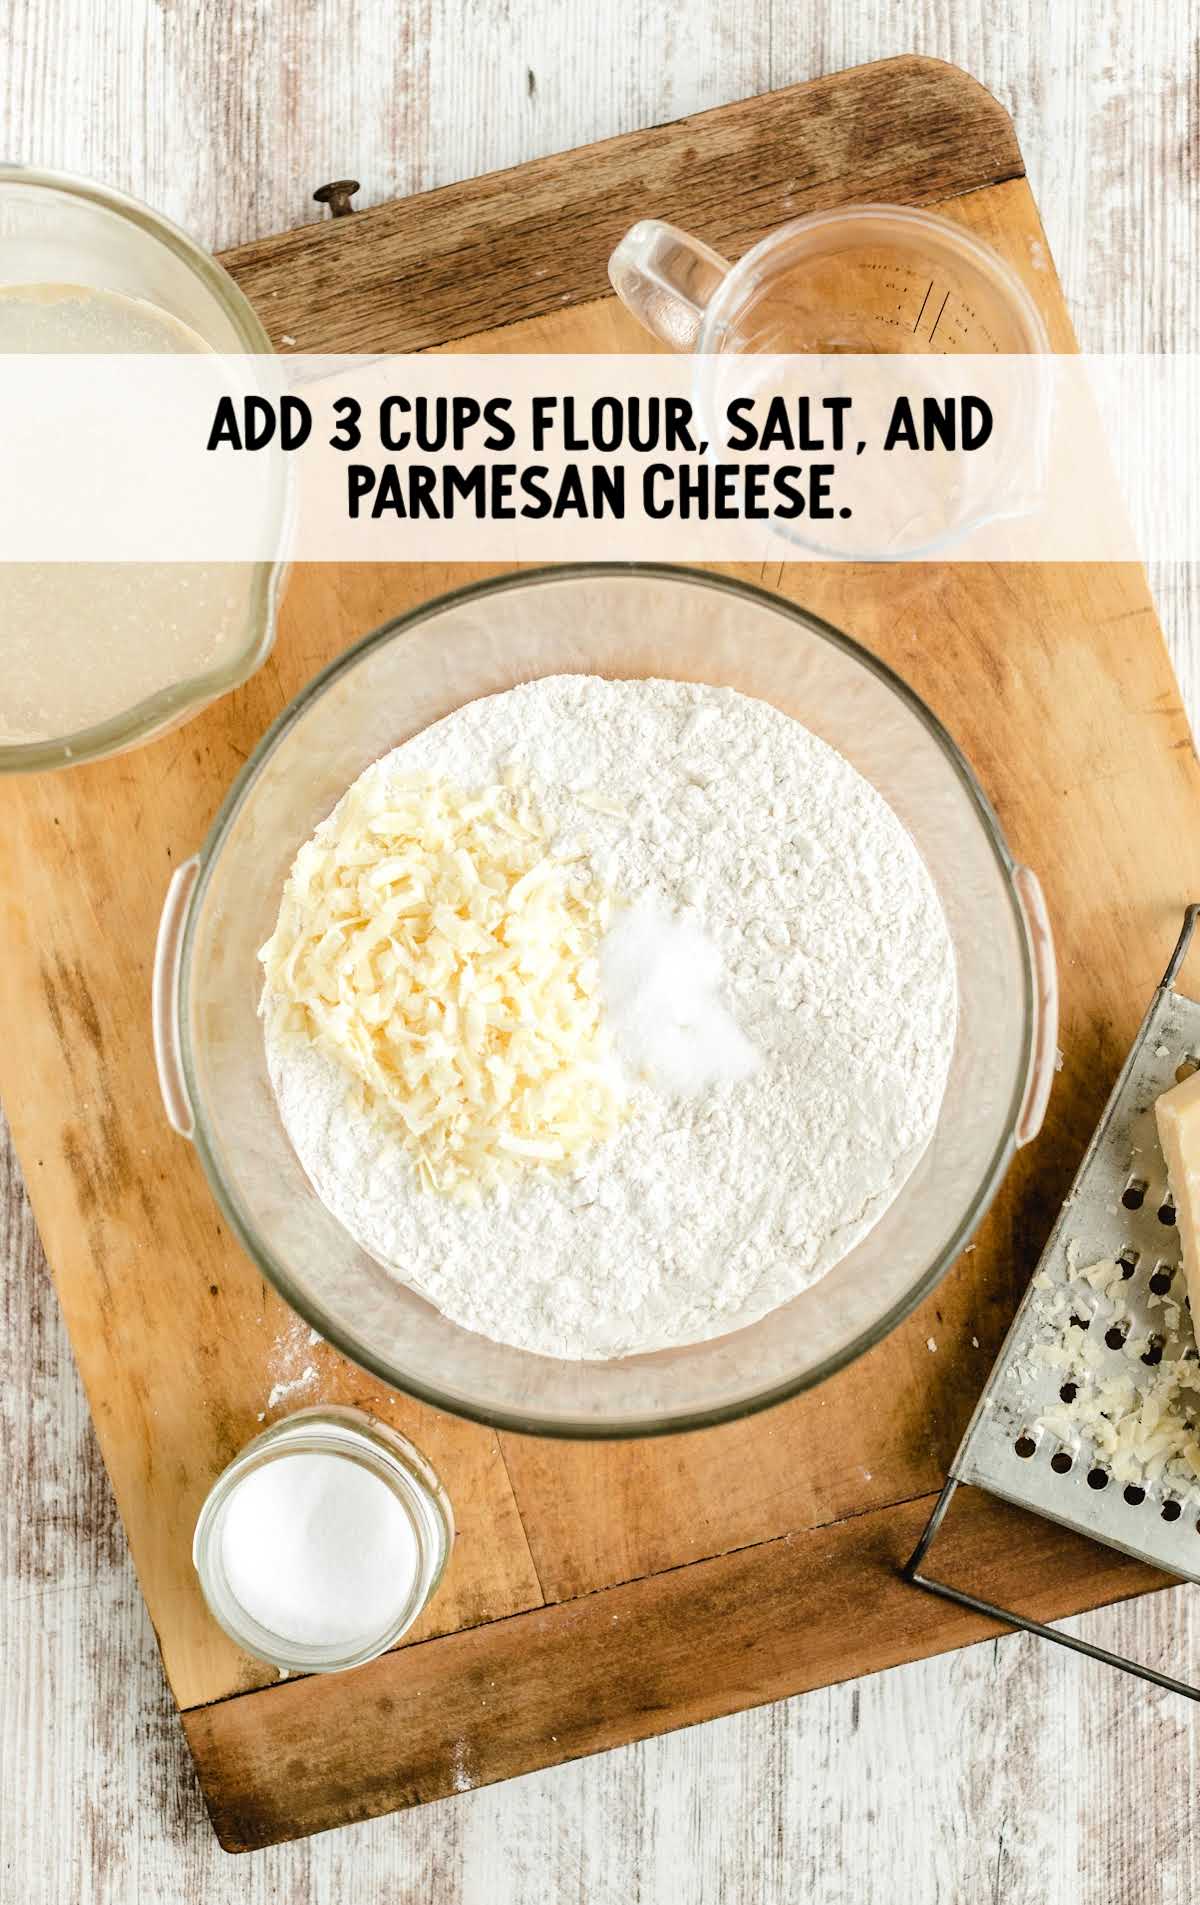
STEP TWO: In a large bowl, add three cups of flour, salt, and parmesan cheese.
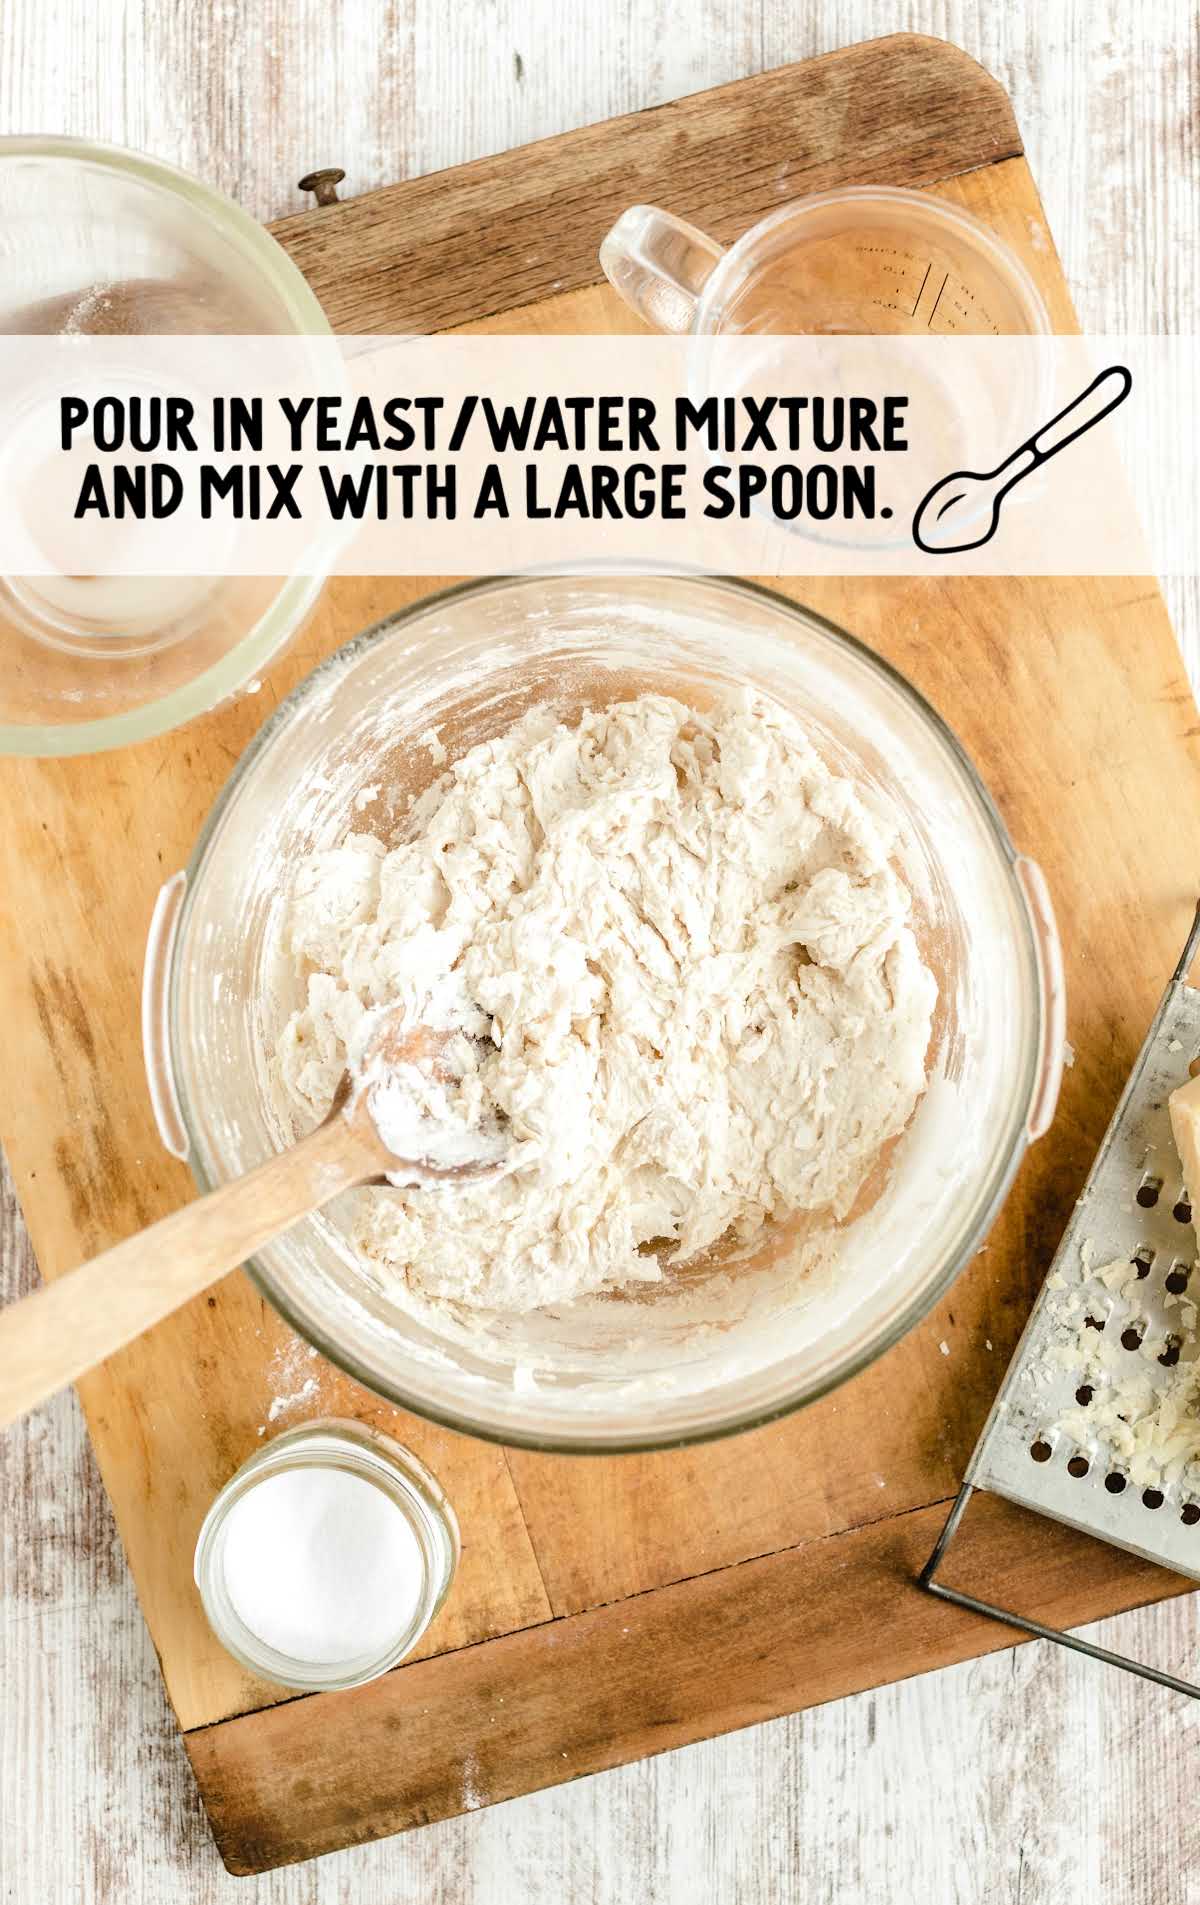
STEP THREE: Pour the yeast mixture into the bowl with the dry ingredients and mix with a large wooden spoon.
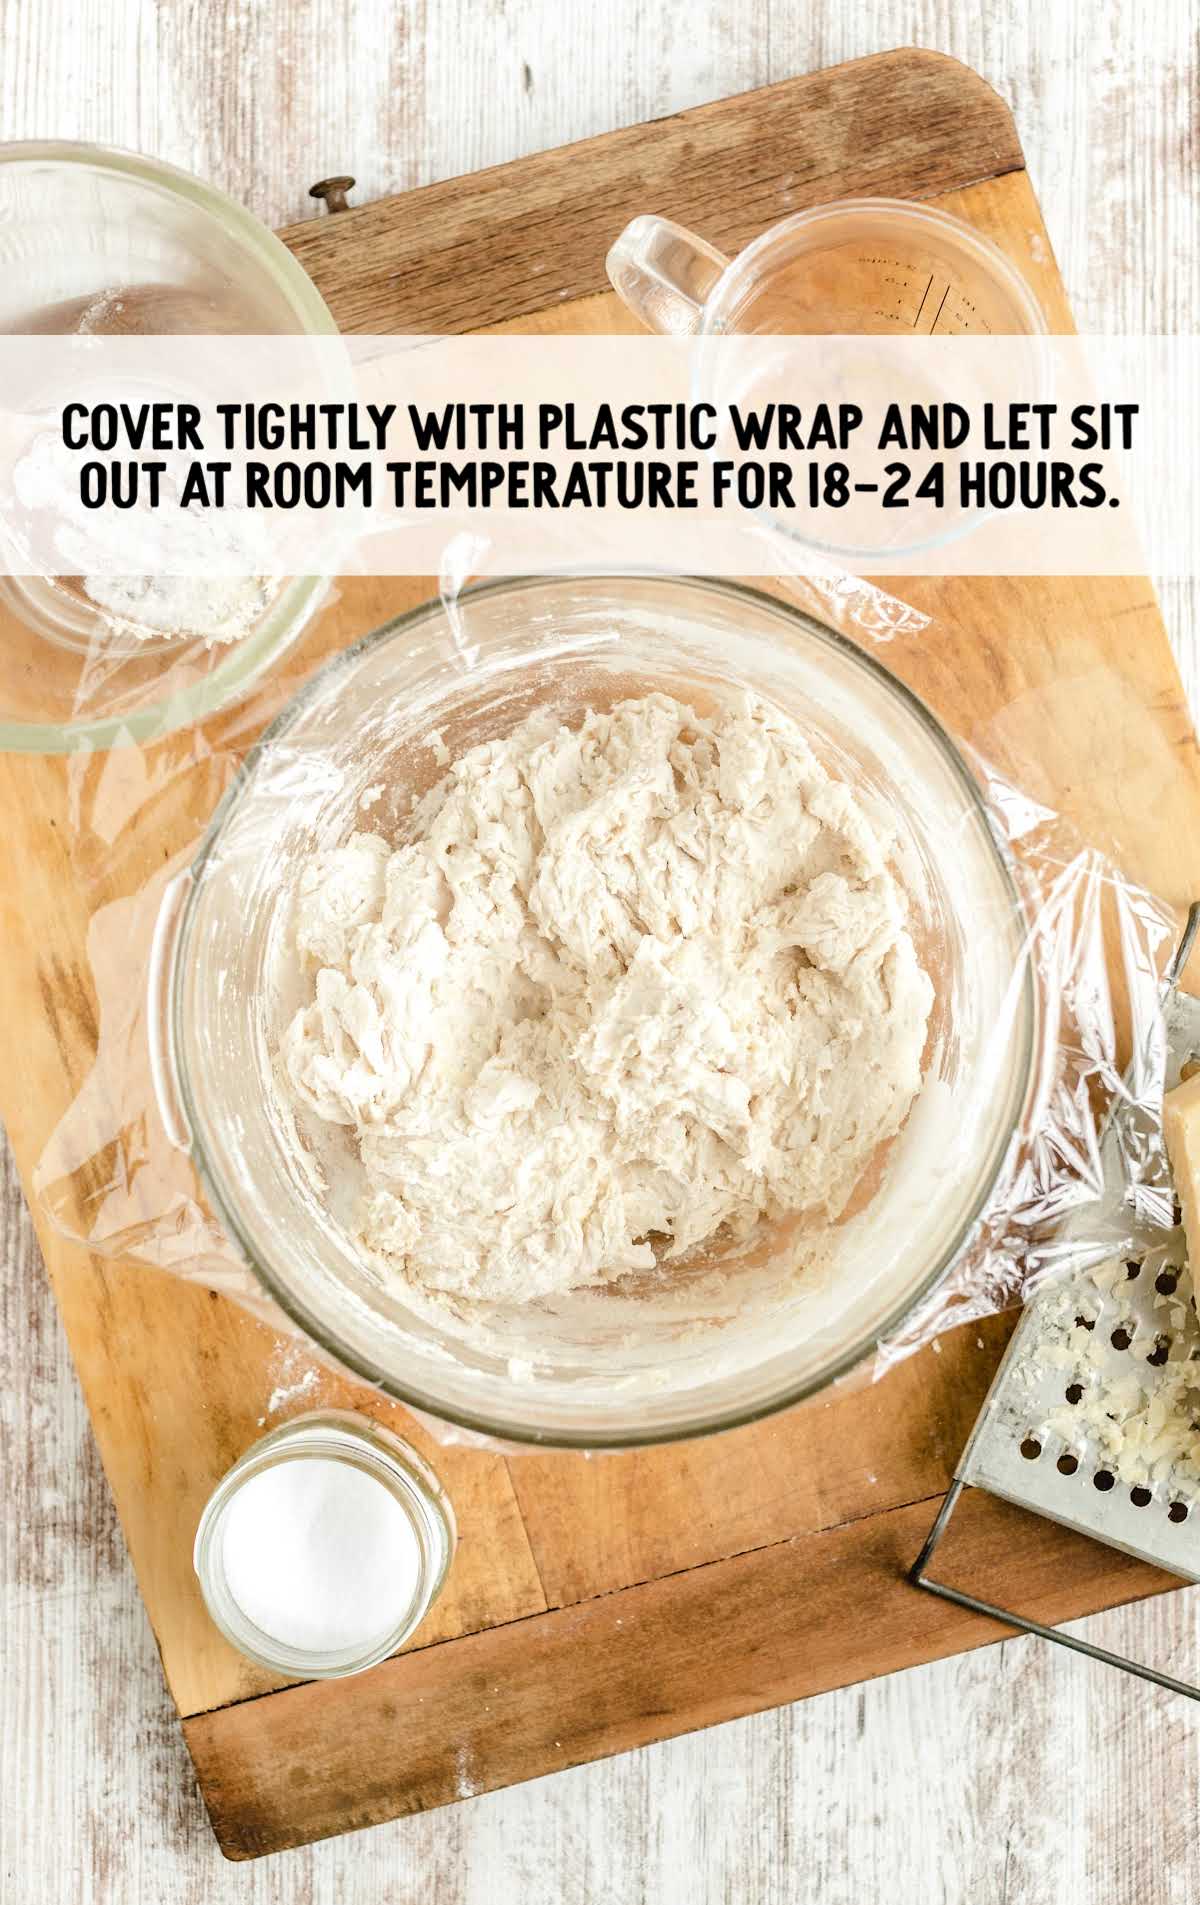
STEP FOUR: Cover the bowl tightly with plastic wrap and let it sit at room temperature for 18 to 24 hours.
STEP FIVE: When ready to bake the bread, preheat the oven to 450°F.
Place a 3-quart Dutch oven with the lid on in the oven and let it heat up as the oven preheats.
PRO TIP:
You can also use a regular-sized Dutch oven, it will produce a flatter result than above as it will have more room to spread out.
STEP SIX: On a large cutting board, sprinkle about a quarter cup of flour.
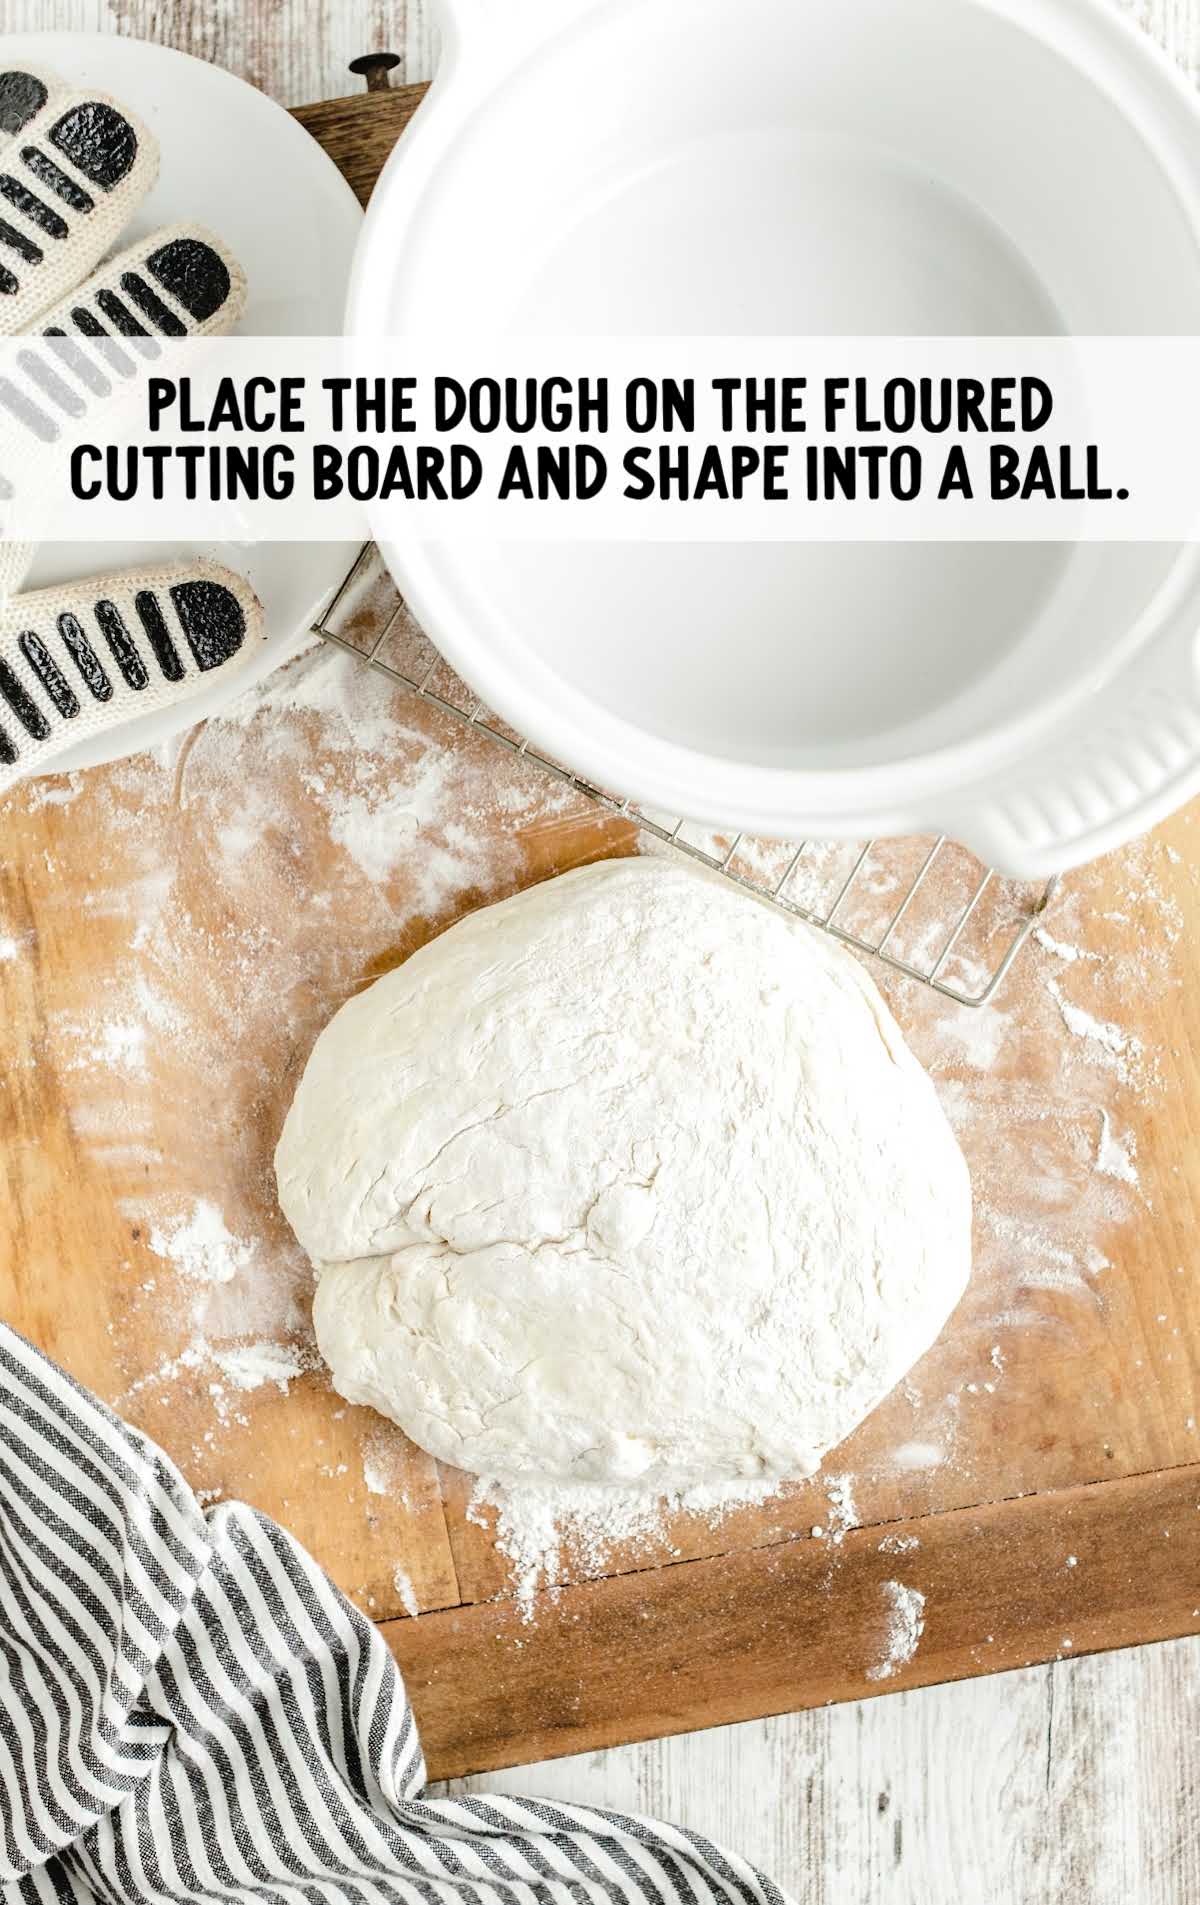
STEP SEVEN: Turn the dough ball out onto your work surface, flip it over to coat it with flour, and then gently shape it into a ball.
PRO TIP:
Be extra gentle with your dough as you knead it. You’ll need to handle it slightly to make sure it’s coated in flour and then shape it into a ball, but try to minimize how much you flip and shape it.
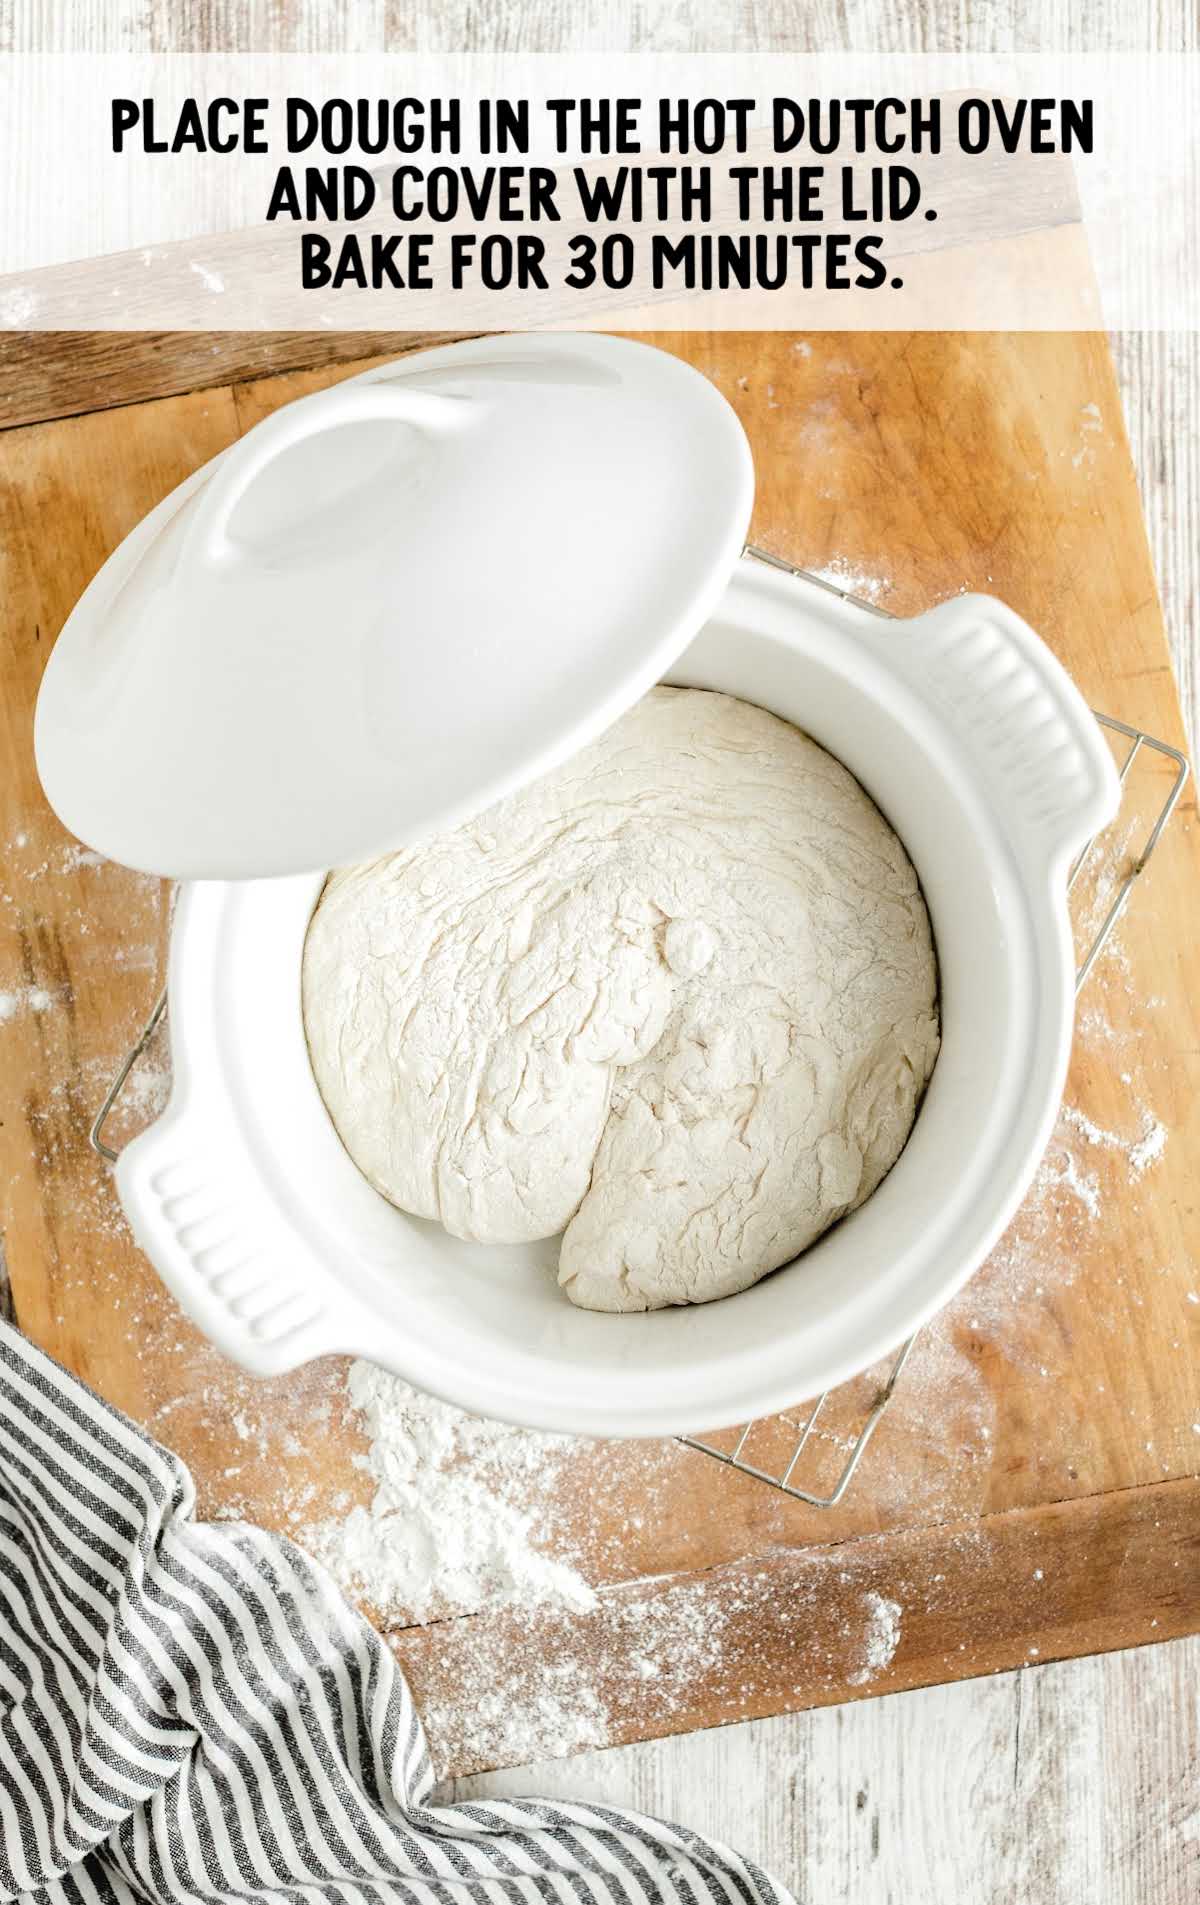
STEP EIGHT: Place dough in the preheated, HOT Dutch oven and cover it with the lid.
PRO TIP:
The dough will be sticky, using a preheated Dutch oven ensures that the bread will not stick to the Dutch oven.
STEP NINE: Place the Dutch oven back in the oven and bake for 30 minutes.
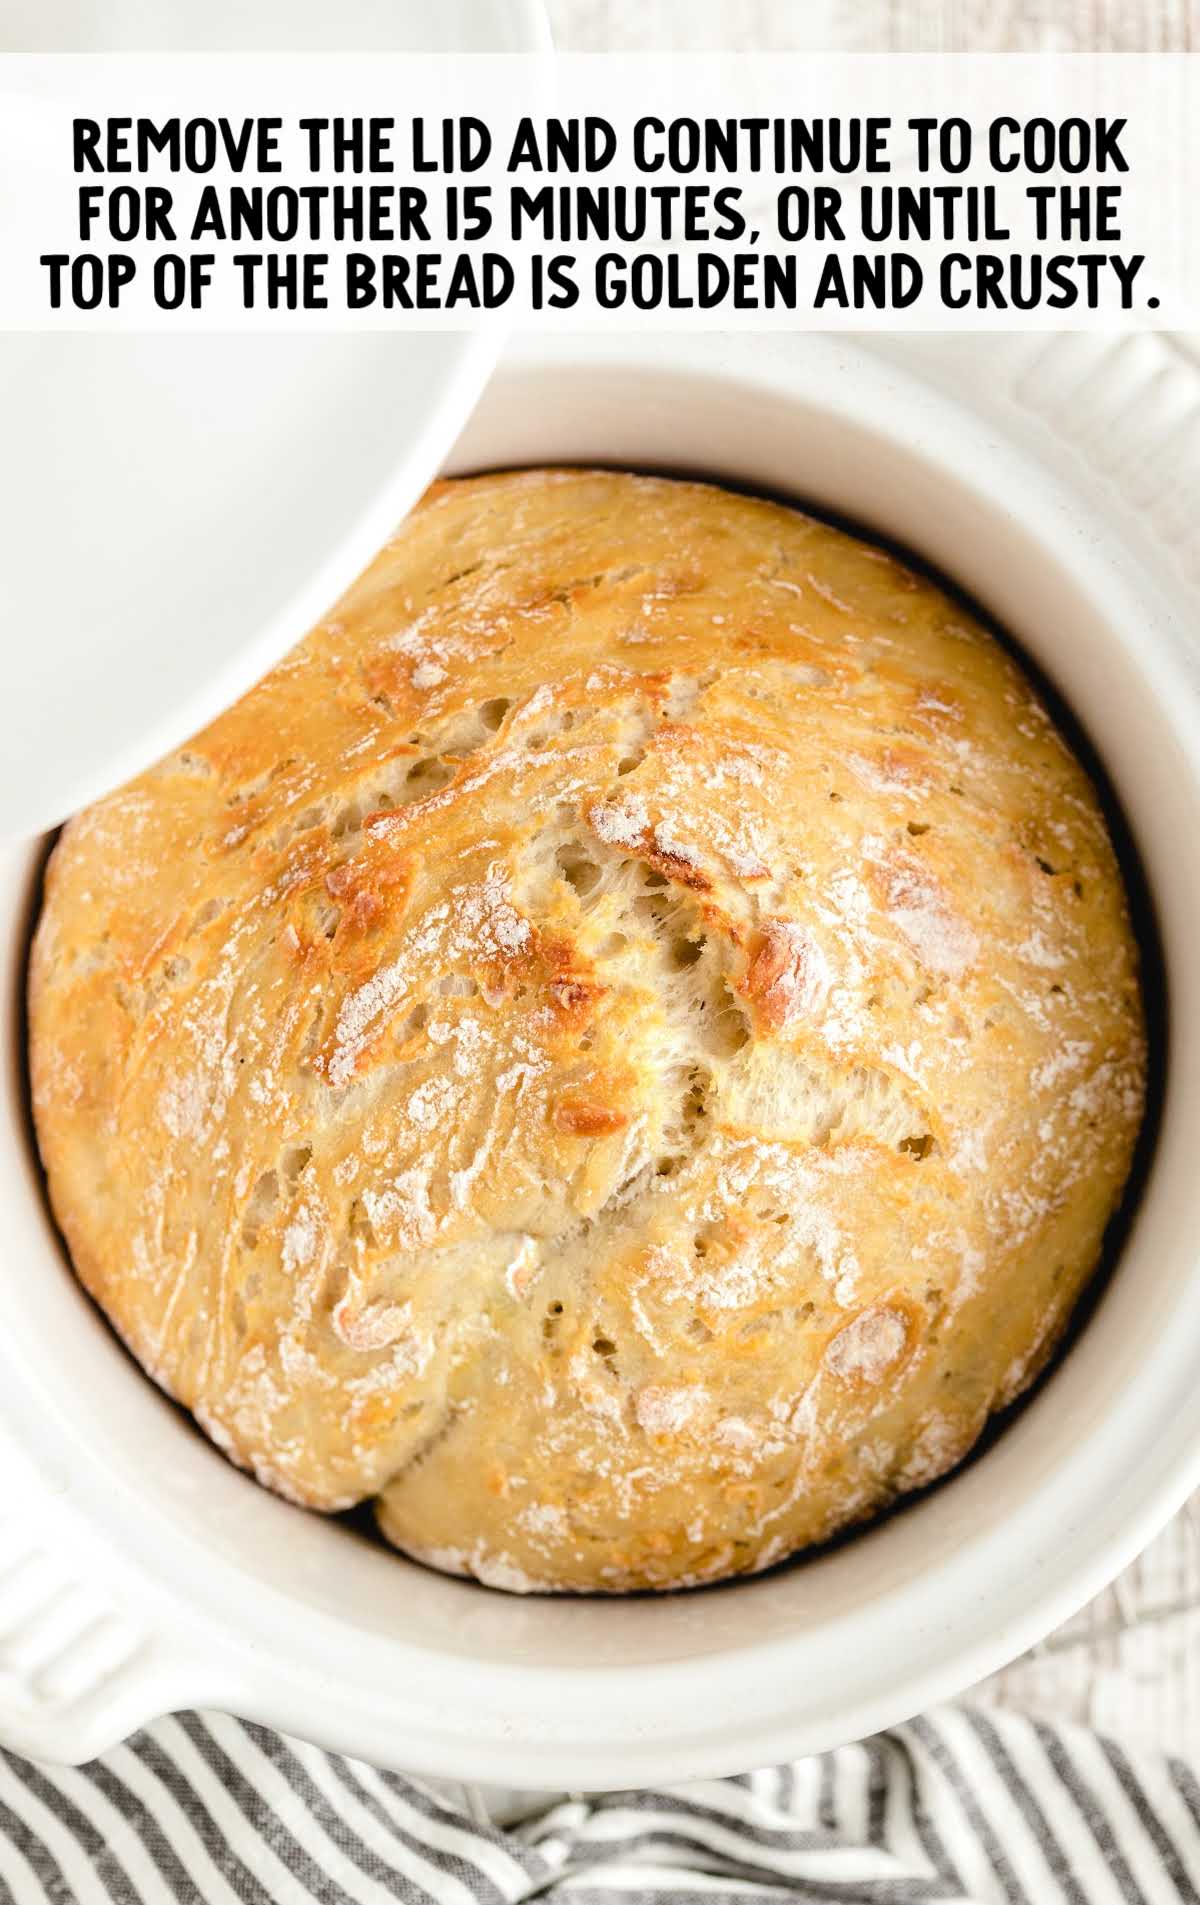
STEP TEN: Remove the Dutch oven lid and continue to cook for another 15 minutes, or until the top of the bread is golden and crusty.
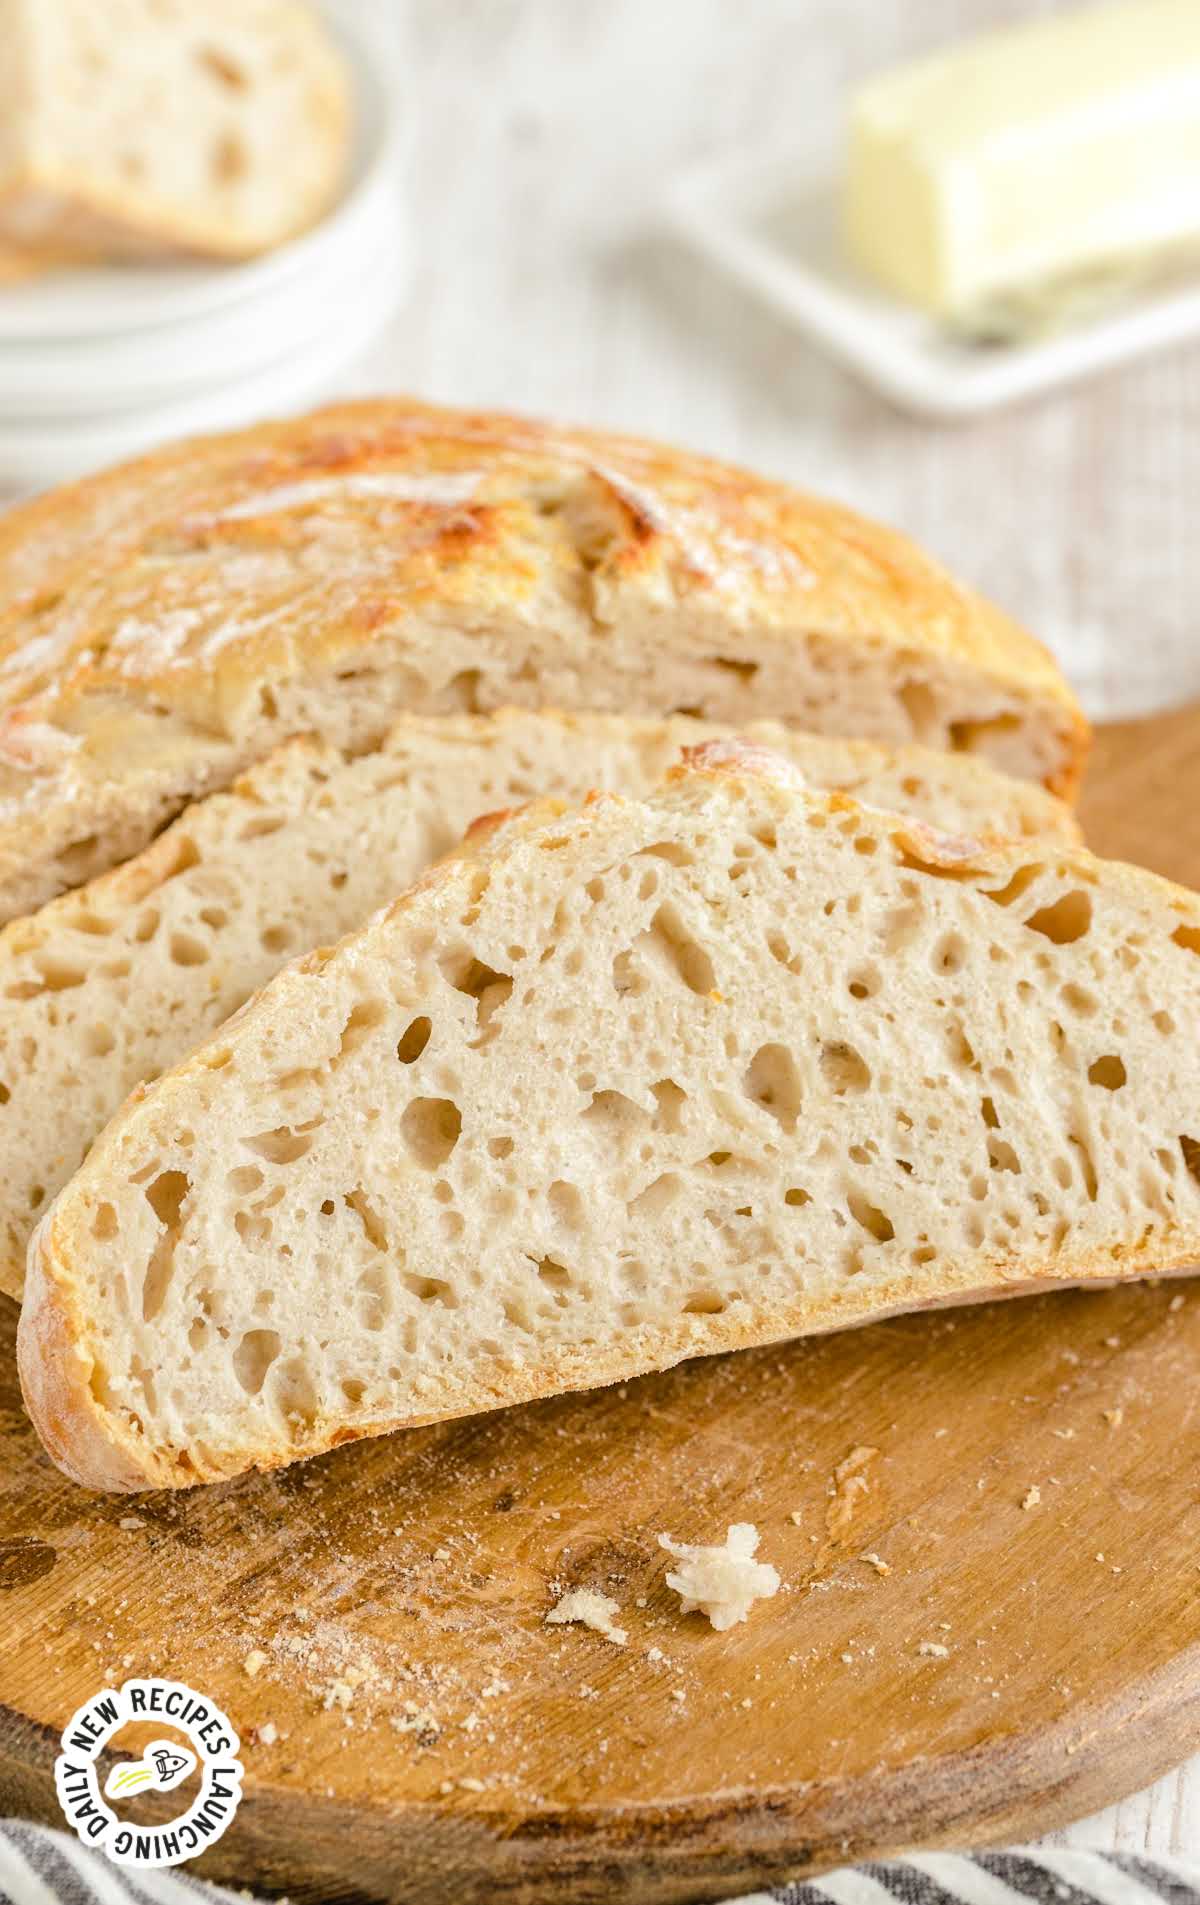
STEP ELEVEN: Remove the bread from the hot Dutch oven and let it cool on a wire rack. Slice and serve.
How To Serve This No Knead Dutch Oven Bread
Serve a warm slice of this loaf of bread with our strawberry freezer jam or raspberry freezer jam.
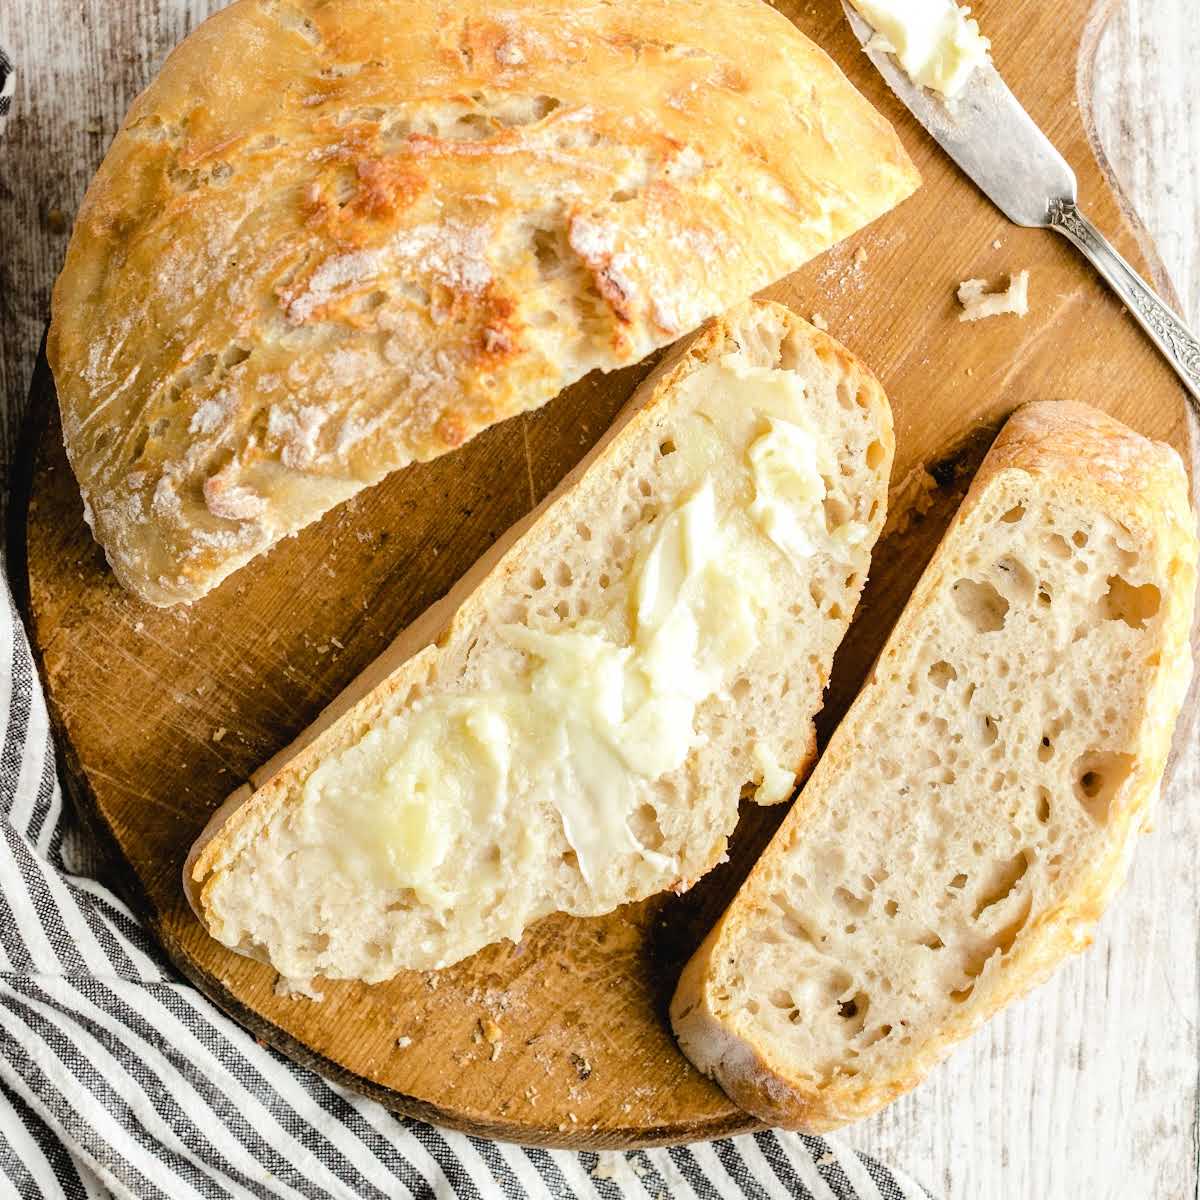
This bread would also be delicious for a sandwich or spread with butter and served alongside our tasty carbonara pasta.
Looking for more at-home bread recipes? Check out our top no yeast bread recipe, easy beer bread as well as our fluffy cloud bread.
MORE BREAD RECIPES
Storing Dutch Oven Bread
After you’ve enjoyed baking our no-knead bread, you might be wondering how to store it to keep it fresh and delicious.
ON THE COUNTER/IN THE FRIDGE: Because the baked bread doesn’t have any preservatives, it’s best eaten within a couple of days.
You can refrigerate no-knead bread, but doing so tends to dry the bread out. It will keep for one to two days either at room temperature or in your fridge.
If you’re storing your bread at room temperature, do so in an airtight container, plastic wrap, or (preferably) a ceramic bread box.
IN THE FREEZER: Freezing this no-knead Dutch oven bread is the best way to store leftovers.
Store it in an airtight bag or plastic wrap once it’s cooled, and then keep it in your freezer. You can also wrap individual pieces in plastic wrap and freeze them.
Once you’re ready to eat your bread, let it thaw at room temperature. You can also reheat it in the oven to recreate the fresh-baked bread texture.
You Will Love This No Knead Bread Dutch Oven Recipe
SIMPLE INGREDIENTS: This recipe uses basic pantry staples like flour, water, yeast, and salt, making it accessible to home bakers of all skill levels. You don’t need any fancy or hard-to-find ingredients.
NO-KNEAD CONVENIENCE: The beauty of this bread is that it requires minimal effort. There’s no need for vigorous kneading, making it perfect for busy individuals or those new to bread-making. Just mix, let it rise, and bake!
CRUSTY EXTERIOR: The Dutch oven method creates a superbly crispy and golden-brown crust that’s incredibly satisfying to bite into. It’s bakery-quality bread with a homemade touch.
This is a great recipe for Dutch oven bread that’s fluffy on the inside and perfectly crusty on the outside. It’s an easy way to make artisan bread at home, and perfect for pairing with practically anything for meals!
No Knead Bread Recipe FAQs
You can add plenty of extra flavor to your bread by folding in herbs once your bread dough has risen and before you bake it.
While we have not tried a version with whole wheat flour, we don’t see any reason why you couldn’t give this a try.
The bread is done when it has a deep golden-brown crust, and it sounds hollow when you tap the bottom. You can also use a kitchen thermometer; the internal temperature should read around 200°F (93°C).
More Recipes You’ll Love
Dutch Oven Bread Recipe
Ingredients
- 1½ cups warm water 105°F
- 2 teaspoons active dry yeast
- 3 cups all purpose flour
- 1½ teaspoons sea salt
- ½ cup parmesan cheese shredded
- ¼ cup flour for cutting board
Optional Ingredients
- Italian seasonings
- rosemary
- roasted garlic
- fresh herbs
Instructions
- In a small mixing bowl add warm water and active dry yeast. Let sit for 10 to 15 minutes.
- In a large mixing bowl add 3 cups flour, salt, and parmesan cheese.
- Pour in yeast/water mixture and mix with a large spoon.
- Cover tightly with plastic wrap and let sit out at room temperature for 18 to 24 hours.
- When ready to bake the bread preheat the oven to 450°F. Place a 3-quart dutch oven (cast iron) with the lid on in the oven and bring it up to 450°F.
- On a large cutting board sprinkle about ¼ cup flour. Place the dough on the cutting board and flip over to coat with flour and shape into a ball.
- Place dough in the preheated HOT dutch oven and cover with the lid. Place dutch oven back in the oven and cook for 30 minutes.
- Remove the lid and continue to cook for another 15 minutes, or until the top of the bread isgolden and crusty.
- Remove bread from hot dutch oven and let cool. Slice and serve.
Notes
- Make sure you are using warm water (105°F) and not cold water to mix with your yeast. Cold water will not activate the yeast and your dough won’t rise.
- You can also use a regular-sized dutch oven, it will produce a flatter result than above as it will have more room to spread out.
- Be extra gentle with your dough as you knead it. You’ll need to handle it slightly to make sure it’s coated in flour and then shape it into a ball, but try to minimize how much you flip and shape it.
- The dough will be sticky, preheating the dutch oven ensures that the bread will not stick to the dutch oven.





Comments
Doris says
This deserves more than 5 stars! I can’t believe I actually pulled this off. Best bread I’ve ever made. I served it with chicken soup and it was delicious and the right consistency to sop up the broth. It scared me at first because the dough was so wet and gloppy but I gently worked in a little extra flour and poured/dumped it into my pot. Thanks so much!
Judy Gardner says
Really super bread. To get the right water temperature I use 2/3 cold water 1/3 boiling water I have been doing this for many years.
Earl says
I followed the directions and it came out perfectly and was delicious!! I was just wondering, what would I need to do to make a bread like this but it be rye bread. Thank you for letting me know.