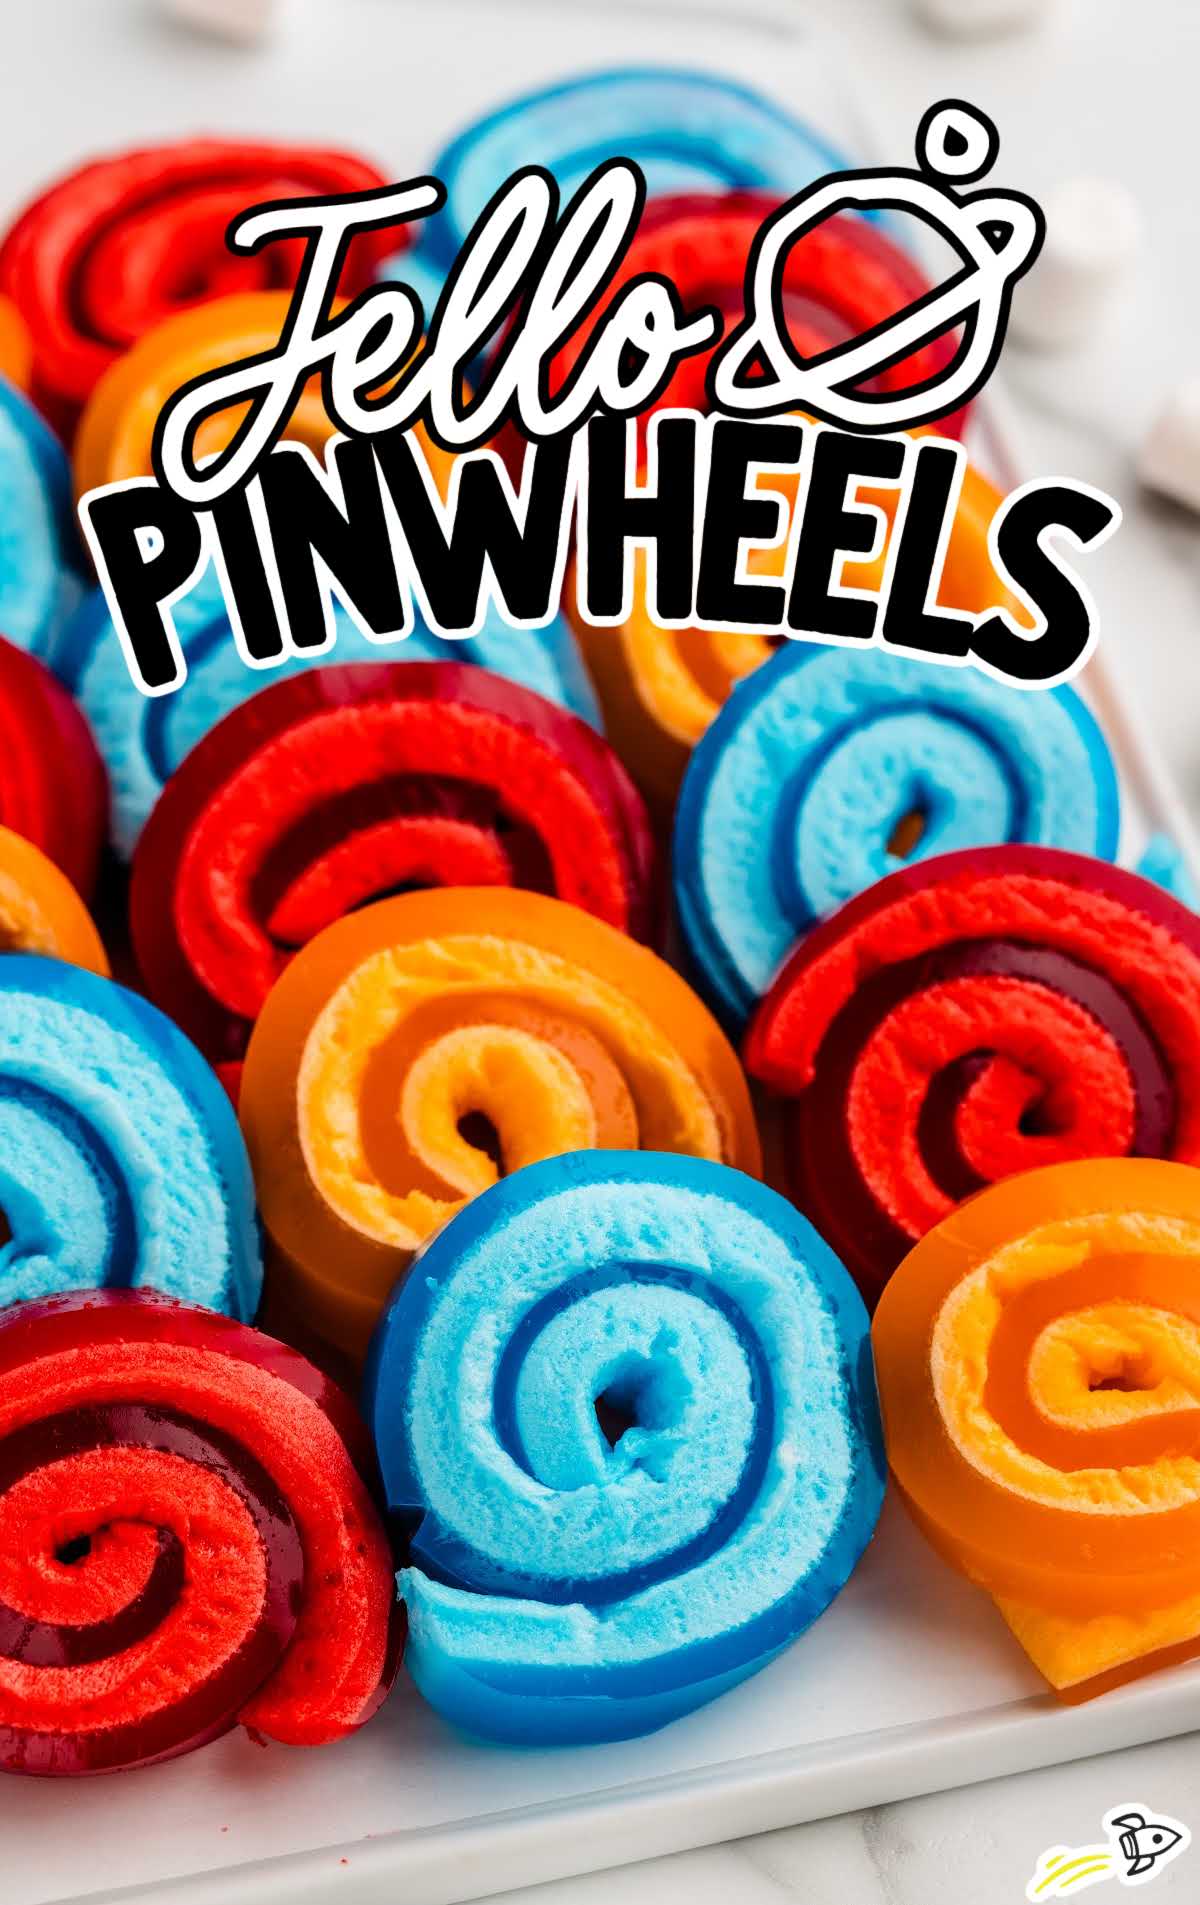
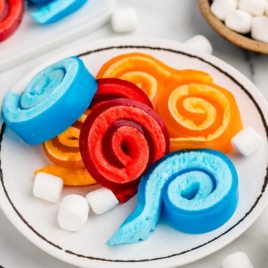
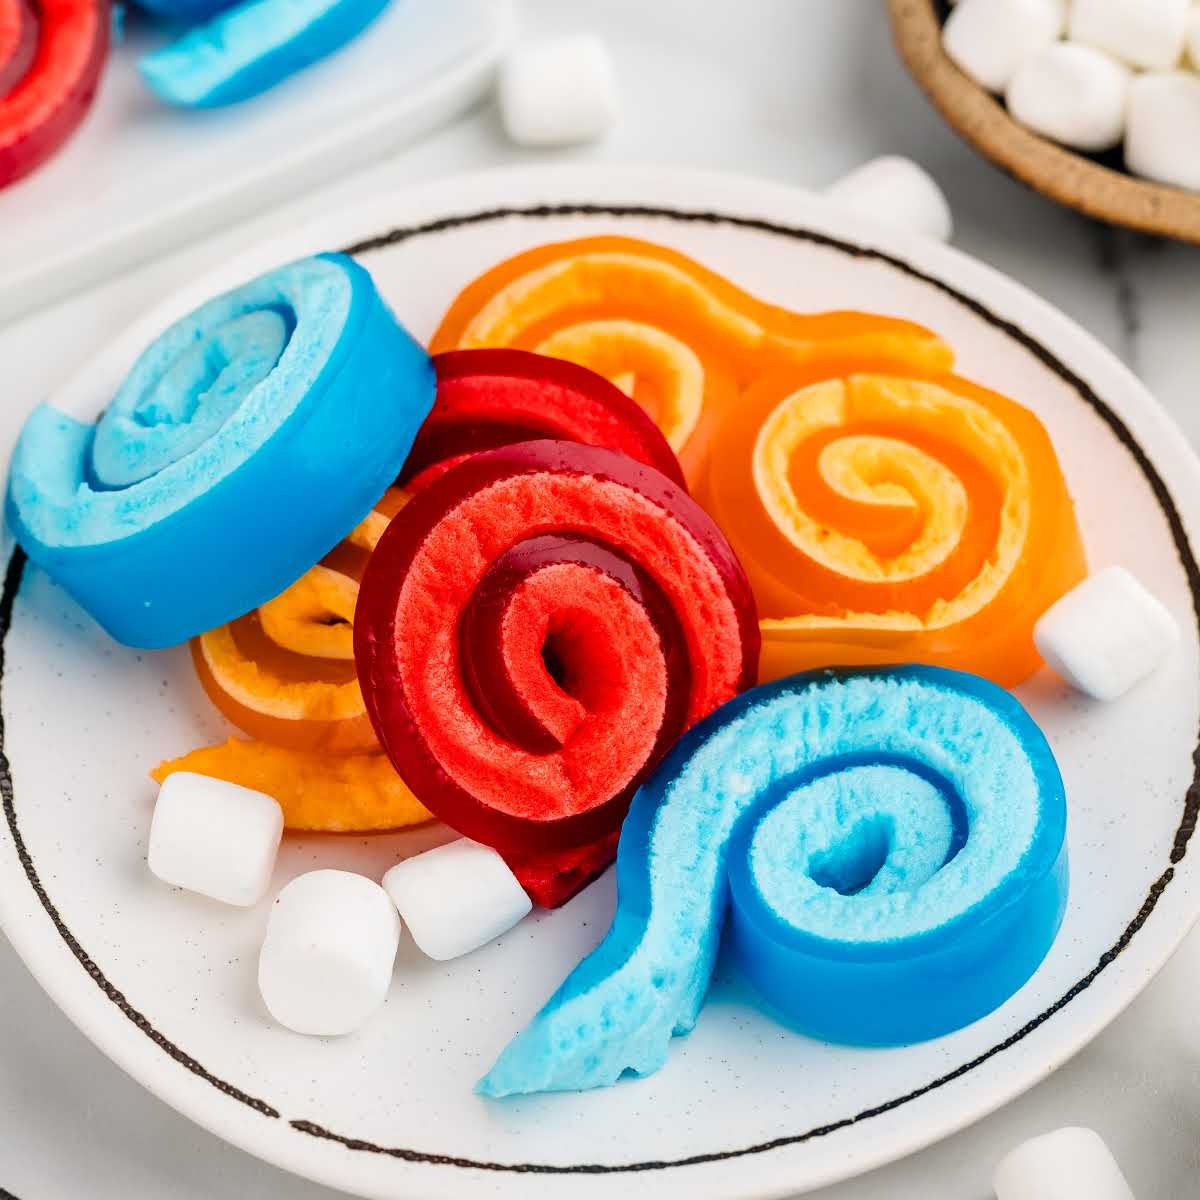
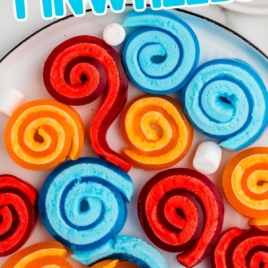
Kick off your party with these eye-catching Jello Pinwheels! Ready to chill in minutes, this super fun snack combines your favorite Jello flavor with fluffy miniature marshmallows for a rolled up dessert that kids love to eat.
Jello Pinwheels Ingredients
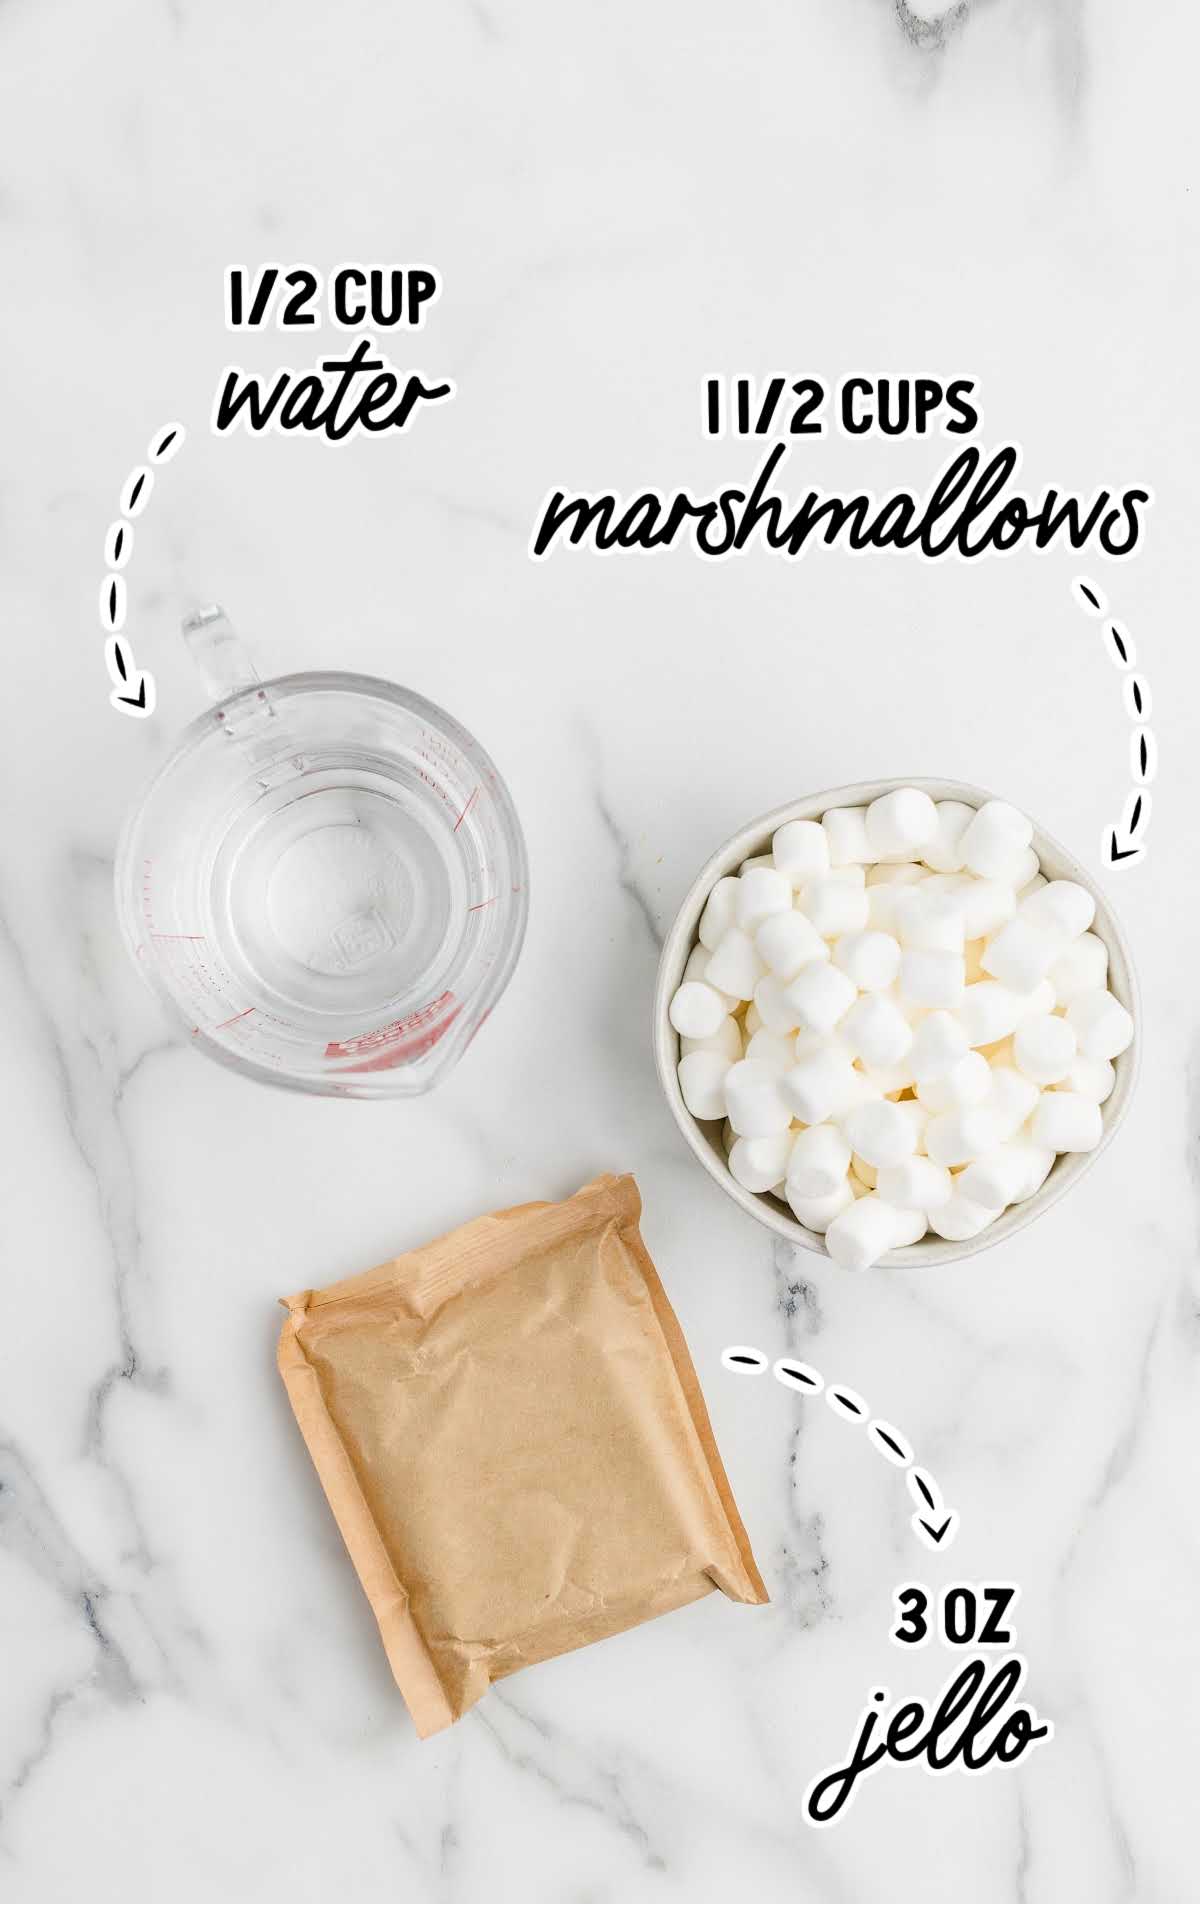
Starting with the basics, Jello Pinwheels are not just fun to look at, they’re also a breeze to make. This recipe transforms two simple ingredients and some water into a colorful and tasty treat that’s perfect for birthdays and sleepovers.
You’ll Need:
- ½ cup boiling water
- 3-ounce packet of flavored Jello gelatin (your favorite flavor – you can choose from blue raspberry, orange, lime, etc.)
- 1½ cups mini marshmallows
Jell-o Pinwheels Substitutions and Additions
Flavored Jello Gelatin: You can use any flavor of Jello you want. If you want bright orange for really distinct layers, we recommend using orange-flavored Jello, not peach. We used blue raspberry, orange, and cherry Jello for our pinwheels.
Mini Marshmallows – If you want, you can use 15 large marshmallows instead of mini marshmallows. To help them melt easier, you can chop them into small pieces.
How To Make Jello Pinwheels
These Jello roll ups not only look spectacular but are incredibly easy to make. Just dissolve the gelatin, stir in the marshmallows, and chill. The result? Perfectly spiraled snacks that are as enjoyable to look at as they are to eat.
Keep in mind, while the final result is a 2-layered treat, you’ll make only one mixture for this recipe. As it sets, it will separate into two layers.
STEP ONE: Before you start mixing your ingredients, get your 8×8 baking pan ready. Lightly spray it with nonstick spray. Using your finger tips or a paper towel, spread the cooking oil evenly across the bottom and sides of the pan to create a thin layer. This ensures that your Jello mixture doesn’t stick without leaving any greasy residue.
STEP TWO: In a medium, microwave-safe mixing bowl, add the boiling water to the packet of flavored Jello gelatin. Whisk vigorously until the gelatin completely dissolves.
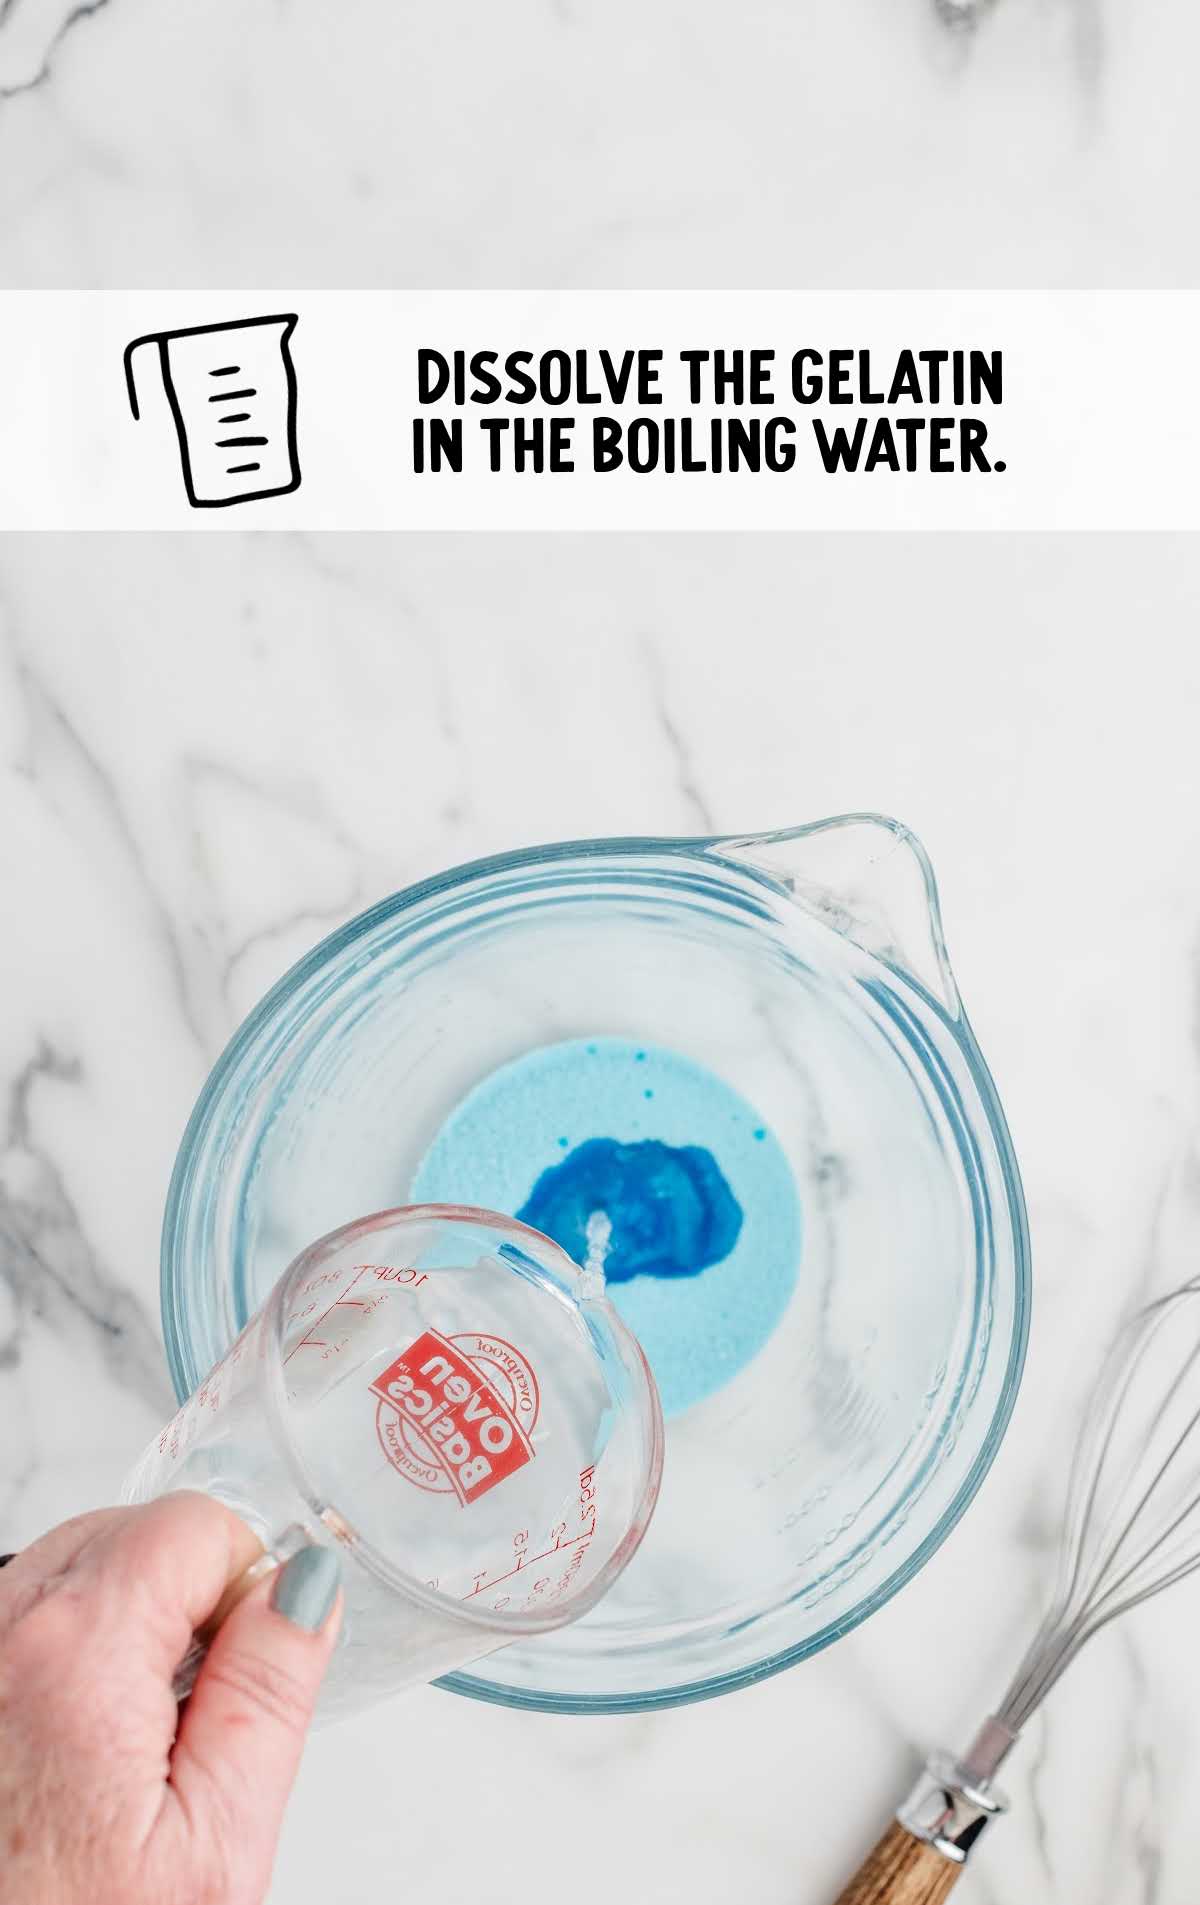
PRO TIP: Make sure the water is truly boiling to effectively dissolve the gelatin. Warm water alone won’t work.
STEP THREE: Add 1½ cups of mini marshmallows to the dissolved gelatin. Stir until they’re all evenly coated.
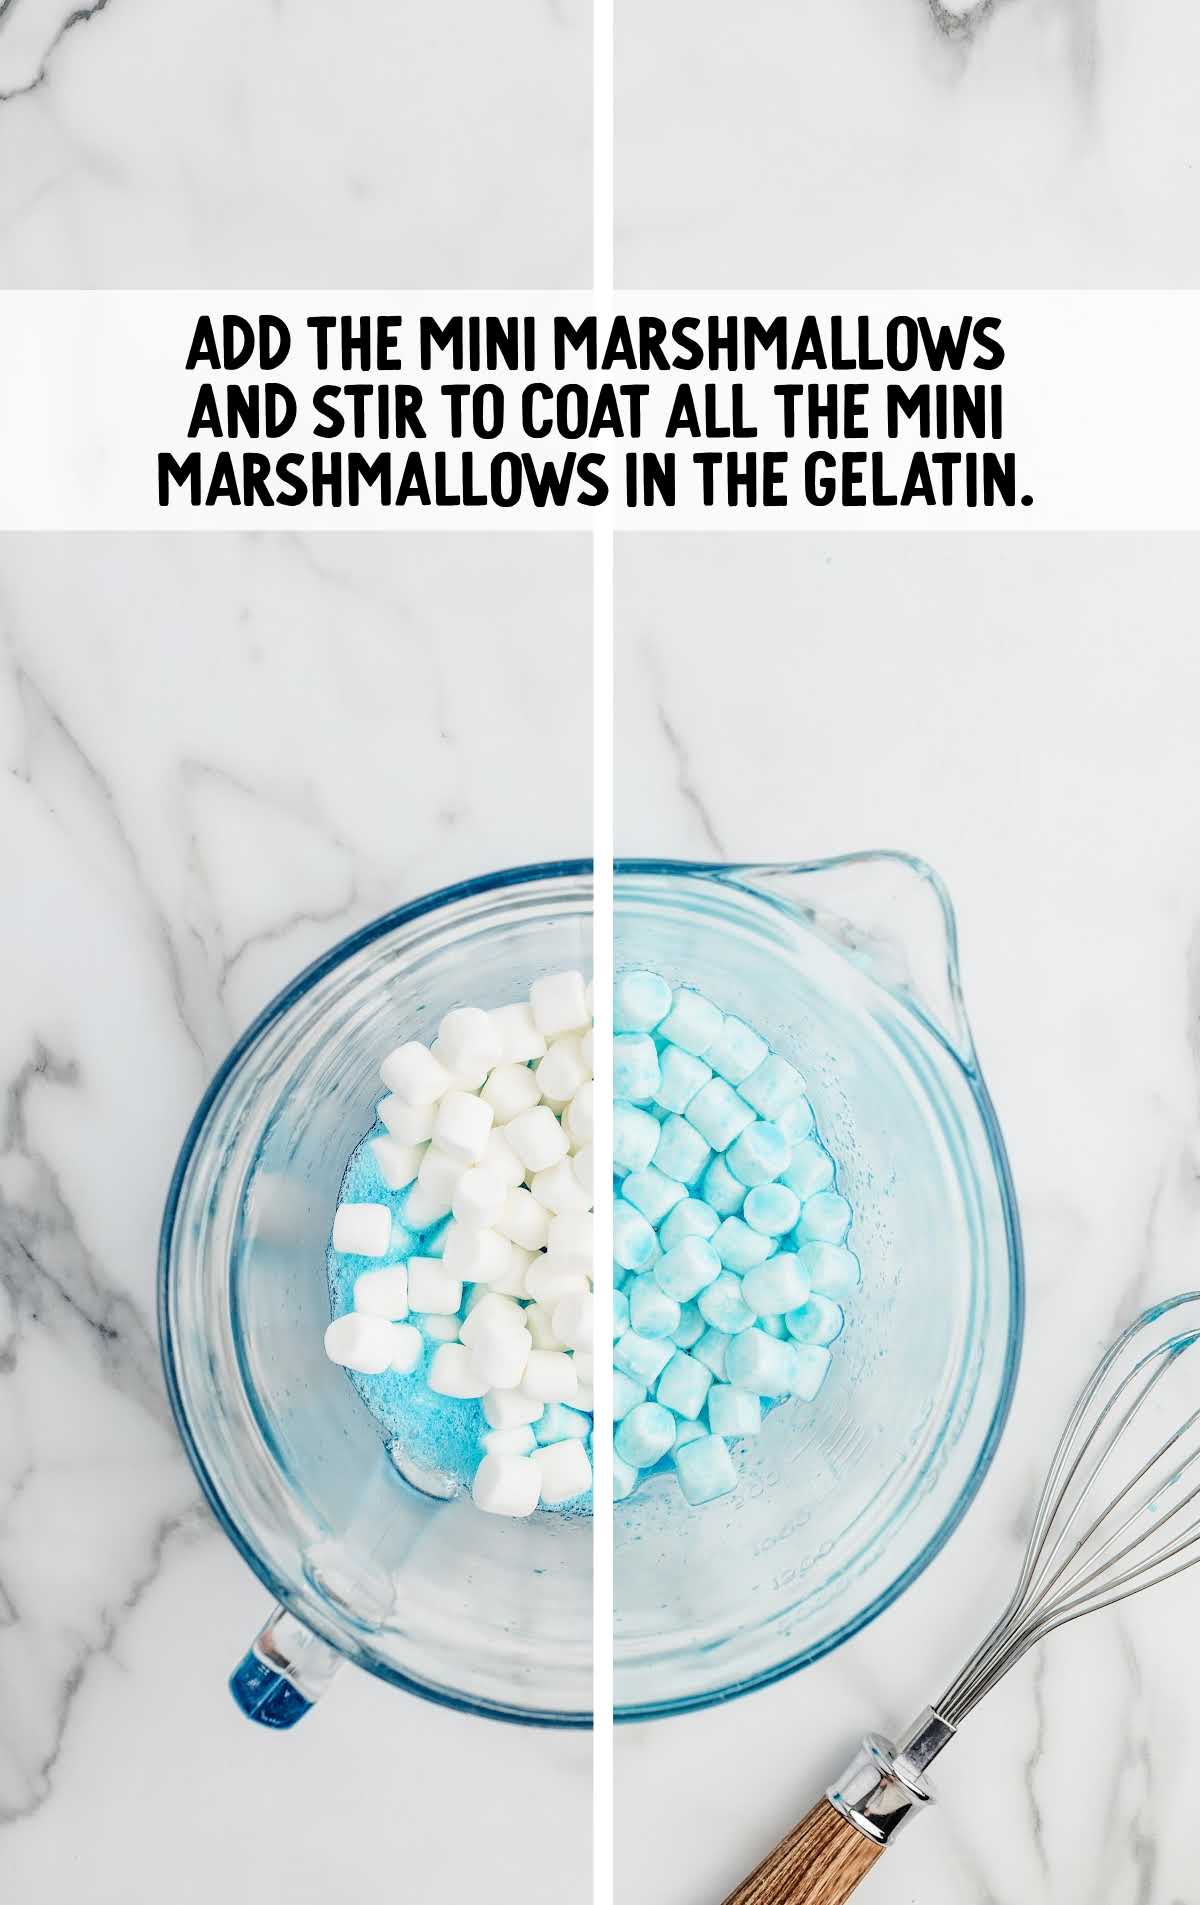
PRO TIP: Fresh marshmallows work best as they melt more smoothly and blend better with the Jello. If your marshmallows are old or dry, buy a fresh bag.
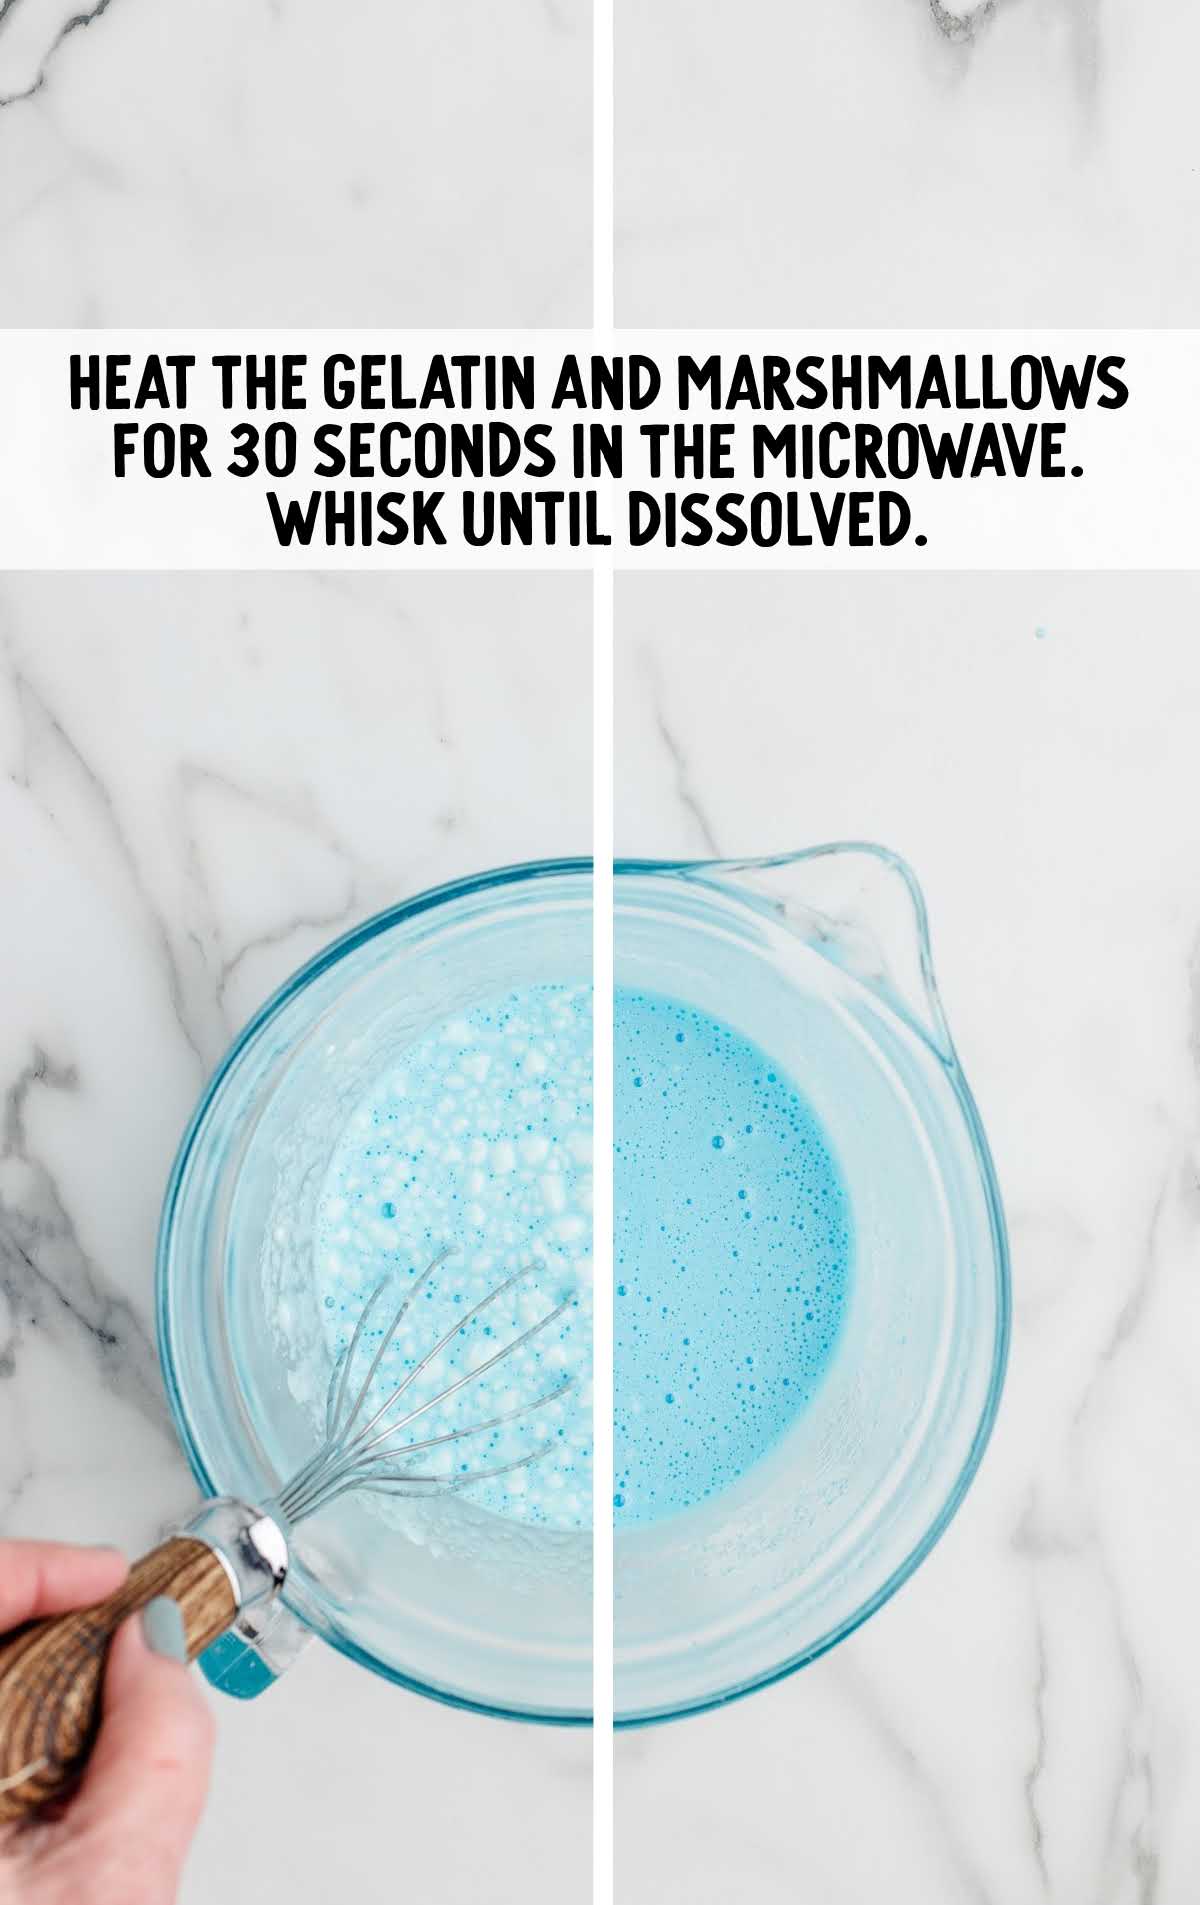
STEP FOUR: Place your bowl in the microwave and heat it on high for 30 seconds. After microwaving, whisk the mixture vigorously until the marshmallows are completely melted and the mixture is frothy. This creates a light, airy texture in your pinwheels and helps make sure you have a successful marshmallow layer.
PRO TIP: Keep an eye on the microwave, as overheating can cause the mixture to overflow.
STEP FIVE: Carefully pour the gelatin and marshmallow mixture into your prepared pan. Use a spatula to scrape every bit out of the bowl to ensure you’re not wasting any of your delicious mixture.
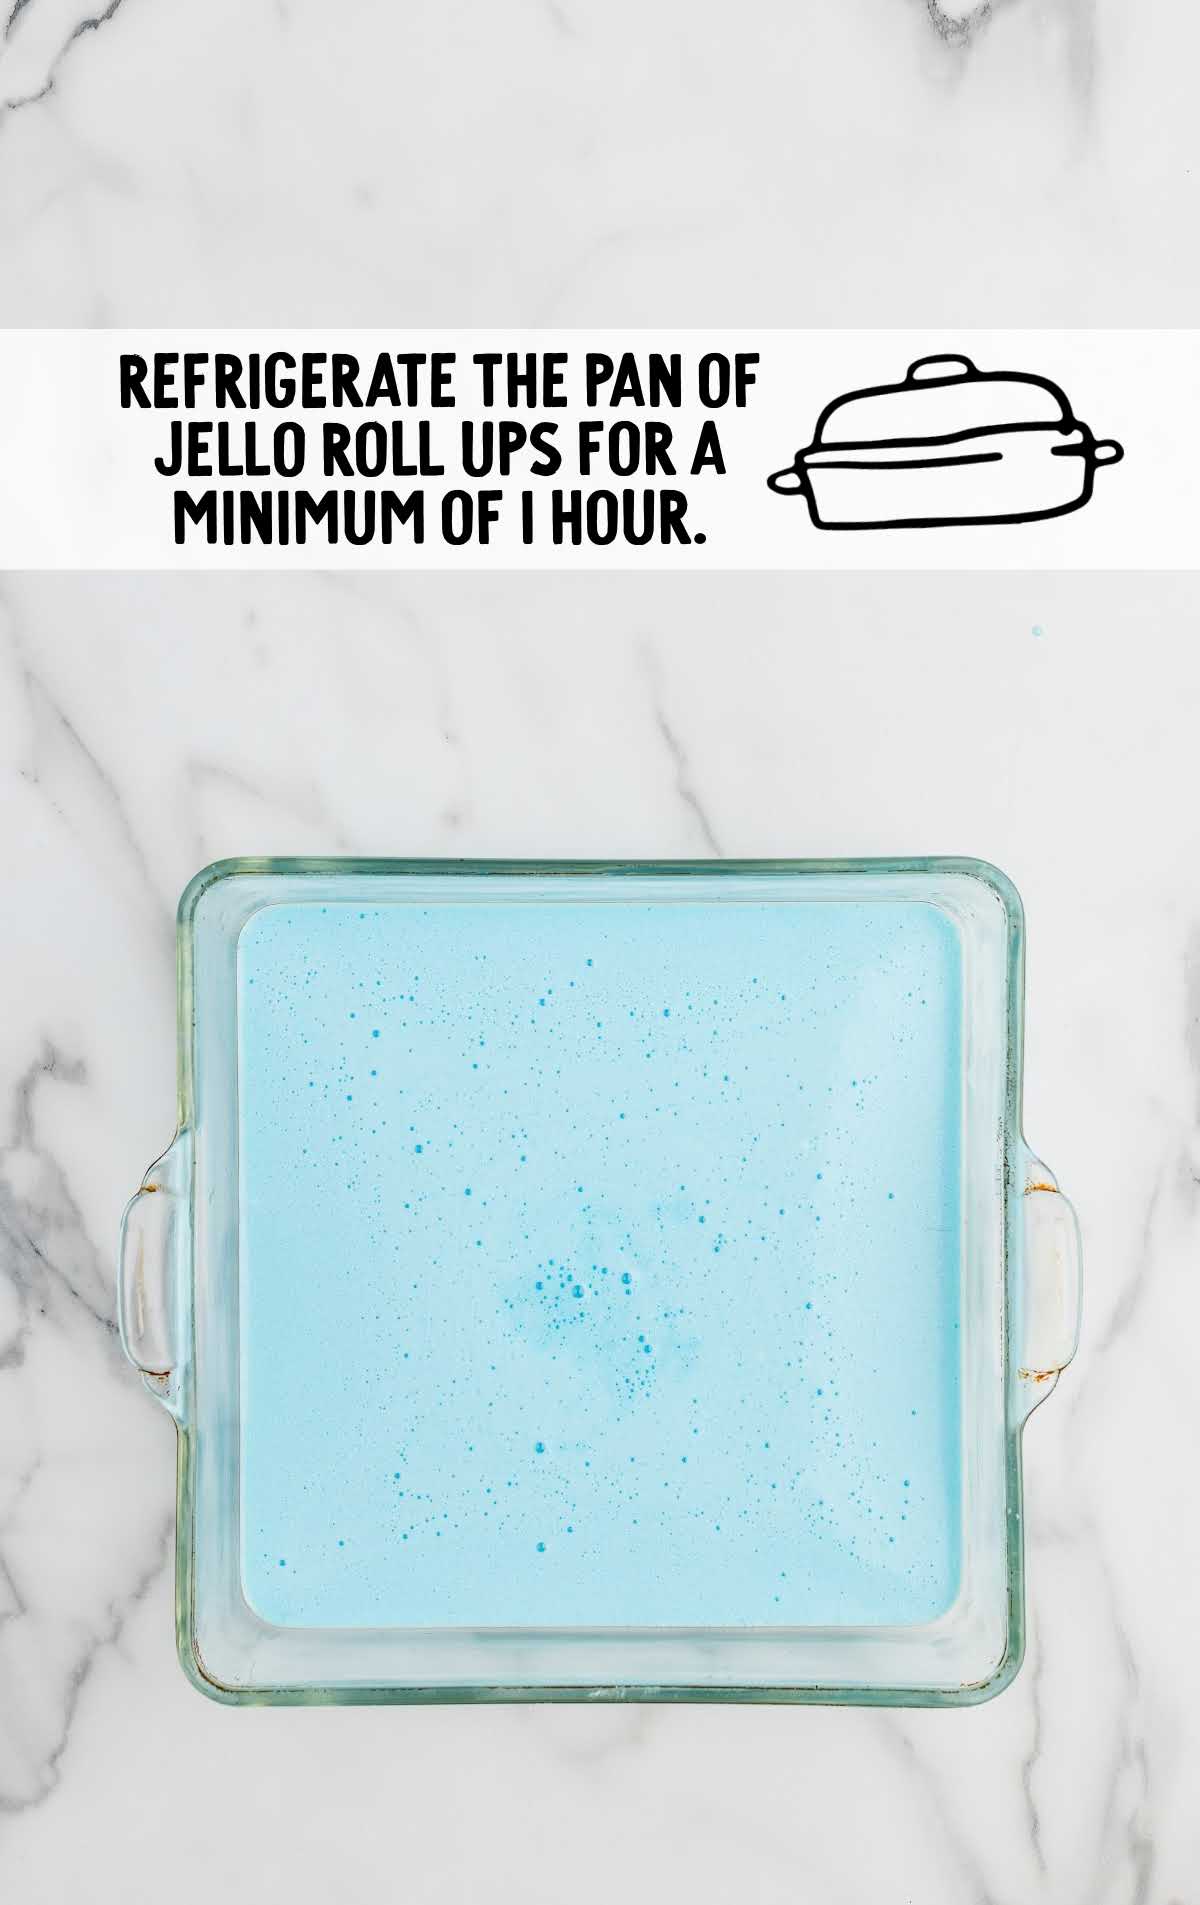
STEP SIX: Transfer the pan to the refrigerator and let it chill for at least 1 hour. The gelatin needs to set until firm, which will make the rolling process a lot easier.
PRO TIP: Chill near the back of the refrigerator where it’s coldest for quicker setting. Touch the mixture lightly to make sure it’s not at all watery, and has set fully before trying to remove it from the pan.
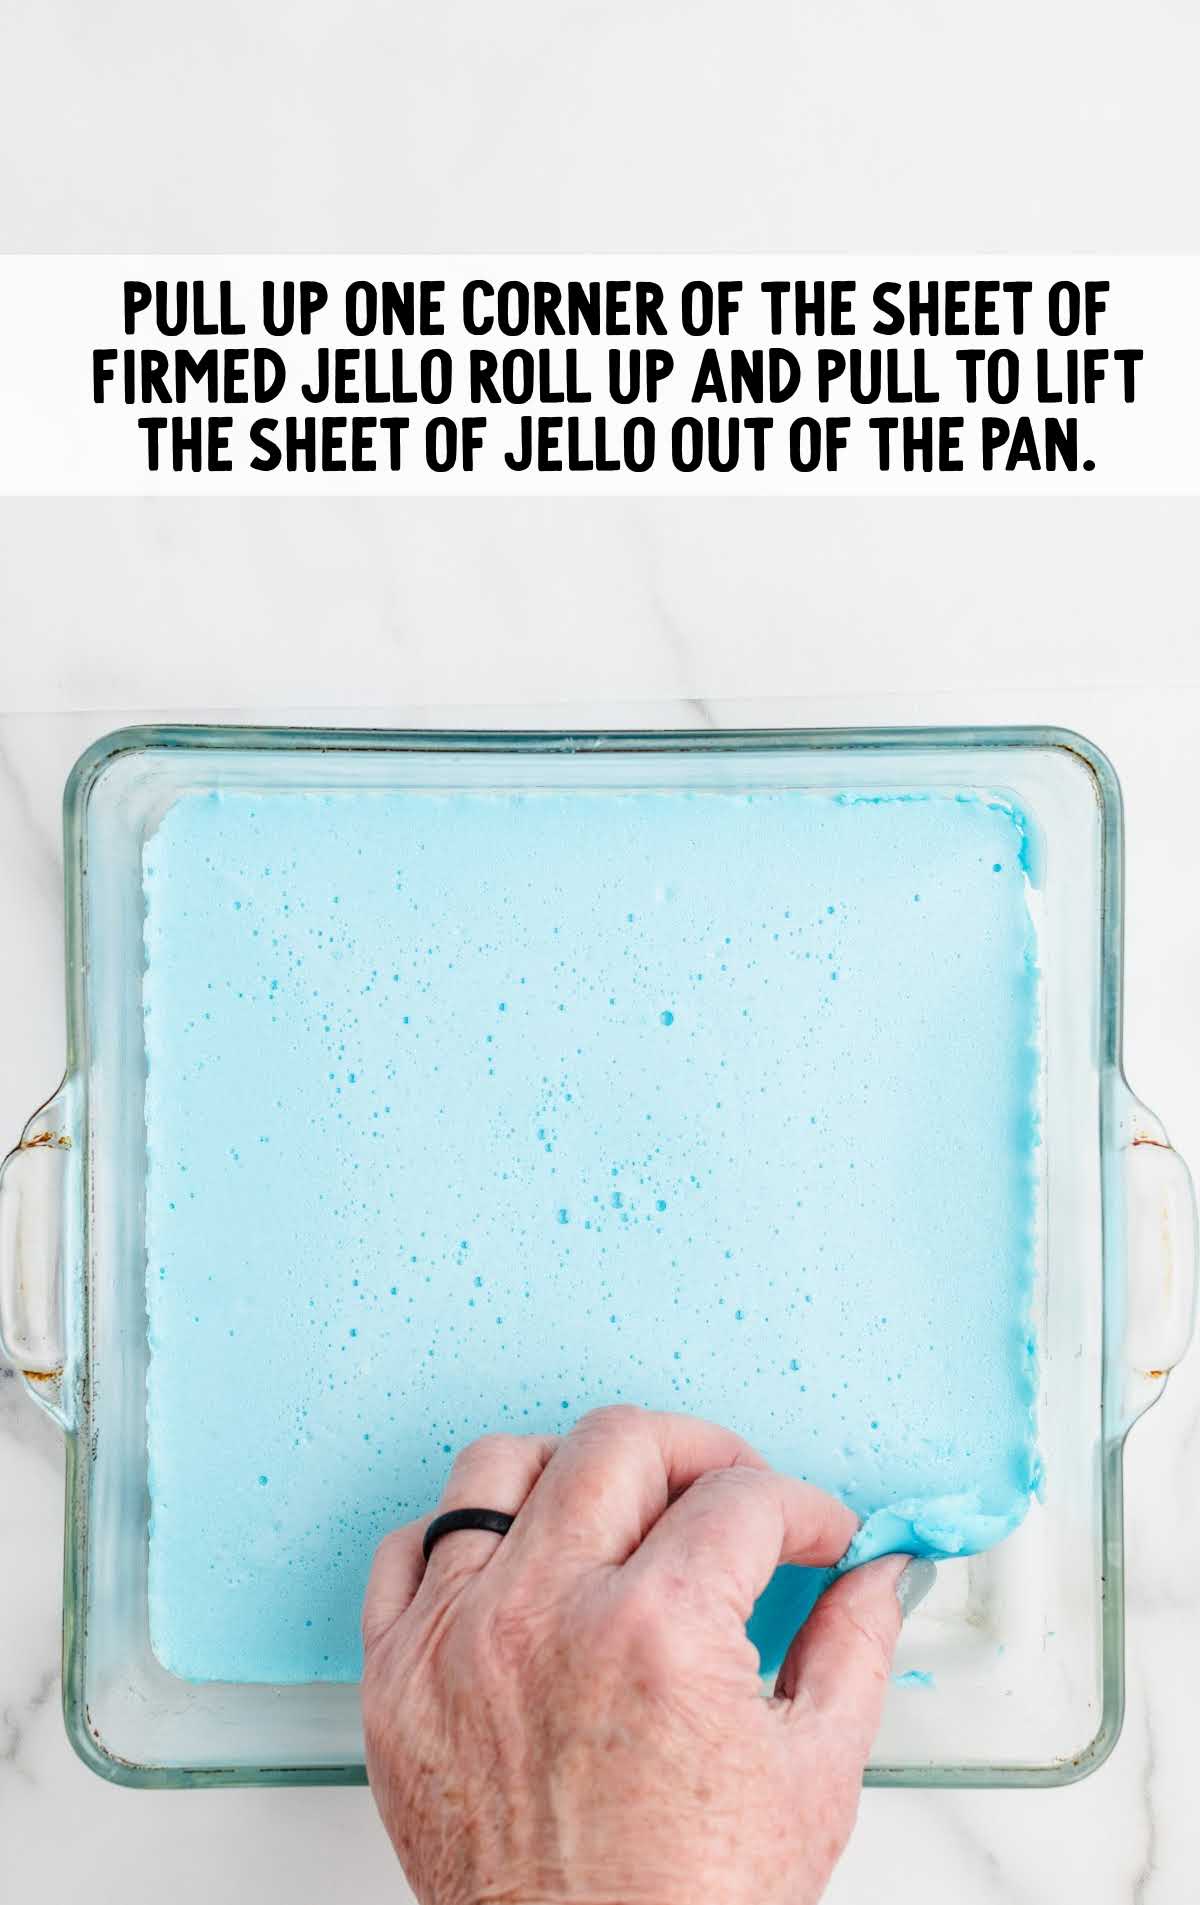
STEP SEVEN: Once chilled, run a butter knife gently around the edges of the pan. This helps in loosening the set Jello, making it easier to lift out without breaking.
STEP EIGHT: Gently pull up one corner of the set Jello sheet and peel it from the pan. Lay it on a sheet of parchment paper larger than the pan itself, with the fluffy marshmallow side facing up.
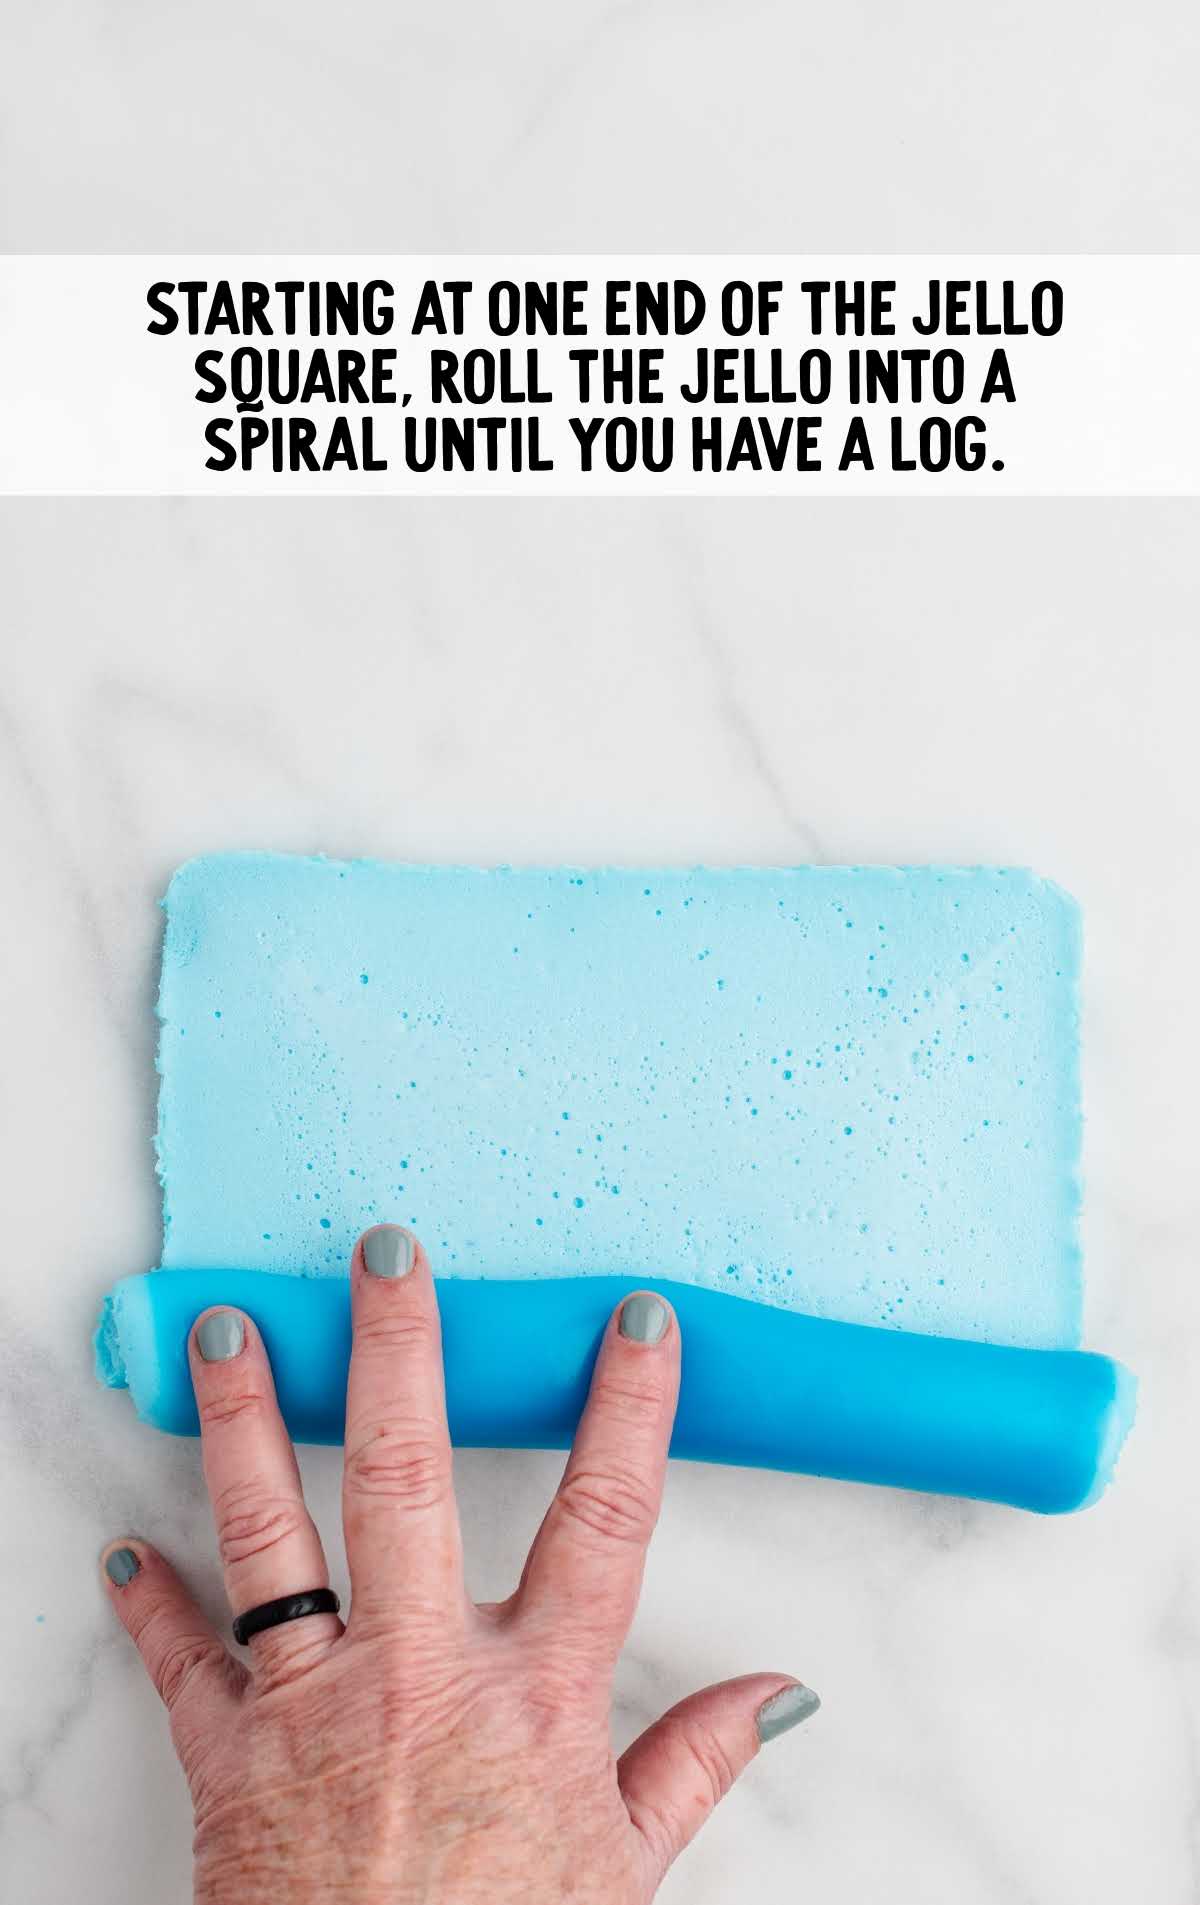
STEP NINE: Start at one end of the Jello sheet and roll it tightly into a spiral. Roll steadily and firmly to avoid air pockets or unevenness.
PRO TIP: You can cut just a touch off of the outside edges of the roll so that each piece has very clean look.
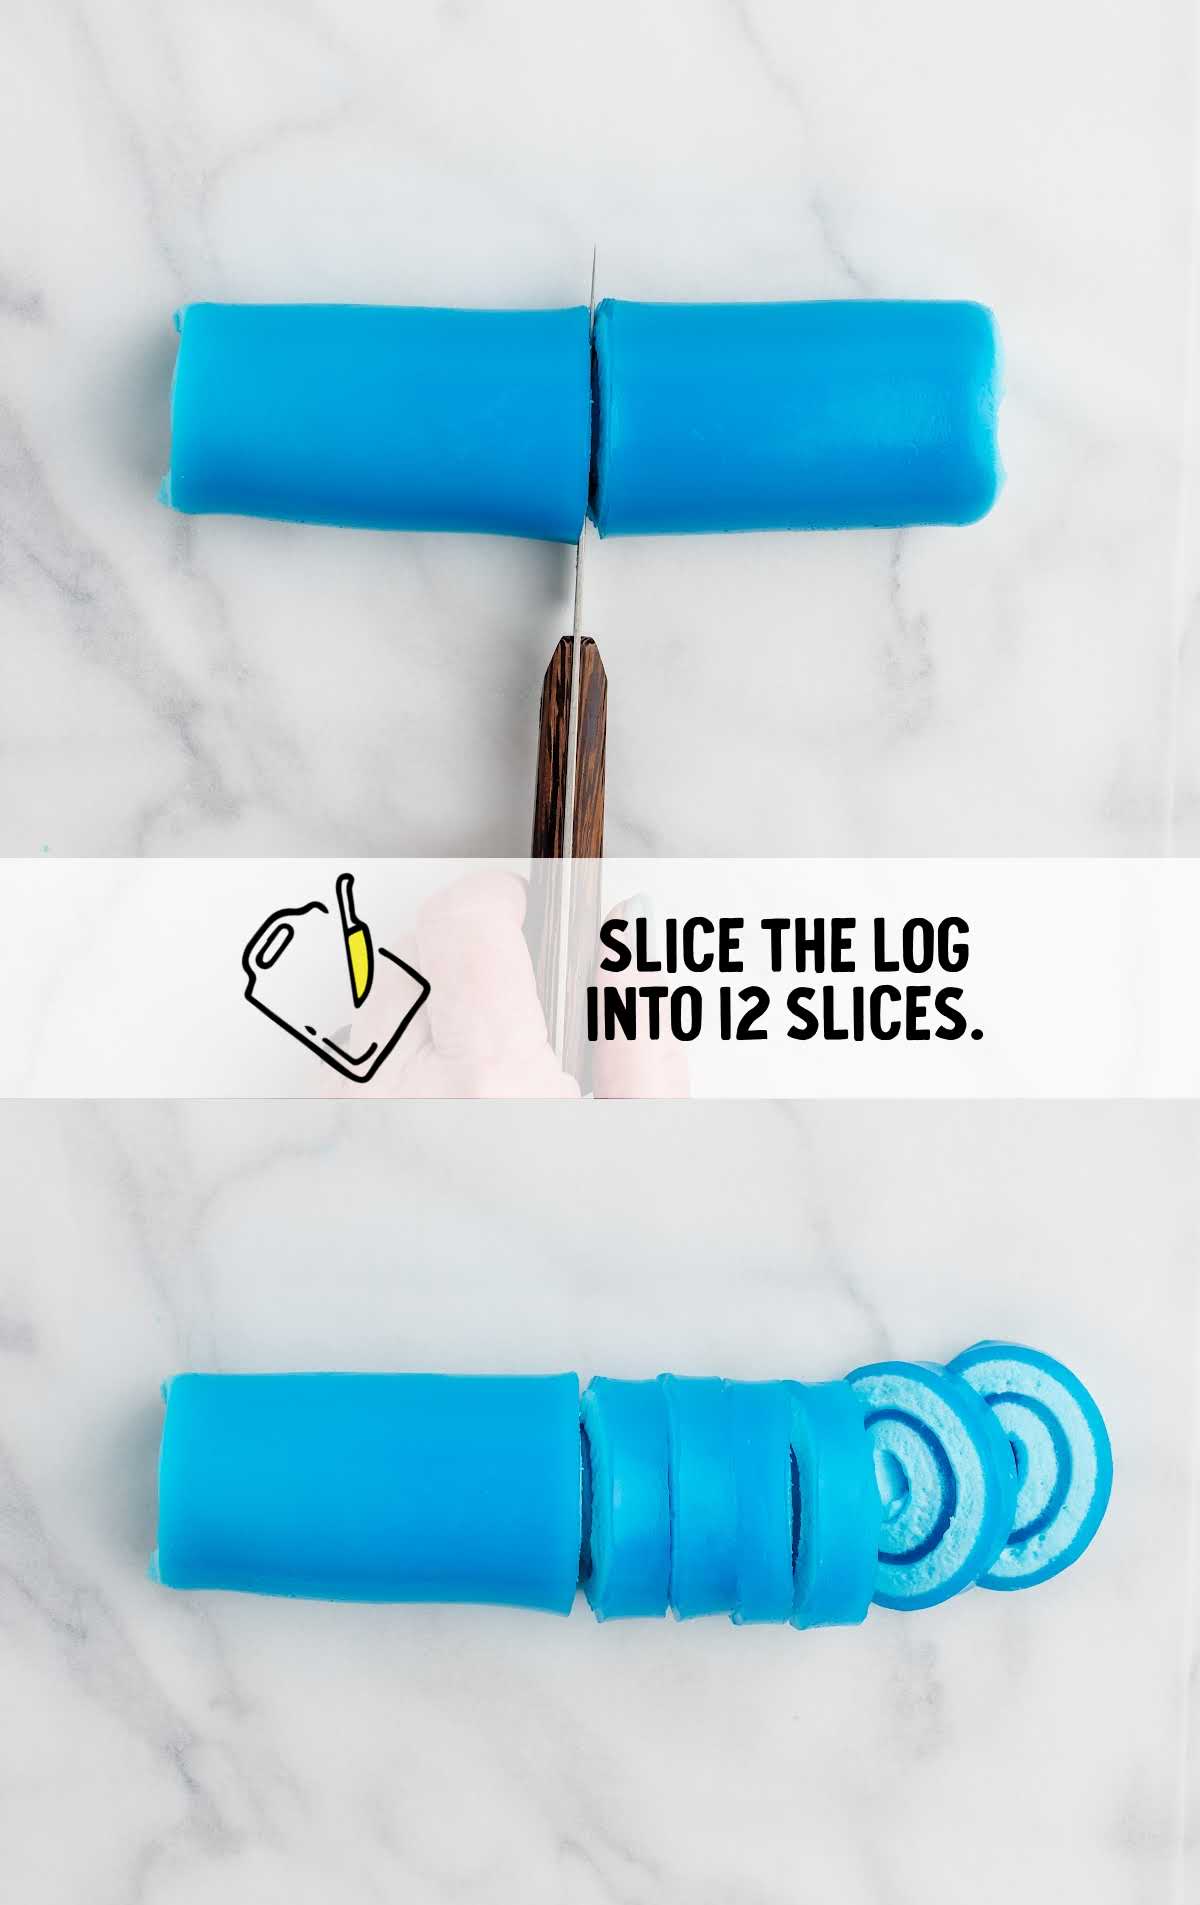
STEP TEN: With the seam side down, slice the log into approximately ½ inch pieces using a sharp knife. This ensures clean, even cuts. Arrange your Jello Pinwheels on a plate and they’re ready to enjoy!
PRO TIP: If the knife sticks, lightly spray it with nonstick spray for smoother slicing. You can also use unflavored dental floss or a clean fishing line to cut clean slices.
Troubleshooting
Here are some common issues that might arise when making this Jello marshmallow pinwheels recipe, along with solutions to prevent them:
The Jello doesn’t fully dissolve, leaving a gritty texture.
Ensure the water is fully boiling before mixing with the Jello powder and whisking thoroughly. If the Jello won’t dissolve, try microwaving the mixture for 20-40 seconds and whisking again.
The marshmallows don’t melt uniformly or stick to the bowl.
Stir the marshmallows into the Jello mix before heating and watch closely while microwaving, stirring once halfway through to promote even melting.
The Jello mixture sticks to the pan, making it hard to remove.
Evenly coat the pan with a non-stick spray and use a paper towel to wipe excess oil, ensuring a thin layer that prevents sticking without being greasy.
The Jello roll tears when trying to lift it from the pan.
Allow the Jello to fully set in the refrigerator, checking for firmness before attempting to lift it from the pan.
The slices are uneven or squished when cutting.
Use a sharp, thin-bladed knife to slice the roll, and if necessary, lightly coat the blade with non-stick spray to make cutting smoother.
The Jello Pinwheels lose shape after cutting.
Ensure the Jello is completely set and firm before slicing, and refrigerate the slices briefly after cutting to maintain their shape.
How To Serve This Jello Rollups Recipe
Our Jello Pinwheels recipe makes a delicious and colorful addition to any dessert table, and is a playful twist on traditional Jello.
Kids’ Birthday Bash: Arrange the Jello Pinwheels on a platter alongside other kid-friendly snacks like mini cupcakes and muffins. They’re perfect for little hands, and such a fun sweet treat!
Creative Dessert Mix: Incorporate Jello Pinwheels into a larger dessert by layering them in a parfait glass with whipped cream and fresh berries. The layers will not only look impressive but also offer a delightful mix of textures and flavors.
Picnic Fun: Pack Jello Pinwheels for a picnic dessert, easy to share and enjoy outdoors. They’re less messy than cakes or pies and can be eaten without utensils, which makes them perfect for outdoor settings. Just make sure you transport them in a cooler.
Marshmallow Jello Pinwheels brighten up just about any gathering or party. You can easily customize them for different holidays and events, too!
When celebrating Christmas, use red and green Jello colors to make a festive addition to your dessert table. You can use pink and yellow for Easter, Red and Blue for the 4th of July, or orange and black for Halloween.
For game day, theme your flavors after the different colors of your favorite sports team, or bring these as a post-game snack after your son or daughter’s big game!
MORE DESSERT RECIPES
How To Store Jello Dessert Roll Ups
MAKE AHEAD: You can technically make these Jello Pinwheels up to a week in advance and store them in the fridge. However, we suggest that for the best texture, you serve them within a day or two.
Once you’ve rolled and sliced the Jello, place them in a single layer on a tray, cover with plastic wrap, and refrigerate until you serve.
IN THE FRIDGE: To store Jello Pinwheels in the refrigerator, place them in an airtight container with parchment paper between layers to prevent sticking. They will keep for up to 1 week. Ensure the container is sealed tightly to keep out moisture and other flavors from the fridge.
IN THE FREEZER: It is not recommended to freeze marshmallows in Jello mix, as the texture tends to change and may become watery or overly soft upon thawing. For the best taste and texture, enjoy them fresh or stored only in the refrigerator.
Why These Jello Pinwheels Are The Best
Jello Pinwheels are a fun take on fruity roll-ups, with a marshmallow layer that gives them a sweet and creamy taste.
Here’s why we absolutely love bringing this recipe out for various occasions:
Easy and Quick Preparation: Jello Pinwheels are perfect for last-minute party preparations or a fun cooking activity with kids, plus everyone will be so excited to see such a unique treat at the celebration.
Kid-Friendly and Loved by Adults: Kids love the bright colors and fun shapes, while adults appreciate a nostalgic trip down memory lane.
No Fancy Equipment Needed: All you need is a microwave, a fridge, and basic kitchen tools. Anyone can make this, and the kids will love to help.
Edible Craft Project: Kids think the process of the Jello and marshmallow separating is so fun to observe! The easy cooking process means you’ll love making these with your kids on a lazy afternoon!
FAQs
Frequently Asked Questions
Jello Pinwheels look great on a dessert platter or tiered cake stand. Arrange them in a colorful pattern to enhance your party decor.
For firmer Jello Pinwheels, you can increase the chilling time in the refrigerator or slightly reduce the amount of water used to dissolve the Jello.
The Jello should be refrigerated for at least one hour to ensure it sets properly and holds its shape when cut into pinwheels.
Yes, sugar-free Jello works just as well as the regular kind for making Jello Pinwheels, making it a great option for those watching their sugar intake.
Use a sharp, thin knife to make clean cuts. If the knife sticks, lightly coat it with non-stick spray to slice through the Jello more smoothly. Or you can use dental floss!
Ensure you lightly coat the pan with non-stick spray and use a paper towel to wipe off any excess. This method prevents sticking without leaving a greasy residue.
If the marshmallows aren’t melting well, return them to the microwave for an additional 5-10 seconds. Stir vigorously after reheating to help them dissolve into the mixture.
The most fun you can have with a box of Jello, these super cute Jello gelatin pinwheels will be the hit of your next party! Whip up a batch or two of these 2-ingredient treats and for a dessert everyone will be talking about.
More Recipes You’ll Love
- Jello Poke Cake
- Rainbow Jello Cake
- Cranberry Jello Salad
- Cottage Cheese Jello Salad
- Strawberry Pretzel Jello Salad
Jello Pinwheels
Ingredients
- ½ cup boiling water
- 3 ounces flavored Jello gelatin (your favorite flavor – you can choose from blue raspberry, orange, lime, etc.)
- 1½ cups mini marshmallows
Instructions
- Lightly spray an 8×8 inch pan with non-stick cooking spray. You can use your fingers to evenly rub the spray over the bottom and sides of the pan as you do not want to overspray the pan, or your Jello roll ups will be greasy.
- To a medium, microwave-safe mixing bowl, add the boiling water and flavored Jello gelatin. Whisk to fully dissolve the gelatin.
- To the bowl of gelatin, add the mini marshmallows and stir to coat all the mini marshmallows in the gelatin.
- Heat the bowl of flavored gelatin and mini marshmallows for 30 seconds in the microwave on high heat. Remove the bowl from the microwave and whisk until all the mini marshmallows have dissolved into the gelatin and the mixture looks light and frothy.
- Pour the mixture into the prepared 8×8 pan.
- Refrigerate the pan of Jello Pinwheels for a minimum of 1 hour or until the gelatin has firmly set.
- Carefully run a butter knife around the edges of the pan to loosen the Jello from the edges. Gently pull up one corner of the sheet of firmed Jello and pull to lift the sheet of Jello out of the pan. Place the sheet of Jello onto a sheet of parchment paper, fluffy marshmallow side up so that it is ready to roll up and slice. Be sure that your parchment paper is slightly larger than the pan of Jello Pinwheels.
- Starting at one end of the Jello square, gently roll the Jello into a spiral until you have a log.
- With the seam side down of the jelly roll up, slice the log into 12 (approximately ½ inch) slices. Be sure to use a sharp knife to get nice, clean slices.
- Transfer the Jello Pinwheels to a plate and serve.
Notes
- Make sure the water is truly boiling to effectively dissolve the gelatin. Warm water alone won’t work.
- Fresh marshmallows work best as they melt more smoothly and blend better with the Jello. If your marshmallows are old or dry, buy a fresh bag.
- Keep an eye on the microwave, as overheating can cause the mixture to overflow.
- Chill near the back of the refrigerator where it’s coldest for quicker setting. Touch the mixture lightly to make sure it’s not at all watery, and has set fully before trying to remove it from the pan.
- If the knife sticks, lightly spray it with nonstick spray for smoother slicing. You can also use unflavored dental floss or clean fishing line to cut clean slices.



Leave a Comment