February 28, 2019
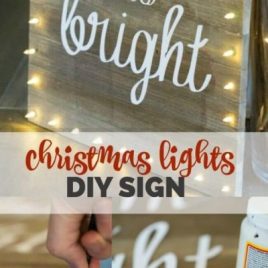
Review PostChristmas Lights DIY Board Sign
Table of Contents
That first Christmas after I got married, making a few Christmas decorations was the only way to have much holiday décor in our new home. When I looked around at the mostly bare walls, it didn’t feel very merry.
I grew up with my family making much of Christmas and the holiday season. We had traditions upon traditions and I loved it.
My childhood Christmas always included lots of music and food. Mom was a music teacher so rehearsals and pageantry came with the season and my sister and I loved to bake.
Dad was always the tree champion in our house. At least, he started it by putting the tree up and doing the unpopular job of stringing lights.
Then he would sit back and do a little directing while “his girls” added the tree glamour.
Mom, my sister and I loved pulling out the ornaments. It seemed there was a memory hanging from each sparkling bauble and bit so decorating was often an all-day affair of hugging old memories as we noshed and fa-la-la-lahed around the tree.
And then there was the giggled sharing of secrets and present shaking.
Totally satisfying.
So that first year I was married, even though I was thrilled at the prospect of sharing the holidays with the love of my life, I wasn’t quite sure how to build new memories with a slim newlywed budget.
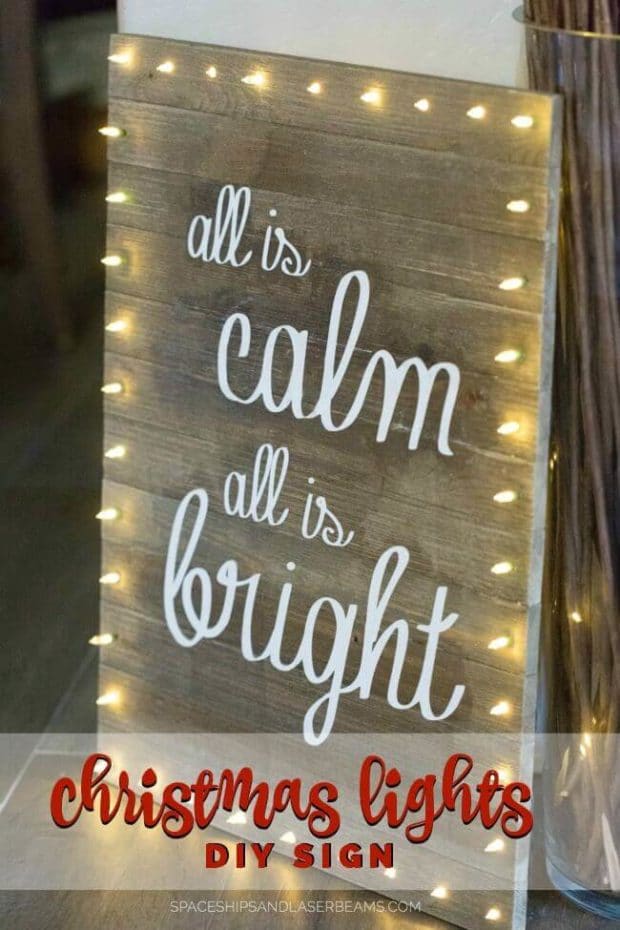
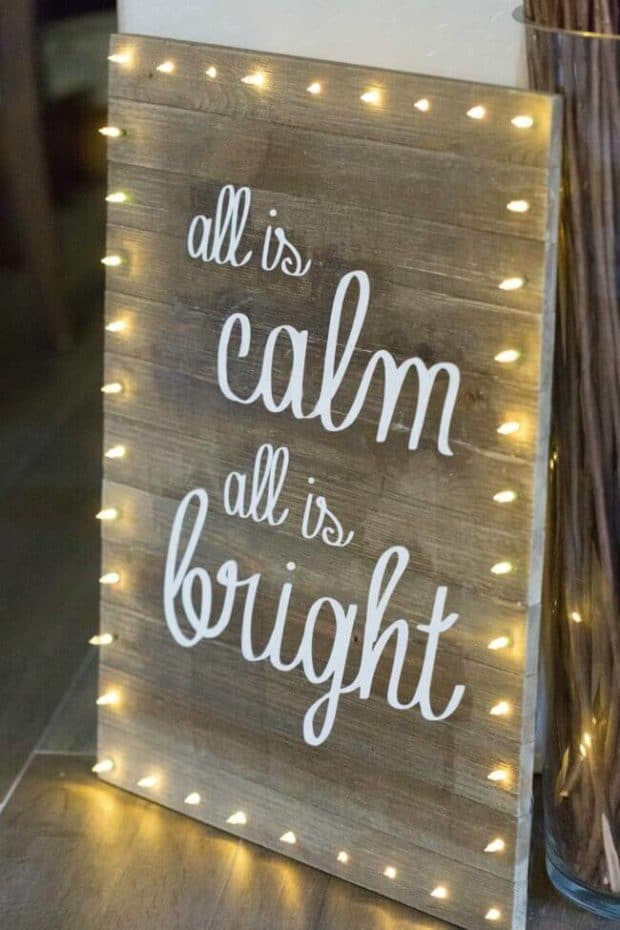
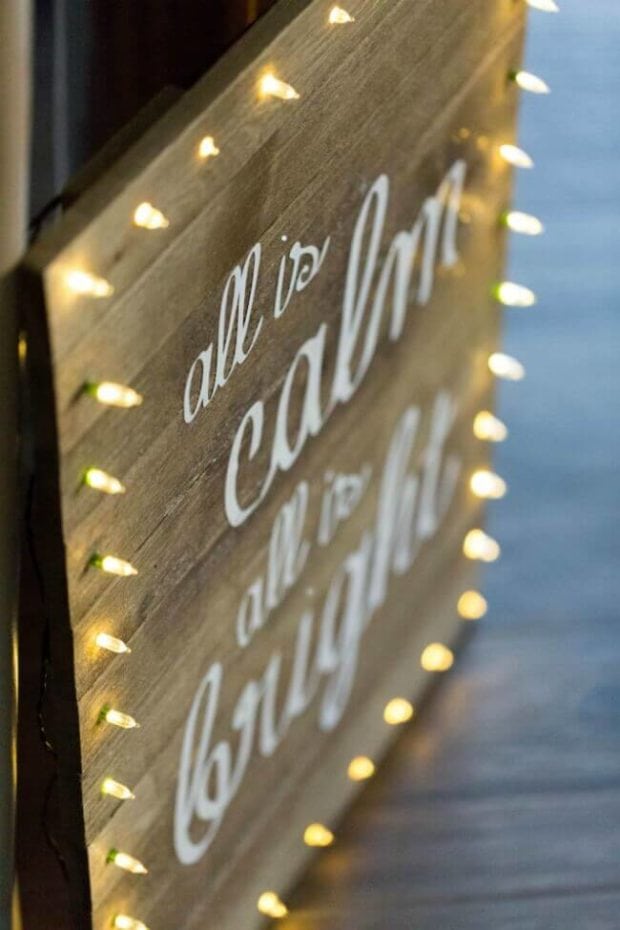
That was the year Ryan and I began our custom of making something together for our Christmas. Now, creating at least one new thing has become a much-loved tradition. This year we made a sign for the season’s optimistic mantra: all is calm, all is bright.
I love it!
DIY CHRISTMAS SIGN
Supplies
- 1 18×24 wood sign (can be found in the craft section of major stores)
- lettering (your choice of paint or cardstock)
- painter’s tape
- drill with 15/64 drill bit
- staple gun
- sand paper
- permanent marker
- center punch
- 18-foot strand of battery operated lights
- RAYOVAC® Alkaline batteries
Instructions
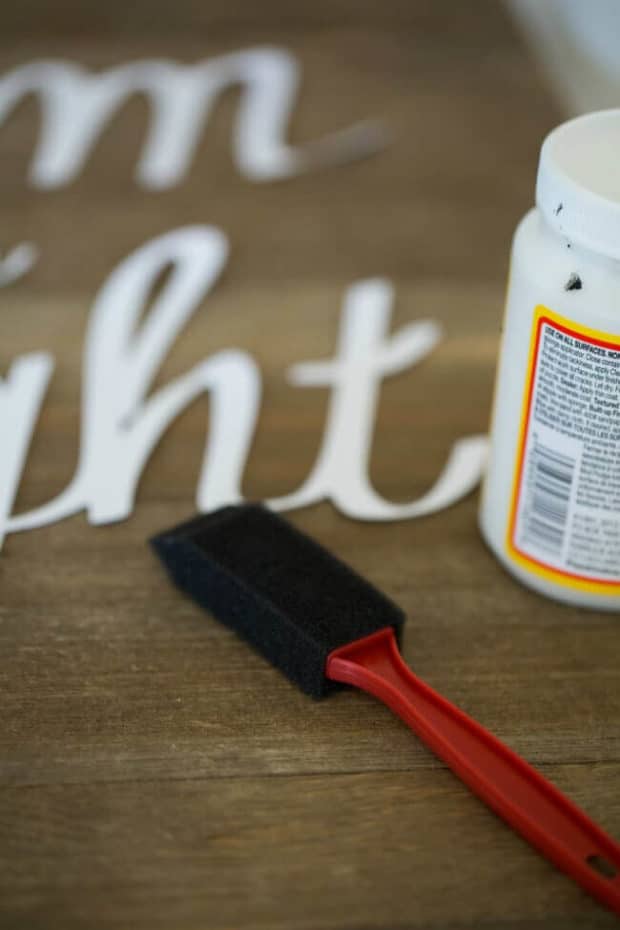
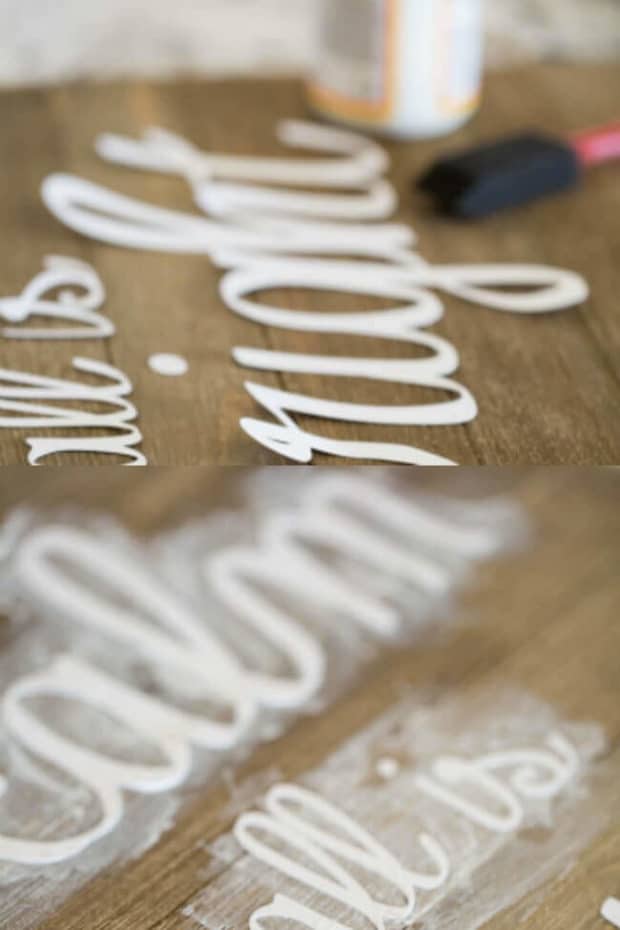
1. After applying your choice of lettering, outline edges of the sign with painter’s tape.
2. Use permanent marker to mark the tape where you want lights to go. We marked every two inches.
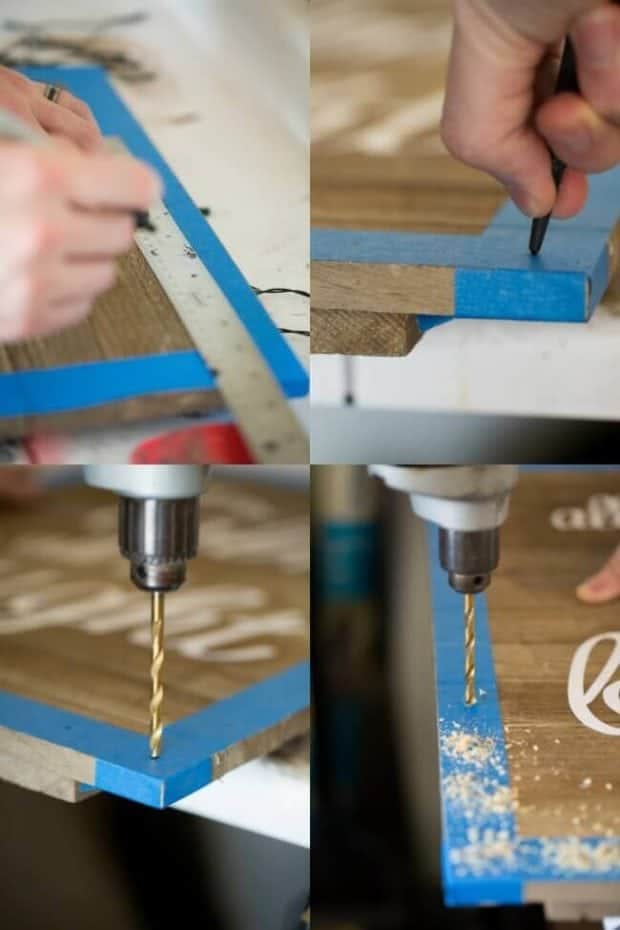
3. Drill holes where you marked along tape.
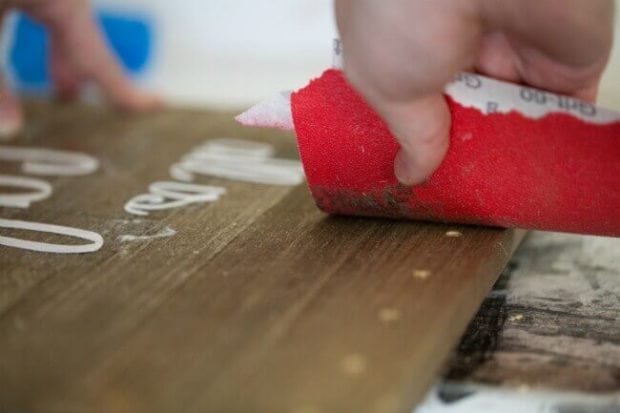
4. Remove tape and gently sand away any frays on front and back of sign.
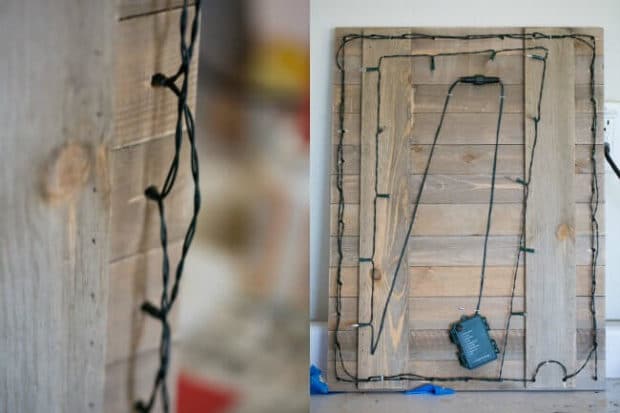
5. Turn sign over and stick lights through every other hole. Since there are more than enough lights, we opted to go around twice, inserting a light in every other hole. This keeps the lights fitting a little tighter.
6. Staple cords down in each of the corners, being careful not to staple through the cord. For the extra lights, we just strung them along the back and stapled into place. We let the battery pack hang down at the bottom and stapled it into place as well.
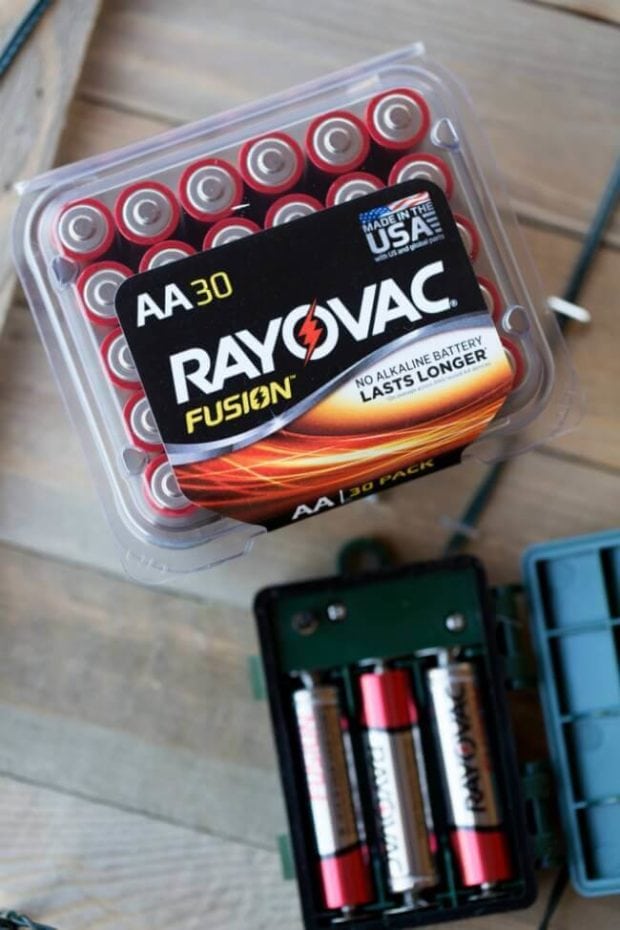
7. Insert RAYOVAC® batteries into the battery pack and turn on.
8. “Ooh” and “Ahh”.
Notes: I cut my letters out of 12×12 white cardstock using an electronic cutting machine. The wood needed to be sanded and wiped down before I glued them down.
I made a similar project using canvas last year and wood is WAY better because you can staple lights to the back. I tried using duct tape last year and the lights kept falling out.
When I first inserted lights into the back, I stuck a light in every hole which left quite a bit of slack in the strand and they kept falling out. The lights themselves are 4 inches apart and I made the holes 2 inches apart. Every other hole and twice around makes the lights fit so much better.
This rather heavy art piece is best suited for a table top or floor display.
Remember to choose good, dependable batteries for this project. Dead lights are not merry and bright and you won’t feel calm if you need to keep changing the batteries!
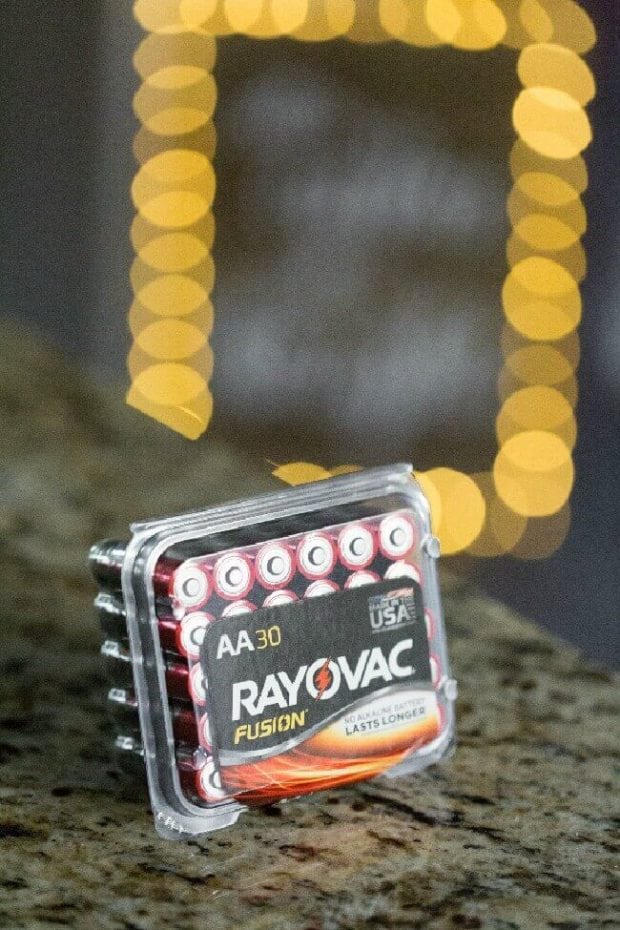
You can find RAYOVAC® batteries at Walmart, Lowes, Home Depot and lots of stores that sell quality products — find them here plus snag a coupon to save on your purchase. I know from experience they are long lasting.
This is a sponsored conversation written by me on behalf of RAYOVAC® The opinions and text are all mine.