
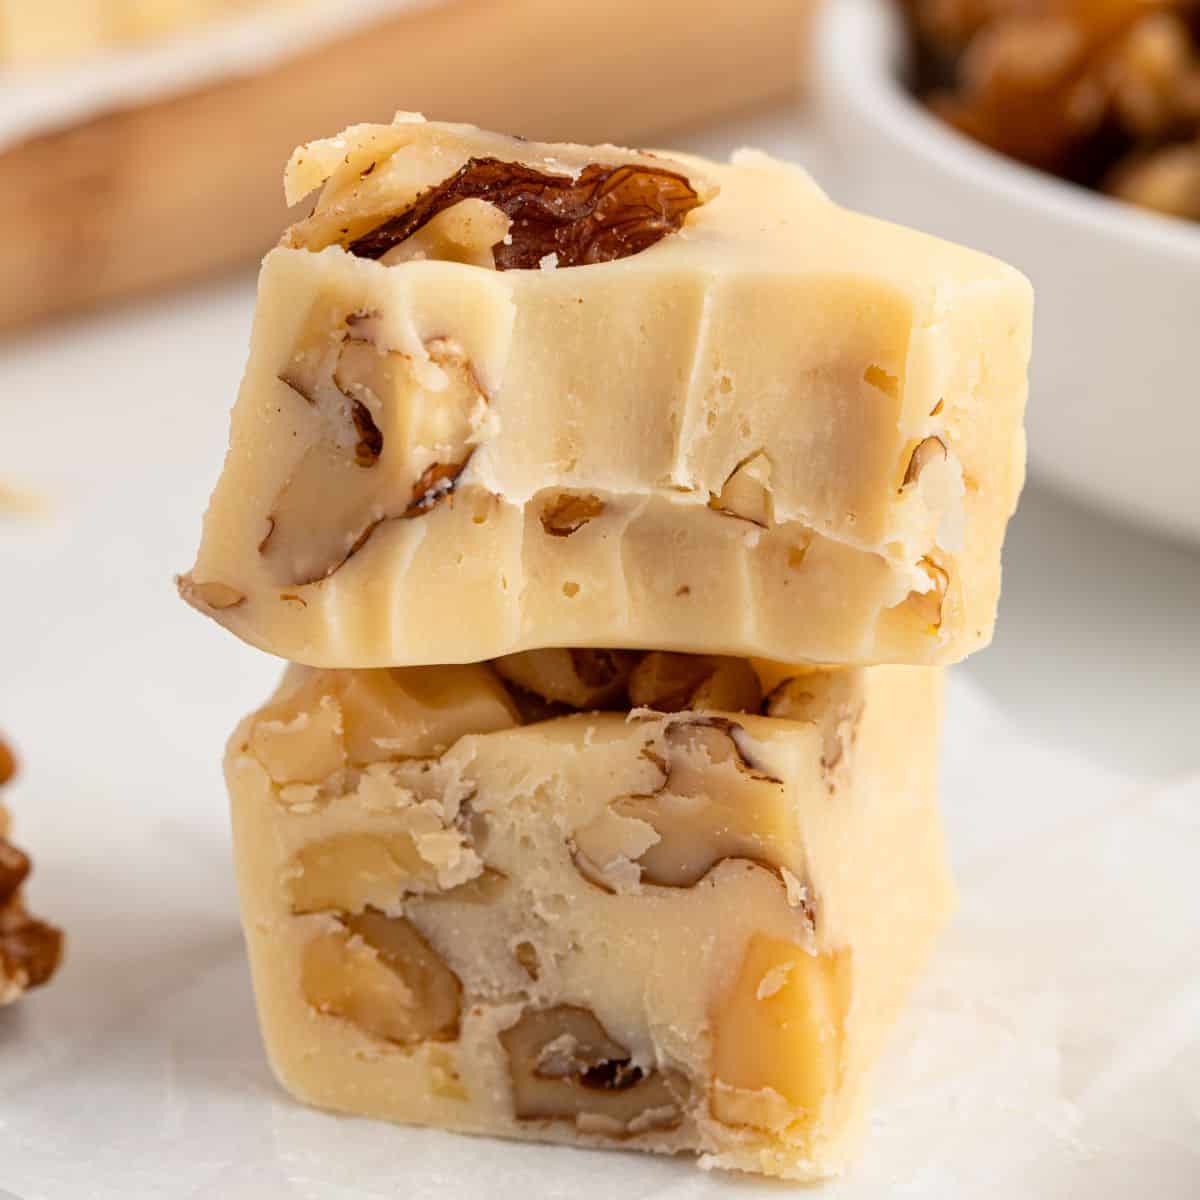
Maple walnut fudge is the first pan I make when the weather turns cold, before there is a Christmas list or an empty tin on the counter. We eat a few squares that weekend, and I freeze the rest. By Thanksgiving, I already have something maple to set beside the pies, and when December arrives, the last pieces go onto a holiday tray.
This is rich fudge, so I cut it smaller than brownies or bars and one pan goes much farther than it looks. The walnuts break up the sweetness, which makes those little squares as welcome after Thanksgiving dinner as they are among the chocolate and peppermint in December.
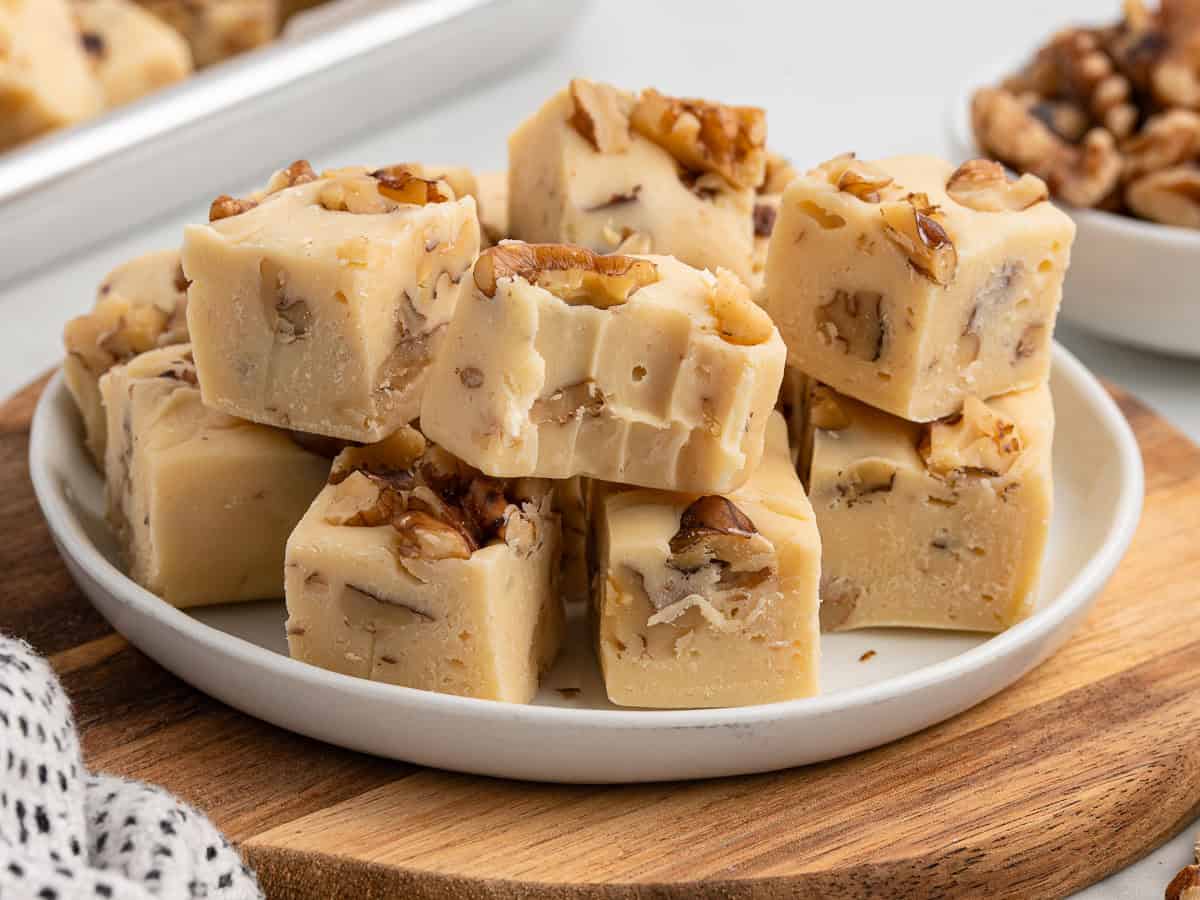
You Will Not Need A Candy Thermometer
White chocolate, sweetened condensed milk and butter go into one bowl and into the microwave. You stir in the maple and the walnuts, spread it in the pan, and the refrigerator does the setting. There is no sugar to boil and there is no temperature to reach with a candy thermometer.
Ingredient Notes
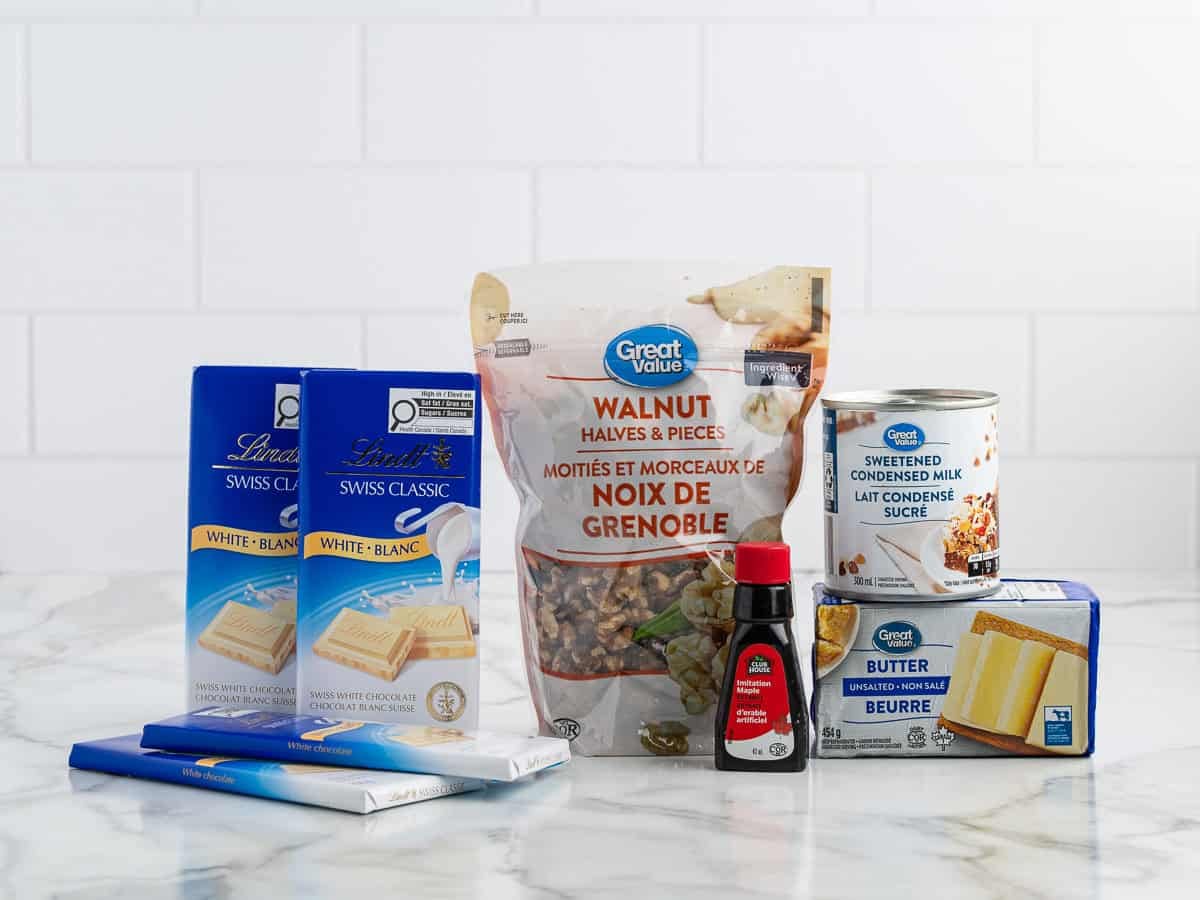
Maple Extract, Not Maple Syrup
The maple flavor comes from extract instead of maple syrup. Syrup is mostly water, and since we use the microwave instead of the stovetop in this recipe, there is nowhere for that water to go. So with maple syrup, this fudge would never truly set.
Use the full amount the recipe calls for. The maple will taste stronger in the warm bowl as you are making it than it does once the fudge is set and chilled.
During recipe testing, I started with ¾ teaspoon, but most of the maple disappeared after chilling. At 1½ teaspoons, the fudge still tastes distinctly maple straight from the refrigerator.
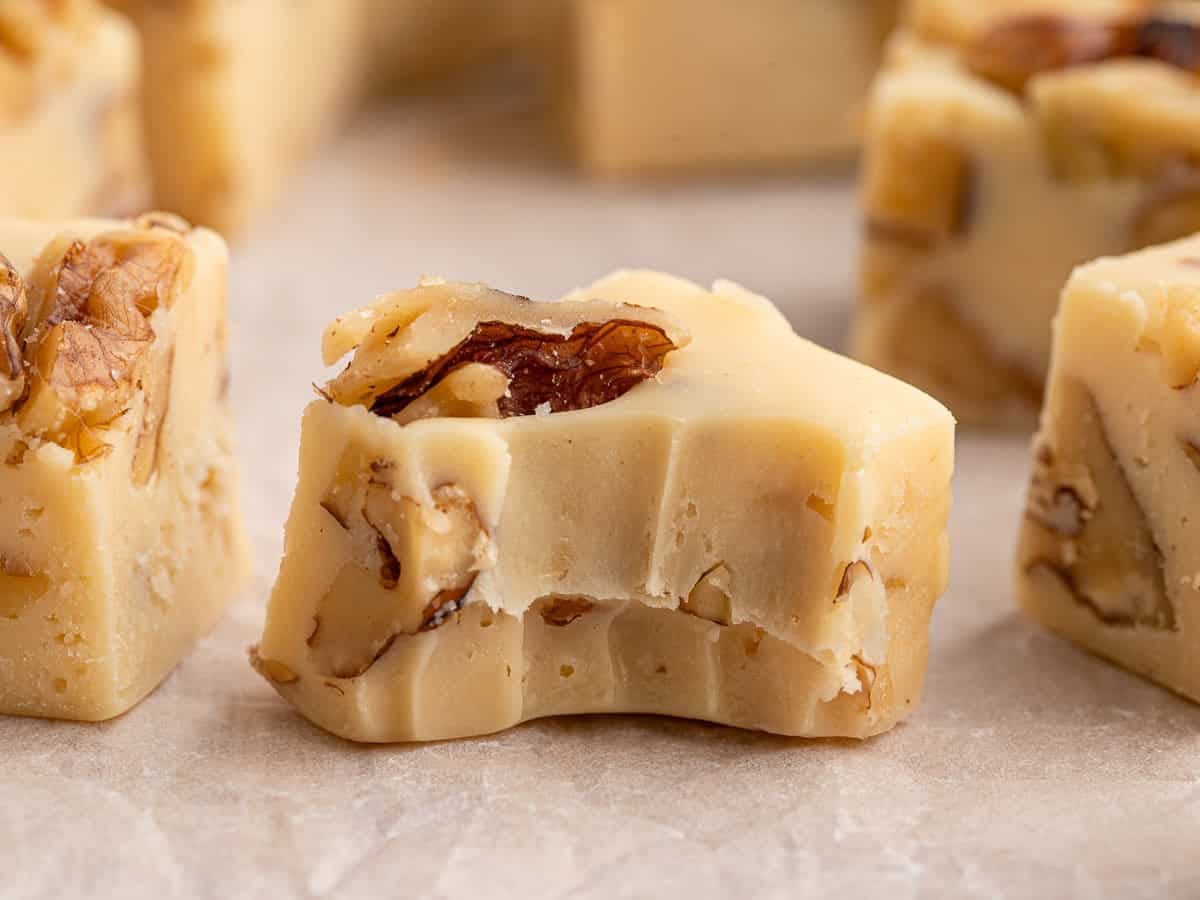
The extract also changes the color. The ivory mixture turns tan when you stir it in and darkens a little more as it chills.
White Chocolate Bars, Not Chips
White chocolate forms the base of this fudge, so how well it melts affects the finished texture. This is one ingredient where taking a shortcut can actually mess up the recipe.
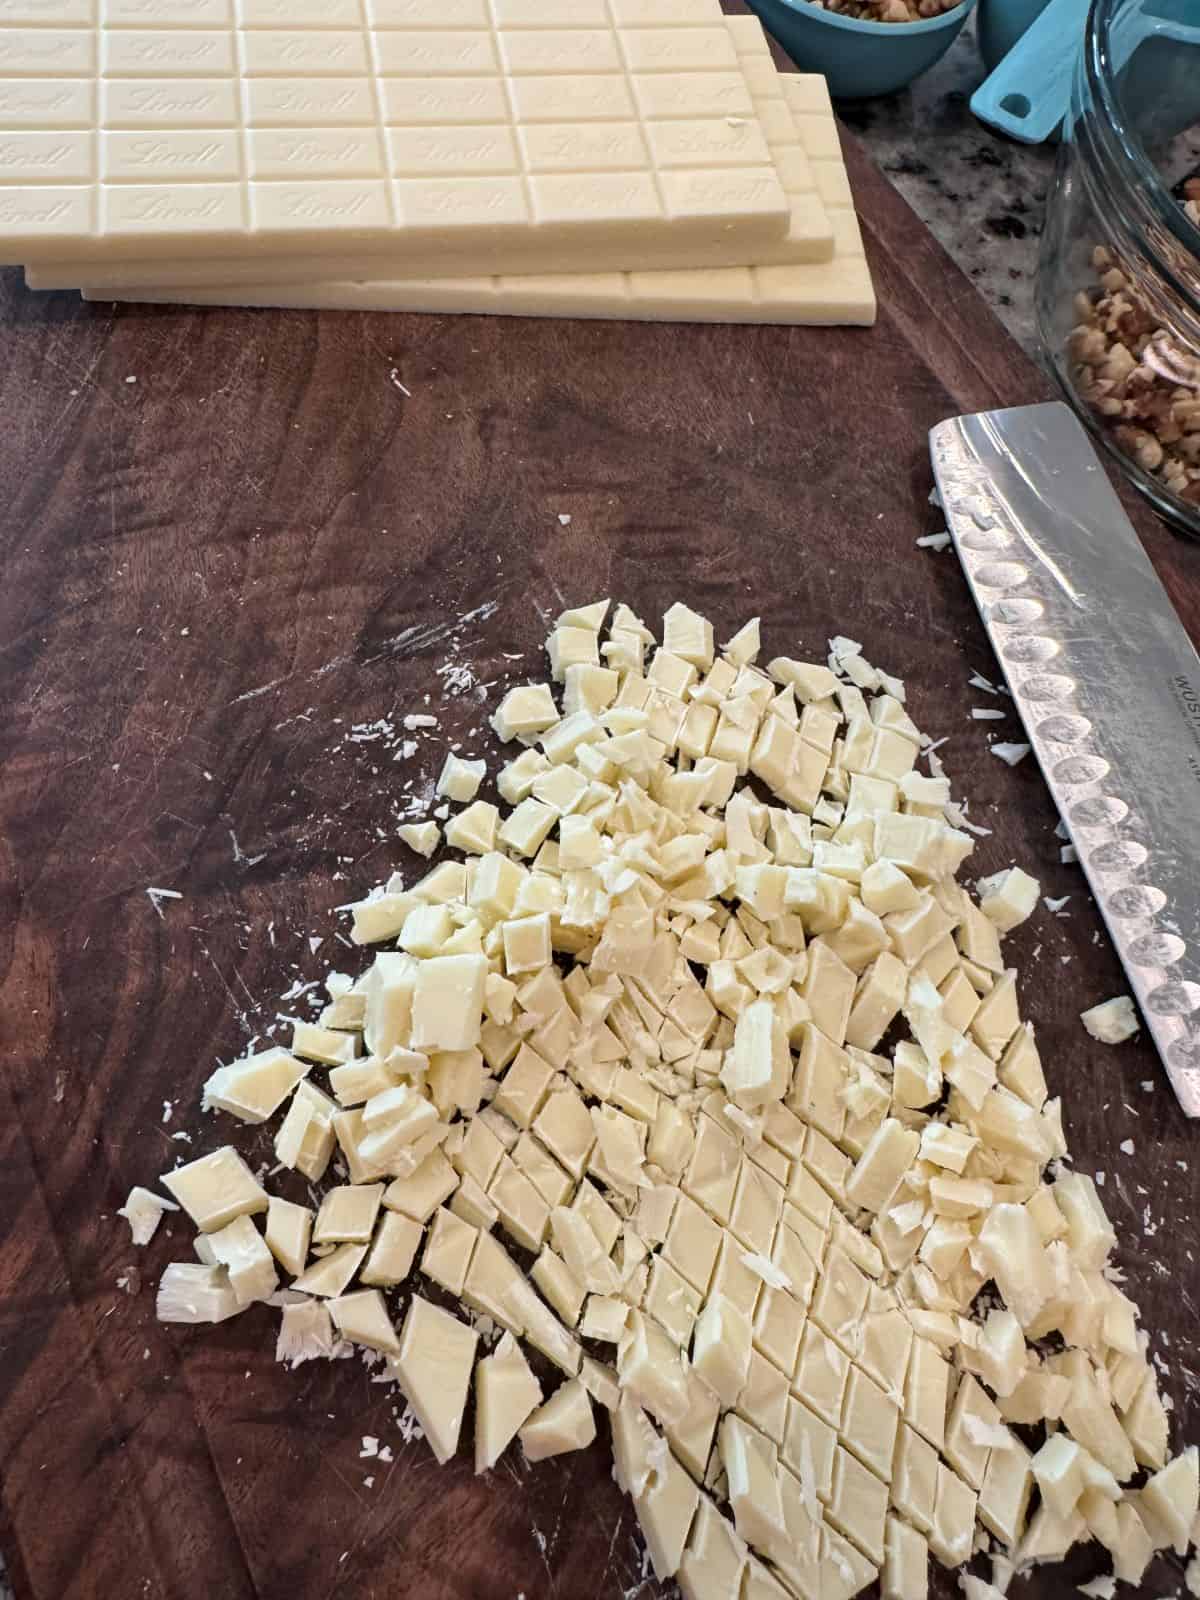
Chopped bars melt more smoothly. White chocolate chips are made for baked goods like cookies, so they are designed to keep their shape under heat. They do the same thing in a warm bowl, so the butter never fully blends in.
Recipe Testing Notes
During recipe testing, I tried combining white chocolate chips and cold butter over low heat on my stovetop. I had to give up. I even moved to the microwave and gave the mixture two 30-second bursts and it still didn’t fully combine.
I retested it using white chocolate bars I chopped up instead, and room-temperature butter. The mixture stirred smooth and the fudge cut cleanly after four hours.
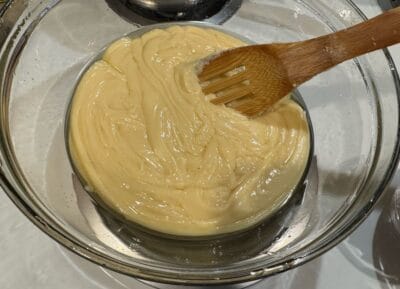
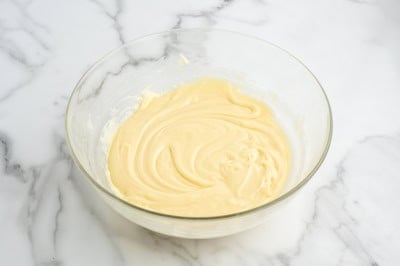
As you melt the chocolate and butter together, you are going to want to use the microwave sparingly to ensure the chocolate doesn’t burn or seize.
I found that the white chocolate bar pieces can still look whole when they are already soft enough to melt. Just stir thoroughly, scraping the bottom and sides of the bowl, and they should disappear into the warm mixture.
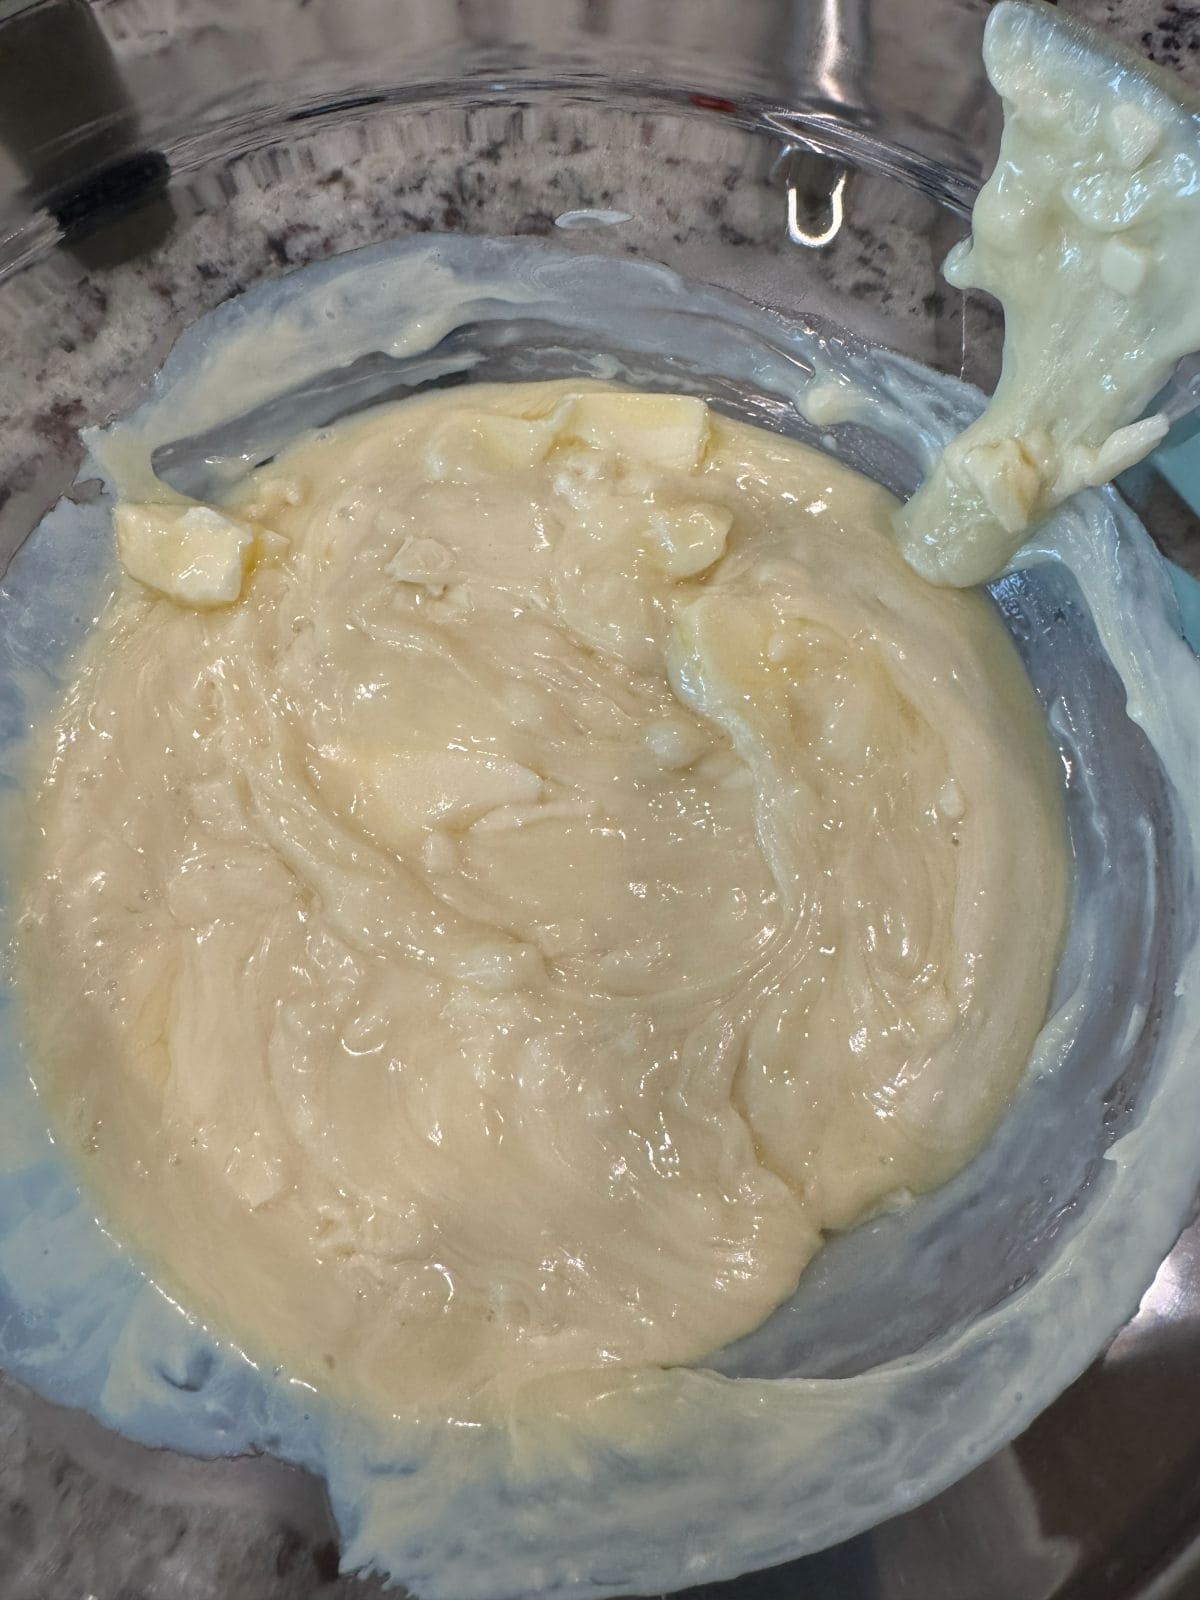
Add more time only when pieces are still holding their shape after you stir. Stop heating when the mixture is smooth and the butter has completely blended in rather than sitting on top.
Give It The Full Four Hours
I’d recommend giving the fudge the full four hours in the fridge before you try to lift it from the pan. At about three hours, the surface and edges of the fudge can look firm, but it will be a smidge tacky to slice. Four hours is perfect.
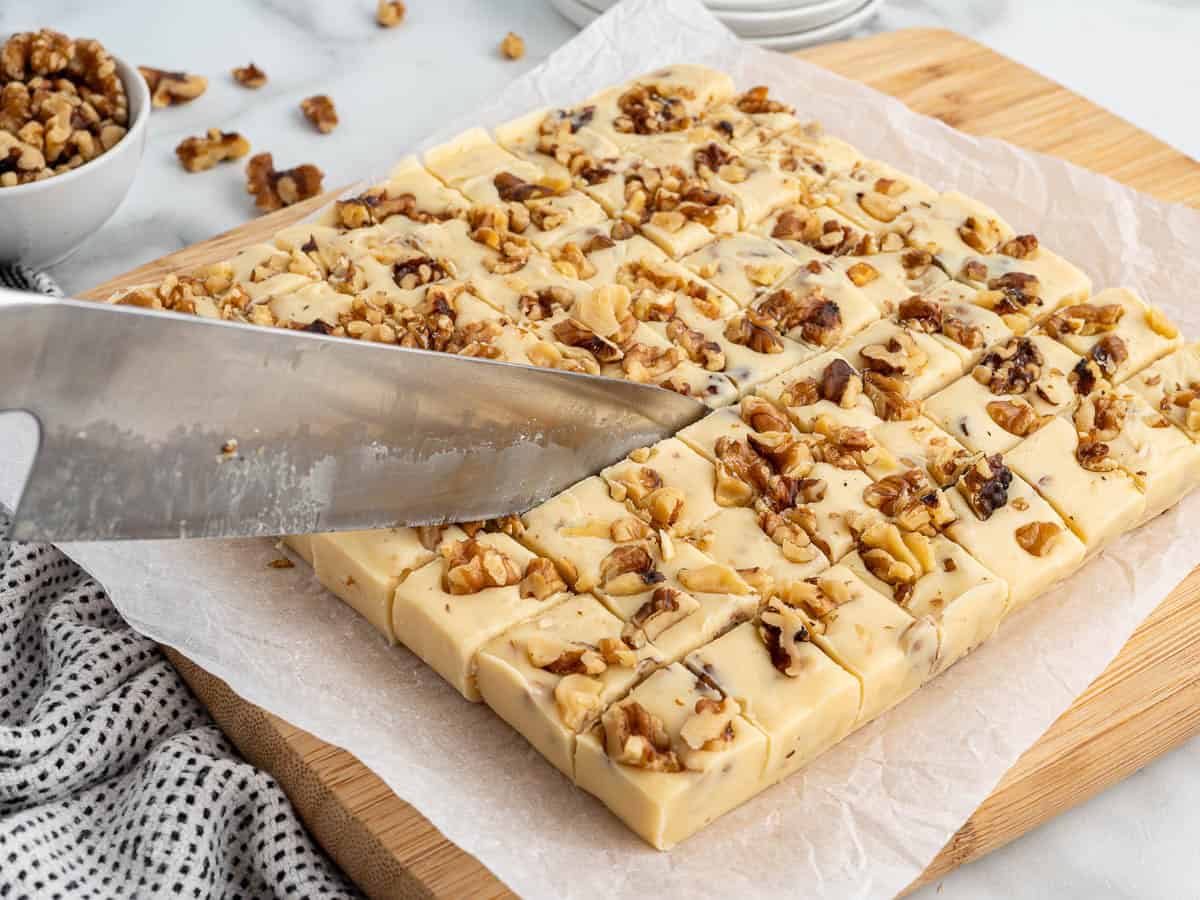
The Press Test: After four hours, press the center lightly with one finger. It should feel firm and your finger should not leave a dent. If it does, leave the pan in the refrigerator longer. Refrigerators run at different temperatures, so pressing the center is a better final check than the clock alone.
Cut It Before You Freeze It
A whole frozen slab has to soften before a knife will go through it, which is no help at all when you want six pieces for a plate.
So the squares I am keeping go into the freezer already cut, in a container with parchment between the layers so they do not weld into one block.
This maple walnut fudge holds in the freezer for two months, which means a pan I make in late October is still good on a Christmas tray.
Move what you are serving into the refrigerator and let it thaw there rather than on the counter. Give it a few minutes at room temperature before it goes out, and leave everything else frozen until the next tray needs filling.
More Easy Homemade Fudge Recipes
This post was originally published in August 2023. It was republished in August 2026 with new photos, an updated recipe and rewritten instructions.
Maple Walnut Fudge
Ingredients
- 16-17.6 ounces white chocolate bars, chopped (four 4 to 4.4-ounce bars) (Lindt brand four 4.4-ounce white chocolate bars used)
- 14 ounces canned sweetened condensed milk
- 4 tablespoons unsalted butter, room temperature and cut into cubes
- 1½ teaspoons maple extract
- 1½ cups chopped walnuts (divided into 1 cup mixed into the fudge and ½ cup for the top)
Instructions
- Line a straight-sided, 8×8-inch baking pan with parchment paper. Allow enough paper to overhang the sides of the pan to easily lift the fudge out for slicing.
- To a large microwave-safe bowl, add the chopped white chocolate, sweetened condensed milk, and cubed butter. Microwave on HIGH for 1 minute. Stir, then heat in 30-second intervals, stirring between each interval, until the chocolate is almost fully melted. Stir until smooth.
- Stir in the maple extract and 1 cup chopped walnuts until well combined.
- Transfer to the prepared pan and spread to an even thickness.
- Sprinkle the remaining ½ cup chopped walnuts over the top and gently press them into the fudge so they stay in place after chilling and slicing.
- Refrigerate the fudge for 4 hours, until firm. Using the parchment overhang, lift the fudge from the pan and slice into 64 (1 x 1-inch) pieces.
Notes
- Maple syrup cannot be used as a substitute for the maple extract in this recipe as it will alter the final results in texture and flavor.
- Maple extract is very intense in flavor and very dark in color. You can start by adding just 1 teaspoon for a milder maple flavor and a slightly lighter color fudge.
- Some white chocolate bars, depending on the brand, come in either 4-ounce or 4.4-ounce sizes. Either one will work just fine for this recipe. Lindt brand 4.4-ounce bars were used for developing this recipe as that was what was available in my local grocery store. The Ghirardelli and Baker’s Premium brands come in the 4-ounce size. Be sure to use a good quality brand white chocolate for the best results.
- Allow the fudge to sit at room temperature for a few minutes to soften slightly before serving after an extended chill period
- Store in an airtight container with parchment between the layers. The fudge keeps 1 week at room temperature, 1 month refrigerated, or 2 months frozen.













Leave a Comment