
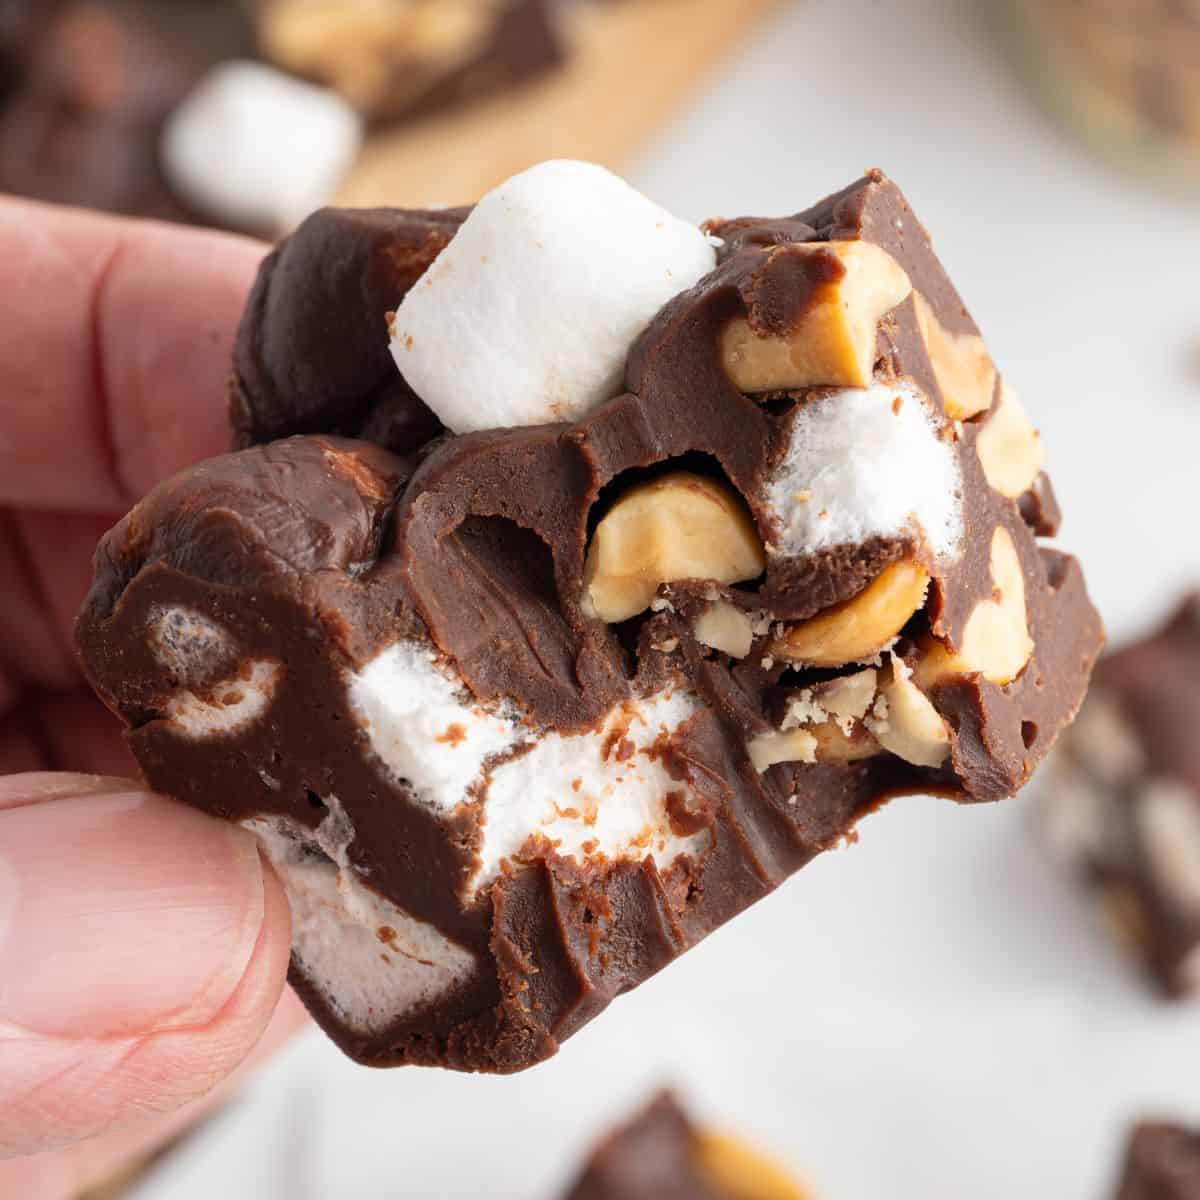
If you are nervous about making homemade fudge, old-fashioned fudge is probably why. It calls for a thermometer clipped to a pot of boiling sugar and gives you a narrow window between ready and ruined.
This rocky road fudge recipe is a much easier place to begin. You still get a full pan of homemade fudge, there is no thermometer and you use one bowl to melt and stir the ingredients. The refrigerator does the rest.
What Changes When You Swap The Peanuts
Salted peanuts do more than add crunch. Their salt keeps the chocolate and sweetened condensed milk from tasting too sweet, which is why I use unsalted butter and let the nuts bring all the salt the pan needs.
Walnuts, pecans, cashews and almonds all work. Use salted nuts, or toss unsalted ones with a pinch of salt before folding them in.
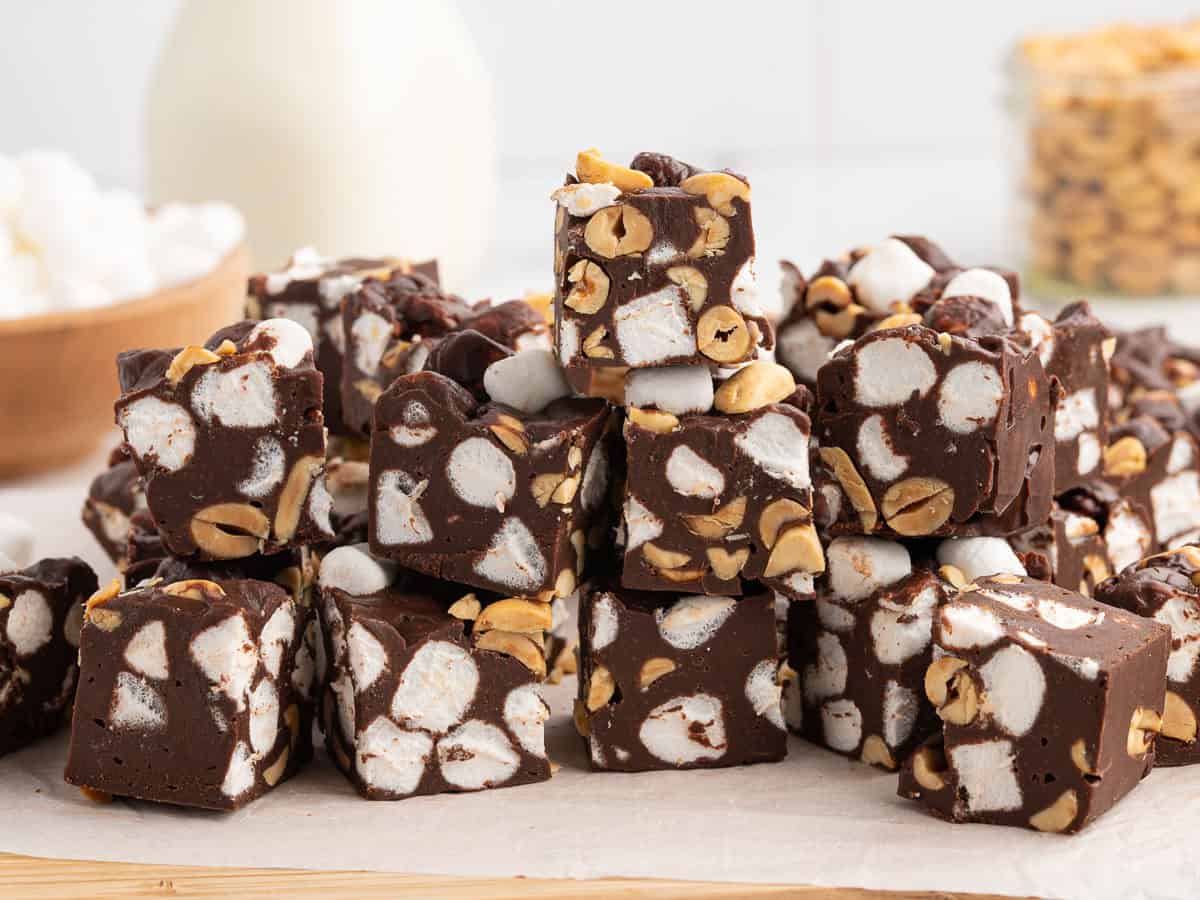
Walnuts are the swap people make most often, and many rocky road recipes use them from the start. Just know that walnuts are usually chopped, while peanut halves go in whole. Those larger pieces show up beside the marshmallows when the fudge is cut, so chopped nuts will change the look of the squares as well as the taste.

Choosing The Chocolate
I use Ghirardelli semi-sweet chips. Chocolate makes up most of every piece, so this is one recipe where the brand is easy to taste. Use chips you like well enough to eat straight from the bag.
Milk chocolate chips will make the fudge sweeter, or you can use half milk chocolate and half semi-sweet for something in between.
Whichever you choose, stop heating as soon as the chocolate stirs smooth. Do not keep going just because there is time left on the timer.
Do Not Miss This Step: Let The Chocolate Cool First
This recipe has one pause worth taking. When the chocolate comes out of the microwave, leave the bowl on the counter for a minute or two before adding the marshmallows and peanuts.
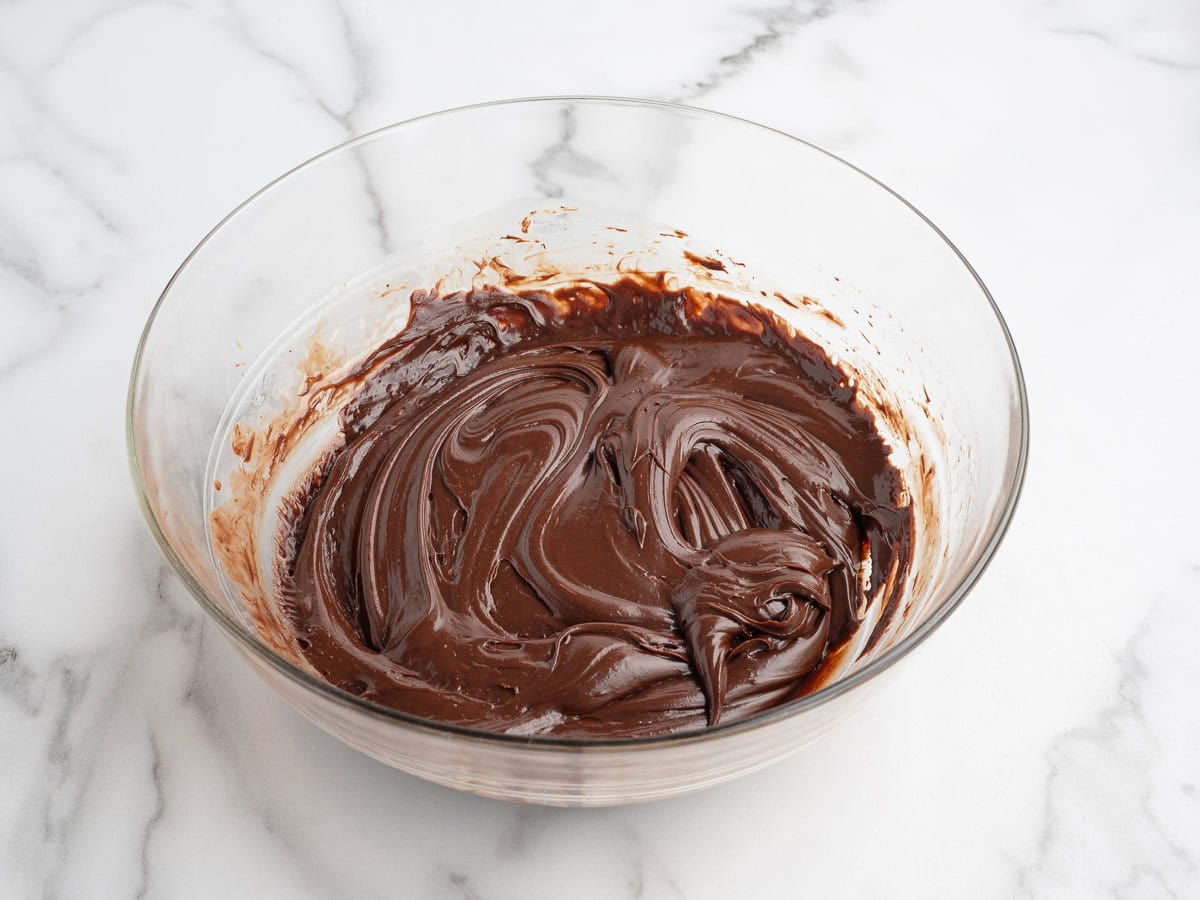
If the marshmallows go in while the chocolate is too warm, they begin to melt. They disappear from the finished pieces, and their sugar becomes part of the chocolate instead of staying in separate soft pockets. The fudge tastes sweeter and takes longer to firm up.
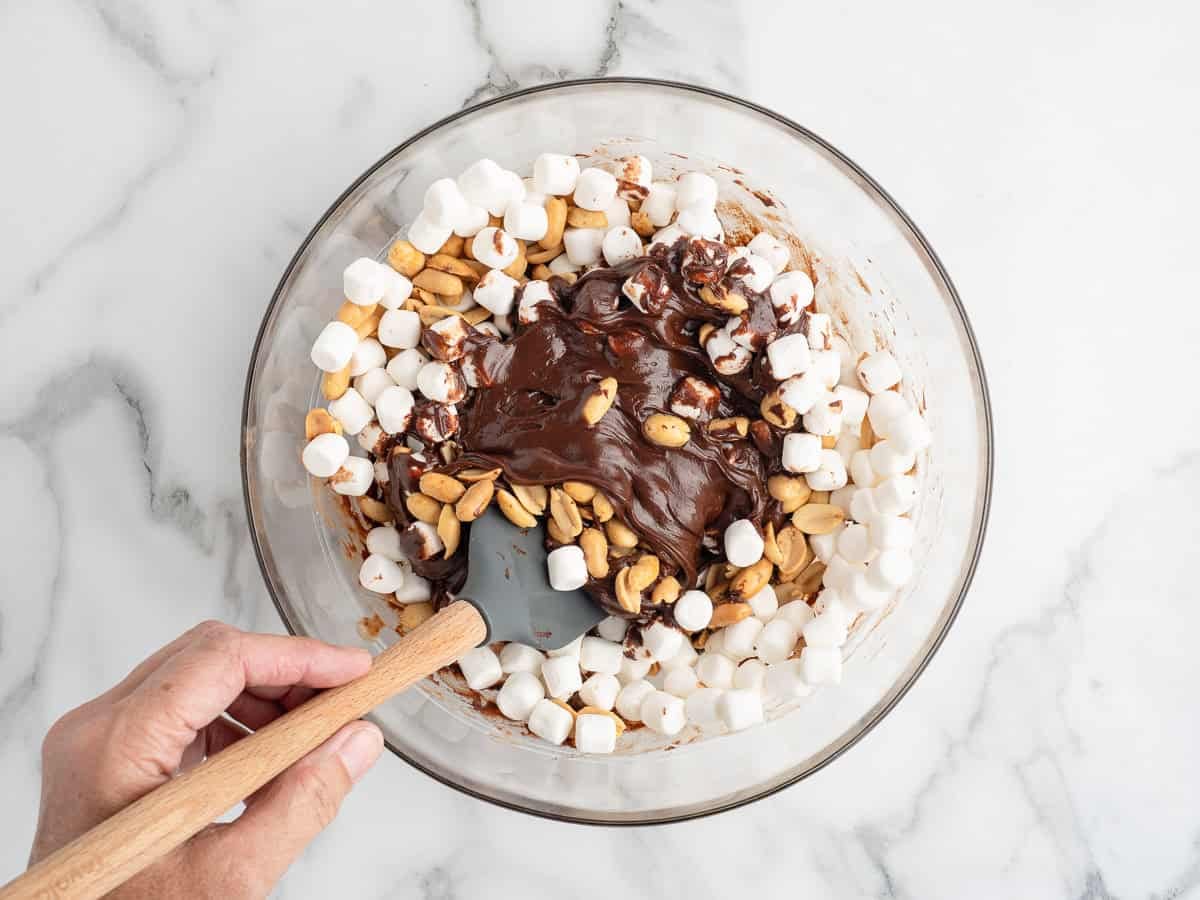
Fold the marshmallows and peanuts through rather than stirring them in. Nothing needs to be blended; you only need to spread them evenly through the pan.
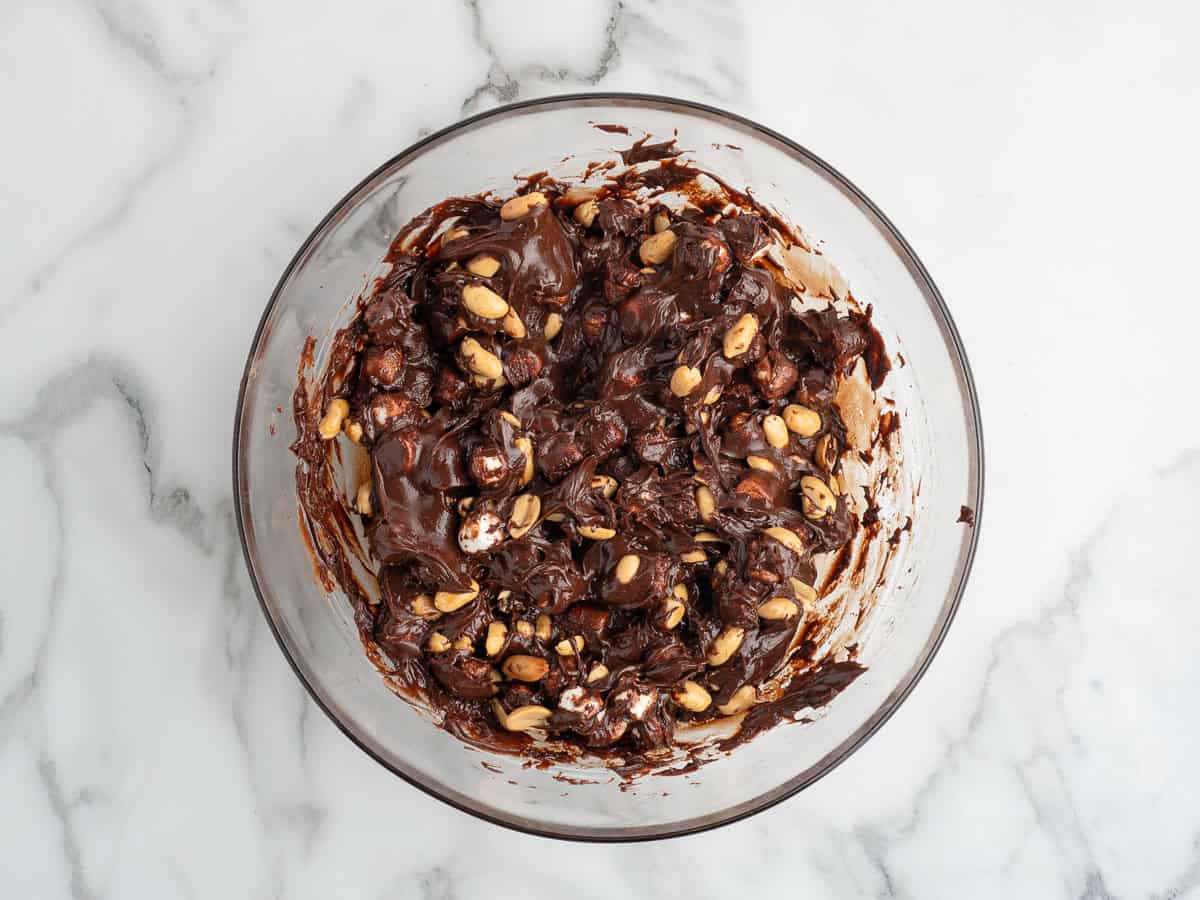
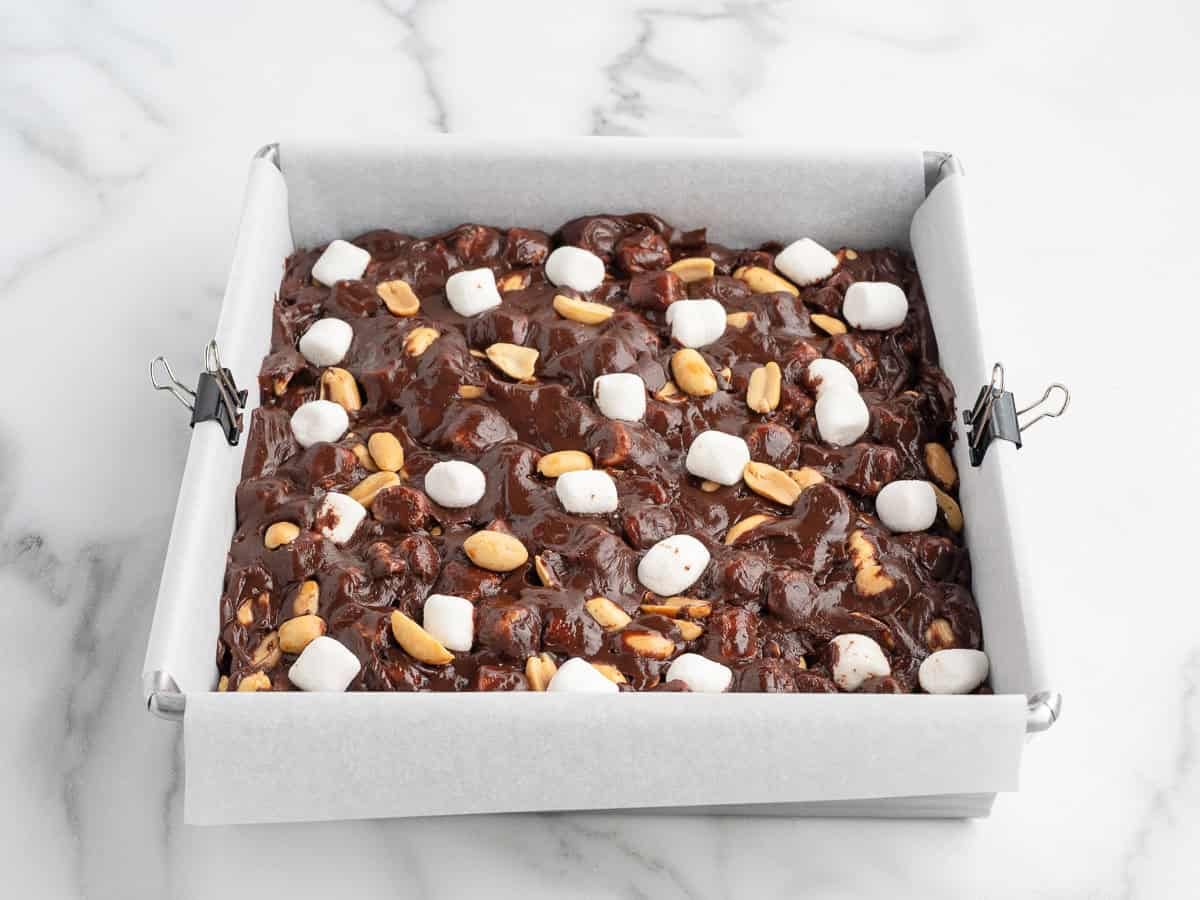
Freezing the marshmallows first does not replace the wait. If the chocolate is still too warm, even cold marshmallows will melt. Letting the chocolate cool is the part that matters.
How To Tell When Your Fudge Is Ready To Cut
Fudge that has not set still looks finished from the top. You find out when the knife goes in and comes out with a smear on it.
Press the middle of the pan before you lift anything out. It should feel solid under your finger and leave nothing behind on it. The corners firm up first, so a corner will tell you it is ready before the rest of the pan is.
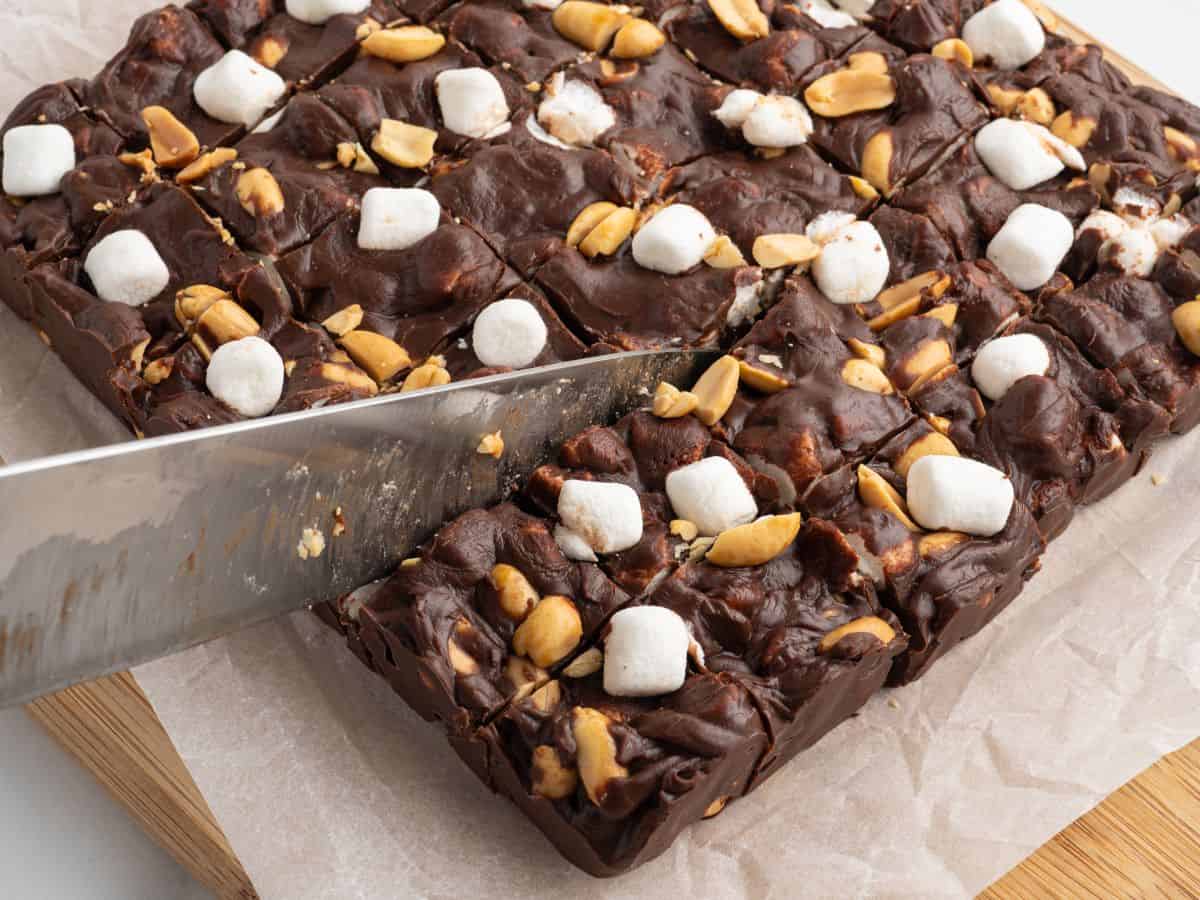
If there is any give at all, put it back in the refrigerator and check again in an hour. Fudge that is nearly there will still cut, but the corners round off as you lift the pieces and the cut sides go wet and shiny within a few minutes.
Make it the night before and you skip all of this.
Making It Ahead And Giving It Away
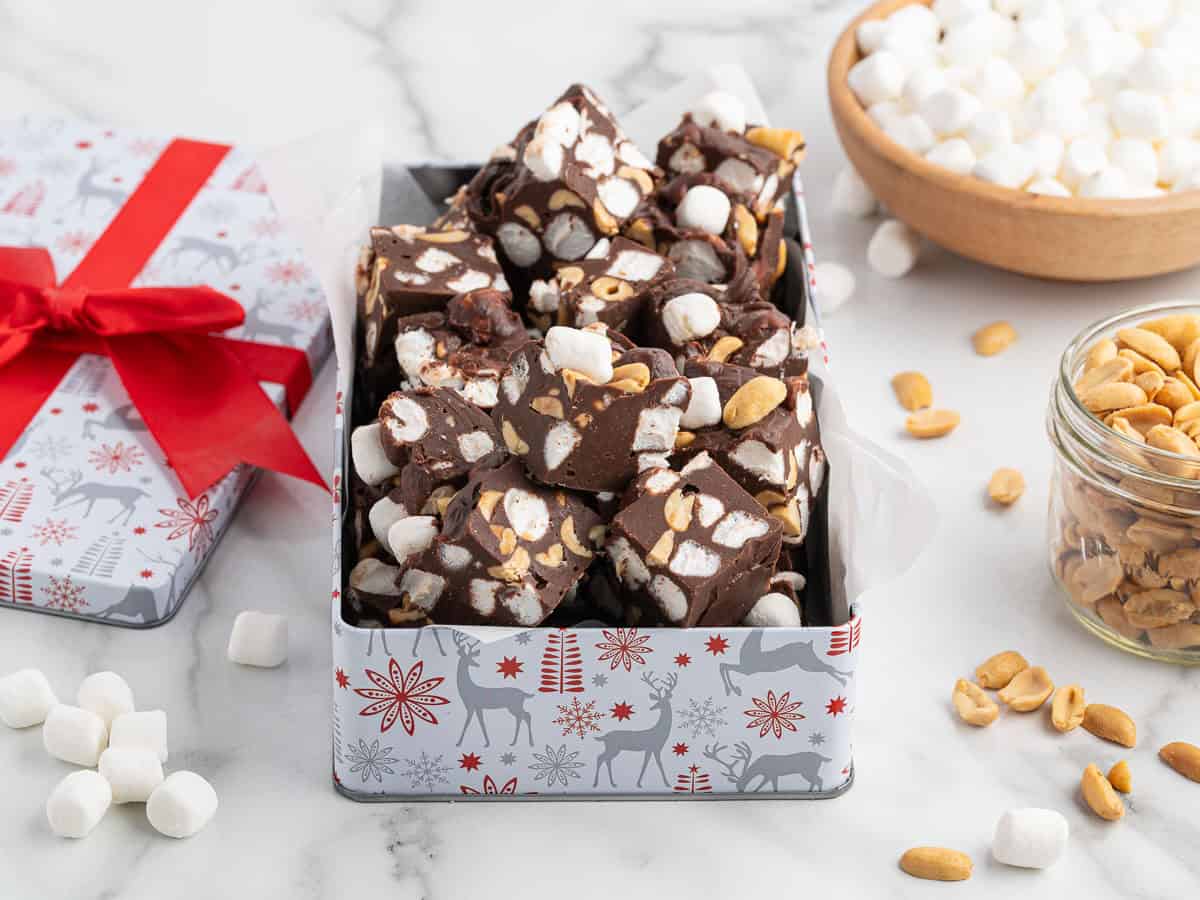
This is the kind of fudge that gets mailed to another state, walked next door or carried into work in a tin somebody wants back. Kept airtight, it lasts five days at room temperature or two weeks in the refrigerator, so it can be made well before it needs to leave the house.
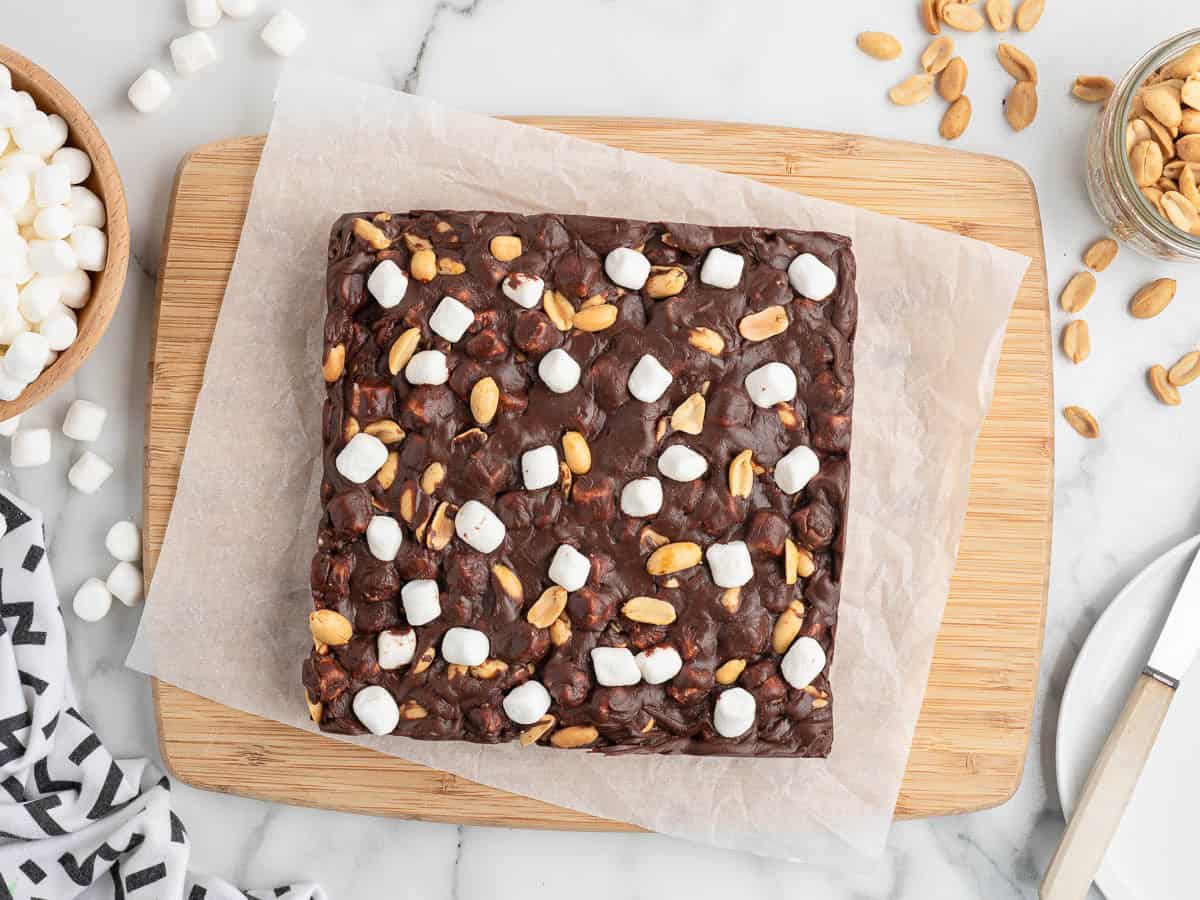
Keep the slab whole until the day you plan to give it away, then cut it while it is cold. The edges will look clean when the lid is opened. Place parchment between the layers so the pieces do not press against one another in the tin.
I like this fudge best cold, when the peanuts snap and the marshmallows stay chewy against the chocolate.
Recipe Testing Notes
This post was originally published in November 2019 with stovetop instructions that did not reliably keep the chocolate from seizing. Since then, I have developed dozens of fudge recipes and moved this one to the microwave, where the heat can be added in short, controlled bursts.
My independent recipe tester, Angela, tested the current version and needed three 30-second rounds after the initial minute. Every microwave is different, so note how many rounds yours takes the first time and use the same timing for later batches.




Rocky Road Fudge
Ingredients
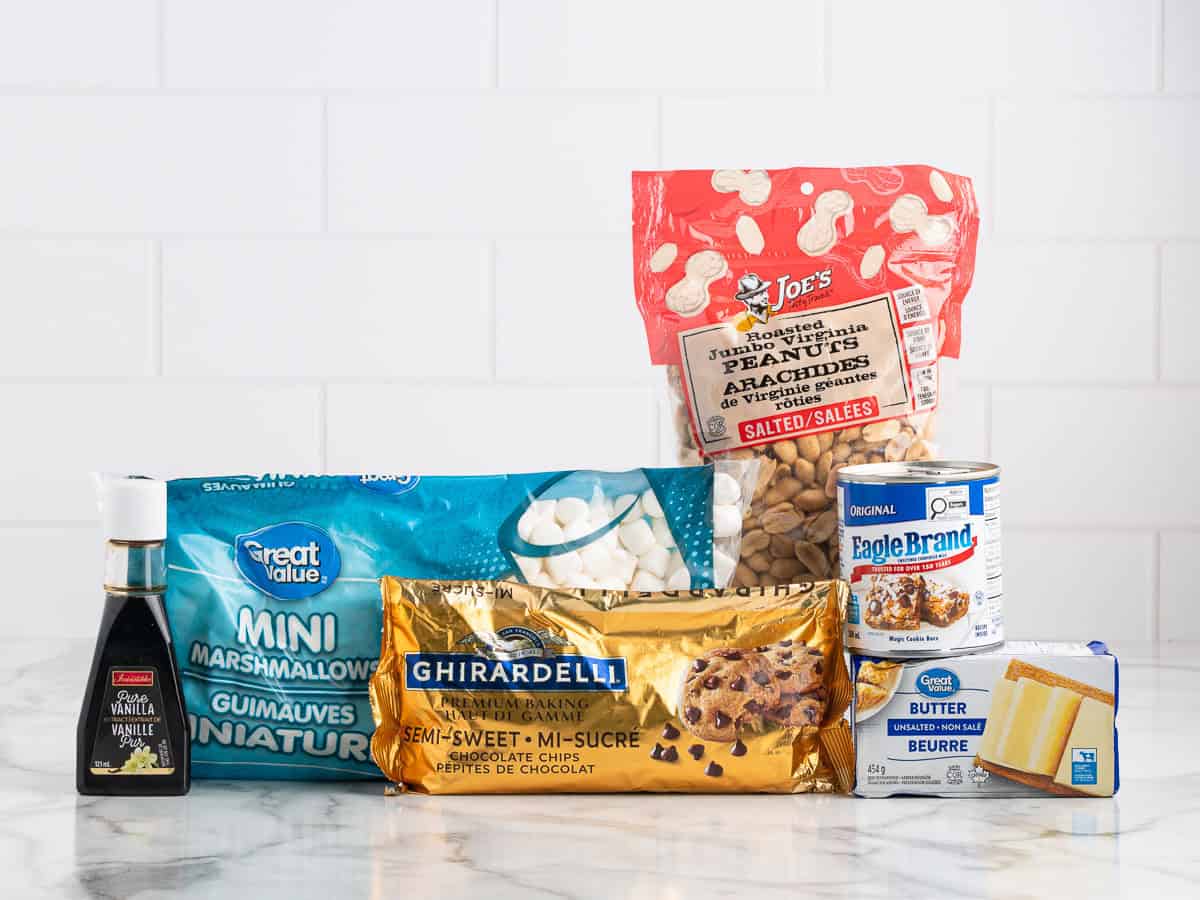
- 2 cups semi-sweet chocolate chips, Ghirardelli brand used
- 14- ounce can sweetened condensed milk
- 4 tablespoons unsalted butter, room temperature (cut into cubes)
- ½ teaspoon vanilla extract
- 2 ½ cups mini marshmallows, plus additional for the top
- 1 cup salted peanuts, plus additional for the top
Instructions
- Line an 8×8 straight-sided metal pan with parchment paper. Allow enough parchment to overhang the sides of the pan for easy removal.
- Stir together the semi-sweet chocolate chips and sweetened condensed milk in a large microwave safe bowl, then add the cubed butter on top. Heat for 1 minute, stir, and heat again in 30 second increments (stirring between each) until the chocolate is fully melted. Stir until smooth.
- Stir in the vanilla extract until fully incorporated.
- If the chocolate is very warm, allow it to cool for 1-2 minutes before folding in the mini marshmallows and salted peanuts. The mixture should be warm enough to spread, but not hot to the touch. If the chocolate is too warm, it will melt the marshmallows.
- Spread the fudge mixture into the prepared pan and smooth with a small offset spatula. Press in some additional mini marshmallows and salted peanuts to the top of the fudge for garnish if desired.
- Refrigerate for at least 3 hours, or up to overnight, until fully chilled and firm.
- Lift the fudge out of the pan using the overhanging parchment paper, remove the parchment then slice the fudge into 36 1-inch pieces.
Notes
- Milk chocolate chips can be substituted for the semi-sweet chips. Be sure to use good quality chocolate chips for the best flavor and melting qualities.
- Peanuts are a classic choice for Rocky Road desserts, however, you can substitute salted cashews or almonds if desired.
- If you do not have a microwave oven, this can be made using a double-boiler method over medium heat on the stove top.
Nutrition











Comments
Toni Thomason says
How delicious! This treat is super yummy!
Denise says
At what point do you add vanilla ?
Layne Kangas says
I’m sorry for missing that in the instructions! You add it when you add the peanuts. Enjoy! 🙂
Gloria says
Such a yummy classic, my grandma always made this!
Debi says
Can I use pecans or walnuts instead of peanuts?
Layne Kangas says
Hi, Debi – yes, you could. Enjoy!
Kathy says
Rich and delicious, and so easy to make! This fudge was a favorite in my sampler gift boxes. I made 8 flavors of fudge in the week before Christmas, and this one is already getting repeated.
Barrie says
This is the best recipe ever. Fast, easy and delicious! Make it for every holiday, or a dish to pass! Thank you for the best recipes. People go crazy for this fudge!!
Deborah Yokoi says
My kids love this.
Natalie J Gaba says
A good fudge recipe
Veronica Grant says
Love you’re recipes send me more thank you Veronica Grant