


Every time I make this sloppy joe dip for a party, someone asks me for the recipe. But getting here took a few attempts because most versions have the same problems, and I didn’t want to settle.

Some use cream cheese or Velveeta, and they end up tasting more like a cheese dip with beef in it than an actual sloppy joe. Others thicken the sauce with flour or cornstarch, and the dip just gets thick and gloppy instead of rich and meaty.
So I skipped both. The sauce thickens on its own from layering tomato puree, tomato paste, and ketchup together, and there isn’t a single teaspoon of cornstarch in it.
Recipe Test Results – Jan 2026
Before you start cooking, there’s something my recipe tester Karen caught that I want you to know.
When I originally developed this recipe, I included a tablespoon of olive oil in the skillet for browning the beef. What I didn’t account for is how much fat 80/20 ground chuck releases on its own. Karen found over ¼ cup of excess grease in the pan after draining. Adding oil on top of that risks breaking the dip and making it greasy in the oven.
Instead, I save that 1 tablespoon of olive oil to brush onto my baguette slices before toasting them. And definitely toast the bread.
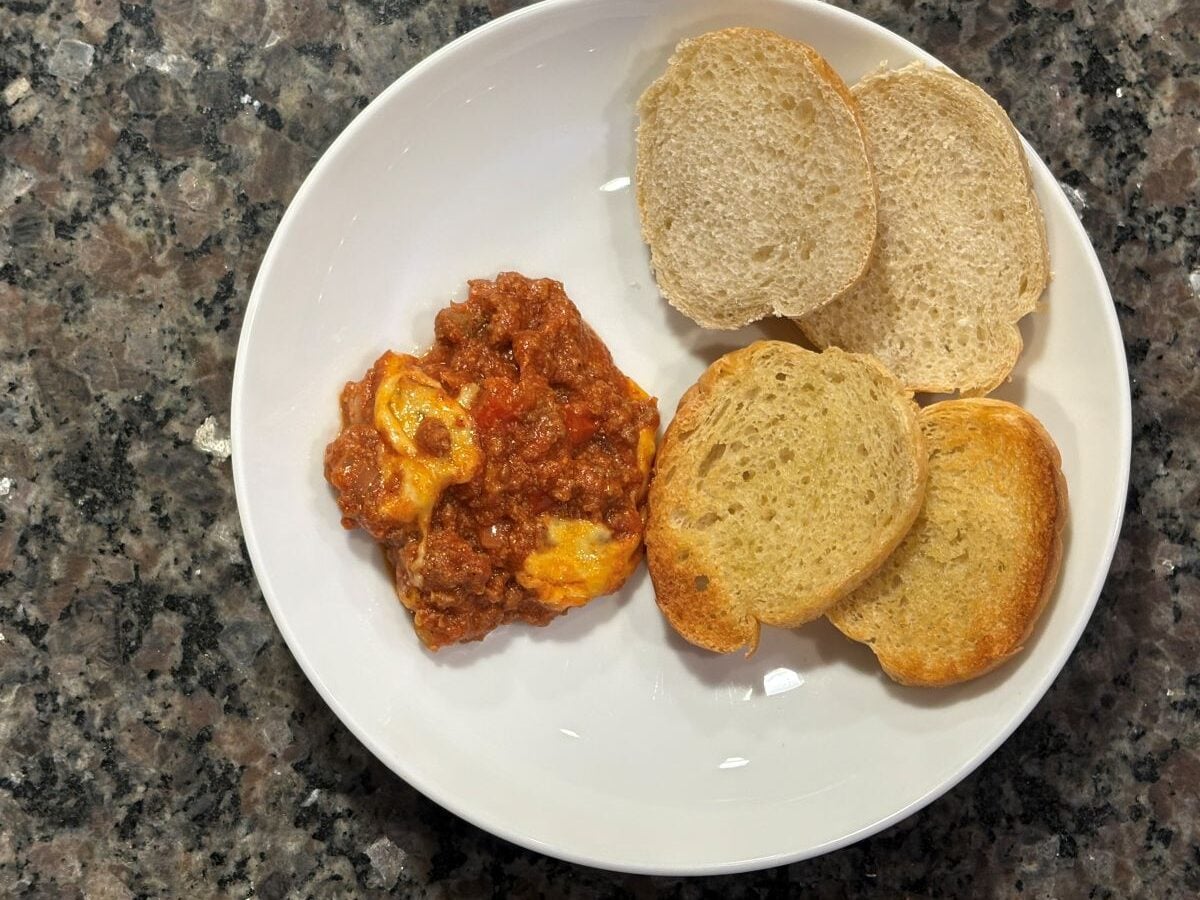
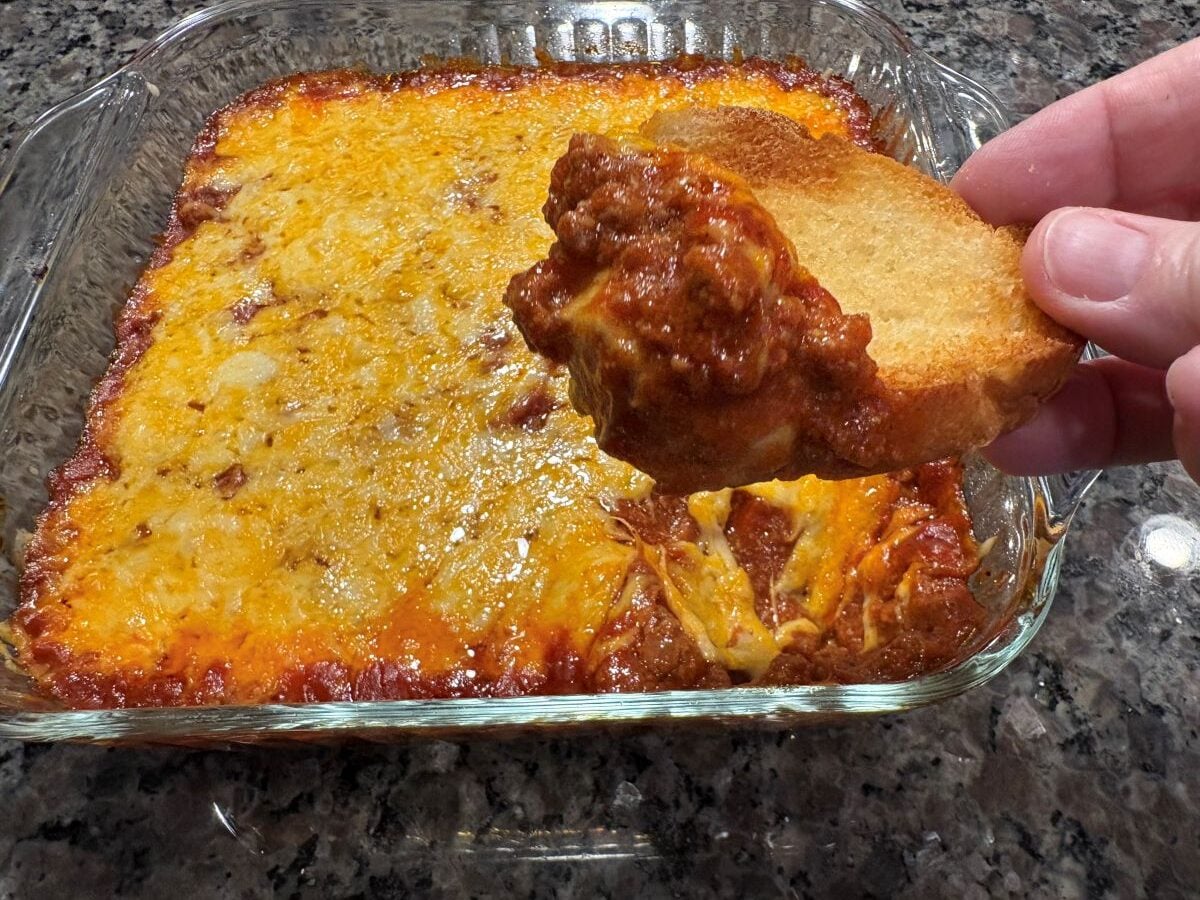
Karen and I tested it both ways: soft baguette slices turn this into a deconstructed sandwich, but toasted slices give you a sturdy platform to scoop the heavy meat mixture cleanly. That crunch is what makes this a true dip.
For the entire recipe, including ingredients and steps, click here or check out the recipe card below.
How This Dip Stays Thick and Hearty
The base of this dip is built the same way a good sloppy joe filling is built: by letting the sauce concentrate instead of thickening it artificially. Three things make it work.
- The Tomato Base Tomato puree gives the mixture body, tomato paste deepens the savory flavor, and ketchup brings the familiar sweet-tangy balance that defines a sloppy joe.
- The Five-Minute Simmer I simmer everything together for exactly five minutes so the tomatoes reduce and cling to the meat instead of turning watery. The result is a thick, hearty mixture that holds together on toasted bread without sliding off.
- Grate Your Own Cheese I always buy a block of Colby Jack and shred it myself. When I tested pre-shredded cheese, the anti-caking agents prevented it from melting evenly into the meat. Freshly shredded melts cleanly every time.
PRO TIP:
For the spices, I deliberately chose the McCormick Sloppy Joe Seasoning packet. I tested several scratch blends during development but kept coming back to the packet because it delivers the nostalgic sloppy joe flavor that homemade versions never quite replicate.
Substitutions and Variations
Ground turkey or chicken: Leaner meats work in this recipe, but poultry doesn’t render enough fat on its own to sauté the vegetables properly. If you go that route, add the tablespoon of olive oil back into the skillet when you brown the meat.
Cheese: I recommend Colby Jack for the best melt and flavor balance, but shredded cheddar works well if that’s what you have on hand.

Sloppy Joe Dip
Ingredients
- 1 pound 80/20 ground beef,
- ½ cup small diced yellow onion
- ½ cup small diced red bell pepper
- 1.31 ounces McCormick brand sloppy joe seasoning,
- ½ cup low-sodium beef broth
- ¼ cup ketchup
- 1¾ cup tomato puree
- 2 tablespoons tomato paste
- 2 teaspoons Worcestershire sauce
- ½ teaspoon salt
- ¼ teaspoon black pepper
- 2 cups shredded Colby jack
- 1 fresh french baguette sliced and toasted
Instructions
- Preheat oven to 375°F. You will need an 8×8-inch oven-safe casserole dish.
- Heat a medium skillet over medium-high heat.
- Once the pan is heated, add the ground beef. Cook the meat for 5 minutes, or until browned and cooked through. Transfer the cooked ground beef to a paper towel-lined plate and drain any excess fat from the skillet. Make sure to leave 1 tablespoon of fat in the pan to sauté the vegetables in.
- Add the chopped onions and red bell pepper to the same skillet that you cooked the ground beef in after the excess fat has been drained off. Saute for 5 minutes or until the vegetables are tender.
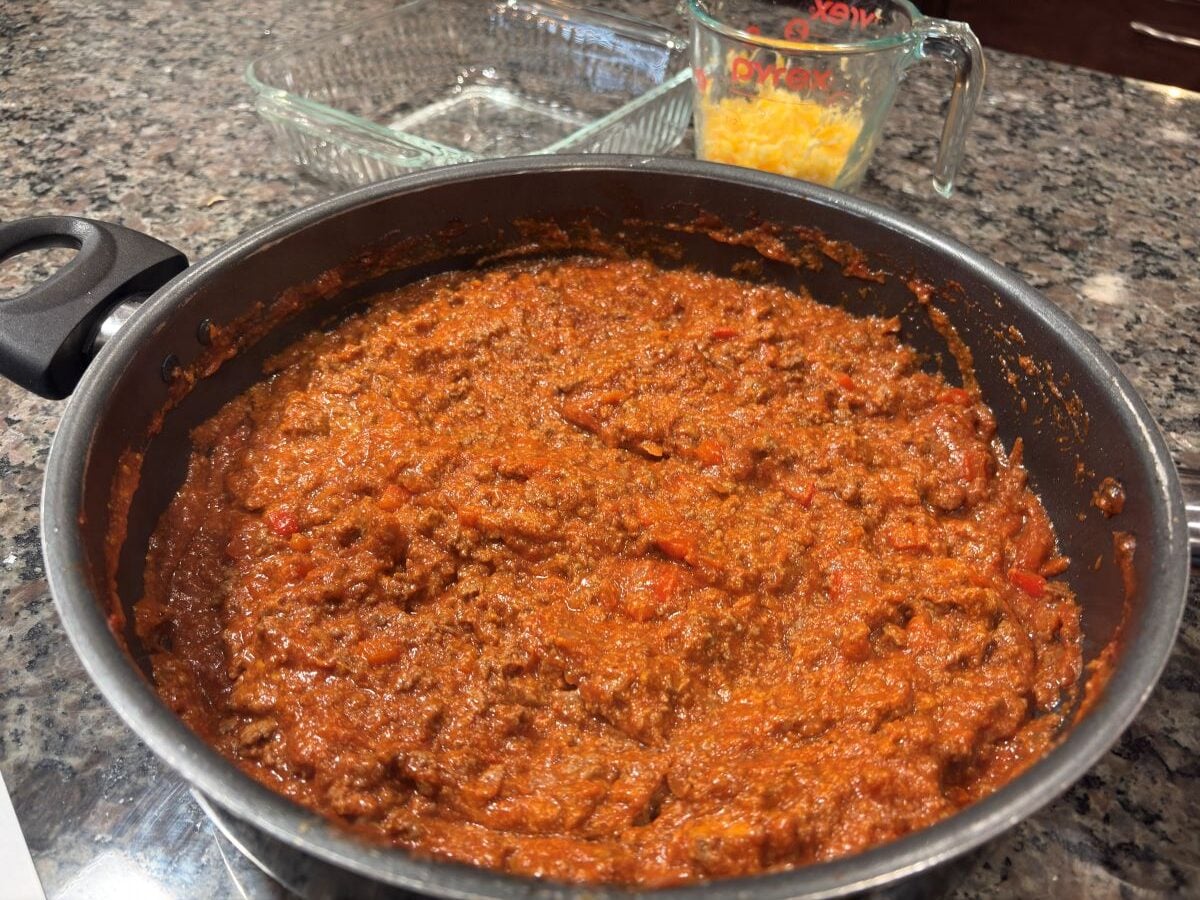
- To the vegetables, add the packet of sloppy Joe seasoning, beef broth, ketchup, tomato puree, tomato paste, Worcestershire sauce, salt, and black pepper. Stir to combine. Add the cooked ground beef back to the skillet and simmer the mixture on medium heat for 5 minutes. Turn off the heat to the skillet.
- Stir in 1 cup of the shredded Colby jack cheese. Transfer the sloppy Joe dip mixture to the 8×8 casserole dish. Top the mixture with the remaining 1 cup shredded Colby jack cheese.
- Bake for 20 minutes or until the cheese is melted and the dip is bubbly and hot.
Video
Notes
- I highly suggest buying a block of cheese and shredding it yourself. I find that it melts much better when you shred it yourself rather than buying pre-shredded cheese.
- If you have a casserole dish that comes with a lid, you could use that and then if you are taking this dip on the road, it would allow for easy transport.
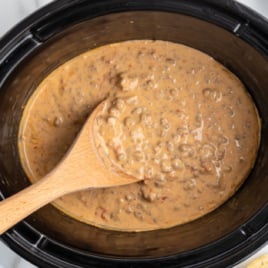
- If you are serving this for a crowd, you could transfer mixture to a slow cooker and keep it on the warm setting.
Nutrition
Serving and Storage
For a party: I bake it as directed then transfer it to a slow cooker set to warm. It holds for hours without drying out.
For travel: Bake it in an 8×8 casserole dish with a lid. It’s the same dish you serve it in, so it goes straight into a bag with no mess.
Dippers: Toasted baguette is my first choice. Large corn chips or sturdy tortilla chips work well too. Avoid thin chips because they snap under the weight of the meat.
Storage: Leftovers keep in the refrigerator for up to three days or in the freezer for up to three months. When reheating from frozen, add a fresh layer of shredded cheese on top before returning it to the oven.
If you’re hosting a game day party and need more ideas, browse my other favorite hot dips, like my Philly Cheesesteak Dip, [Chili Cheese Dip], or 3-ingredient Crockpot Rotel Dip.
Frequently Asked Questions
Yes. Assemble through step 6, cover tightly with plastic wrap or foil, and refrigerate for up to two days. Pull the cover off and bake as directed when you’re ready to serve.
Yes, but use a 9×13 baking dish instead of the 8×8. The bake time stays the same at 20 minutes — the larger surface area actually helps the cheese brown more evenly across the top.
I reheat mine in a 350 degree oven for about 15 minutes covered with foil, then remove the foil for the last five minutes to get the cheese bubbly again. The microwave works in a pinch but the cheese layer doesn’t recover as well.


Comments
Max says
This is so hearty and delicious!