Published on
Last updated on
Chocolate Poke Cake
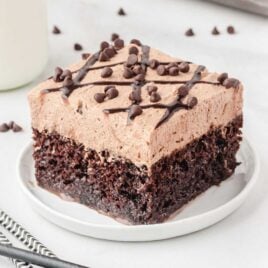
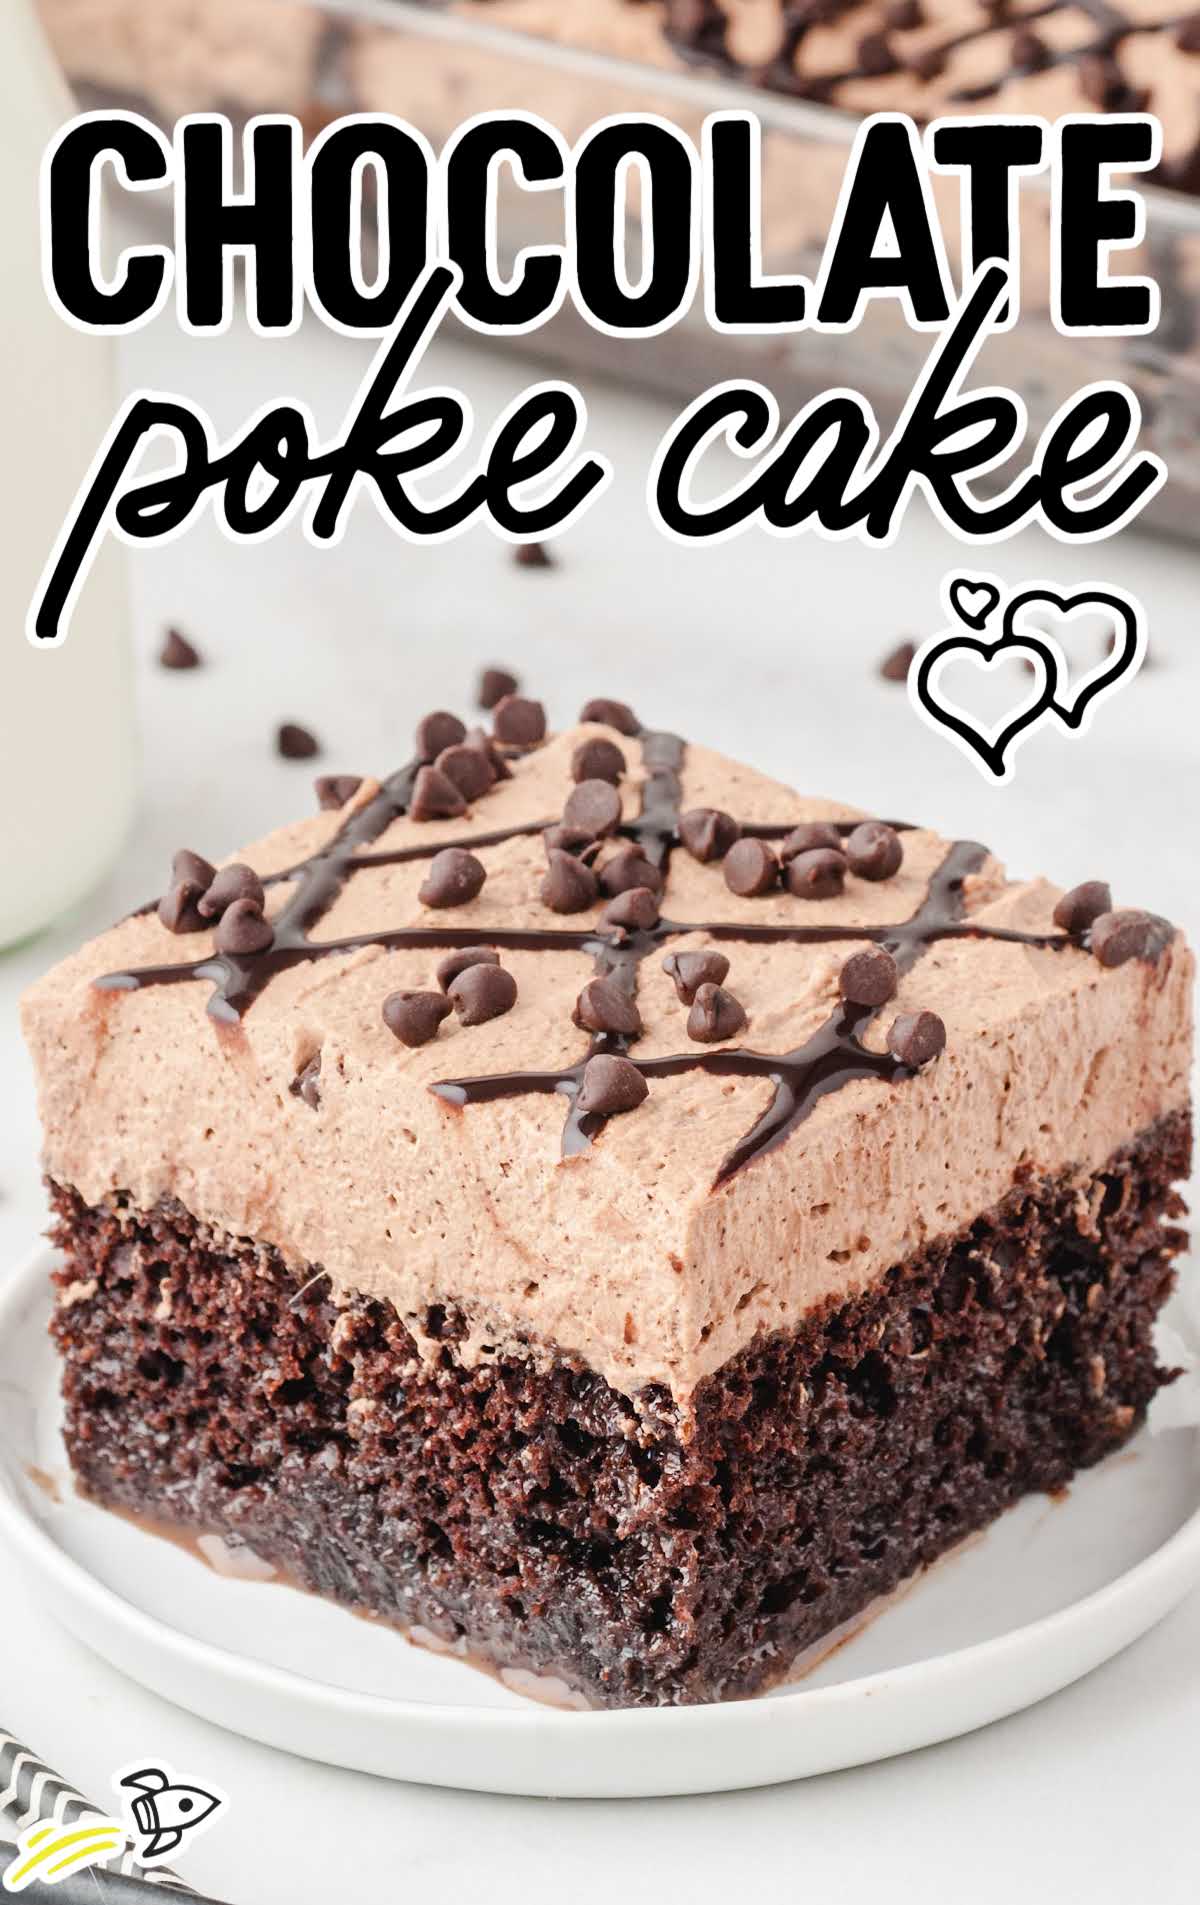
Chocolate poke cake is a fun dessert trend that has been reinvented by creative cooks over and over again. This chocolate lover’s dream is a rich, moist chocolate cake, soaked in sweet chocolate cream, and topped with a whipped chocolatey frosting.
Chocolate Poke Cake Ingredients
You’ll need:
For The Cake:
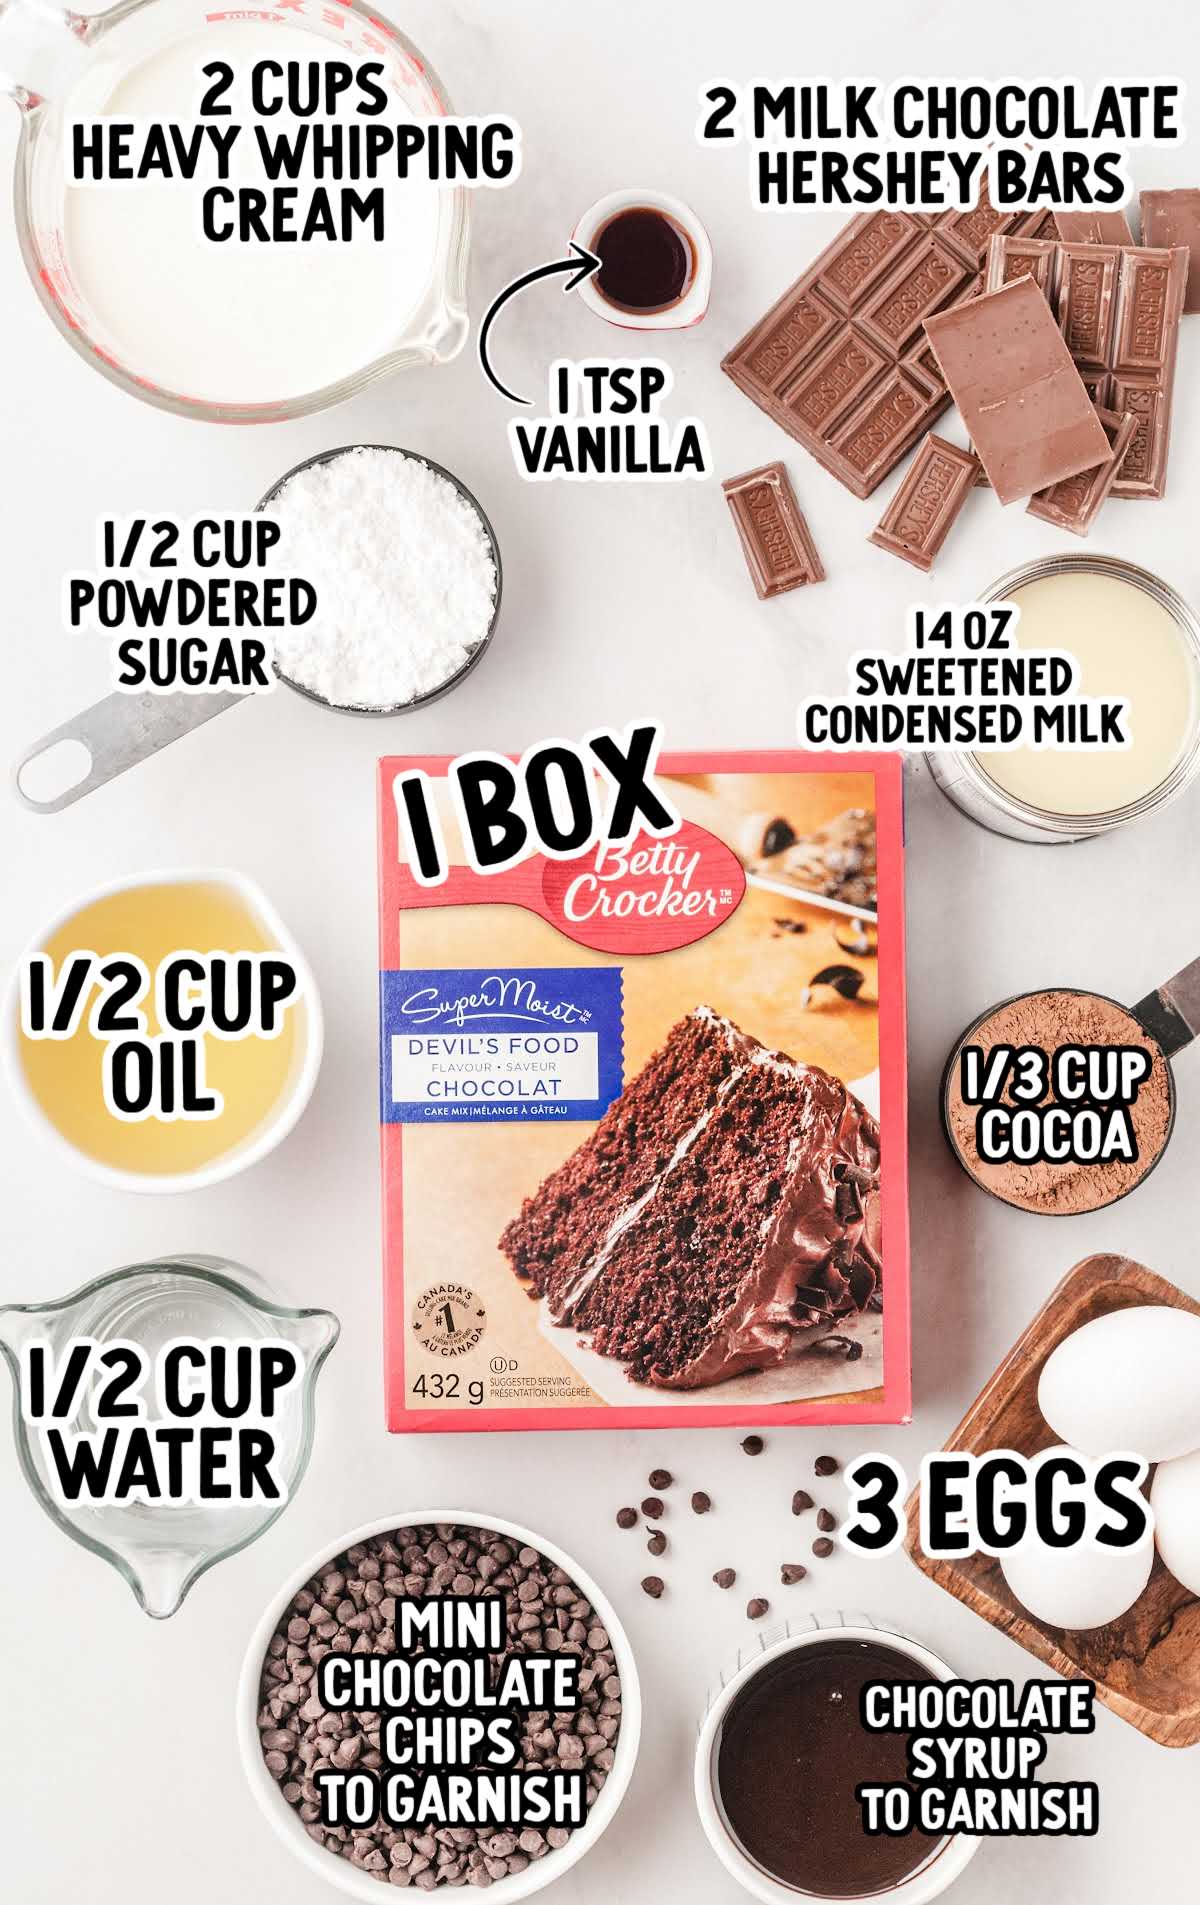
- 1 (15.25-ounce) box of Betty Crocker Devil’s Food chocolate cake mix
- 3 eggs
- ½ cup of vegetable oil
- ½ cup of water
- 1 (14-ounce) can of sweetened condensed milk
- 2 milk chocolate Hershey bars (1.55 ounces each), broken into rectangles
For The Chocolate Whipped Cream Frosting:
- 2 cups of heavy whipped cream, chilled
- ½ cup of powdered sugar
- ⅓ cup of cocoa powder
- 1 teaspoon of vanilla extract
For The Cake Toppings:
- mini chocolate chips
- Hershey’s chocolate syrup
Substitutions And Additions
CHOCOLATE SYRUP: If you want to make your own chocolate sauce, check out our hot fudge sauce recipe.
TOPPINGS: You could also substitute the chocolate syrup with caramel sauce for your topping or chocolate shavings instead of chocolate chips.
How To Make This Chocolate Poke Cake Recipe
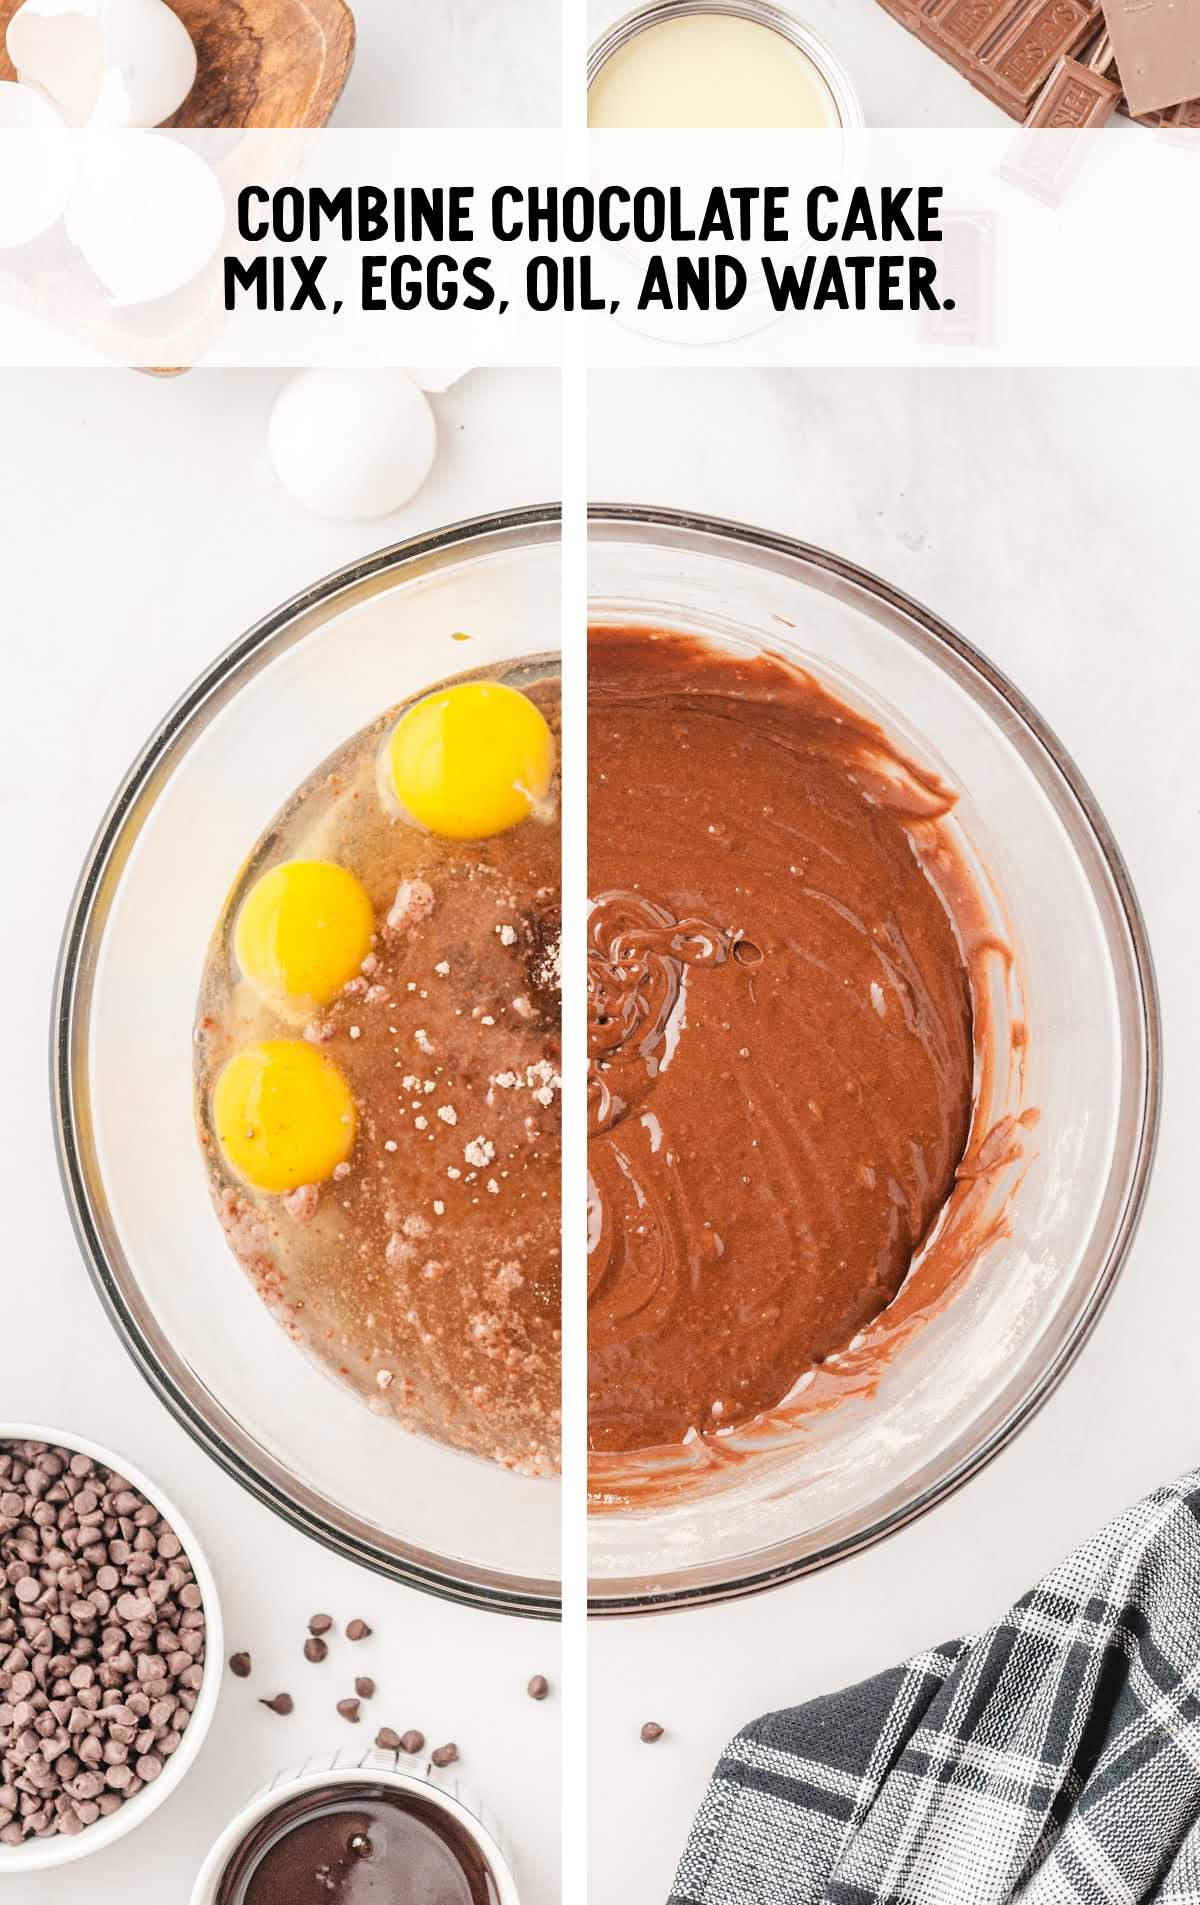
STEP ONE: In a large bowl, combine the chocolate cake mix, eggs, oil, and water.
Stir to combine cake batter ingredients. Follow the package directions on the back of the box of cake mix and bake the cake accordingly in a greased 9×13-inch pan.
OUR RECIPE DEVELOPER SAYS
Oven temperatures vary and may need to be recalibrated periodically to ensure they are accurate. Make sure to keep a close eye on your cake as the suggested baking time approaches.
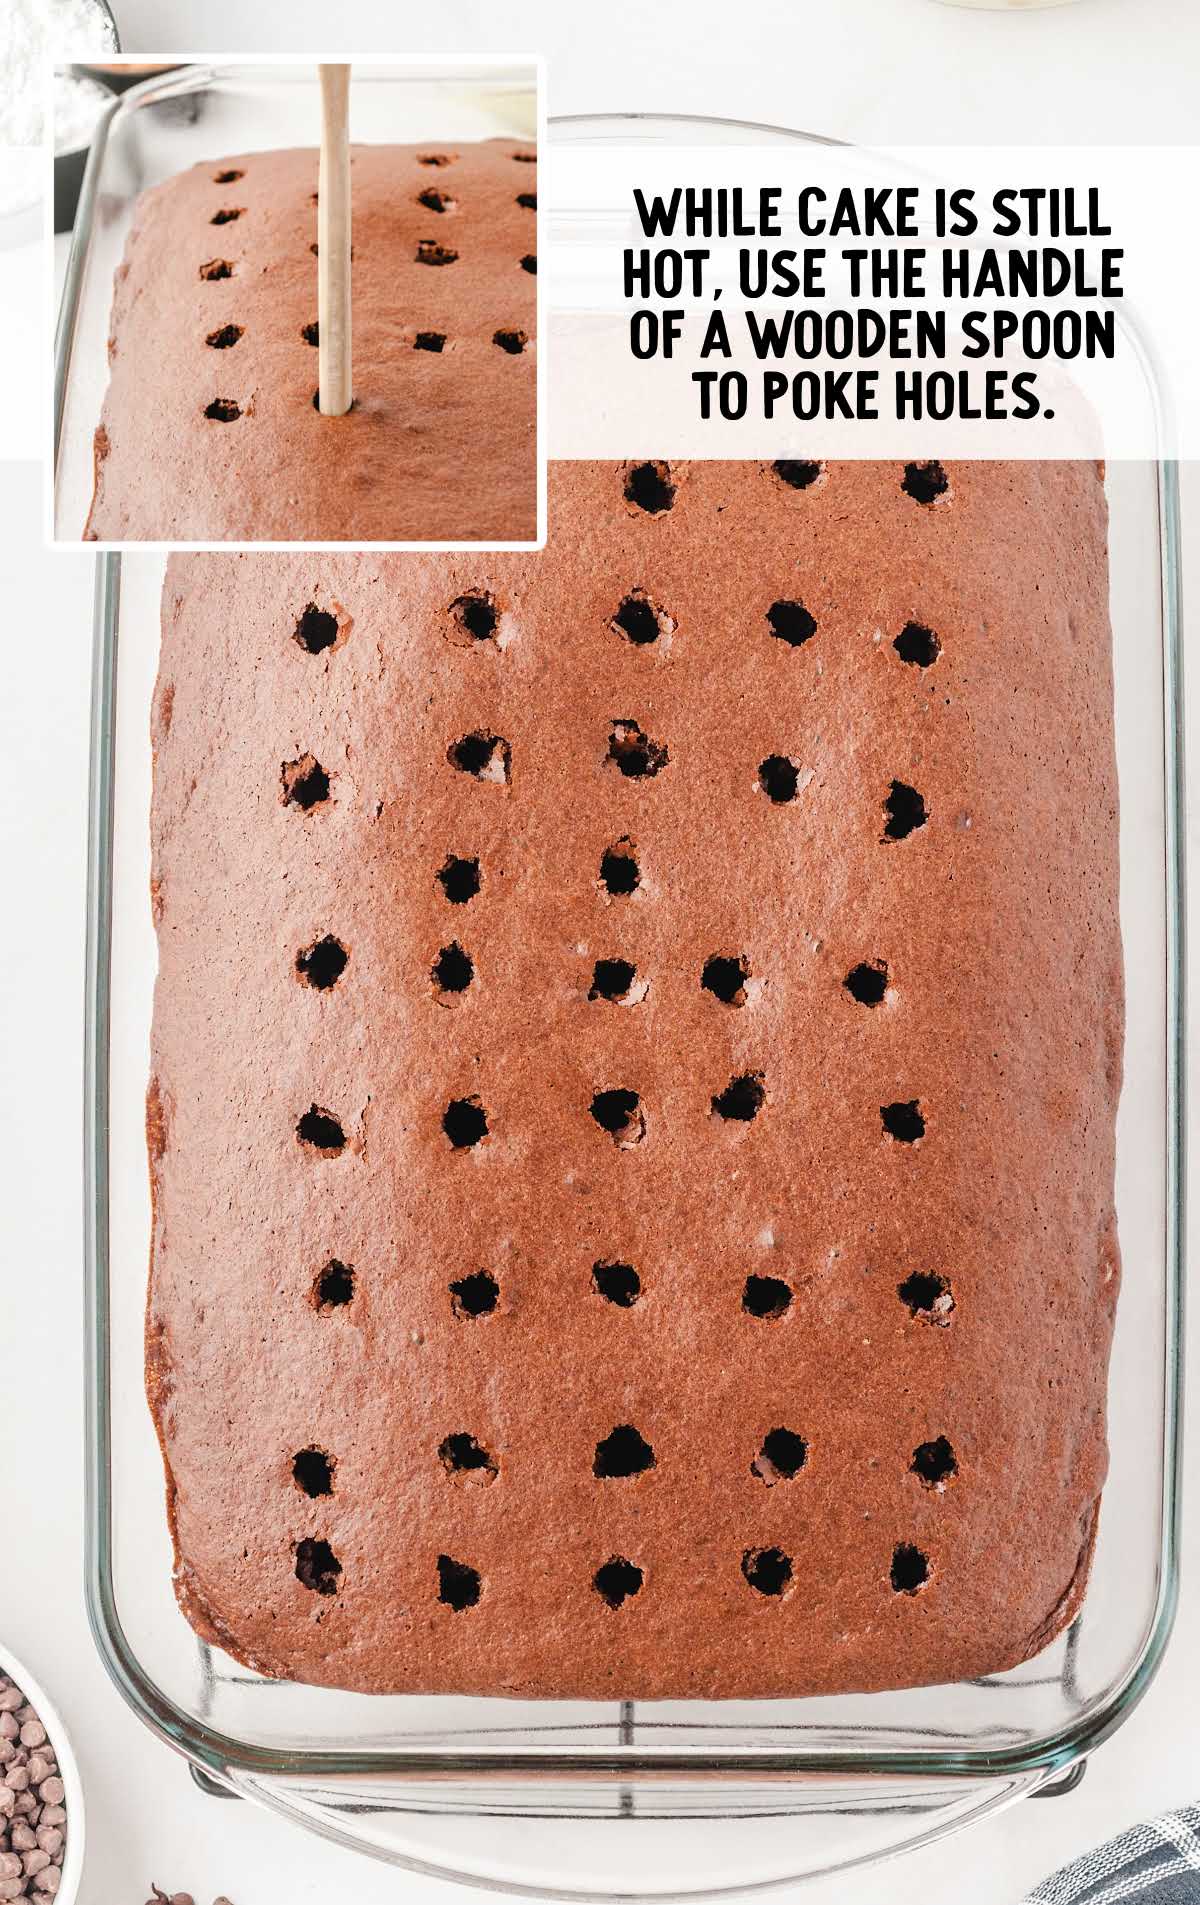
STEP TWO: When the cake is done baking, remove it from the oven and immediately poke holes all over the top of the cake with the handle of a wooden spoon. Set aside.
PRO TIP:
It’s best to make the holes in the cake while it is still slightly warm because as it cools, the crust on top of the cake will crumble more easily.
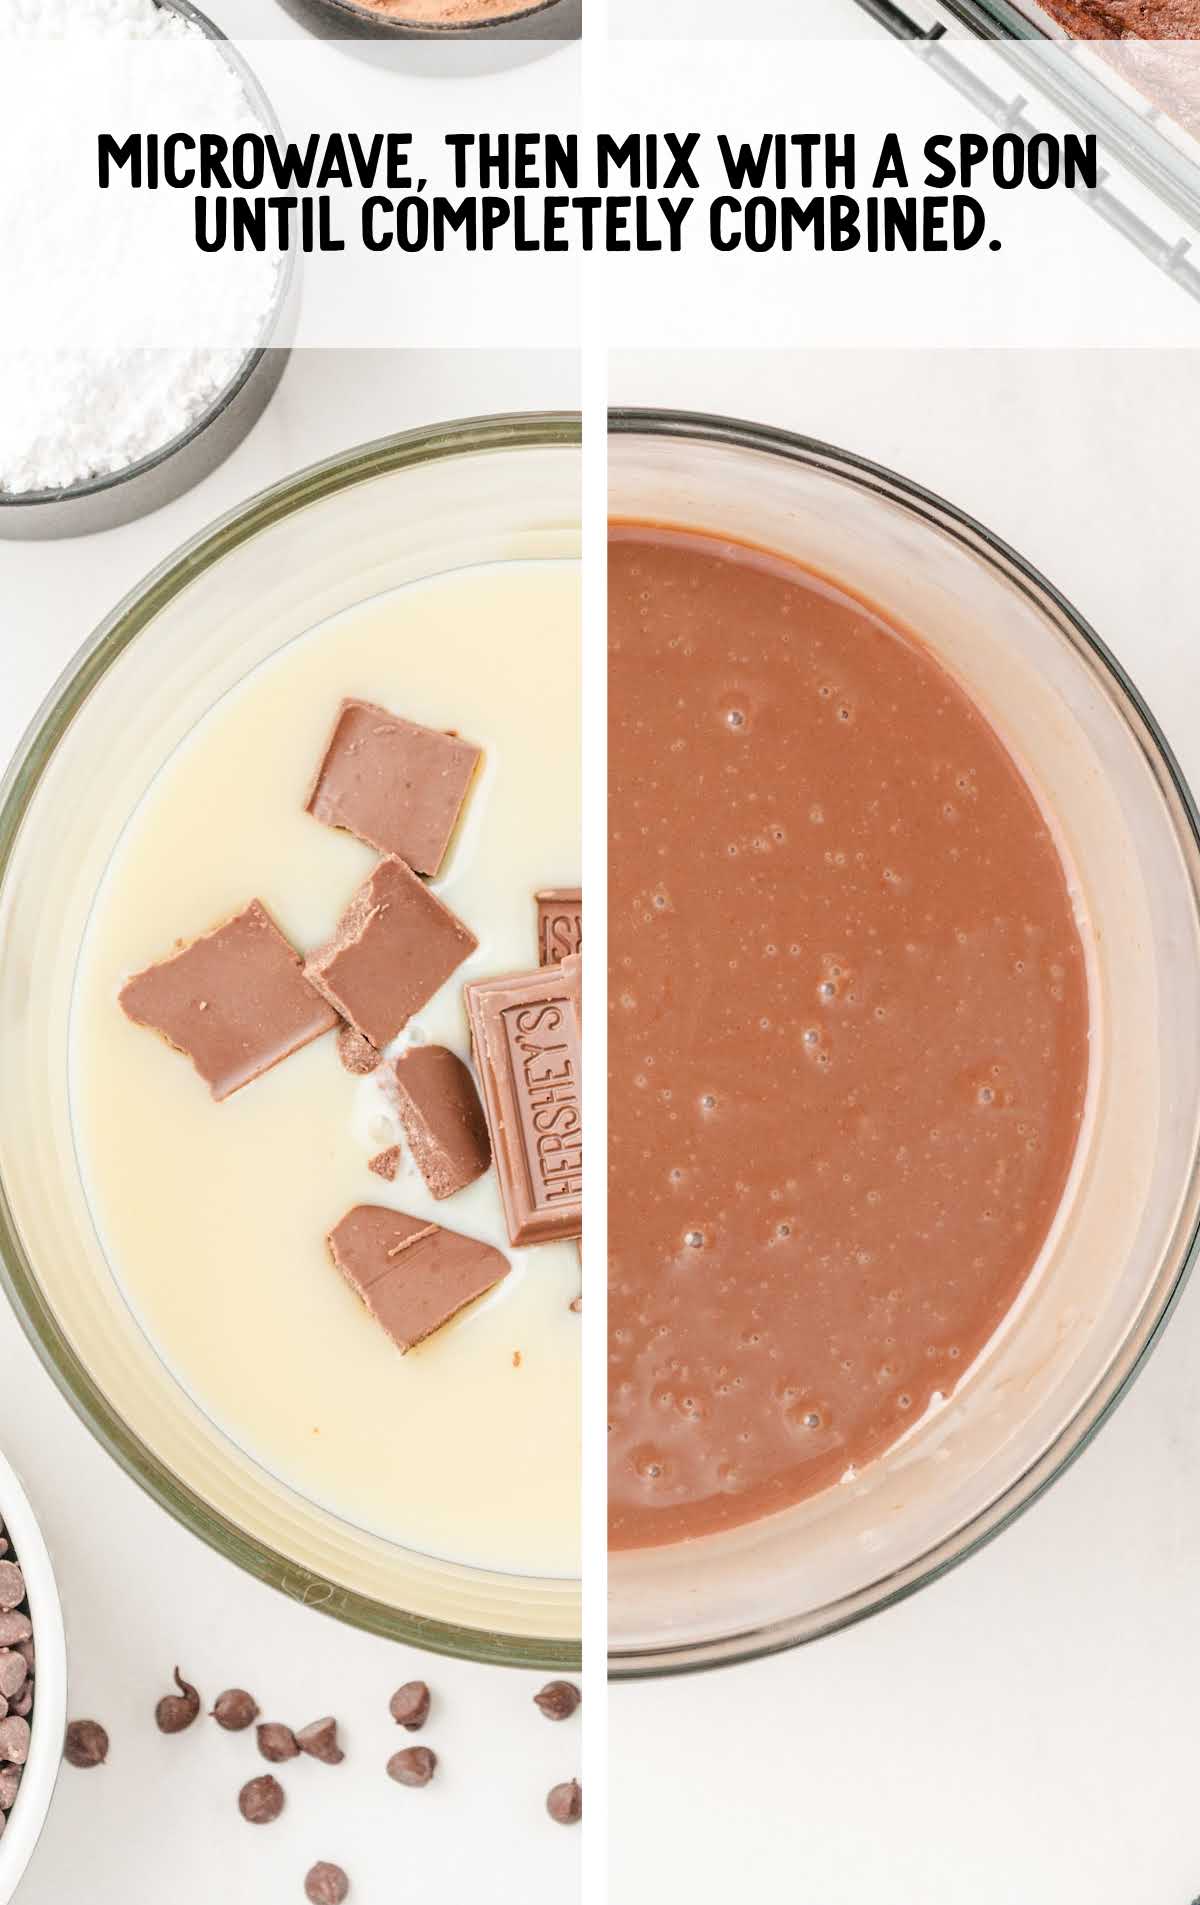
STEP THREE: In a separate medium bowl, combine sweetened condensed milk and two Hershey chocolate bars.
Microwave for 30 seconds, remove from the microwave, and stir. Microwave for an additional 15 seconds. Remove from the microwave and stir again.
Mix with a spoon until completely combined.
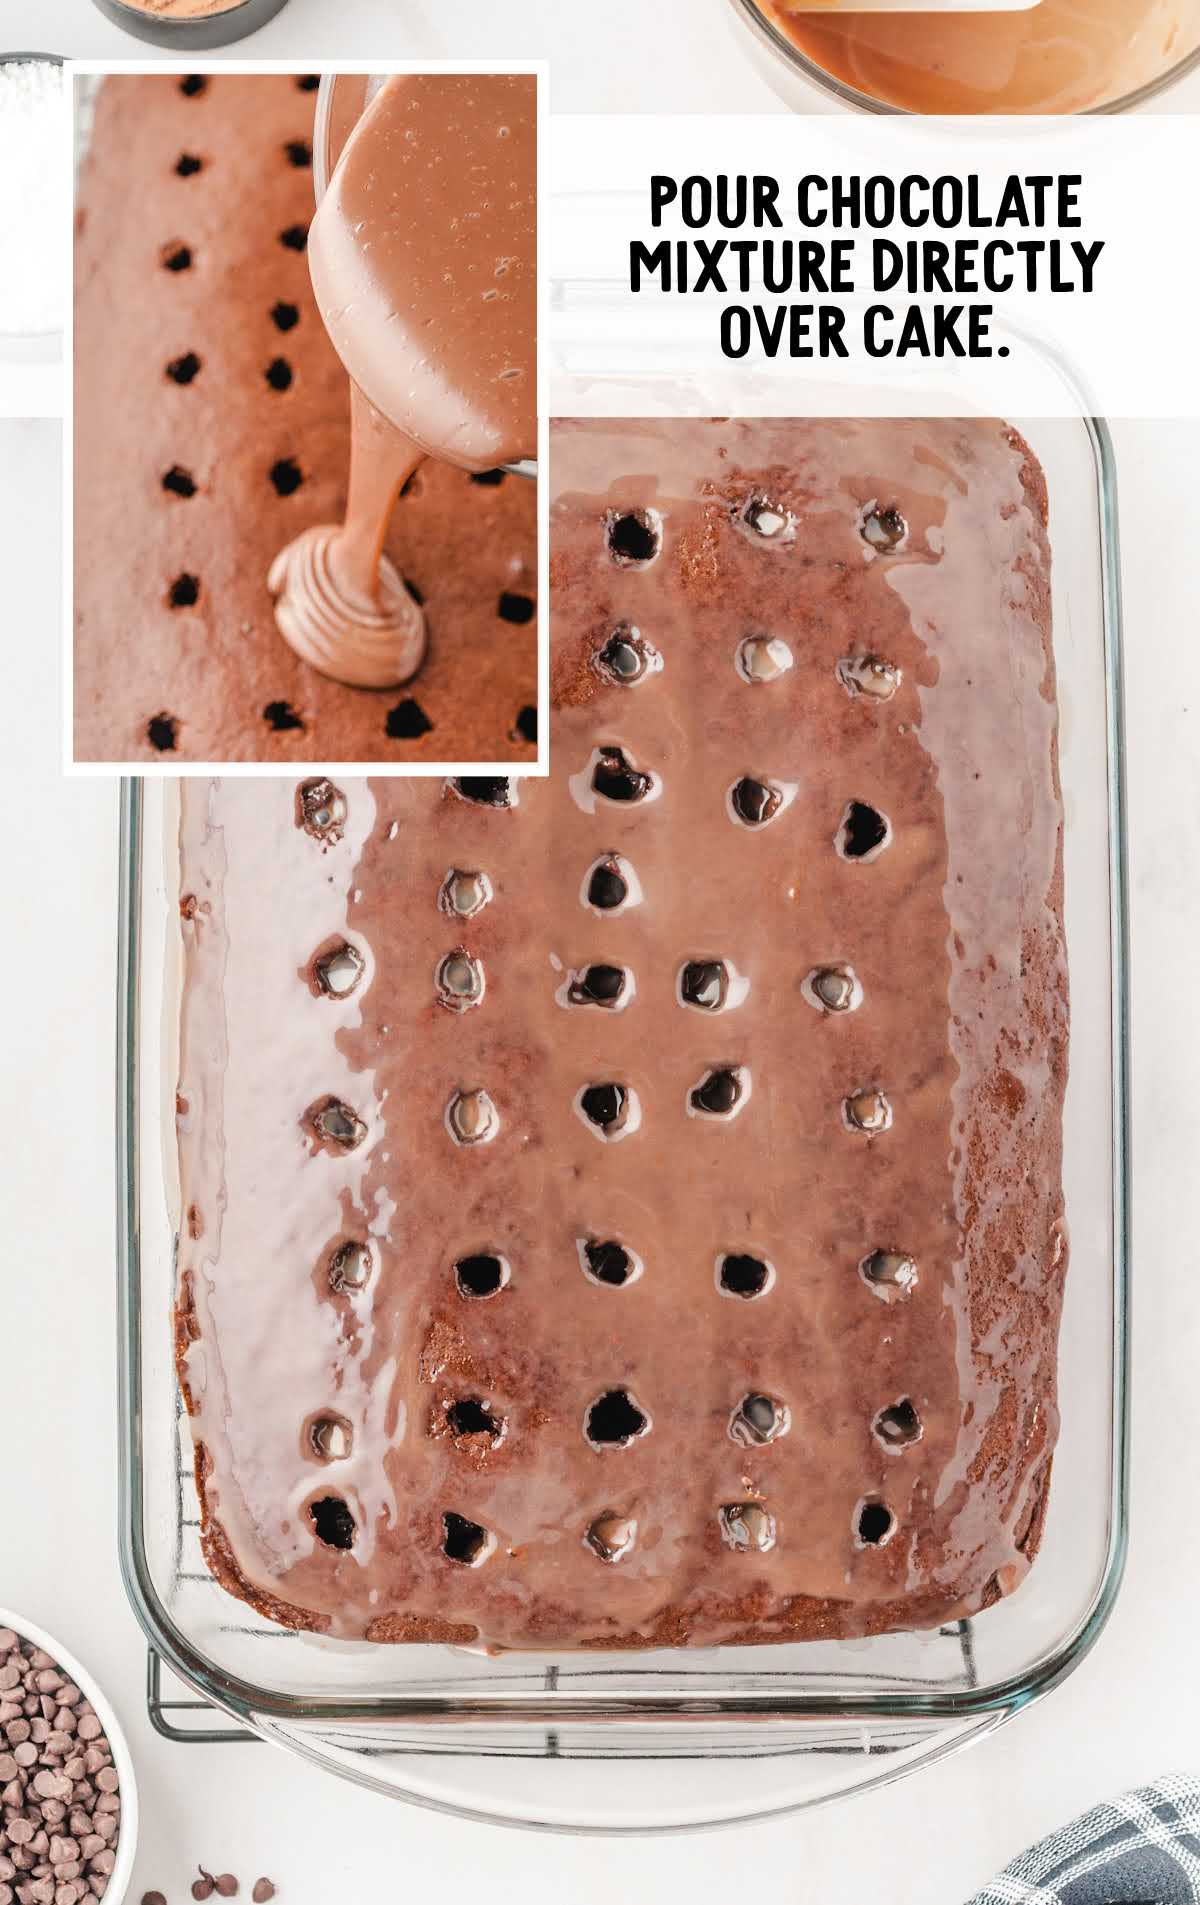
STEP FOUR: Pour the sweetened mixture over the top of the holes in the cake.
Use a rubber spatula to push the sweetened mixture down into the holes and the sides of the cake.
PRO TIP:
When you’re pouring the cream into the holes, tap the pan on the counter a few times to get rid of any air bubbles, and make sure the cream fills the holes completely.
STEP FIVE: Let the cake cool on the counter for one hour, then cover it with plastic wrap and refrigerate for two hours to allow the sweetened mixture time to soak into the cake.
STEP SIX: While the cake is in the refrigerator, place a large mixing bowl in the freezer and allow it to chill until ready to use for the chocolate whipped cream topping.
STEP SEVEN: In the large mixing bowl that has been in the freezer, add two cups of chilled heavy whipping cream.
Use a hand mixer at a fast speed to mix until it starts to thicken.
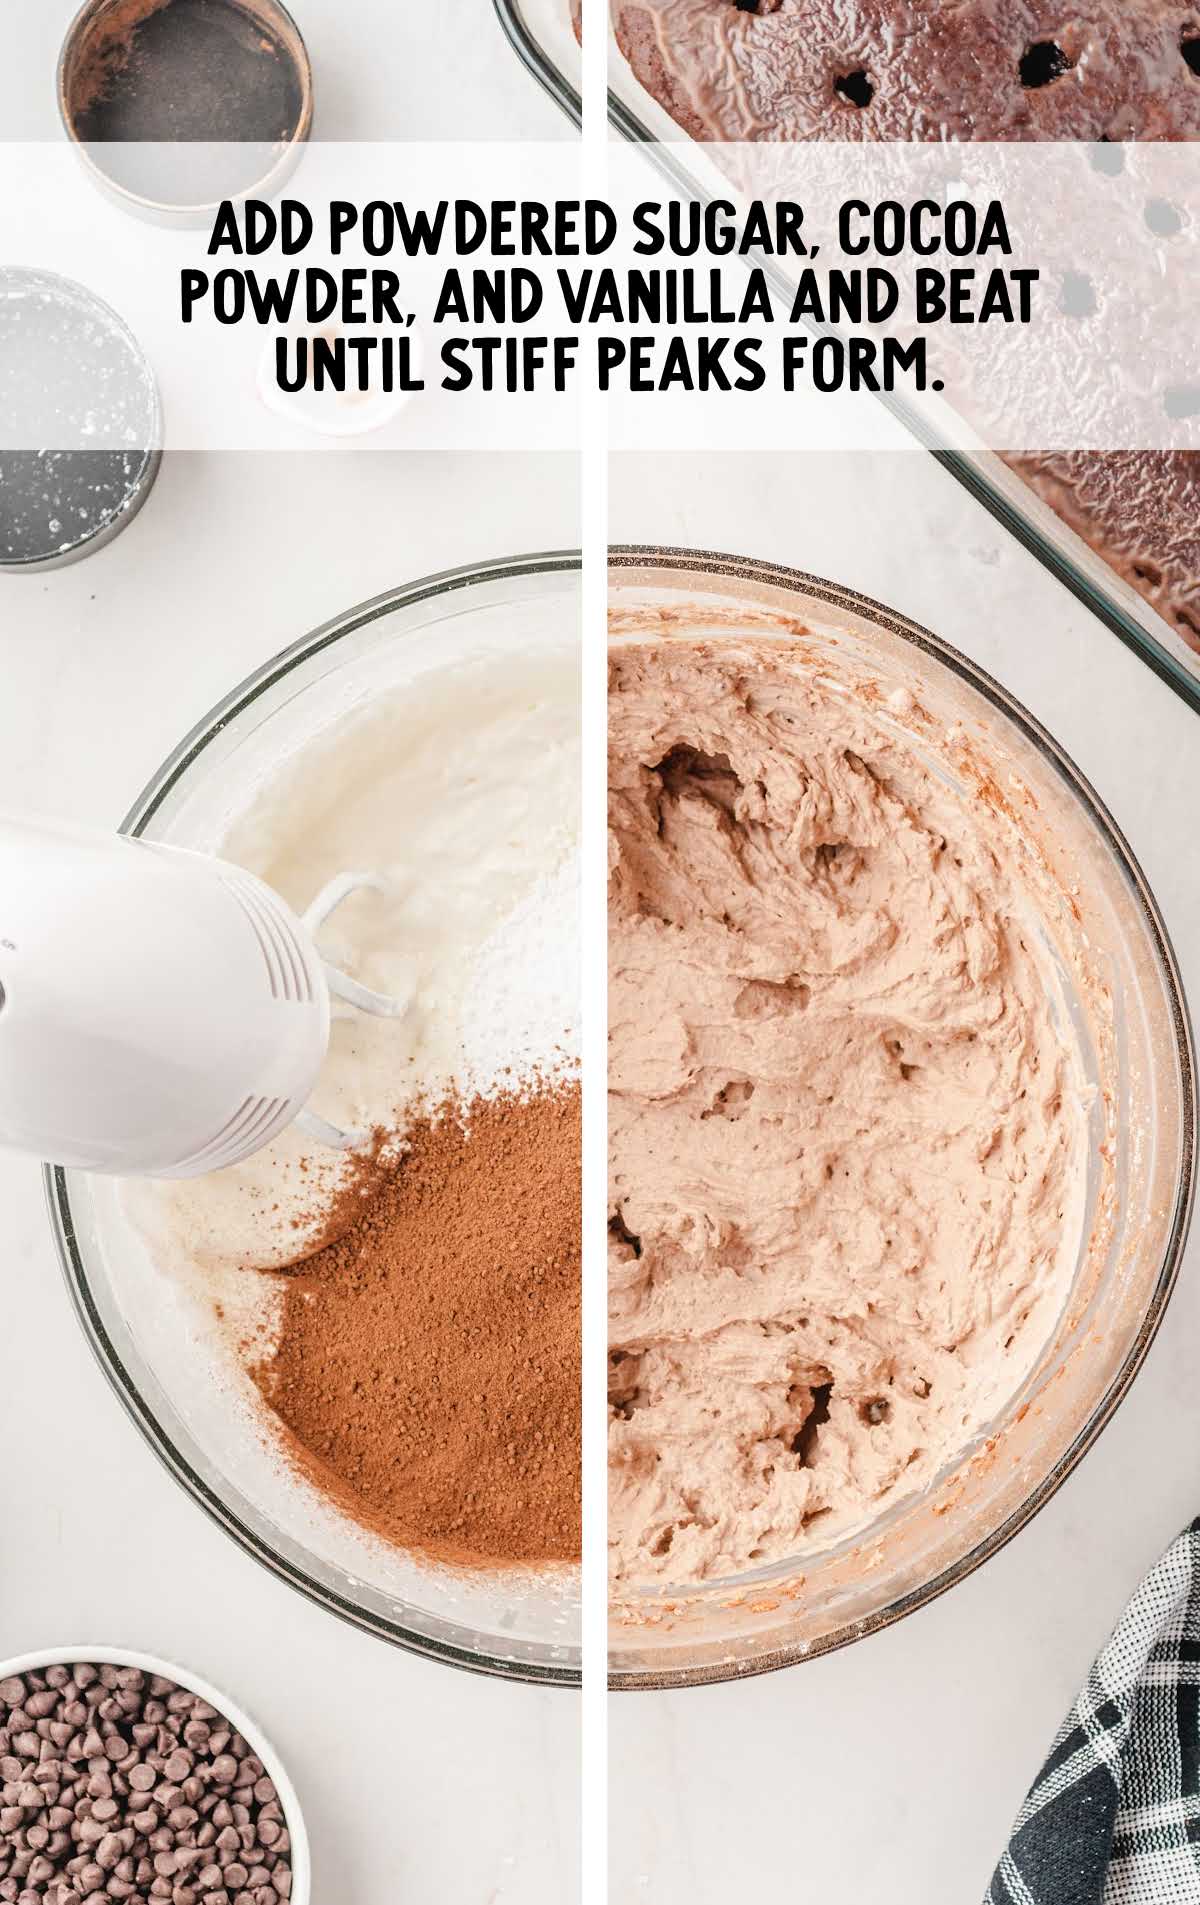
STEP EIGHT: Add the powdered sugar, cocoa powder, and vanilla extract.
Continue to mix with the hand mixer until incorporated and stiff peaks form.
PRO TIP:
It is important not to over-mix your chocolate whipped cream topping. Using a frozen bowl with chilled heavy whipping cream will help it form stiff peaks when mixing.
STEP NINE: Immediately spread the chocolate whipped topping over the entire top of the cooled cake.
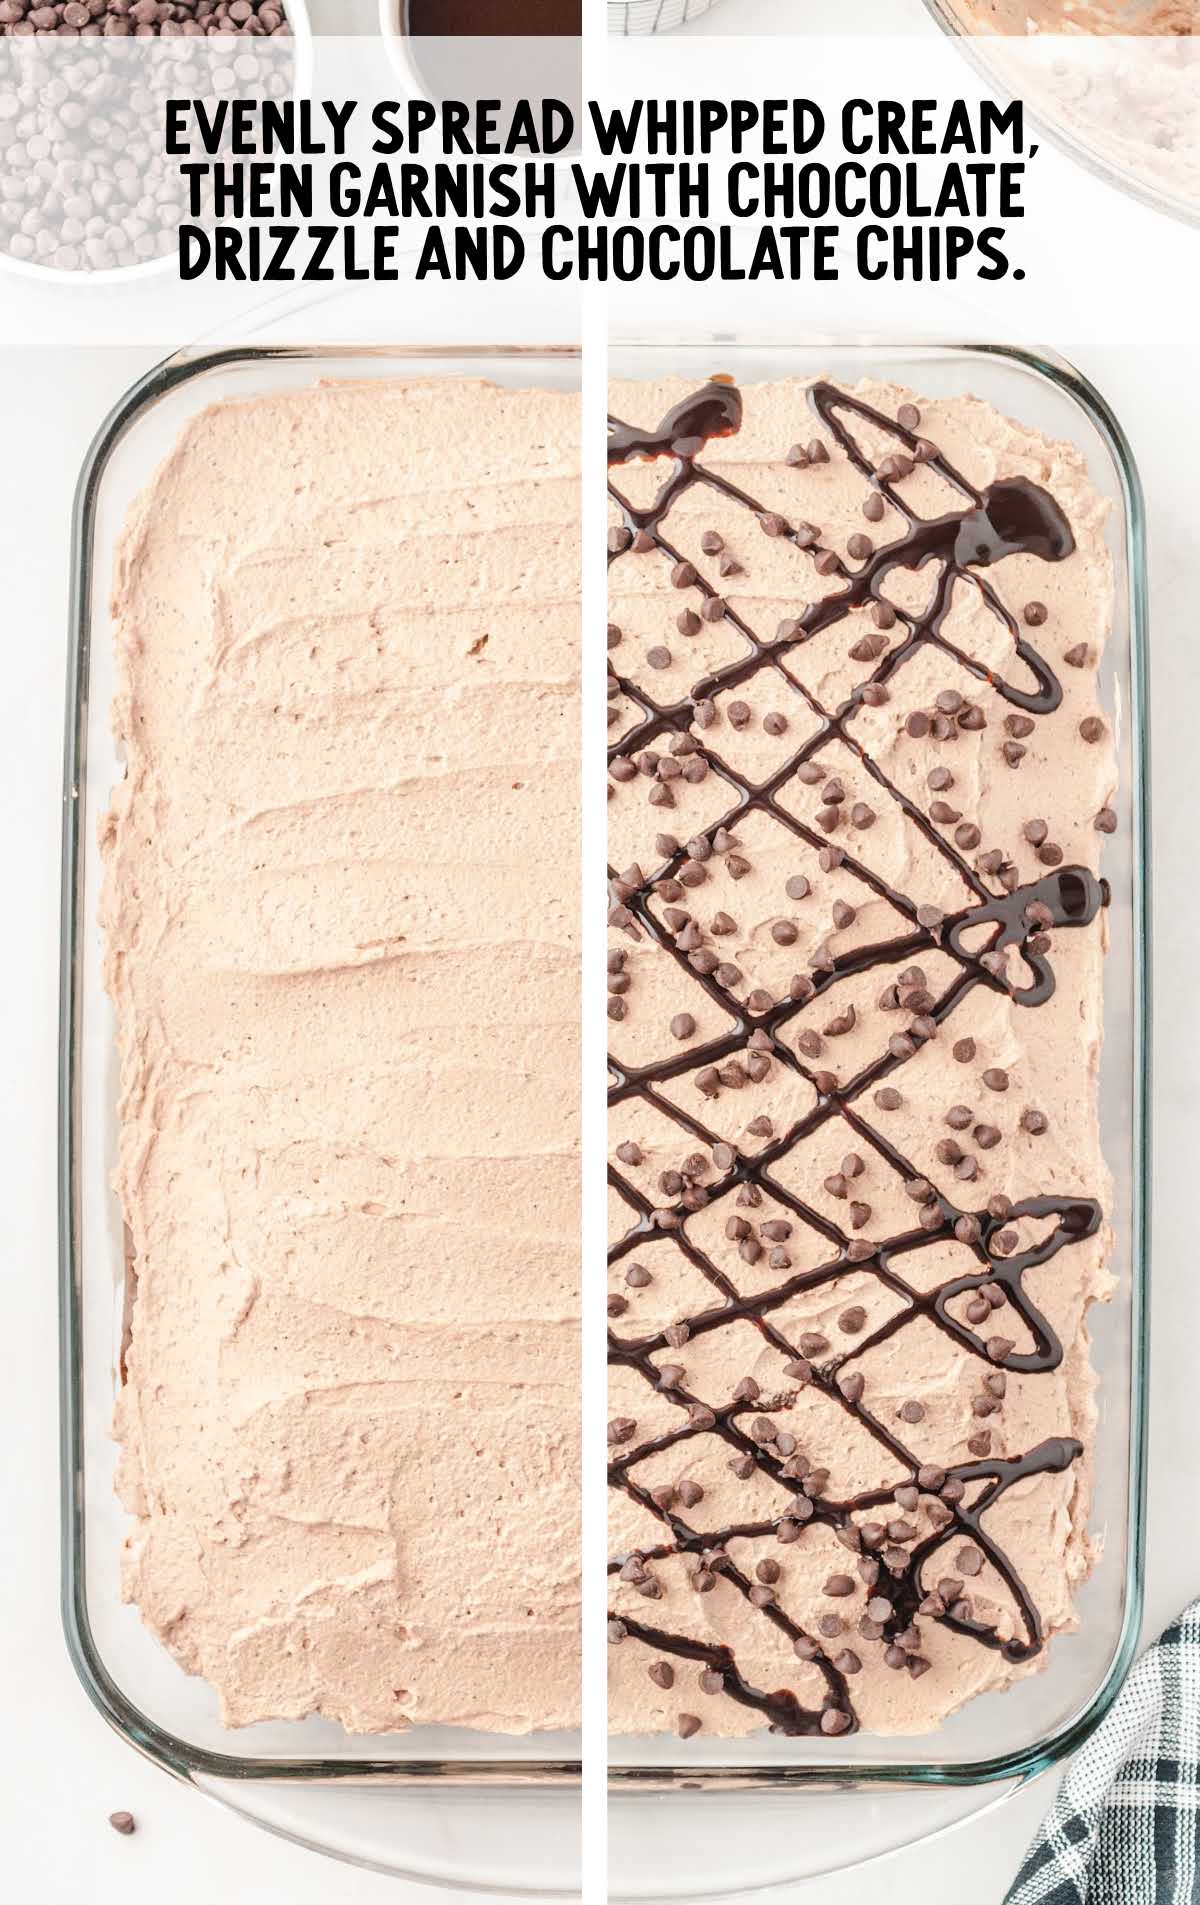
STEP TEN: Drizzle chocolate syrup and sprinkle mini chocolate chips on the top of the cake.
STEP ELEVEN: Refrigerate until ready to serve.
How To Serve
Our rich chocolate cake is a perfect treat to serve for a special occasion or for no occasion at all.
The cake is so easy to make that it would be a great choice for a weeknight dessert treat or to take to a potluck.
Add a scoop of vanilla ice cream on the side before serving.
If you love poke cake recipes, make sure you check out this lemon poke cake. And let us know what you think when you try this better than sex poke cake.
MORE POKE CAKE RECIPES
Storing This Mocha Poke Cake
IN THE FRIDGE: If have any leftovers of this chocolate poke cake, you’ll want to store it covered in the fridge until you’re ready to serve again.
IN THE FREEZER: You can also freeze this chocolate poke cake recipe.
Tightly cover with plastic wrap and then cover with aluminum foil for up to three months. Allow the cake to thaw in the refrigerator before serving.
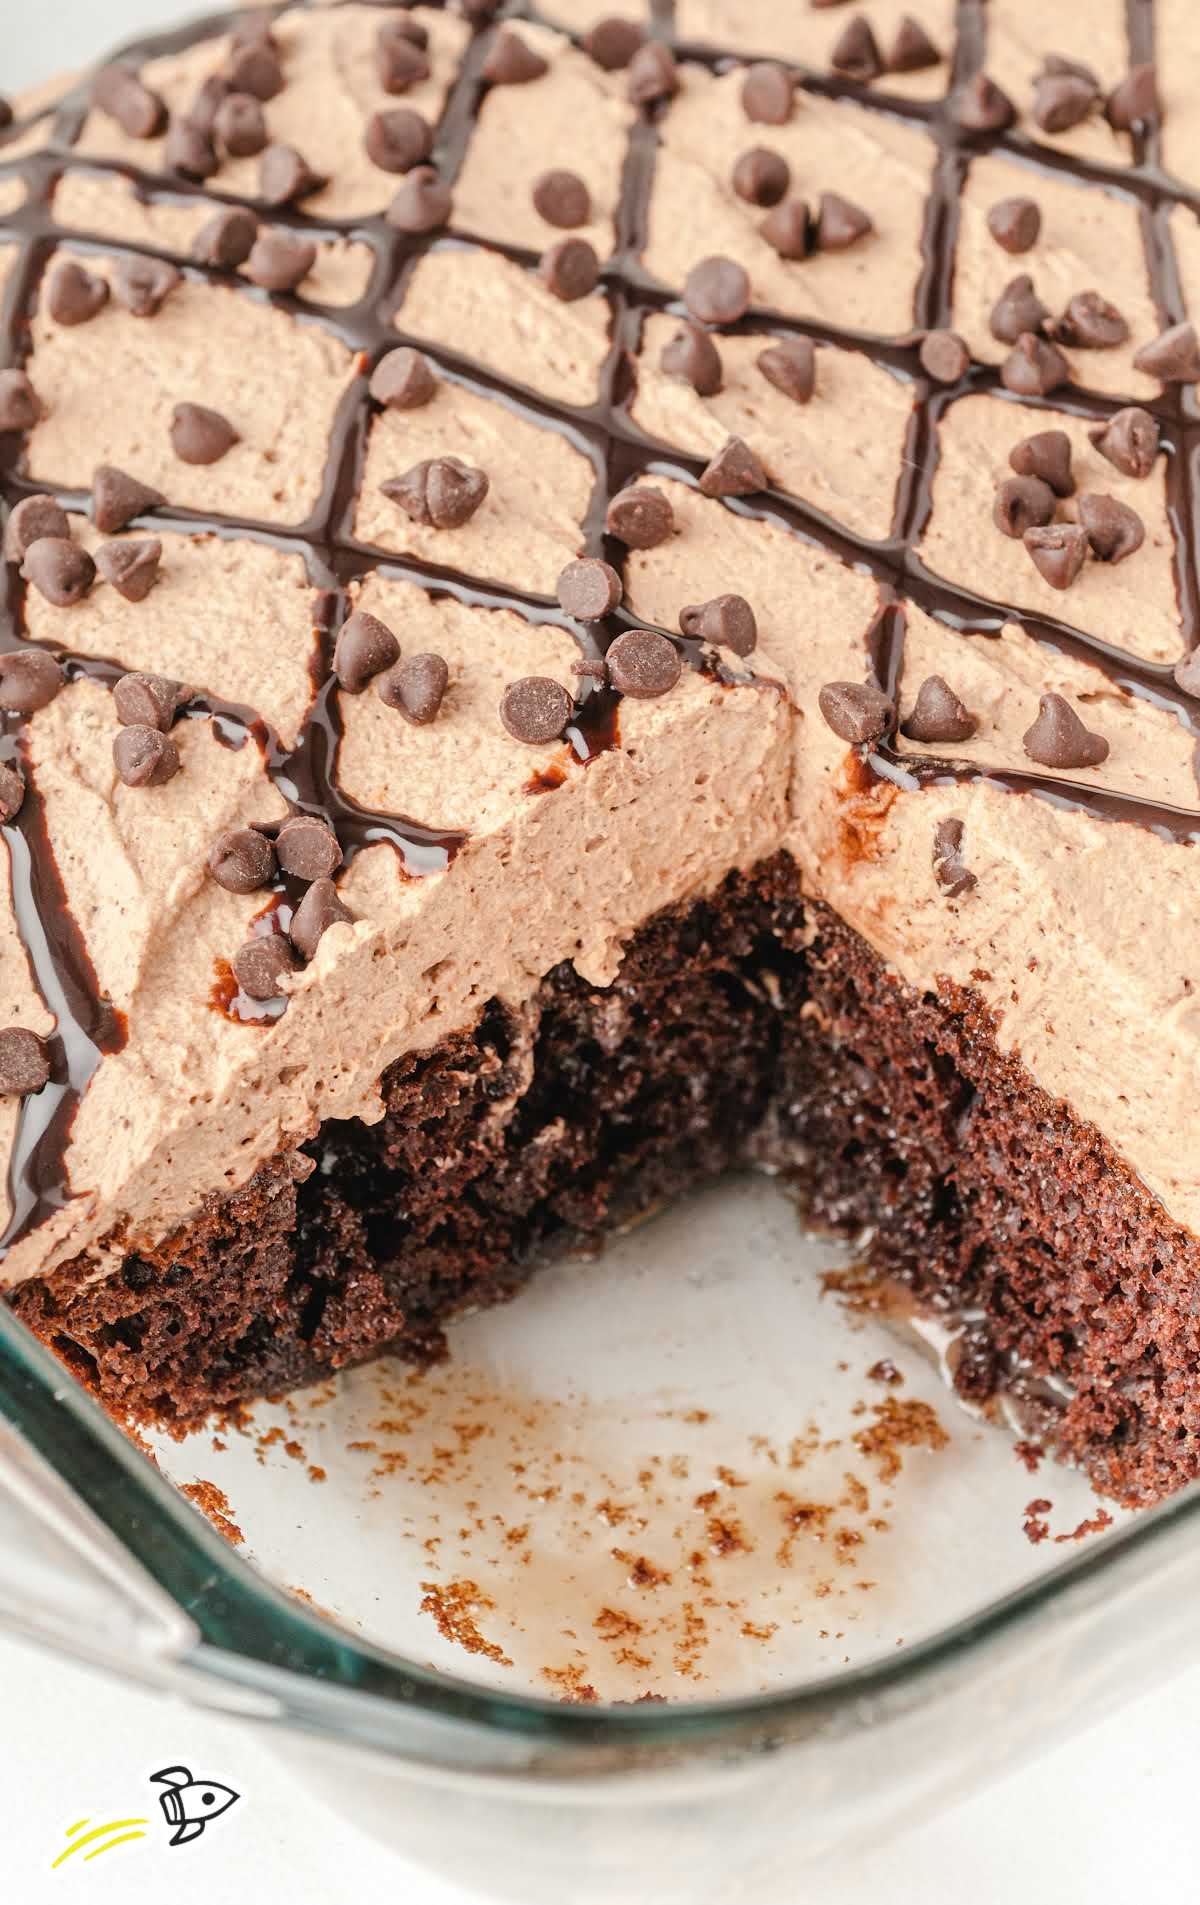
Any serious chocolate lover will jump at the chance to try a piece of this amazingly rich cake. This perfect cake recipe has so much chocolate they will think they are in chocolate heaven!
Frequently Asked Questions
This easy chocolate poke cake recipe can be frozen for up to three months covered in plastic wrap.
It’s an easy cake that you poke holes into while it’s still hot after baking. The holes are then filled with a liquid or filling — like condensed milk, pureed fruit, chocolate cream, or pudding. It makes a moist and delicious cake.
You can make this easy chocolate poke cake a day or two in advance. Since the cake should chill overnight to give it time for all the liquids to soak in, it is best to make it the day before.
The end of a wooden spoon is the best size to poke large holes in the cake.
More Recipes You’ll Love
- Jello Poke Cake
- Boston Cream Poke Cake
- Strawberry Cheesecake Poke Cake
- Cinnamon Roll Poke Cake
- Strawberry Crunch Poke Cake

Chocolate Poke Cake
Ingredients
Cake
- 15.25 ounces Betty Crocker Devil's Food chocolate cake mix
- 3 eggs
- ½ cup oil
- ½ cup water
- 14 ounces sweetened condensed milk
- 2 milk chocolate Hershey bars (1.55 ounces each), broken into rectangles
Chocolate Whipped Cream
- 2 cups heavy whipped cream, chilled
- ½ cup powdered sugar
- ⅓ cup cocoa powder
- 1 teaspoon vanilla extract
Cake Topping
- mini chocolate chips
- Hershey’s chocolate syrup
Instructions
- In a large mixing bowl, combine the chocolate cake mix, eggs, oil, and water. Stir to combine. Follow the directions on the back of the cake mix box and cook accordingly in a greased 9×13 cake pan.
- When the cake is done baking, remove it from the oven and immediately poke holes all over the top of the cake with the end of a mixing spoon. Set aside.
- In a separate medium bowl, combine sweetened condensed milk and two Hershey chocolate bars. Microwave for 30 seconds, remove from the microwave, and stir. Microwave for an additional 15 seconds. Remove from the microwave and stir again. Mix with a spoon until completely combined.
- Pour the sweetened mixture over the top of the holes on the cake. Use a rubber spatula to push the sweetened mixture down into the holes and the sides of the cake. Let cool on the counter for one hour, then cover with plastic wrap and refrigerate for 2 hours to allow the sweetened mixture time to soak into the cake.
- While the cake is in the refrigerator, place a large mixing bowl in the freezer and allow it to chill until ready to use for the chocolate whipped cream topping.
- In the large mixing bowl that has been in the freezer, add 2 cups of chilled heavy whipping cream. Use a hand mixer on a fast speed to mix until it starts to thicken.
- Add powdered sugar, cocoa powder, and vanilla extract. Continue to mix with the hand mixer until incorporated and stiff peaks form.
- Immediately spread the chocolate whipped topping over the entire top of the cake.
- Drizzle chocolate syrup and sprinkle mini chocolate chips on the top of the cake.
- Refrigerate until ready to serve.
Video
Notes
- Oven temperatures vary and may need to be recalibrated periodically to ensure they are accurate. Make sure to keep a close eye on your cake as the suggested baking time approaches.
- It’s best to make the holes in the cake while it is still slightly warm because as it cools, the crust on top of the cake will crumble more easily.
- When you’re pouring the cream into the holes, tap the pan on the counter a few times to get rid of any air bubbles, and make sure the cream fills the holes completely.
- It is important not to over-mix your chocolate whipped cream topping. Using a frozen bowl with chilled heavy whipping cream will help it form stiff peaks when mixing.





Comments
Layne Henderson says
Yum – this is a favorite for us, I can’t wait to make it again!
Treena says
Absolutely delicious and the fam were very happy!
Lee MacArthur says
This looks so good and rich. Thank you for sharing.
rose calenda says
can’t wait to try this when my son comes to visit
The Baking ChocolaTess says
I could eat this entire cake! Not even kidding. I like how easy it is to make and it’s the perfect cake to bring to family and friends!
Vernette says
Is the Instant expresso powder the same as the instant expresso coffee?
Layne Kangas says
Yes!
Jane says
Thanks for this can’t wait to make with my boys this weekend.
Beth Jansson says
Can I use Cool Whip instead of whipping cream for topping?
Layne Kangas says
Yes, enjoy!
Gloria says
Rich and delicious – our whole family loves it!
Donna says
Can you used 1/2 cup of strong coffee for the water?
Layne Kangas says
I’m sure you could and it would be tasty!