Little Debbie Christmas Tree Cake Balls bring a festive twist to classic holiday treats, combining the creamy sweetness of cream cheese and white chocolate coating with nostalgic Little Debbie Christmas tree cakes. This recipe takes the familiar flavors of the season and transforms them into delightful bite-sized treats that are as fun to make as they are to eat. Perfect for a cozy gathering or a holiday party, these cake balls add a pop of color and cheer to any dessert spread.
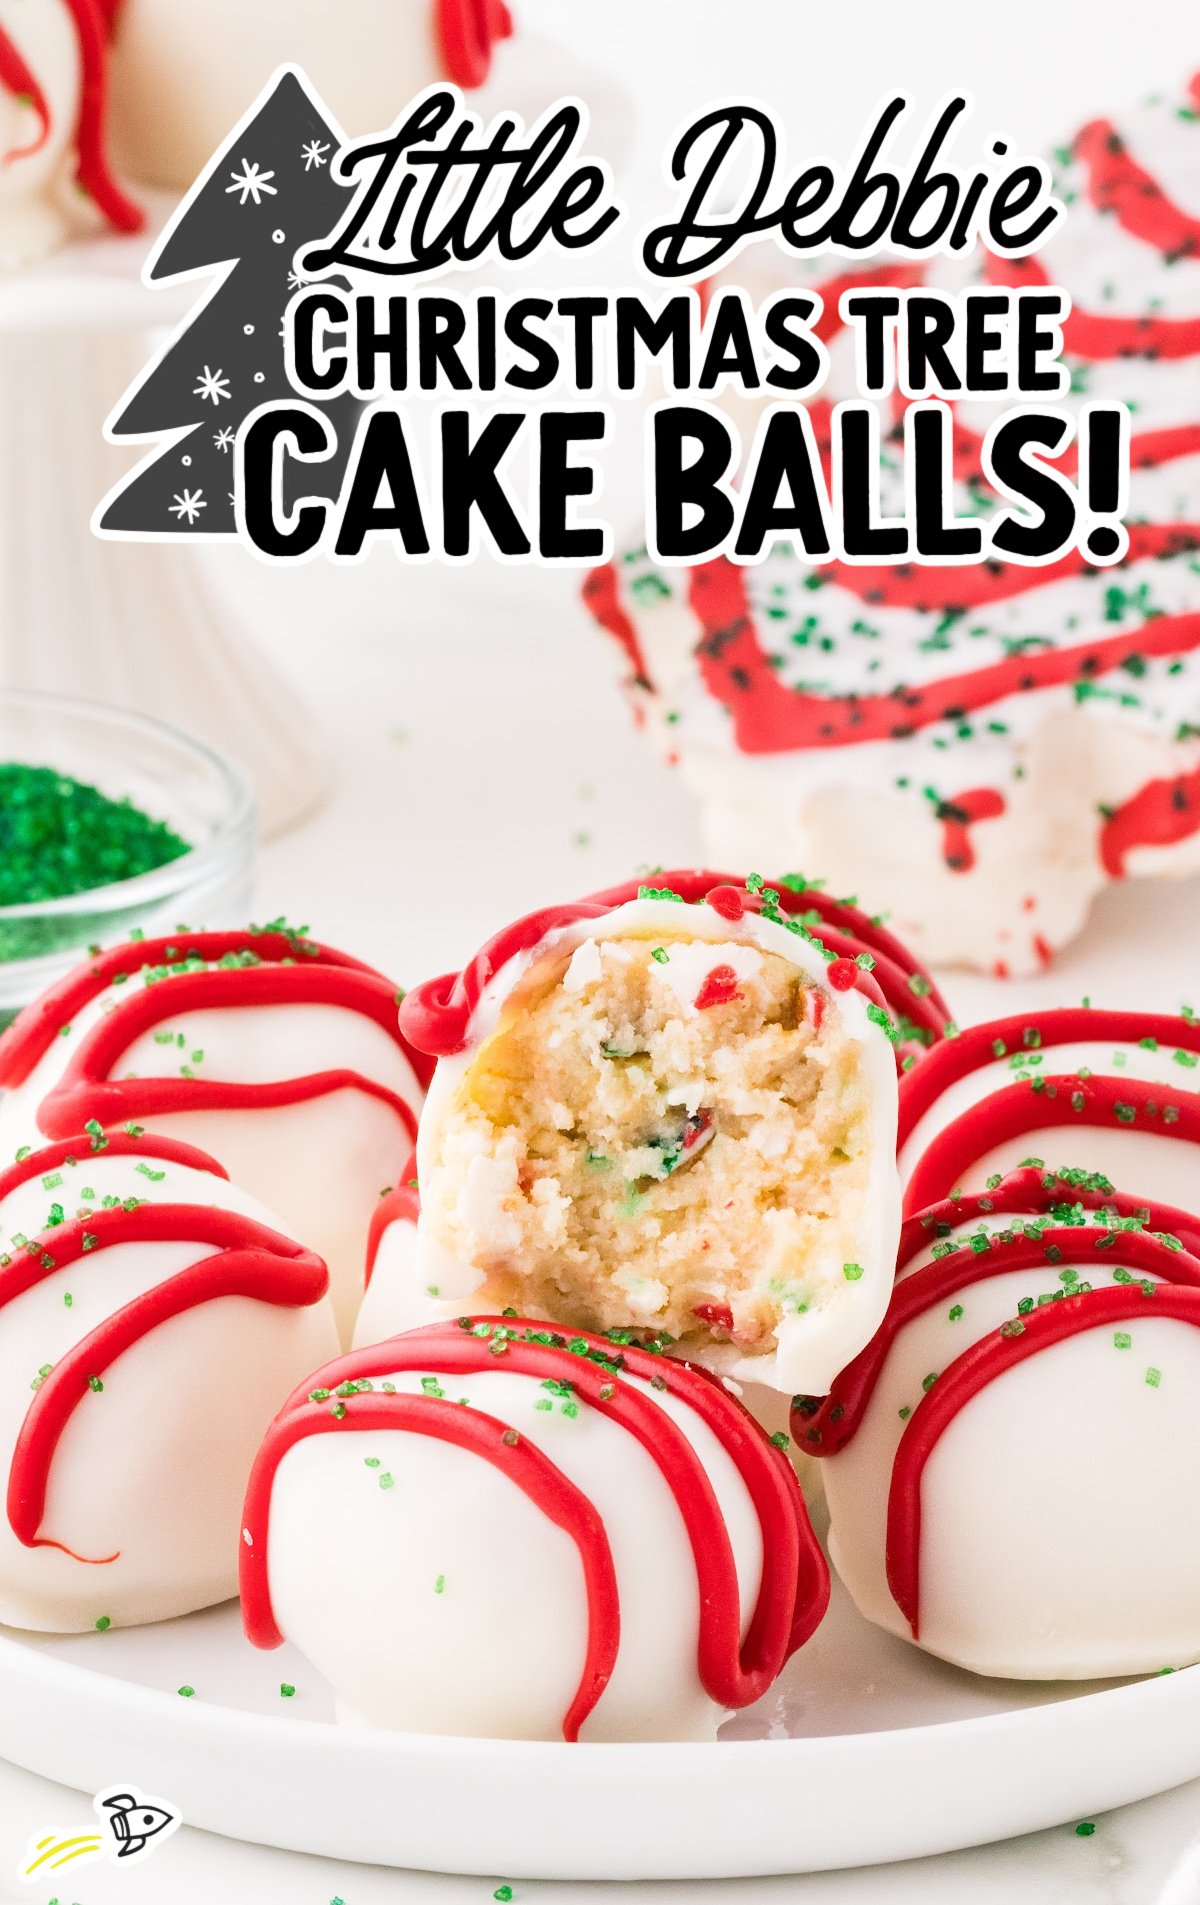
What You Need To Know
- MAIN INGREDIENTS: Little Debbie Christmas tree cakes, cream cheese, white chocolate melting wafers, red vanilla-flavored candy melts, green sanding sugar sprinkles
- QUICK STEPS: Mix softened cream cheese and broken Little Debbie Christmas tree cakes until smooth, roll into balls and freeze until solid, dip in melted white chocolate and decorate with red candy melt drizzle and green sprinkles, let set until firm
- TOTAL TIME AND YIELD: 1 hour 15 minutes, yields approximately 35 cake balls
Why This Recipe
- Unlike most cake ball recipes, ours requires no baking, making it a quick and easy option for the holiday season. This simple, no-fuss approach gives you a stunning, festive treat in less time and with minimal effort.
- This recipe perfectly balances cream cheese and snack cakes to create a smooth, creamy interior that holds together perfectly. Each bite combines the soft, cake-like texture with the richness of the white chocolate coating.
Little Debbie Christmas Tree Cake Ball Ingredients
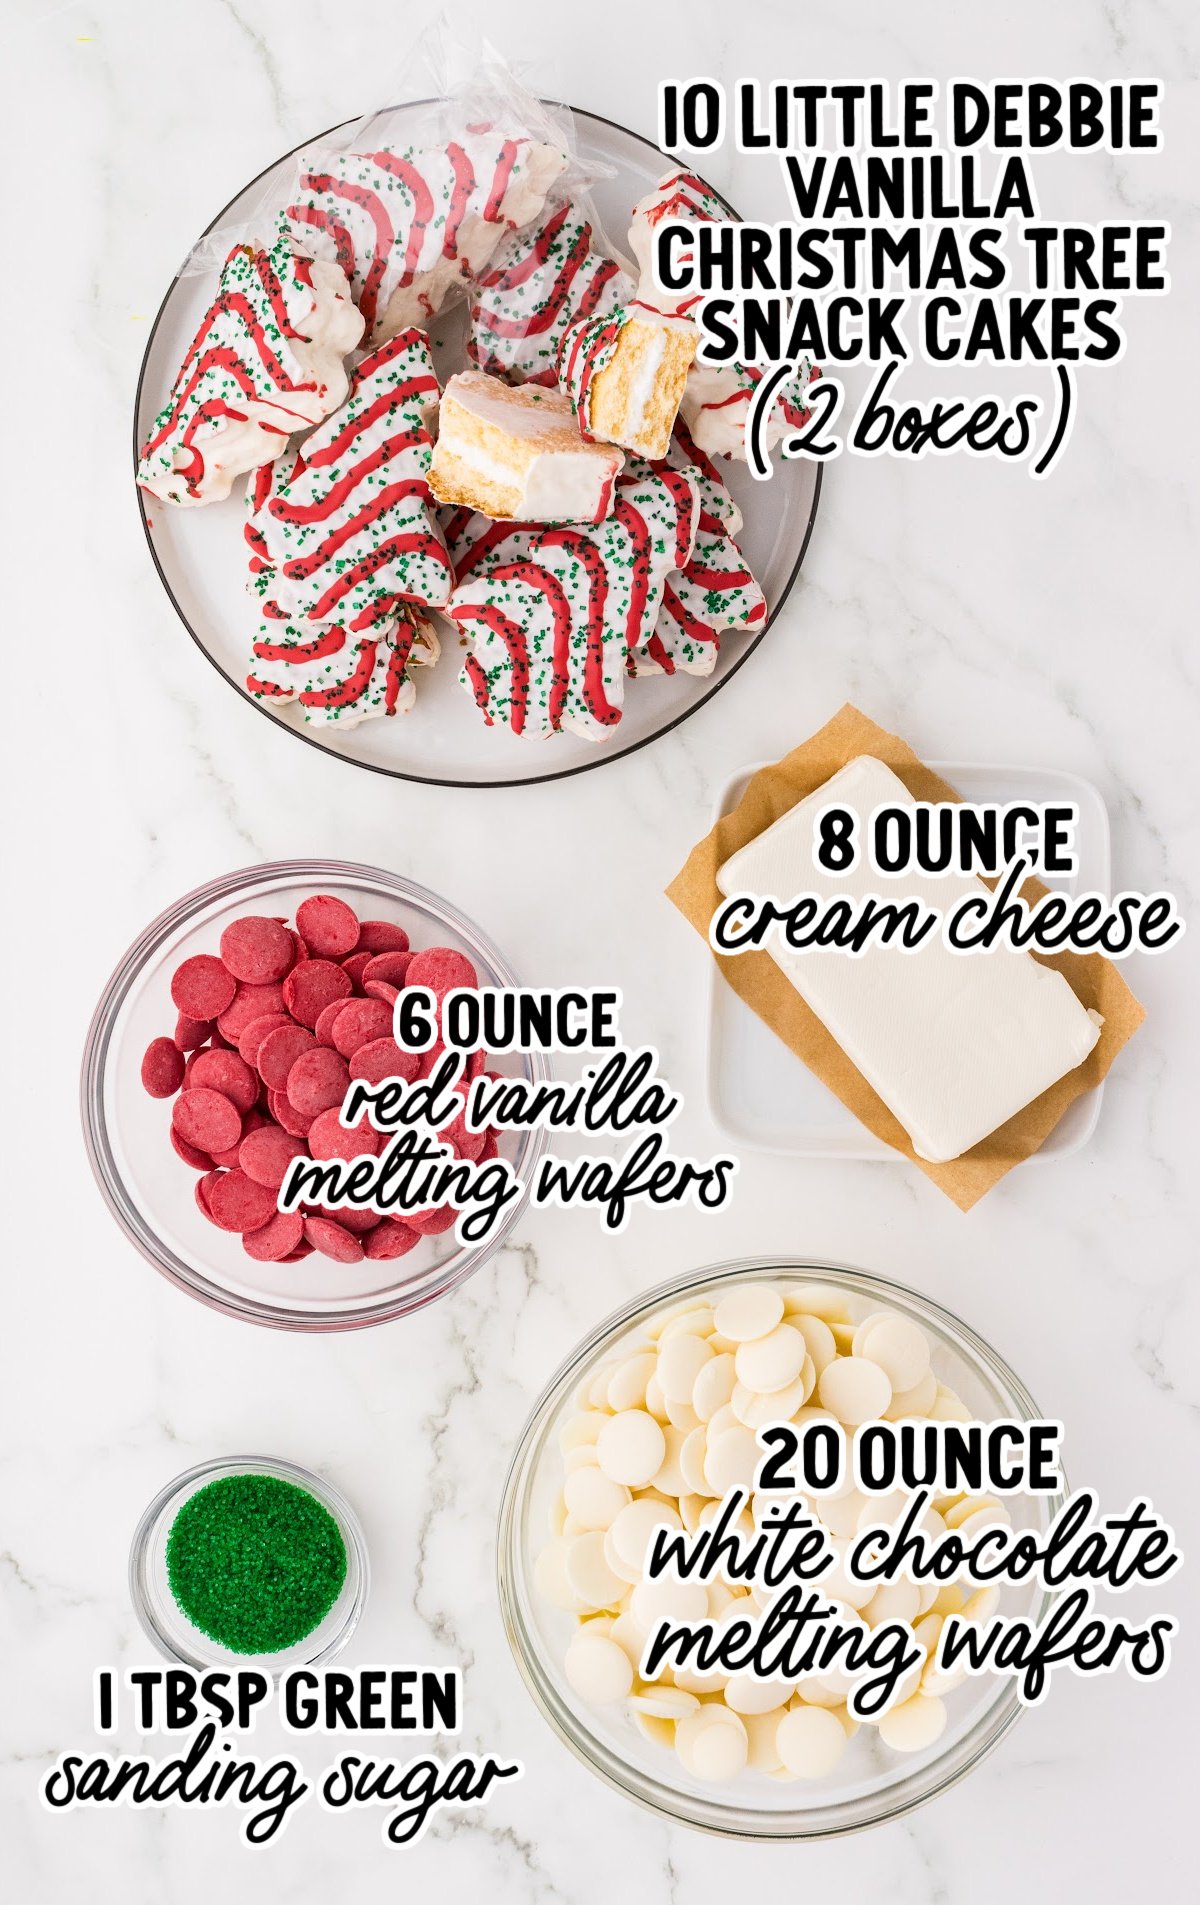
The ingredients for Little Debbie Christmas Tree Cake Balls combine just the right balance of creamy texture and holiday sweetness. Each item has been carefully chosen to capture the nostalgia of Little Debbie Christmas tree cakes while adding a fresh, festive twist to every bite.
Here’s what you’ll need:
- 10 Little Debbie vanilla Christmas tree snack cakes
- 8-ounce block cream cheese, softened to room temperature
- 20 ounces white chocolate melting wafers
- 6 ounces red vanilla-flavored melting candy wafers
- 1 tablespoon green sanding sugar sprinkles
Little Debbie Christmas Tree Cake Balls Substitutions and Additions
White Chocolate Melting Wafers: Replace with vanilla almond bark for a similar sweetness or white candy melts for a comparable coating.
Red Vanilla-Flavored Melting Candy Wafers: You can swap these with red chocolate melting wafers if preferred, or use colored white chocolate candy melts in other holiday colors like green or gold for variety. This substitution keeps the recipe festive while allowing for different holiday themes.
Green Sanding Sugar Sprinkles: Feel free to use colored sugar in other shades, or try crushed candy canes for a peppermint twist. The candy canes will add a subtle mint flavor and extra crunch, enhancing the holiday feel.
How To Make Little Debbie Christmas Tree Cake Balls
Making Little Debbie Christmas Tree Cake Balls is a fun and festive way to bring the flavors of the season into an easy no-bake treat. With straightforward steps and a few pro tips, you’ll have delicious, visually appealing cake balls that capture the classic charm of Little Debbie Christmas tree cakes.
STEP ONE: Line two large baking sheets with parchment paper or a silicone mat. This prevents sticking and makes cleanup easy. Set these aside, so they’re ready for each cake ball as you form and decorate them.
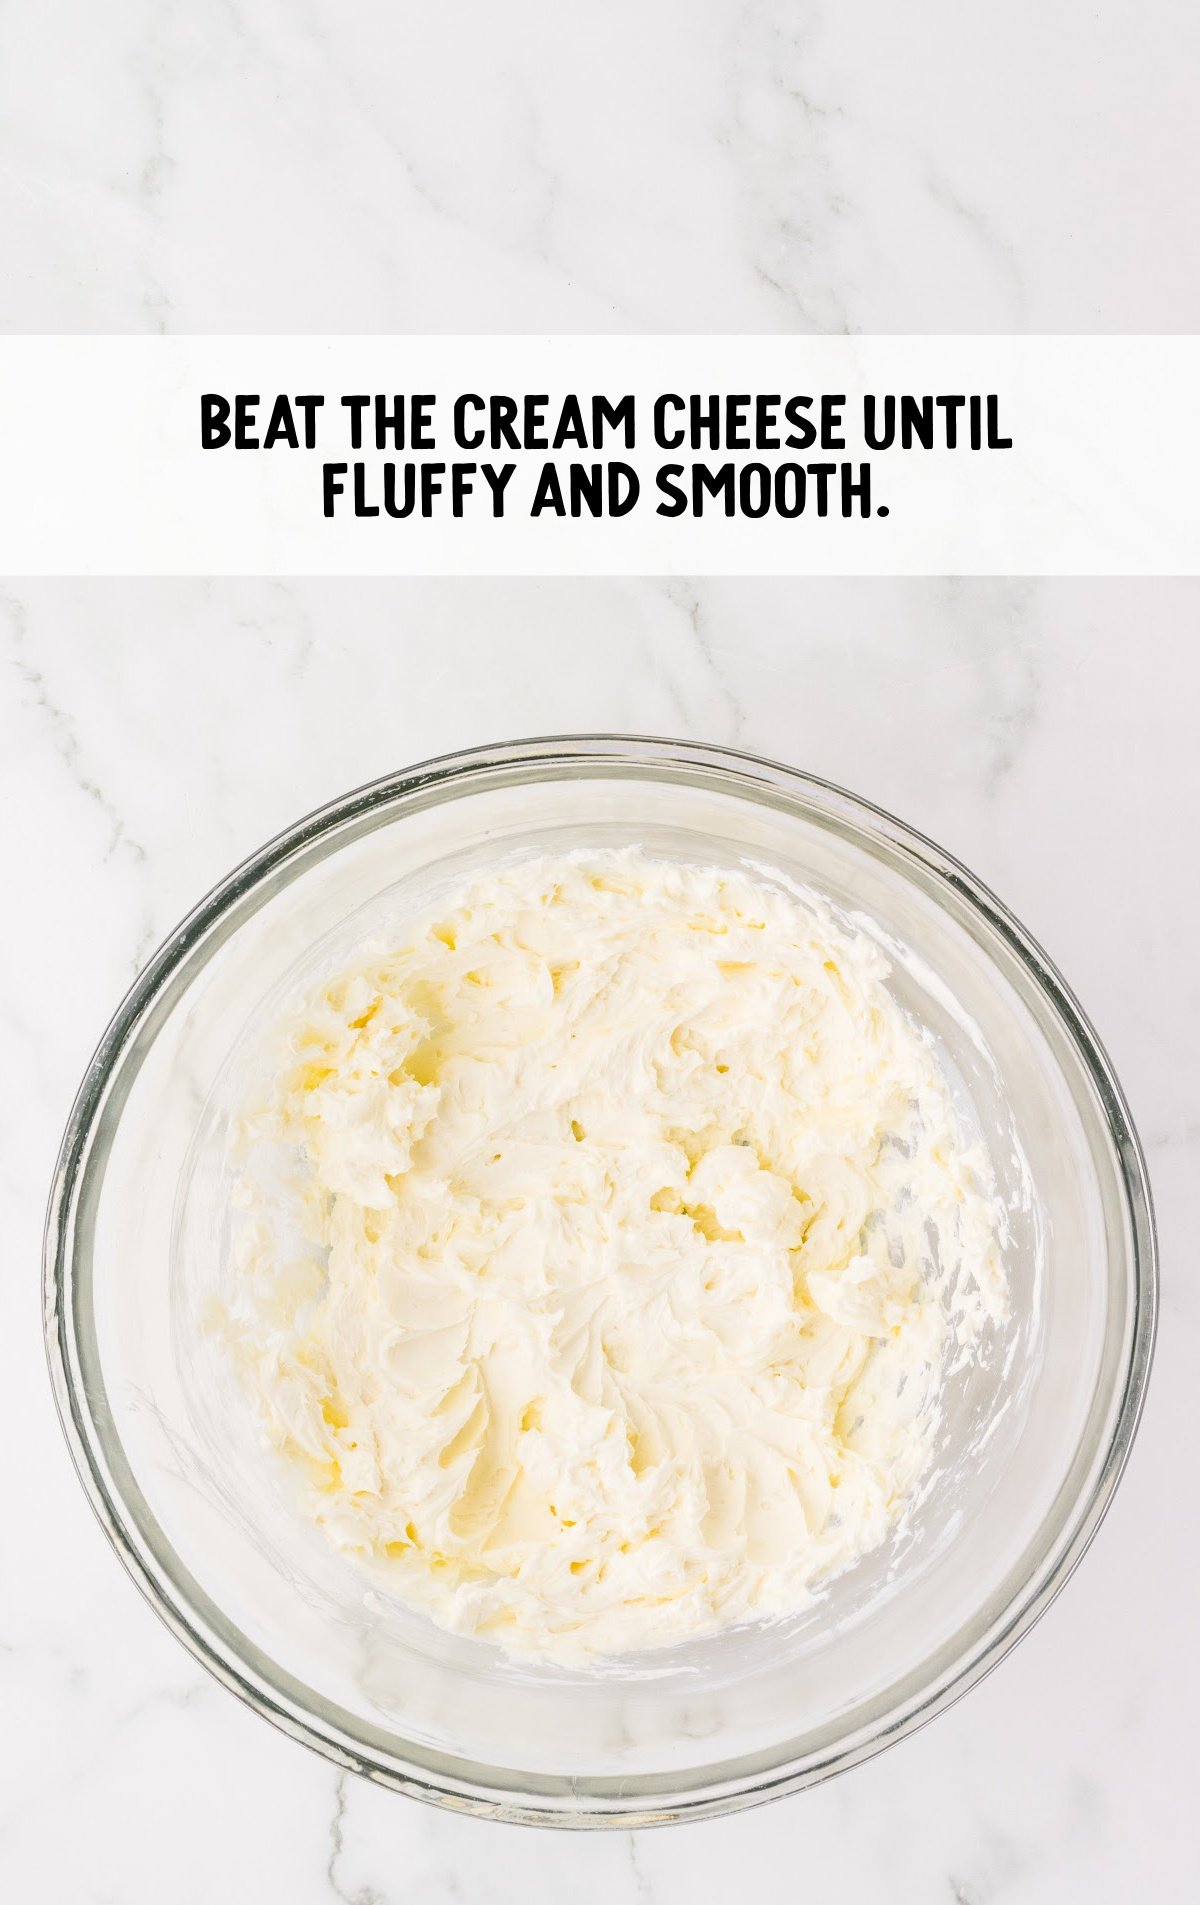
STEP TWO: Add the cream cheese to a large mixing bowl and let it soften to room temperature. Using a handheld mixer, beat the cream cheese on medium speed for one to two minutes until it’s fluffy and smooth.
This step is crucial for achieving the right creamy texture in the final cake balls.
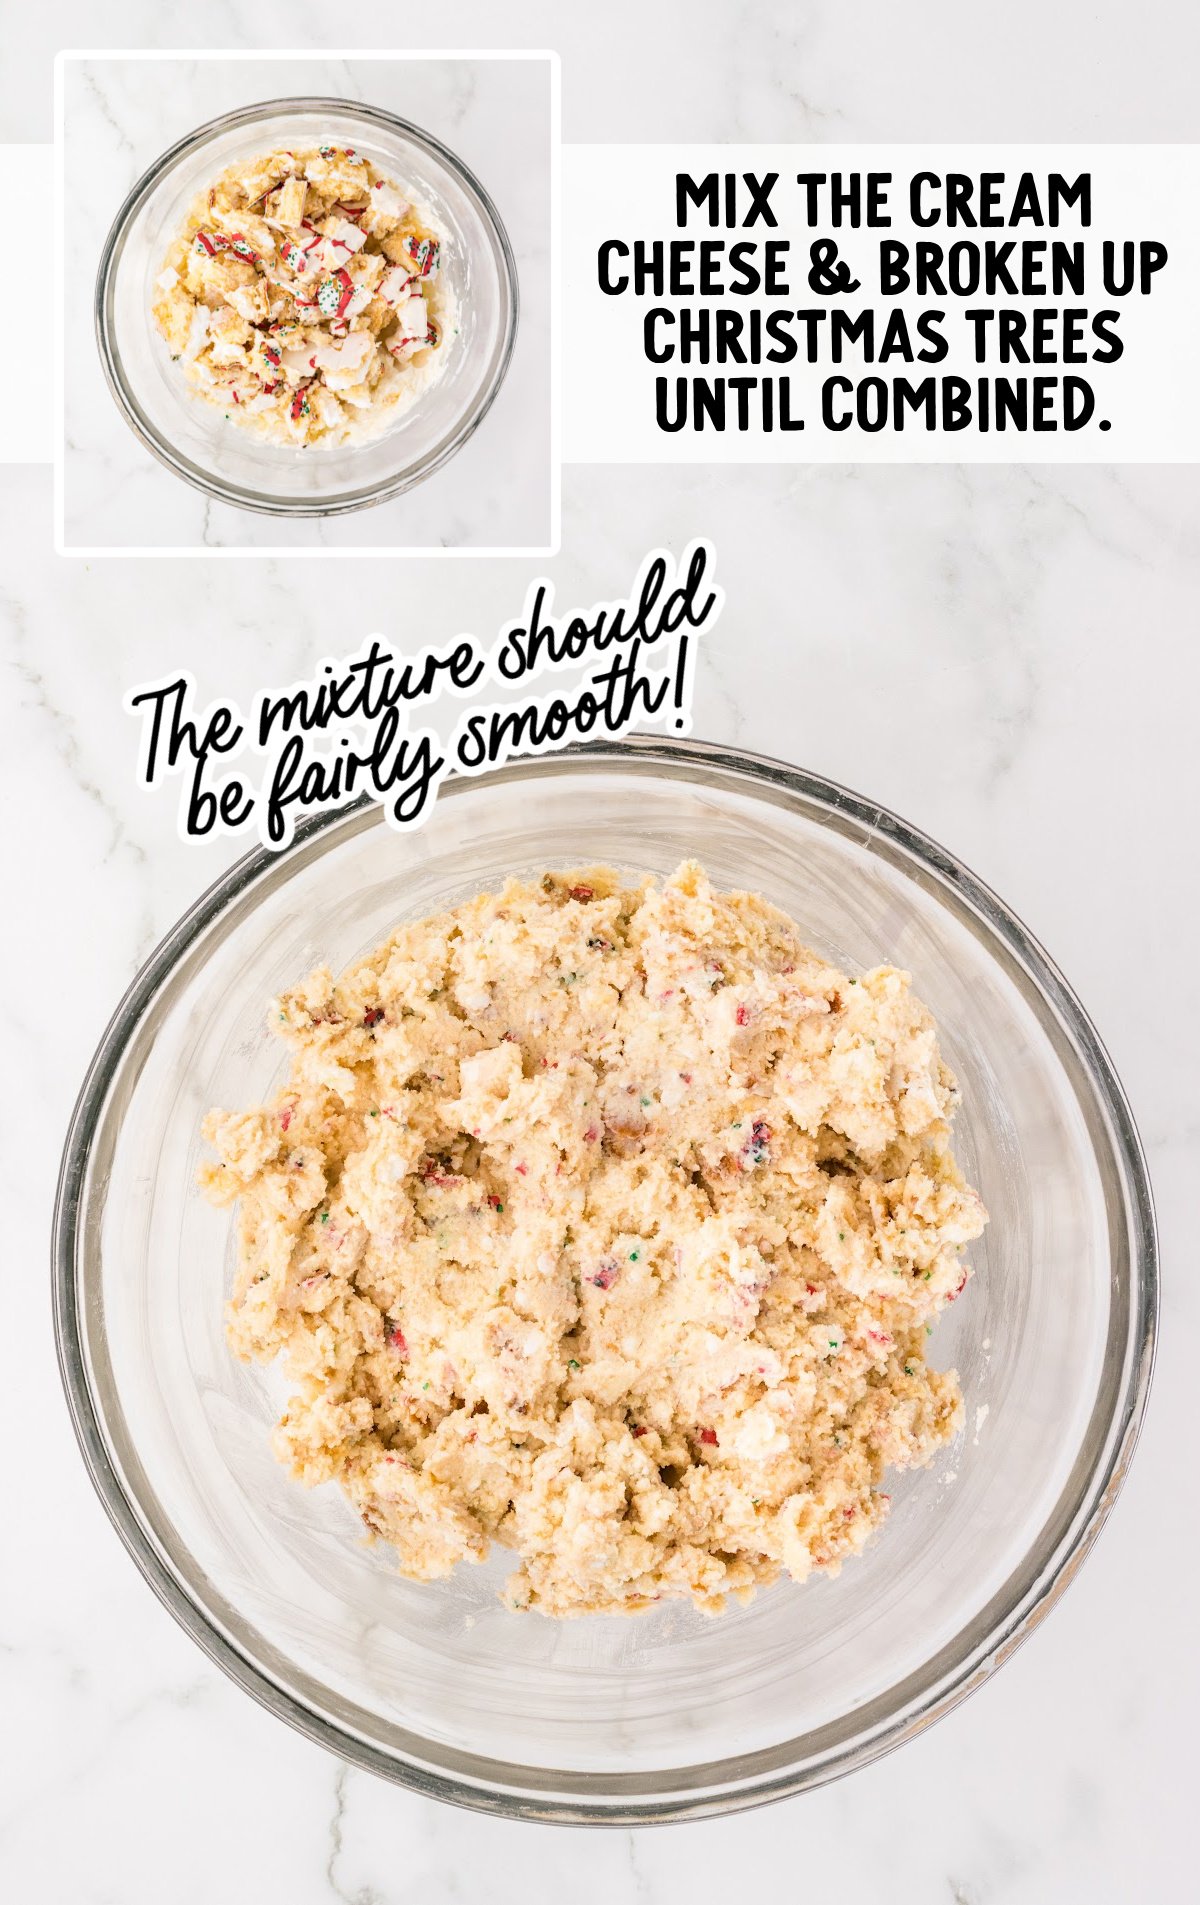
STEP THREE: Break each Little Debbie Christmas tree cake into smaller pieces and add them to the bowl with the softened cream cheese. Using the mixer on low speed, blend until the mixture is well combined.
Some small pieces of the vanilla coating from the snack cakes may remain, adding a slight texture to the mixture. The consistency should be mostly smooth, making it easy to form into balls.
STEP FOUR: Use a small cookie scoop to measure out one tablespoon-sized portions of the mixture. Roll each portion gently between your palms to form a smooth, even ball.
Place each cake ball onto one of the prepared baking sheets. Repeat until all the mixture has been formed into balls.
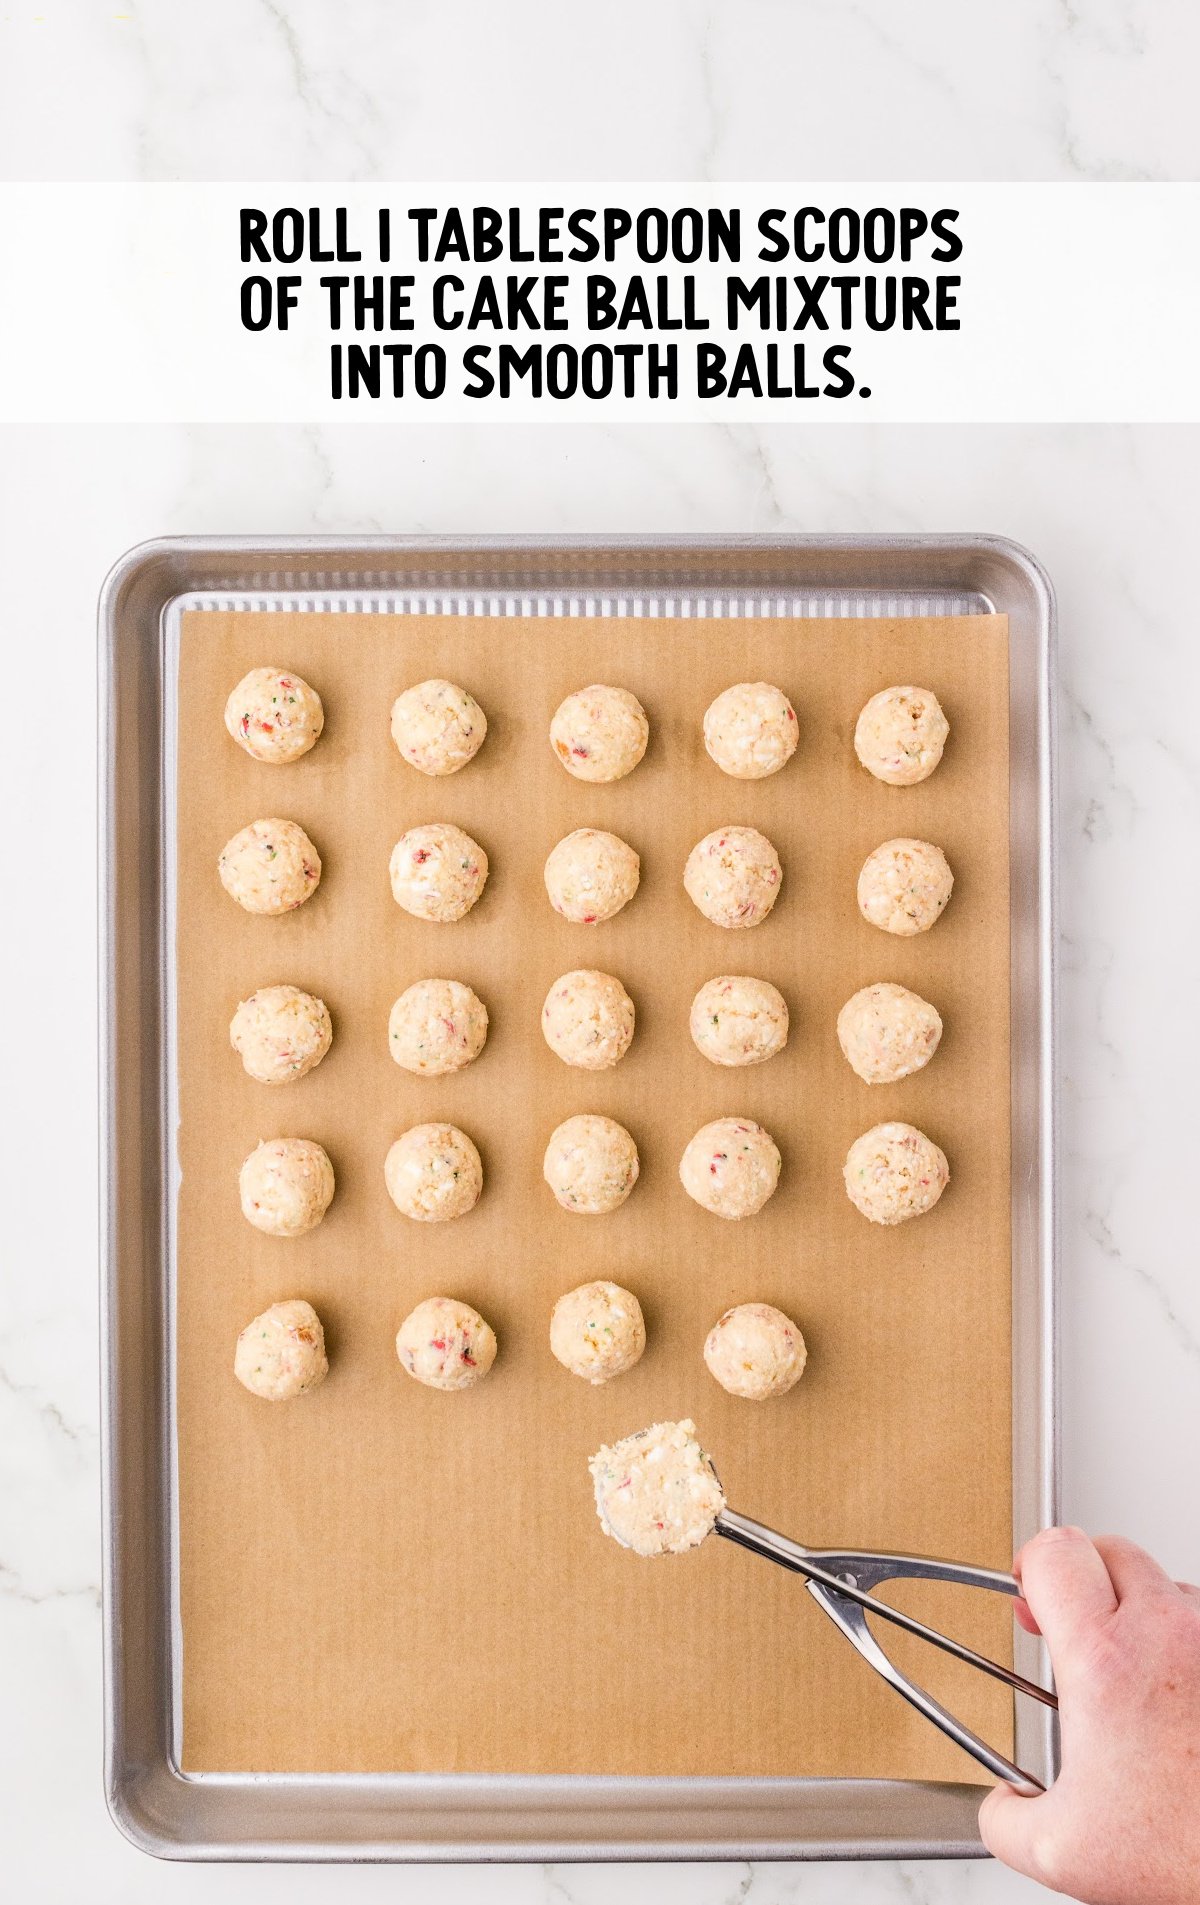
STEP FIVE: Transfer the baking sheets to the freezer and allow the cake balls to chill for 30–45 minutes, or until they are fully solid. Freezing them helps the cake balls hold their shape when you coat them with melted chocolate.
STEP SIX: Place the white chocolate melting wafers in a microwave-safe bowl. Heat in 30-second increments, stirring after each, until completely smooth. Be careful not to overheat, as white chocolate can scorch easily.
STEP SEVEN: In a separate bowl, melt the red vanilla-flavored candy melts using the same 30-second increment method. Stir until smooth, then transfer the melted red candy into a piping bag with the tip cut off.
This will allow you to create a decorative drizzle later.
STEP EIGHT: Take one frozen cake ball at a time and dip it into the melted white chocolate. Use a fork to lift it out and gently tap the fork on the side of the bowl, letting any excess chocolate drip back into the bowl. This gives each cake ball an even, smooth coating.
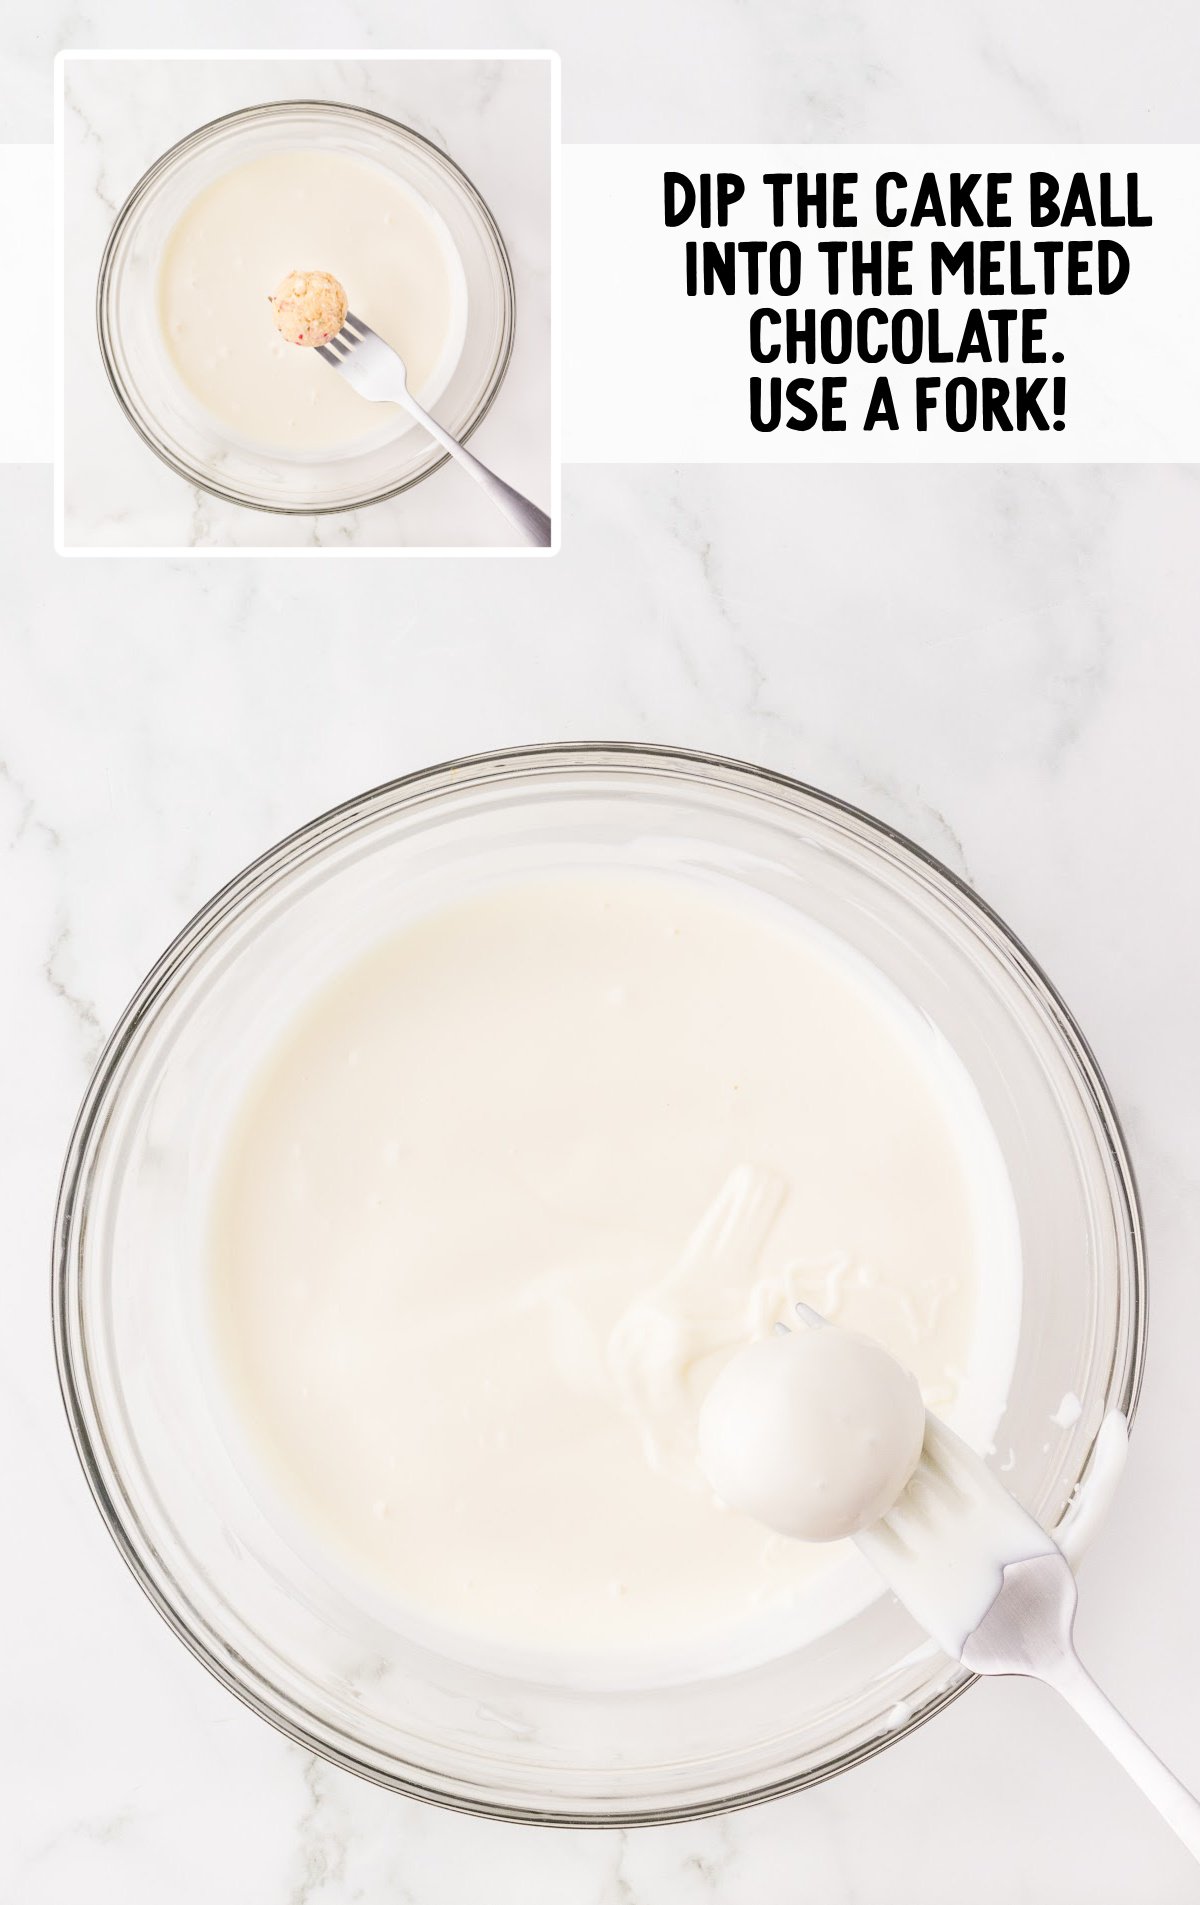
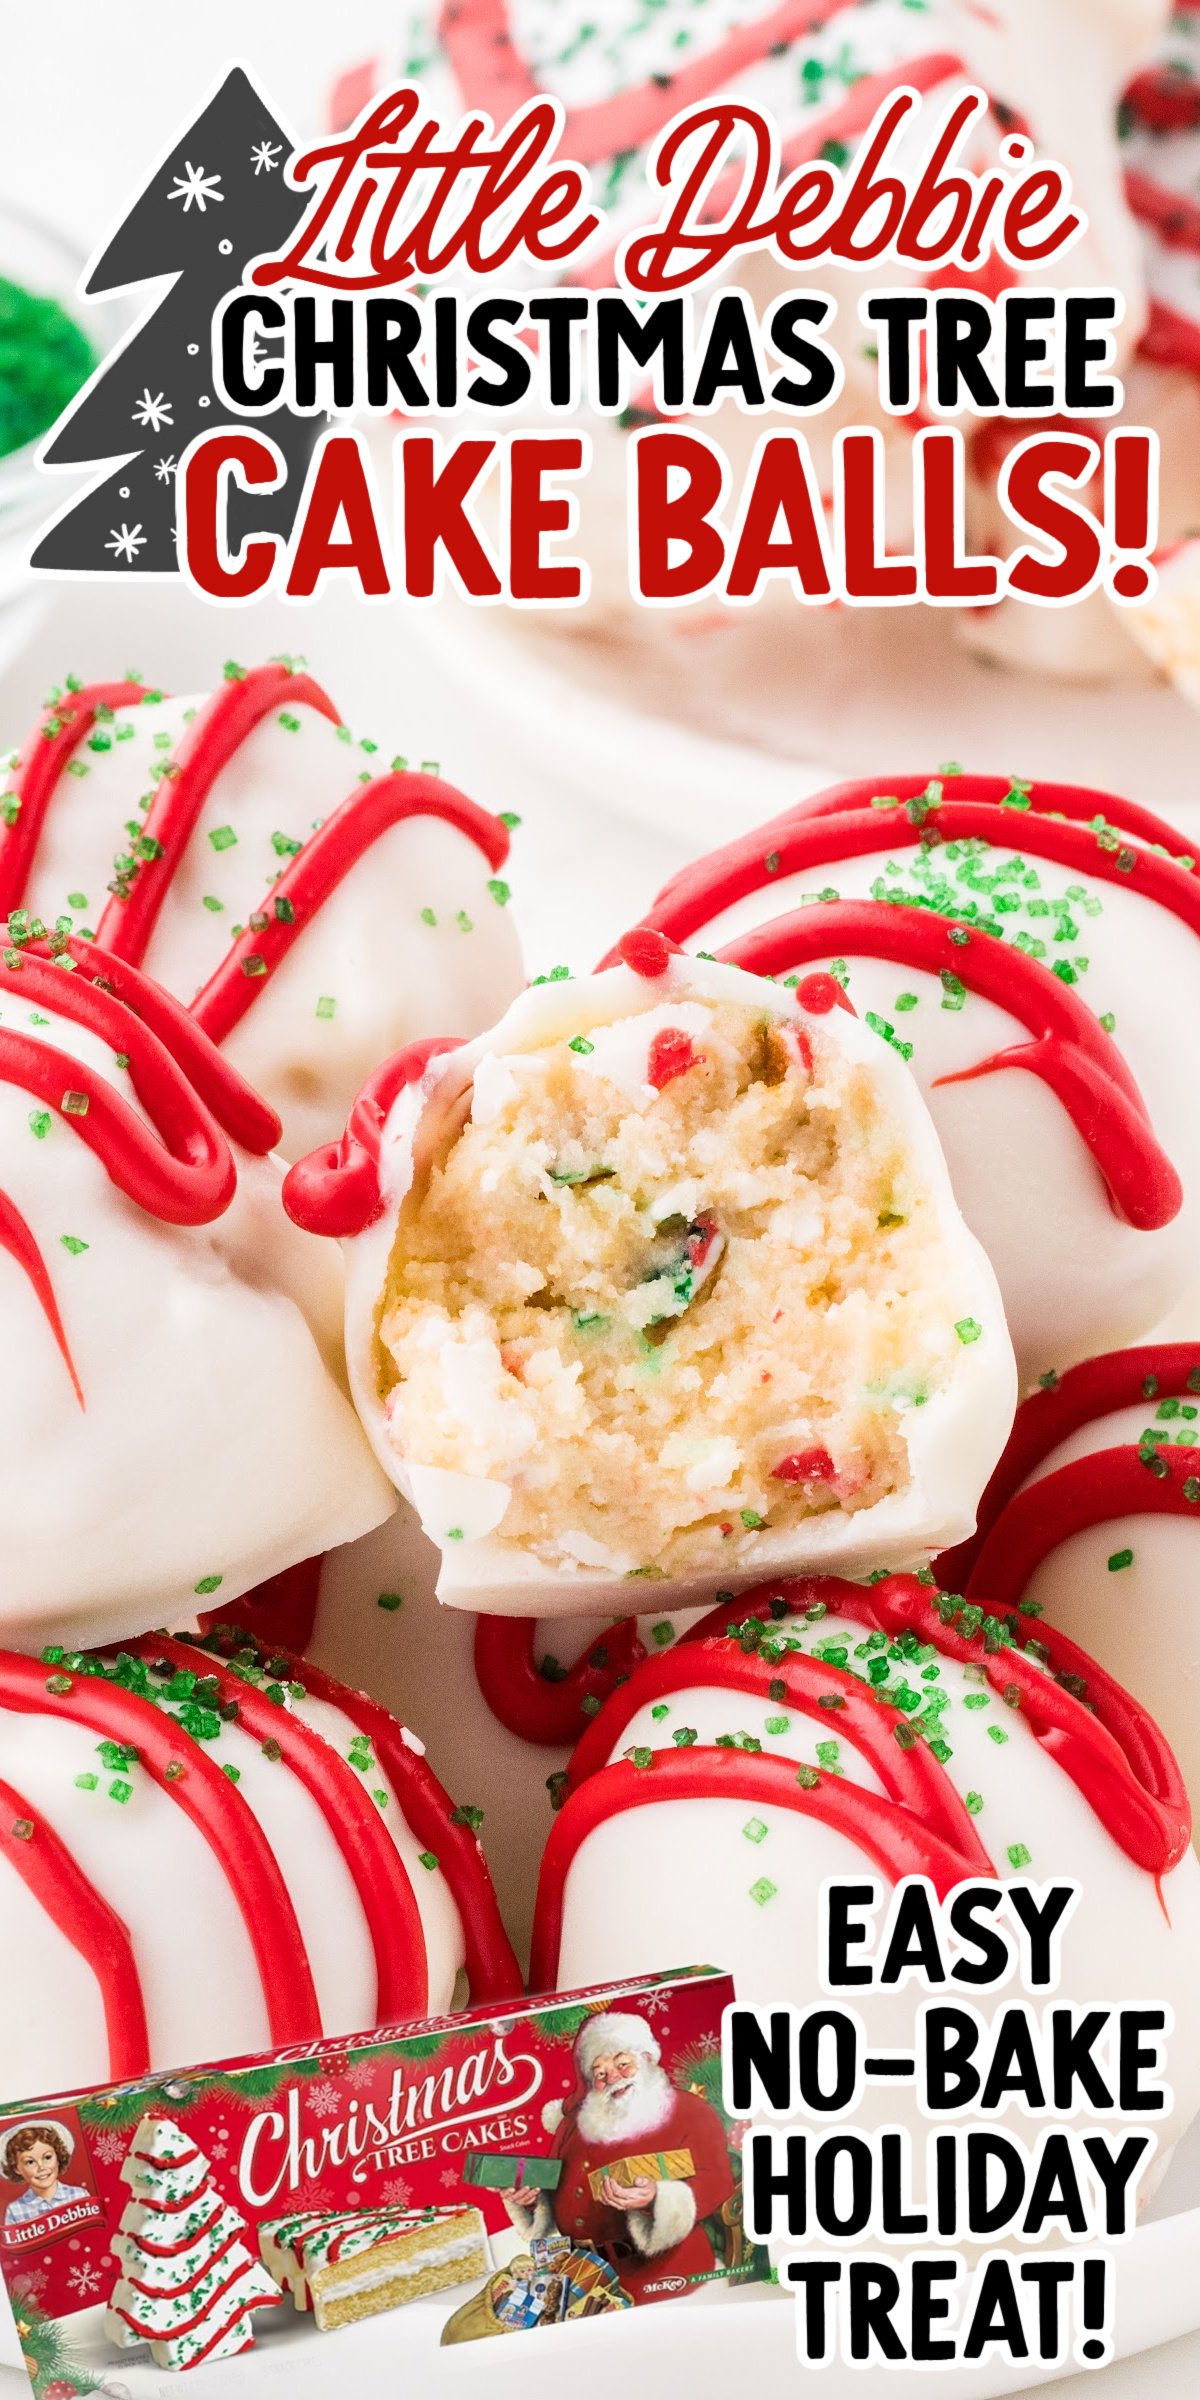
STEP NINE: Once each cake ball is coated in white chocolate, set it back on the baking sheet. Using the piping bag with red candy melts, pipe a zig-zag pattern over the top of each ball. Immediately sprinkle a pinch of green sanding sugar over the red drizzle to mimic the look of the original Little Debbie Christmas tree snack cakes.
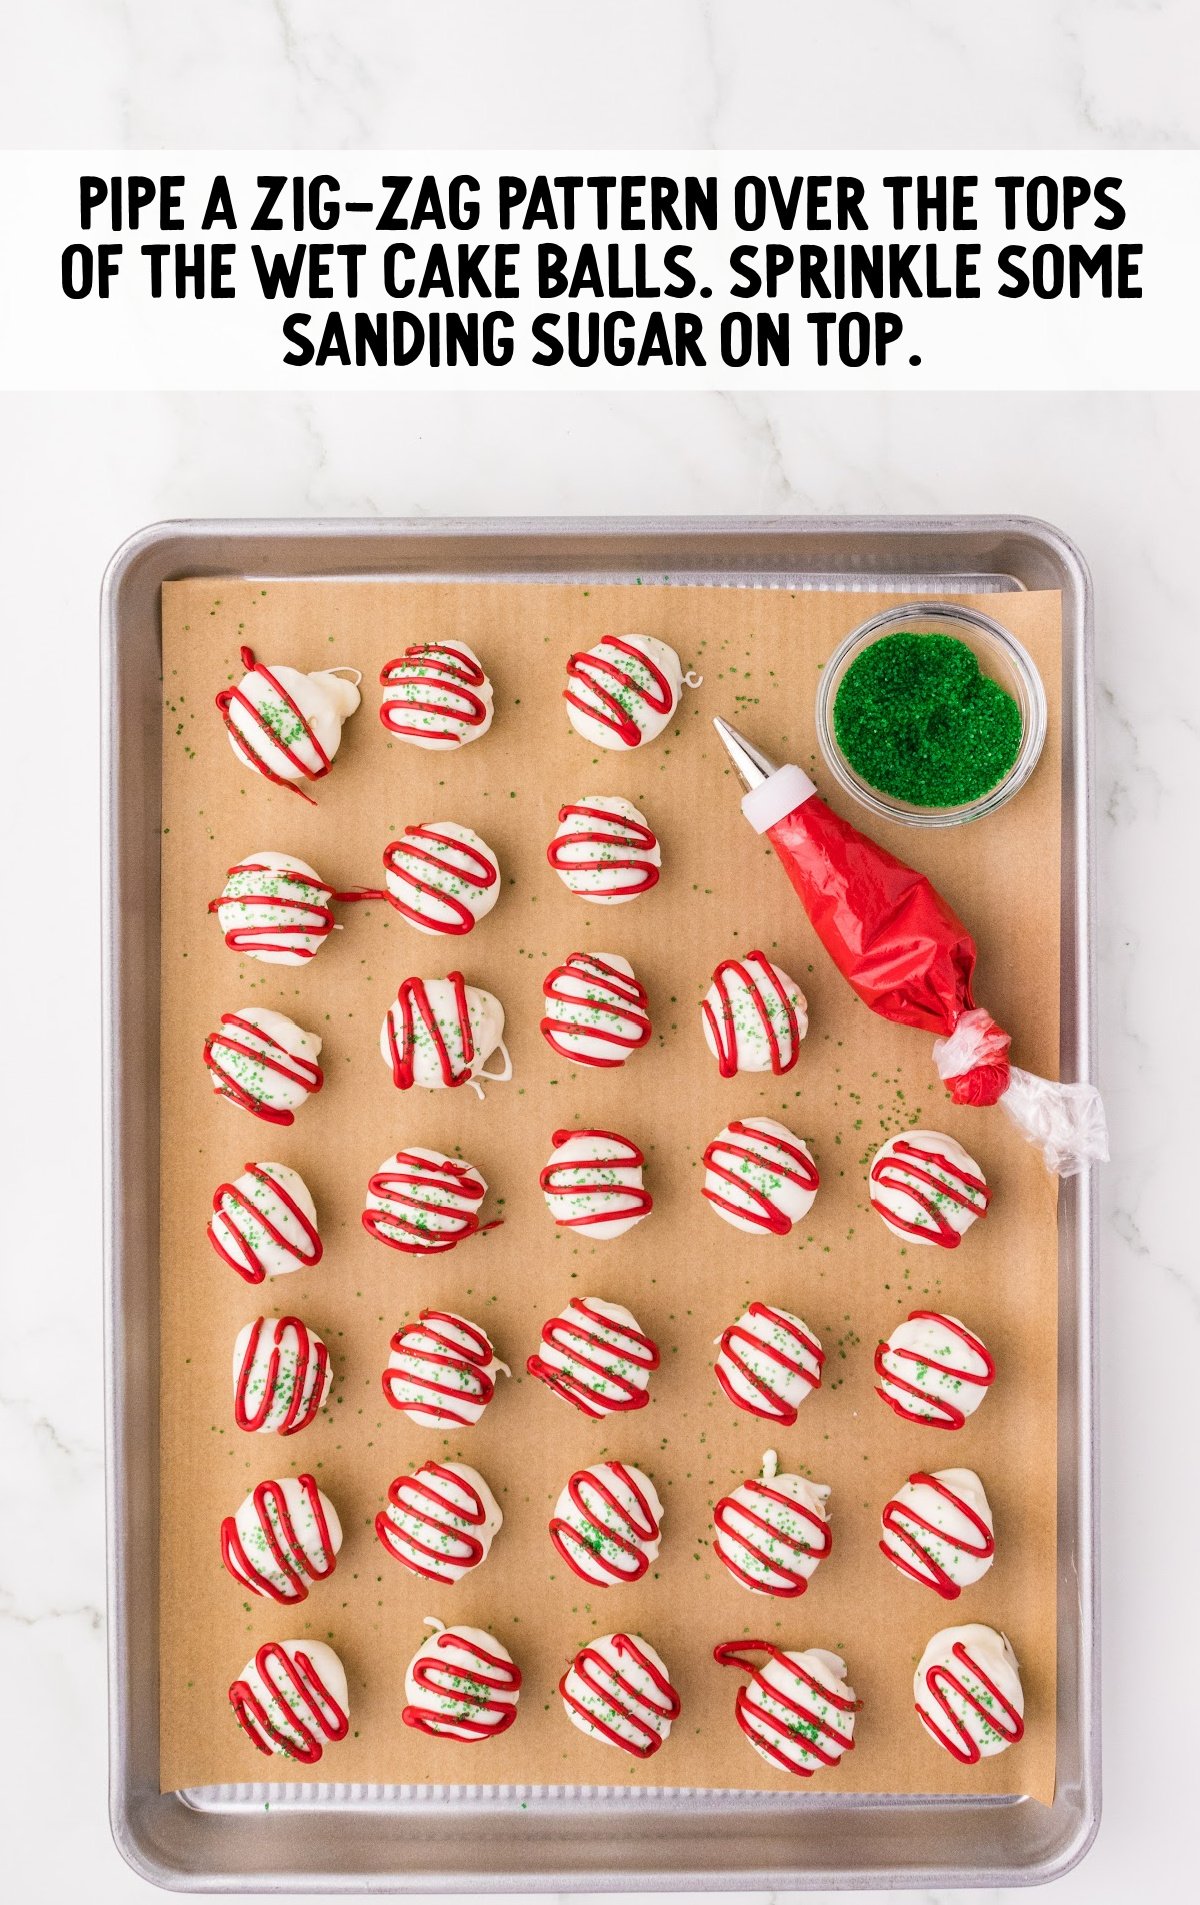
STEP TEN: Allow the coated and decorated cake balls to sit at room temperature for 15–20 minutes, or until the chocolate is completely firm.
Troubleshooting This Little Debbie Christmas Tree Cake Balls Recipe
The mixture is too sticky to roll into balls.
Chill the mixture for 10–15 minutes before rolling; this will make it easier to handle.
The cake balls fall apart when dipping in white chocolate.
Make sure the cake balls are frozen solid before dipping to help them hold together.
White chocolate seizes or becomes lumpy when melting.
Melt the chocolate in 30-second increments, stirring each time, or use a double boiler to melt it gradually. Avoid overheating, as white chocolate scorches easily.
Red drizzle doesn’t look neat on top of the cake balls.
Use a piping bag for more control. Cut a very small opening at the tip to achieve a cleaner, more even drizzle.
Green sprinkles don’t stick to the red drizzle.
Sprinkle the green sugar immediately after adding the red drizzle so it adheres before the candy melts harden.
The chocolate coating is too thick or uneven.
Gently tap the fork on the side of the bowl after dipping to let excess chocolate drip off, creating a smooth, even coating.
The cream cheese doesn’t mix smoothly with the snack cakes.
Soften the cream cheese fully to room temperature before blending, and beat it until smooth before adding the cakes.
How To Serve Little Debbie Christmas Tree Cake Balls
Little Debbie Christmas Tree Cake Balls are versatile treats that bring festive flair to a variety of holiday gatherings. From casual family nights to more formal celebrations, they’re easy to serve and pair well with drinks and desserts.
Christmas Gathering: These cake balls make an eye-catching addition to a formal holiday dessert table. Serve them alongside a classic holiday drink, like Christmas morning punch, and pair them with peppermint pie for a well-rounded, seasonal spread.
Family Movie Night: Perfect for a cozy evening at home, serve these cake balls with mugs crockpot peppermint hot chocolate. Pair them Christmas Rice Krispie treats for a festive, family-friendly snack spread.
School Holiday Party: These cake balls are ideal for classroom settings, as they’re easy to grab and eat without creating a mess.
MORE DESSERT BALLS RECIPES
How To Store Little Debbie Christmas Tree Cake Balls
Proper storage is key to keeping your Little Debbie Christmas Tree Cake Balls fresh and flavorful for holiday gatherings. Here’s how to store them so you can make the most of this festive treat.
MAKE AHEAD: These cake balls are an excellent option for making ahead of time. Prepare and decorate them up to two days in advance, then store them in the fridge to keep them fresh until ready to serve.
IN THE FRIDGE: Place the cake balls in an airtight container and refrigerate them. They will stay fresh for up to 3–4 days. This method keeps the white chocolate coating firm and the cake balls flavorful.
IN THE FREEZER: To freeze, arrange the cake balls on a baking sheet lined with wax paper and place them in the freezer until solid. Once frozen, transfer them to a freezer-safe bag or container for up to one month. Let them thaw in the fridge overnight before serving.
REHEATING: These cake balls don’t require reheating and are best served cold or at room temperature. If they need to soften slightly before serving, you can let them sit at room temperature for about 15 minutes. Avoid using the microwave, as it can melt the chocolate coating.
Why We Love This Little Debbie Christmas Tree Cake Ball Recipe
Little Debbie Christmas Tree Cake Balls bring everything we love about the holidays into one easy, no-bake treat. From their nostalgic flavor to their festive appearance, these cake balls offer a fun and convenient way to celebrate the season.
Nostalgic Flavor: Bringing back all the familiar taste of Little Debbie Christmas tree cakes in a fun new way.
No Baking Required: Ideal for anyone looking to skip the oven and still make a crowd-pleasing dessert.
Great for Gifting: Pack them up in a decorative box, and they make charming holiday gifts for friends, neighbors, or coworkers.
Little Debbie Christmas Tree Cake Ball Frequently Asked Questions
Yes, you can substitute Little Debbie Christmas tree cakes with other Little Debbie snack cakes or similar brands, but the flavor and texture may vary slightly.
While a mixer helps achieve a smooth, creamy texture with the cream cheese, you can mix by hand if necessary—it may just take a little more effort.
To dip, use a fork to lower each cake ball into the melted white chocolate, then gently tap off excess on the side of the bowl before setting it on the parchment paper.
Little Debbie Christmas Tree Cake Balls bring nostalgic holiday flavor in an easy, no-bake treat that’s perfect for any festive occasion. Whether for gifting, sharing, or a cozy family night, these cake balls are a sweet way to celebrate the season.
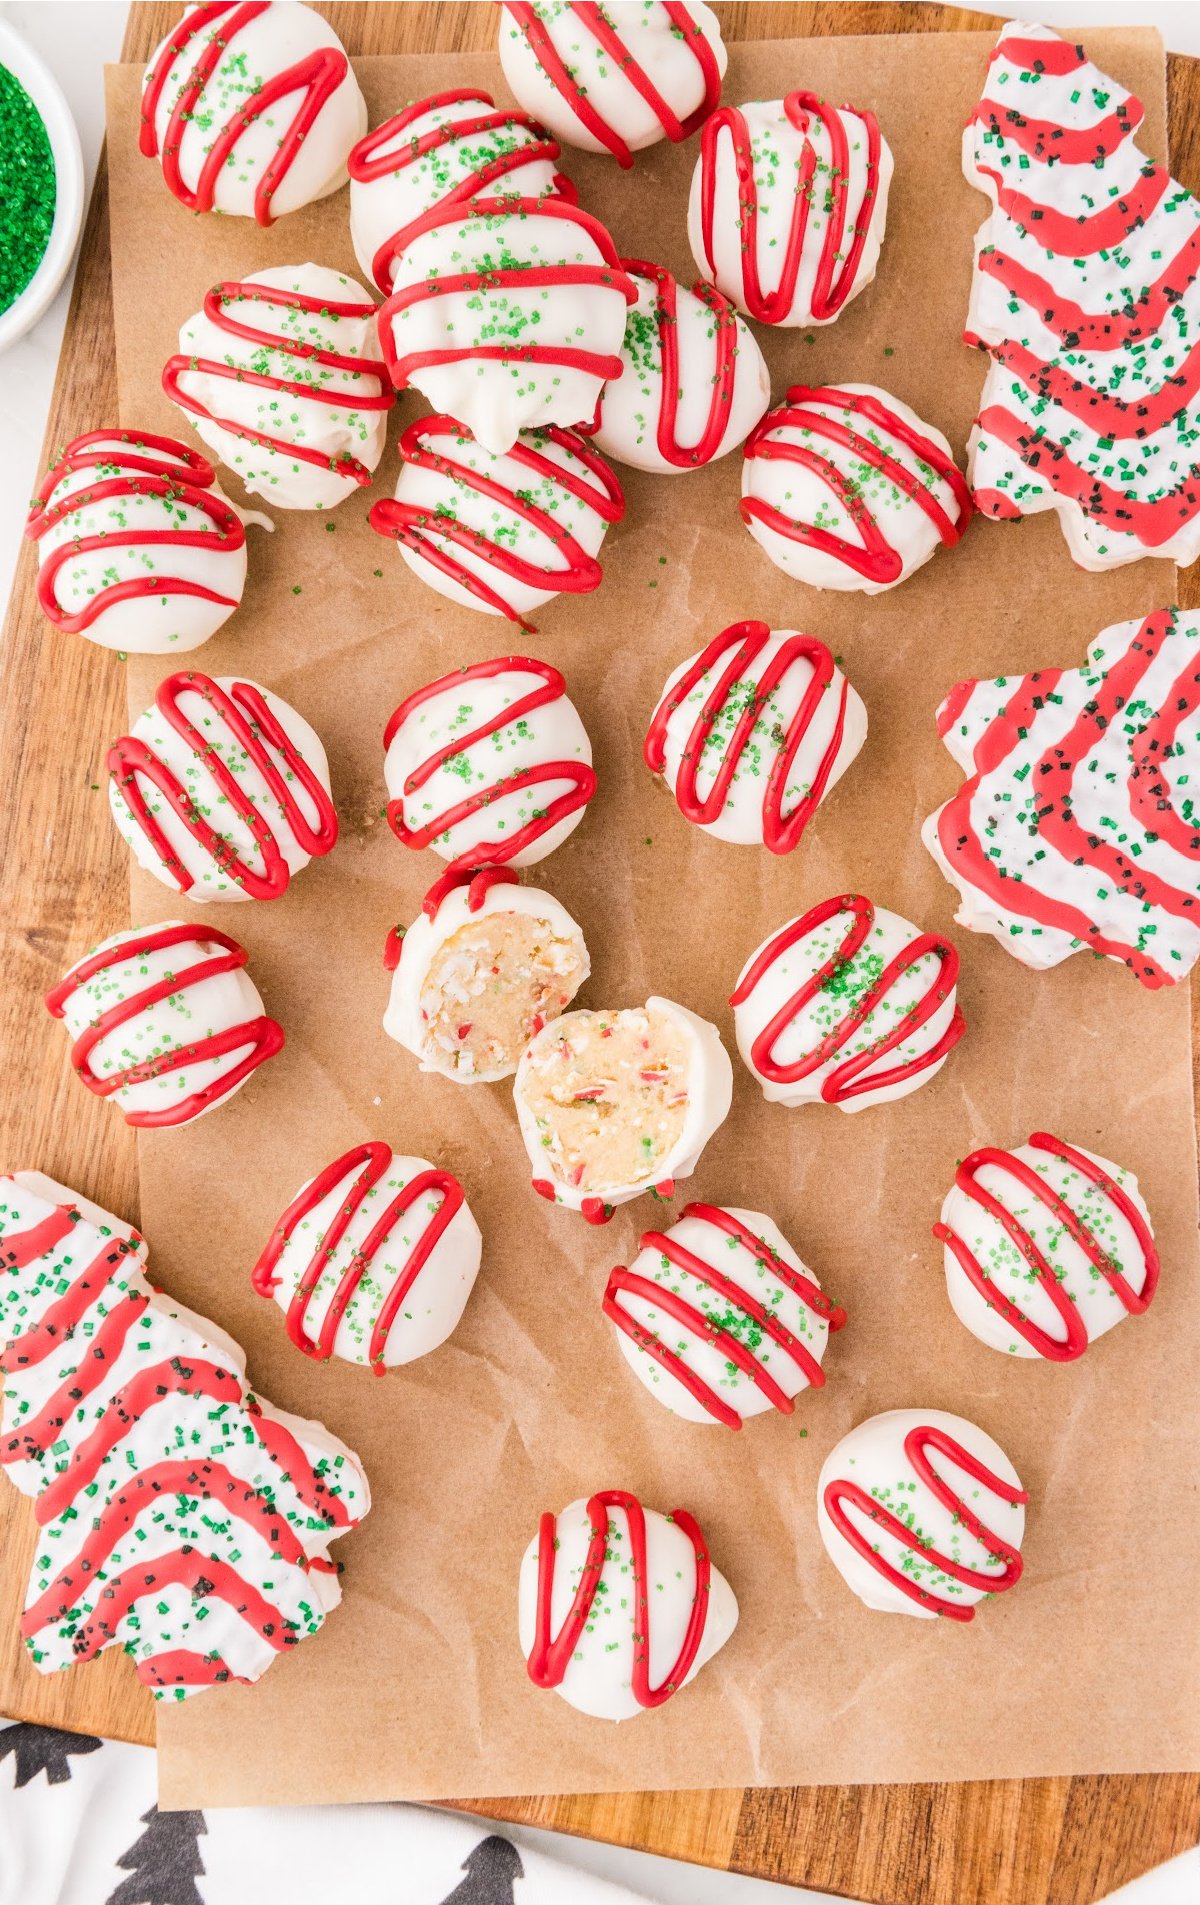
Little Debbie Christmas Tree Cake Balls
Ingredients
- 10 Little Debbie vanilla Christmas tree snack cakes, unwrapped (from 2 – 8.62 oz. boxes)
- 8 ounces cream cheese, softened to room temperature
- 20 ounces white chocolate melting wafers, Ghirardelli brand used
- 6 ounces red vanilla flavored melting candy wafers, Wilton brand used
- 1 tablespoon green sanding sugar sprinkles
Instructions
- Line two large baking sheets with parchment paper or a silicone mat and set aside.
- To a large mixing bowl, add the softened cream cheese and beat on medium speed, using a handheld mixer, for 1-2 minutes or until fluffy and smooth.
- Break the Little Debbie vanilla Christmas tree Snack Cakes into smaller pieces and add to the bowl of beaten cream cheese. Mix on low speed just until fully combined. You may still have some small pieces of the vanilla coating from the snack cakes remaining in the mixture however the mixture should be relatively smooth.
- Using a small cookie scoop, scoop out a 1 tablespoon sized portion of cake ball mixture and place into the palm of your hand. Gently roll to form a smooth ball.
- Place the Little Debbie Christmas tree cake ball onto one of the prepared baking sheets. Repeat with the remaining mixture until all the cake balls have been formed and placed onto the prepared baking sheet.
- Freeze the cake balls for 30-45 minutes, or until completely solid. This will make it easier to coat the cake balls in the melted white chocolate.
- Melt the white chocolate wafers in a medium bowl according to package directions and stir to a smooth consistency.
- In a separate small bowl, melt the red vanilla flavored candy wafers according to package directions and stir until smooth. Transfer the melted red candy wafers into a small piping bag with the tip cut off.
- Place a single cake ball into the melted white chocolate, being sure to coat all sides. Using a fork, lift the coated cake ball out of the melted white chocolate and gently tap the fork on the side of the bowl allowing the excess melted white chocolate to drip back into the bowl.
- Place the white chocolate coated Little Debbie Christmas tree cake ball onto the second prepared baking sheet. Pipe a decorative ziz-zag pattern across the top of the white chocolate coated cake ball and sprinkle with a pinch of the green sanding sugar sprinkles. Try to mimic the look of the original Little Debbie Christmas tree snack cakes. Repeat until all the cake balls have been coated and decorated.
- Let the Little Debbie Christmas tree cake balls set for 15-20 minutes until the white chocolate coating is completely firm before plating and serving.
Notes
- You can substitute vanilla flavored almond bark in place of the white chocolate melting wafers if desired. Be sure to follow the package instructions for proper melting of the vanilla almond bark.
- If you do not want to use the red vanilla flavored candy wafers to decorate your cake balls, you can add a couple drops of red gel food coloring to any excess melted white chocolate you have after all the cake balls have been coated. Be sure to use a good quality gel food coloring that is meant for use with chocolate. Start with 1-2 drops until desired color is reached.
This recipe can be easily halved, or doubled, depending on the desired number of cake balls needed for serving. - If you do not have a small piping bag, you can drizzle the melted red candy wafers using a small spoon to create the desired design on the top of the cake balls.
- If you wait until all the cake balls are coated in the white chocolate before adding the red candy coating drizzle and green sanding sprinkles, the sprinkles will not stick to the white chocolate parts of the cake balls because the frozen temperature causes the white chocolate to harden quite quickly. It is best to complete 1-2 cake balls at a time to ensure the green sanding sprinkles stick to the tops of each Little Debbie Christmas tree cake balls.




Leave a Comment