

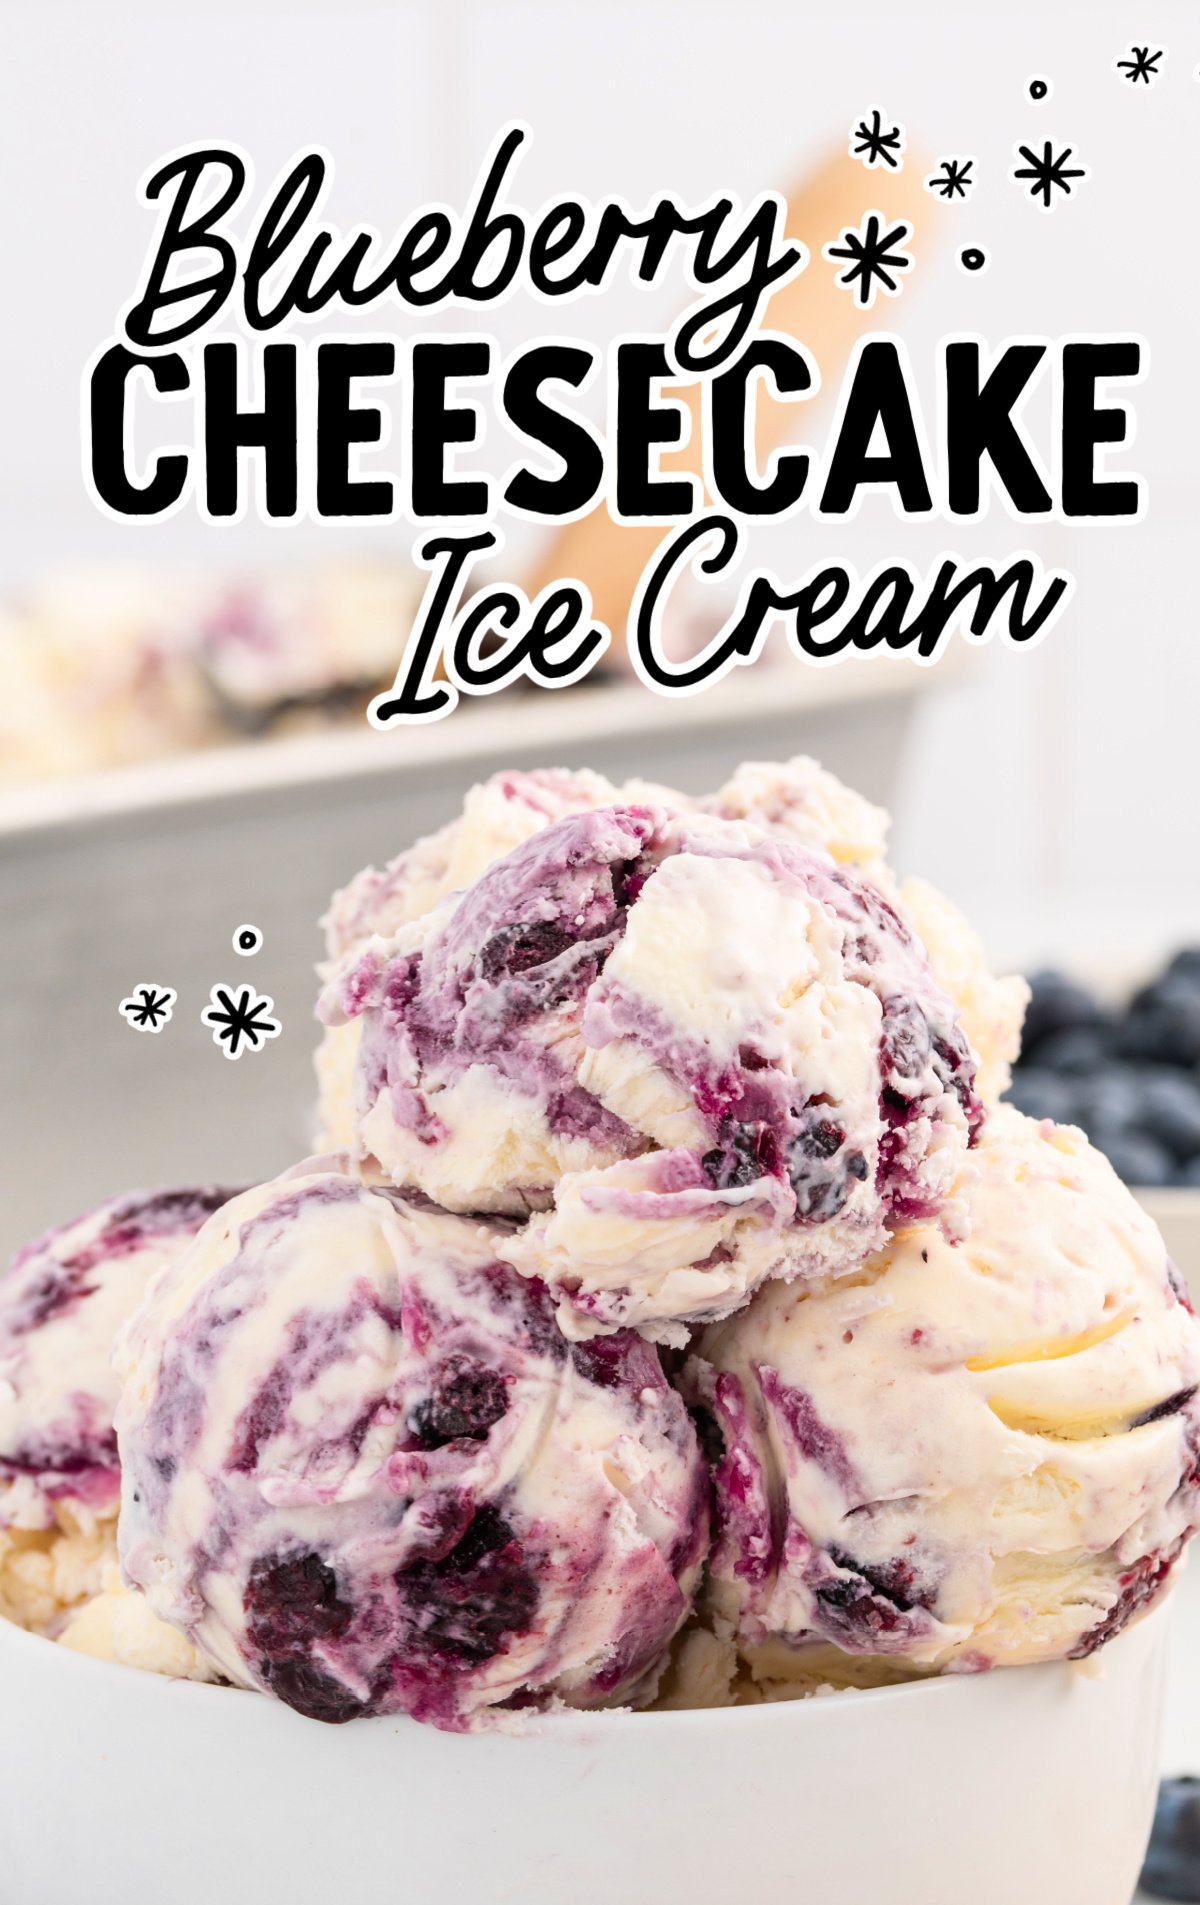
If cheesecake and ice cream had a child, this homemade blueberry cheesecake ice cream would be it—and yes, it’s every bit as good as it sounds. We’re talking ultra-creamy no-churn vanilla base, swirled with a vibrant blueberry pie filling. It’s rich, fruity, sweet-tart, and easy to make—no ice cream maker required. We’re making magic with just a mixer, a freezer, and a spoon you’ll definitely be licking.
Homemade Ice Cream Ingredients Overview
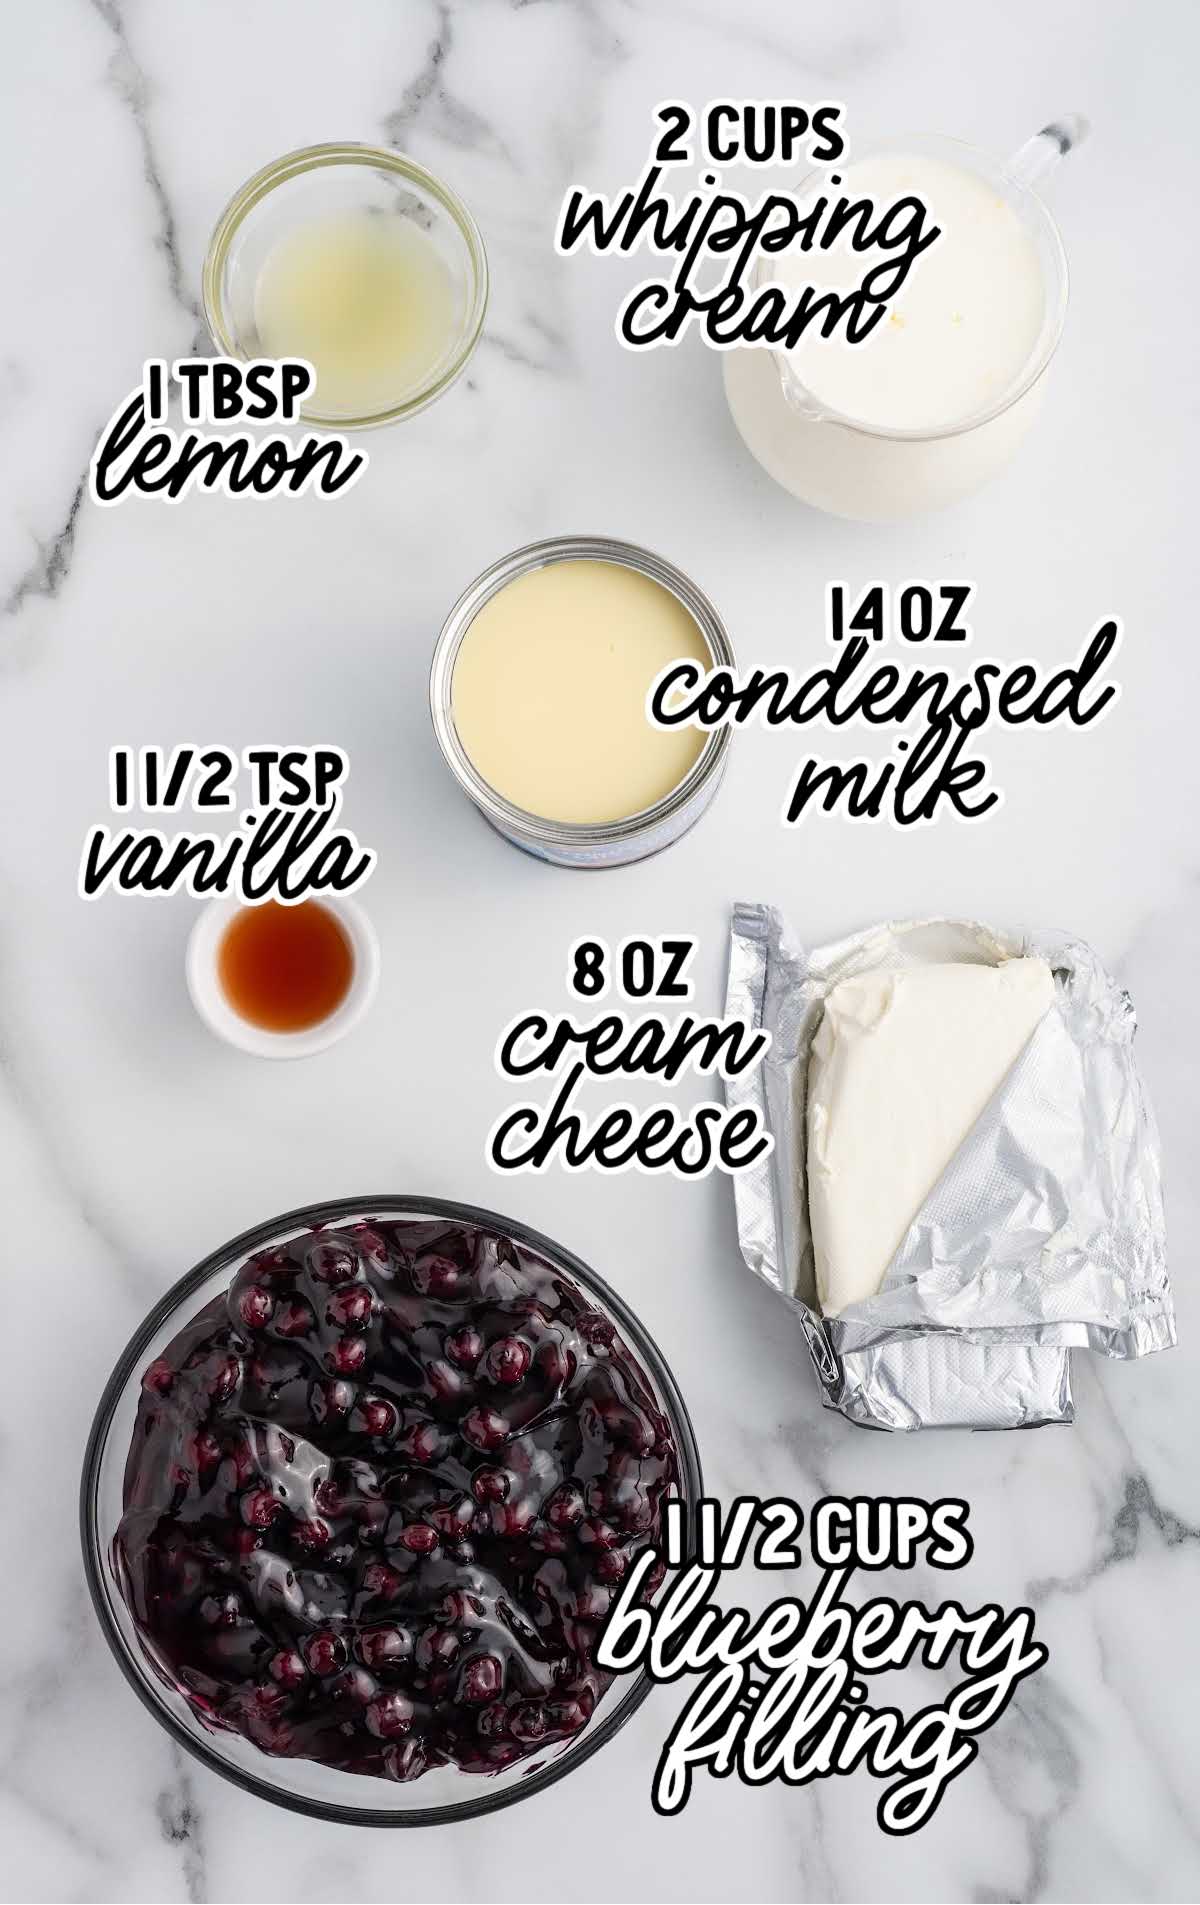
Ingredients Needed For This No Churn Blueberry Ice Cream Recipe
- 2 cups heavy whipping cream
- 8-ounce block of cream cheese
- 14-ounce can of sweetened condensed milk
- 1 tablespoon fresh lemon juice
- 1½ teaspoons vanilla extract
- 1½ cups can blueberry pie filling
Ingredient Substitutions
Fresh or Frozen Blueberries: You can use fresh or frozen blueberries, but you’ll need to cook them. Make your own blueberry pie filling using our classic blueberry pie recipe.
Store-bought Pie Filling: . If you prefer different fruits or berries, you can use any flavor of pre-made pie filling instead.
Add Graham Crackers: For some extra cheesecake texture, you can add a crushed graham cracker swirl to the ice cream base.
Tips for Making Ice Cream Without An Ice Cream Machine
Keep It Cool
👉 It’s best to use room temperature cream cheese, or your ice cream will have lumps in it. You can cut it into small chunks and leave in on the counter for about 20 minutes to speed up the process.
👉 Use cold heavy cream, a chilled bowl, and cold beaters—this helps it whip faster, hold its shape, and keep the mixture light and fluffy.
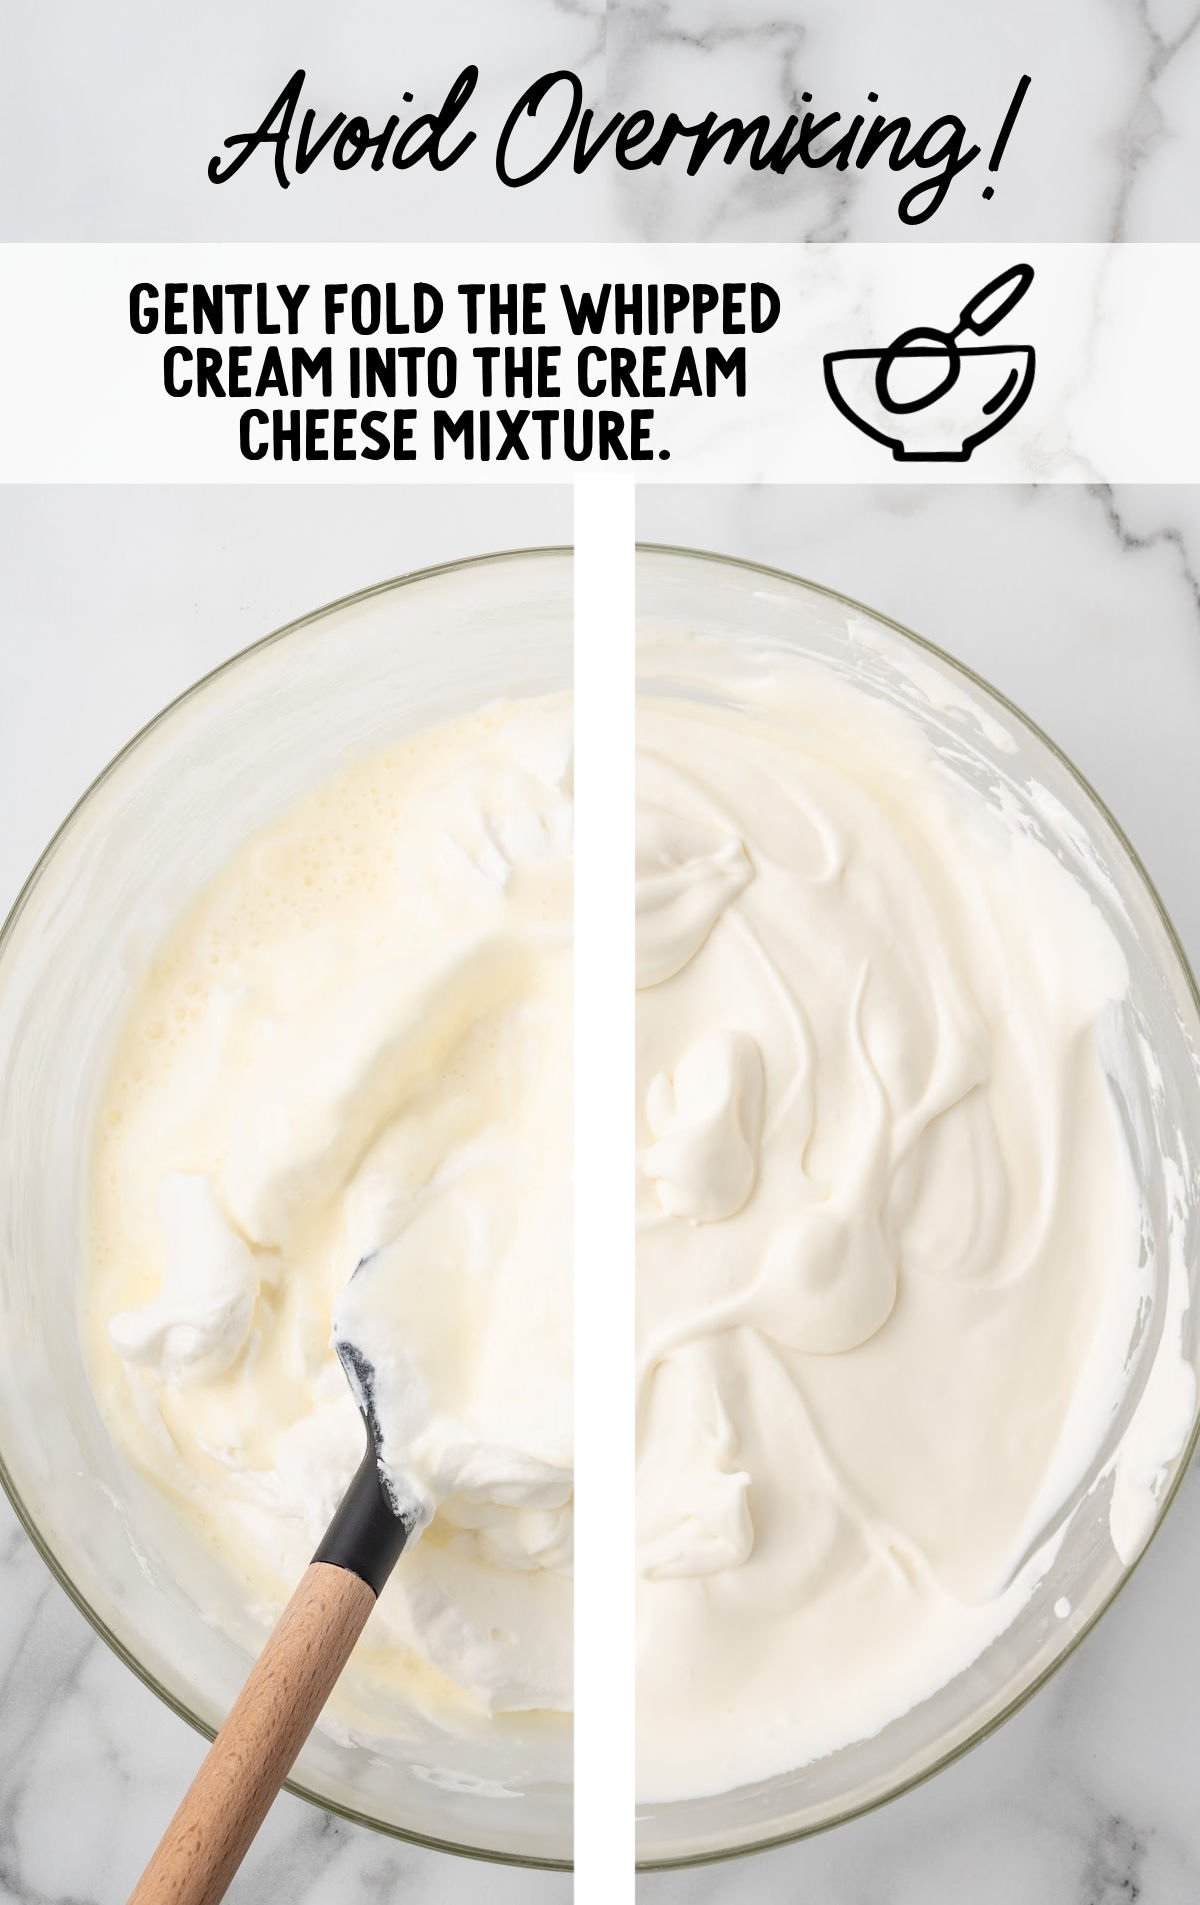
Don’t Overmix
👉 When folding the whipped cream, use a gentle hand. Overmixing deflates the air, making it denser and less creamy.
⭐️⭐️ #1 Tip for This Recipe: Don’t overmix the blueberry swirl.⭐️⭐️
Layer and gently swirl it in with a spatula—don’t stir—to keep those gorgeous ribbons of blueberry running through every bite. Overmixing turns the whole batch purple and muddles the flavor.
How To Store Homemade Cheesecake Ice Cream
This ice cream needs at least the full 10 hours to freeze properly. You may be able to freeze it a bit faster if you put it in a very cold deep freezer.
For ease, this recipe is made in a loaf pan. Because loaf pans don’t have lids, you’ll need to tightly cover the loaf pan with aluminum foil to prevent ice crystals. Be careful not to disturb the decorative swirls on top.
Use within 1–2 weeks: Since loaf pans don’t seal like containers with lids, your ice cream is more prone to freezer burn. It’s best eaten within two weeks for top texture and flavor.
Make scooping easier: When ready to serve, remove the ice cream from the freezer. If it’s too hard to scoop, let it sit at room temperature for five minutes to soften slightly.
Frequently Asked Questions
You can substitute coconut milk and coconut cream for the whipped cream and condensed milk, but it’s not a perfect 1:1 swap. You’ll have to be okay with a slightly different texture and flavor.
Not in this recipe. Whole milk doesn’t have the thickness or sweetness needed for no-churn ice cream—it won’t whip, it won’t set properly, and the final texture will be icy instead of creamy.
If you’re looking to avoid condensed milk, you’d need a completely different recipe. For the no-churn method, stick with sweetened condensed milk or use a dairy-free version designed to match its texture and sweetness.
Evaporated milk and sweetened condensed milk aren’t interchangeable.
You can, but just know the texture will be more like a creamy frozen dessert bar than a firm, icy popsicle. The richness from the whipped cream and condensed milk means it won’t freeze rock-solid like juice-based pops—more like a fudgesicle than a popsicle.
There’s no denying it—this blueberry cheesecake ice cream hits all the right notes. Creamy, tangy, sweet, and packed with juicy blueberry swirls, it’s the kind of treat that tastes like you went to way more effort than you actually did. No fancy equipment, no custard base—just simple ingredients, a bit of swirling, and a freezer. If you’re anything like me, one scoop won’t cut it.
More No Churn Ice Cream Recipes You’ll Love
- Homemade Peach Ice Cream – This creamy, no-churn peach ice cream captures the essence of ripe peaches. It’s an easy-to-make treat that doesn’t require an ice cream maker, making it perfect for summer days.
- Homemade Pumpkin Ice Cream – While not a traditional fruit, pumpkin brings a unique flavor to this no-churn ice cream. This recipe combines the rich taste of pumpkin with warm spices, creating a delightful frozen dessert perfect for fall.
- Homemade Banana Ice Cream – made from frozen bananas blended until smooth. It’s a naturally sweet and fruity treat, complemented by its creamy texture.


Blueberry Cheesecake Ice Cream
Ingredients
- 2 cups heavy whipping cream, very cold
- 8 ounces cream cheese, softened to room temperature
- 14 ounces sweetened condensed milk
- 1 tablespoon fresh lemon juice
- 1½ teaspoons vanilla extract
- 1½ cups blueberry pie filling, divided, 1¼ cup and ¼ cup
Instructions
- In a large mixing bowl, beat the cold heavy whipping cream, using a hand mixer or stand mixer, for 3-5 minutes or until stiff peaks form. You will want to start the mixer on low, then gradually increase the speed to high as the whipped cream starts to thicken to avoid splattering liquid heavy cream all over the counter while mixing. Place the bowl of whipped cream into the refrigerator to stay cold while you prepare the remaining ingredients.
- Add the softened cream cheese to a separate large mixing bowl and beat on medium speed for 1-2 minutes or until smooth and fluffy.
- Add the sweetened condensed milk, fresh lemon juice, and vanilla extract to the bowl of beaten cream cheese and mix for another 1-2 minutes, or just all the ingredients are fully incorporated and the mixture is smooth.
- Remove the whipped cream from the refrigerator and add it to the bowl of cream cheese mixture. Gently fold the whipped cream into the cream cheese mixture using a large rubber spatula until fully incorporated and no streaks of whipped cream remain. Be careful not to overmix; you do not want to deflate the whipped cream. You want the ice cream mixture to be light and fluffy.
- Dollop 1¼ cups of the blueberry pie filling randomly over the bowl of cheesecake ice cream. Using the large spatula, held straight upright, swirl the pie filling into the cheesecake ice cream. Do not mix the blueberry pie filling in completely, as you want to see the swirls of blue and white in the ice cream base.
- Carefully pour the blueberry cheesecake ice cream into a freezer-safe loaf pan and gently spread it into an even layer.
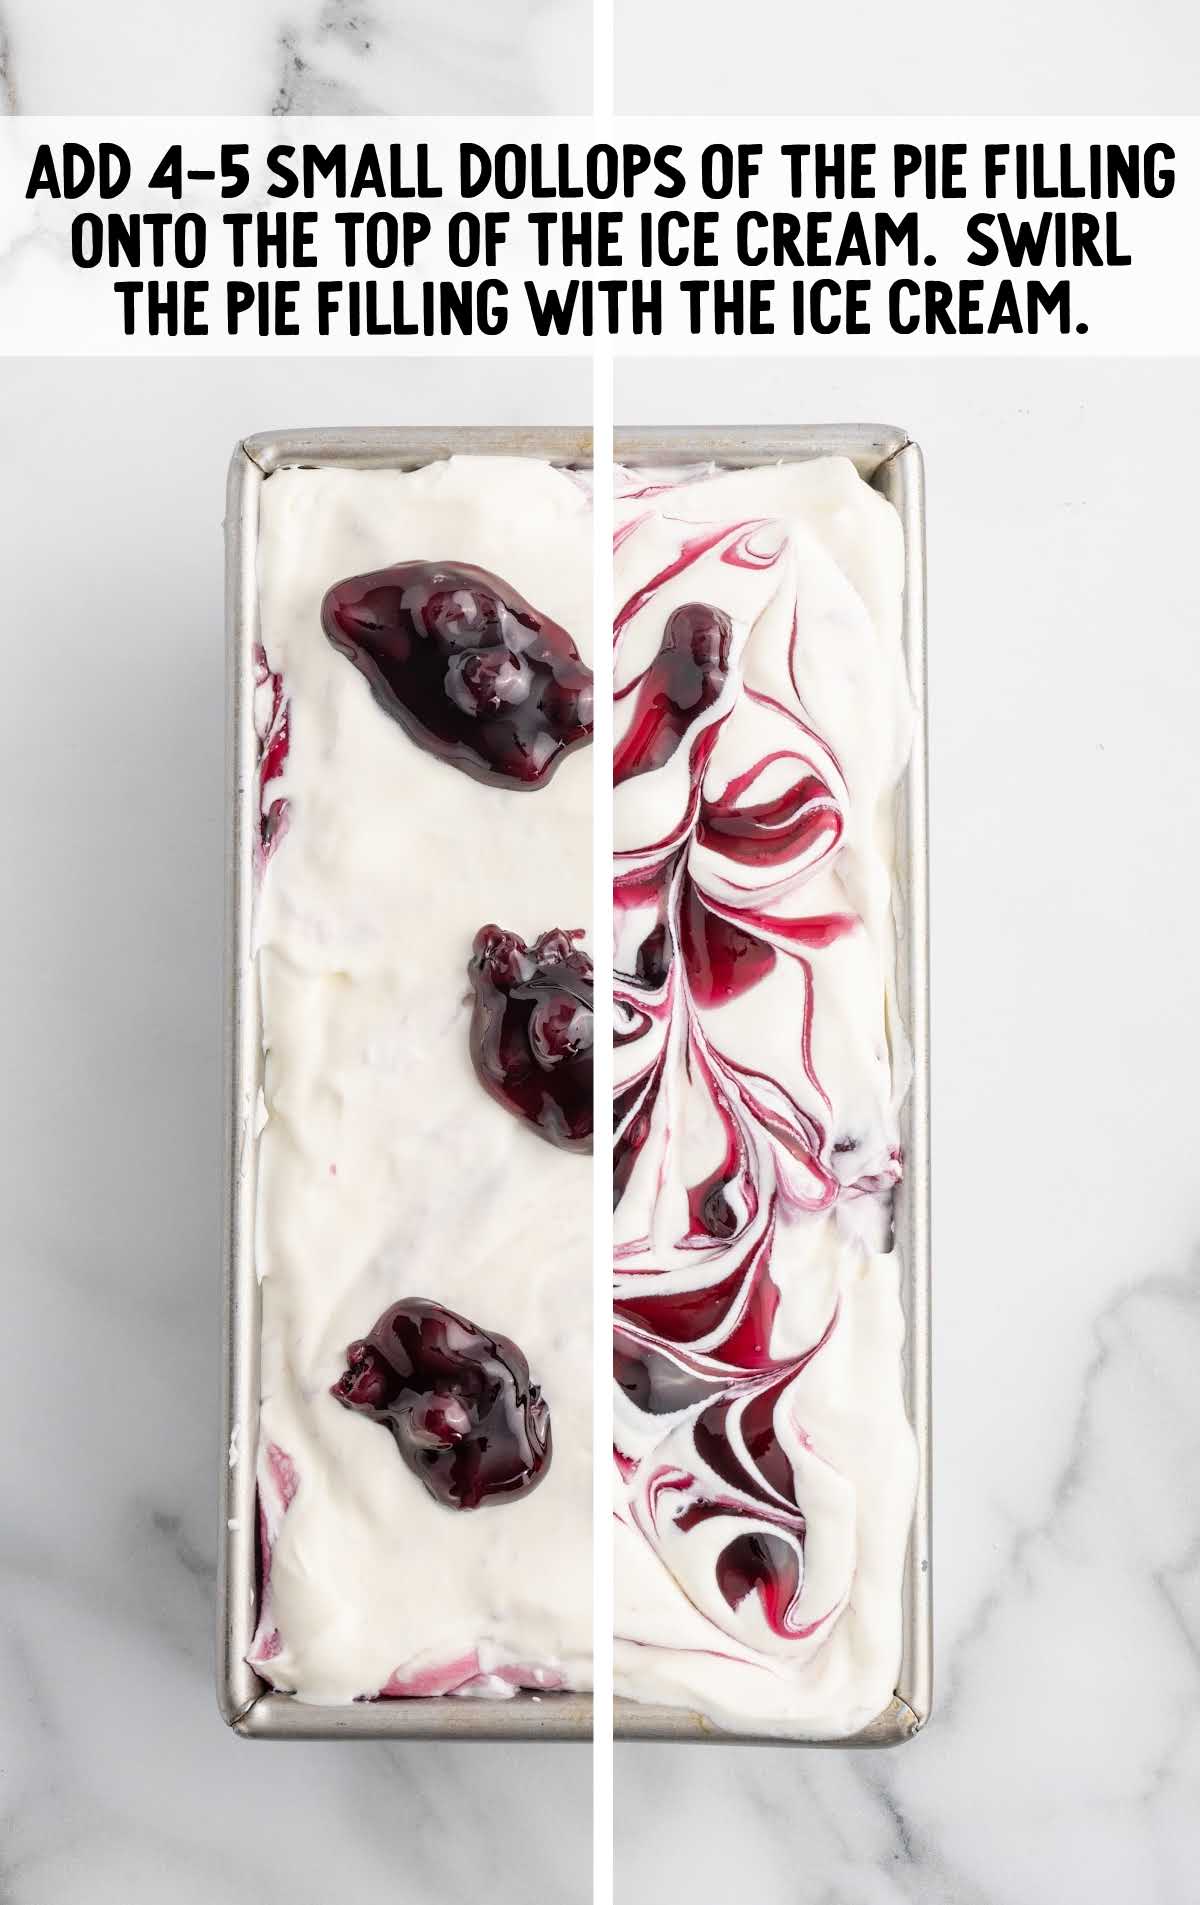
- With the remaining ¼ cup of blueberry pie filling, add 4-5 small dollops onto the top of the blueberry ice cream in the loaf pan. Using a butter knife or toothpick, lightly swirl the pie filling with the ice cream just to give a decorative top to the blueberry cheesecake ice cream.
- Lightly cover with aluminum foil, being careful not to disturb the decorative swirl you just made on the top, and place the blueberry cheesecake ice cream into the freezer for a minimum of 8-10 hours, up to overnight, or until the ice cream has frozen and set.
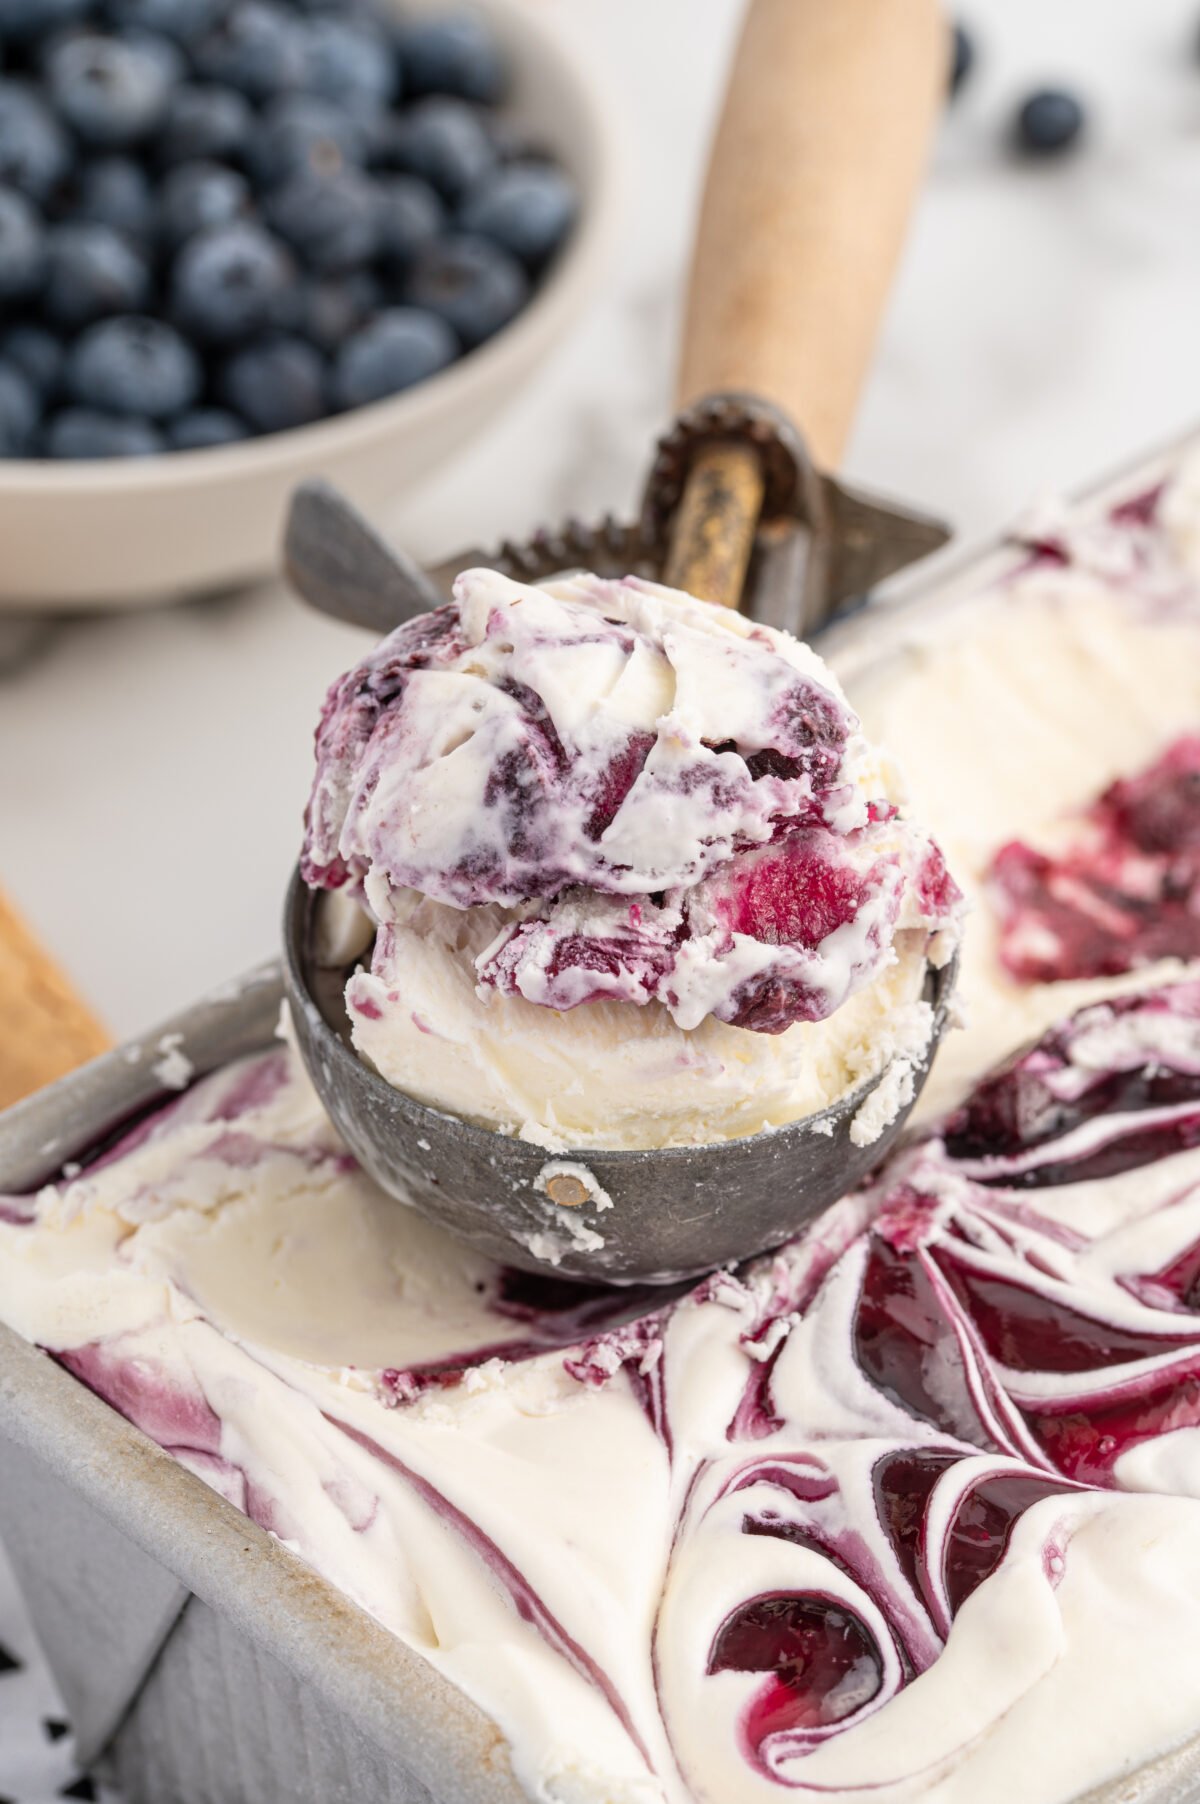
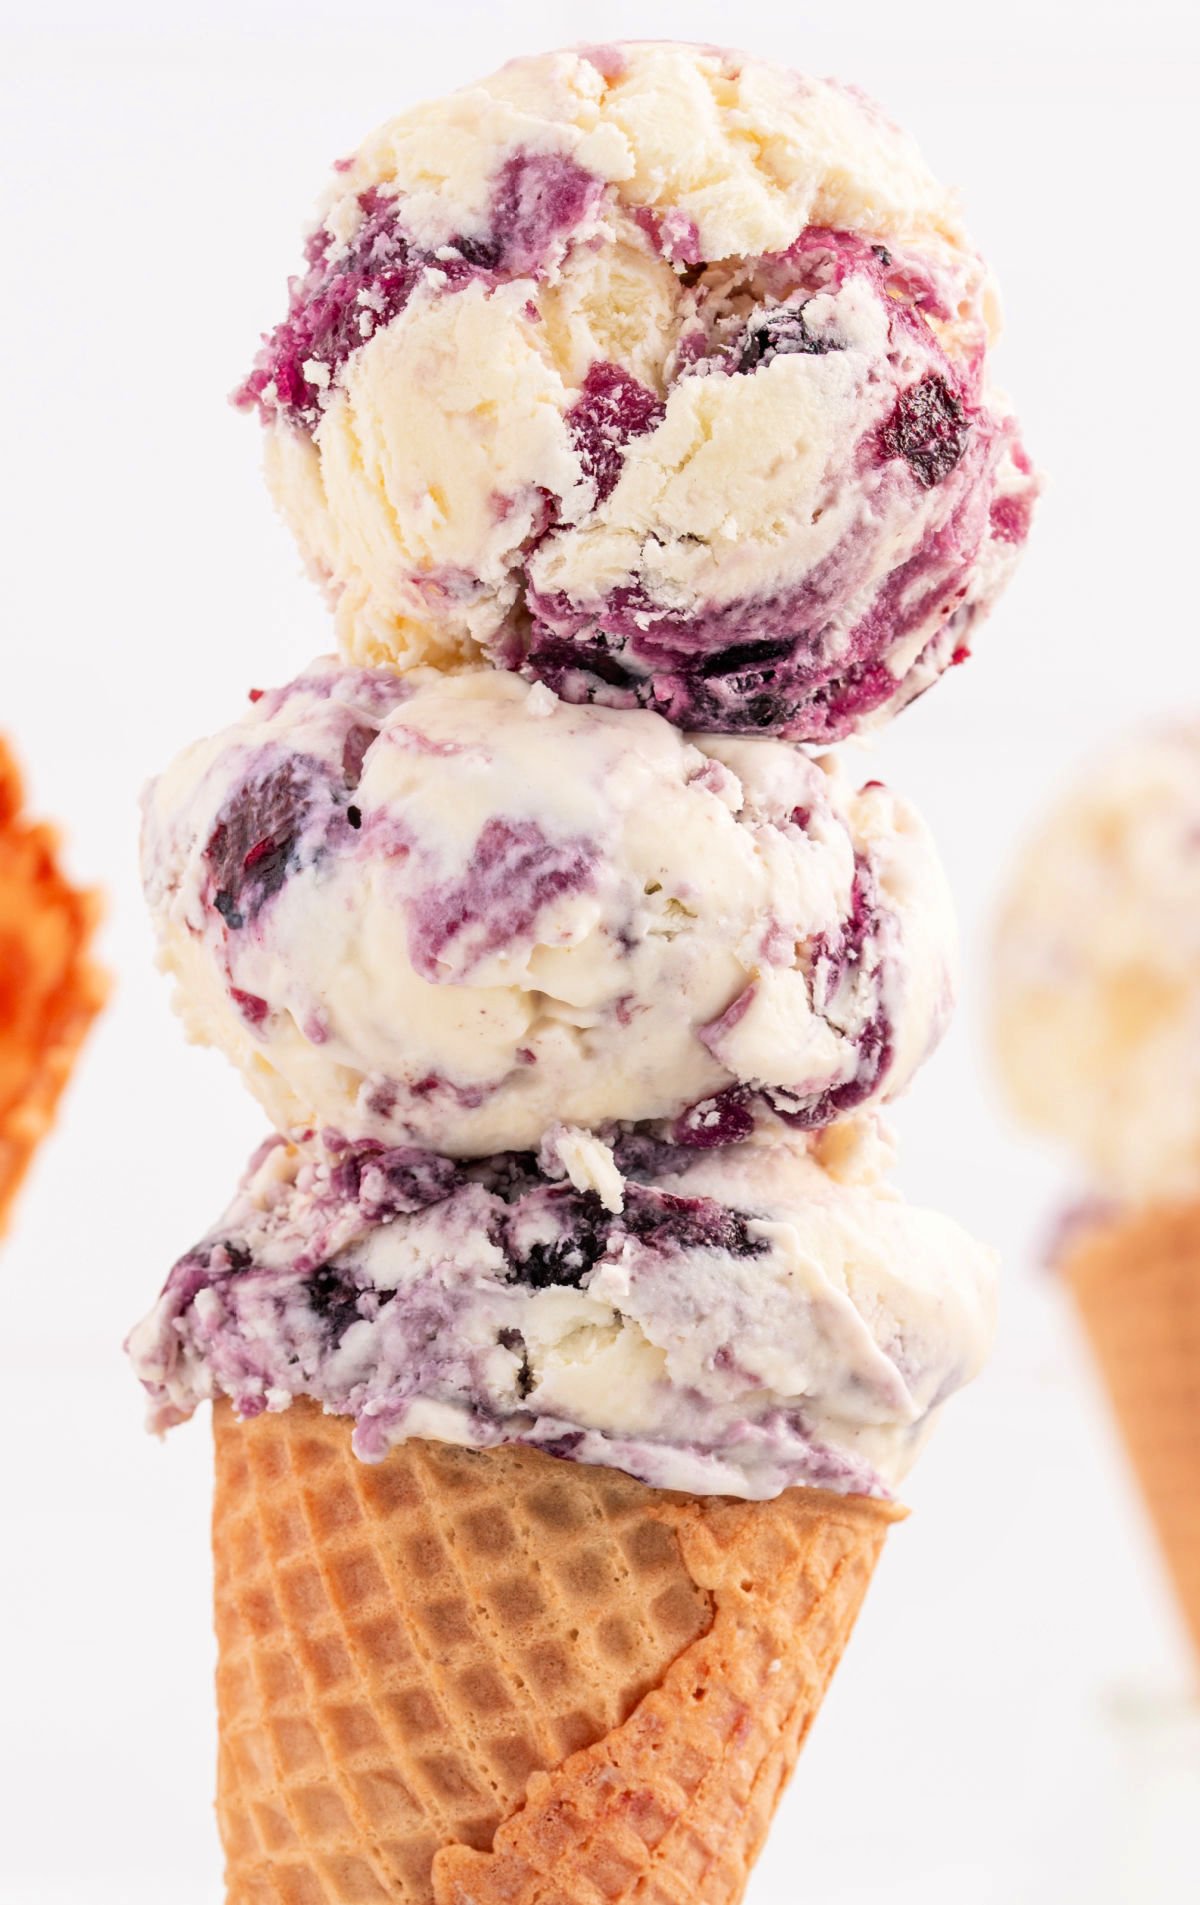
- When ready, remove the ice cream from the freezer, scoop into individual cones or bowls, and serve while still frozen.
Nutrition


Leave a Comment