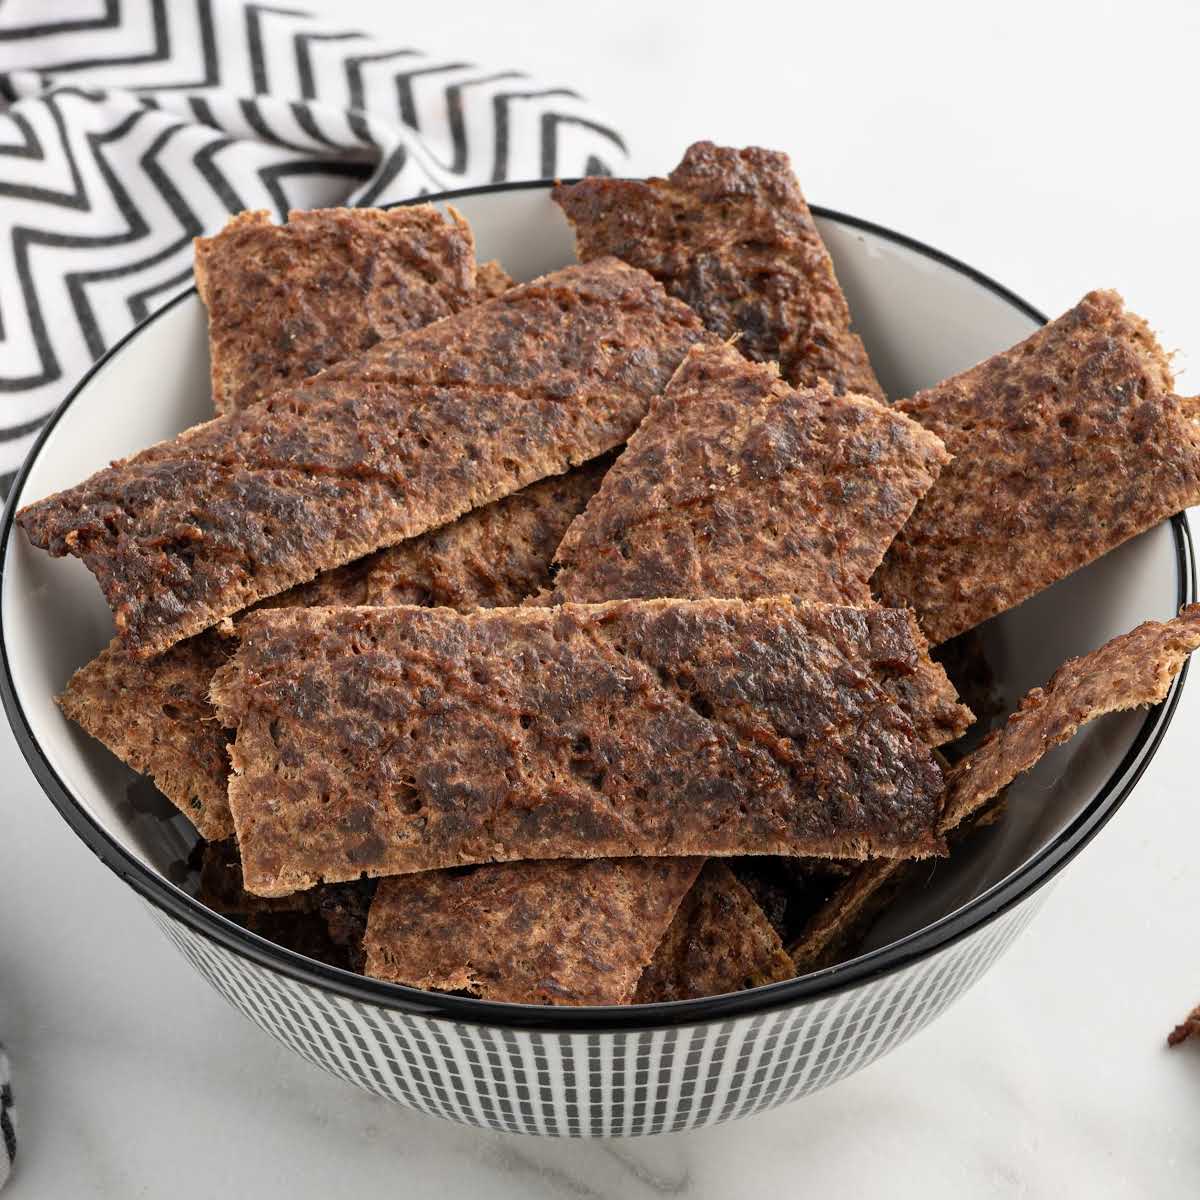


Making homemade jerky for dogs is one of those projects that feels good from start to finish. There’s something satisfying about turning a few simple steps into something your dog will genuinely love. It’s not fussy or fancy – the oven does all the work.
The ingredients for dog beef jerky are intentionally simple: just lean ground beef and a splash of water.
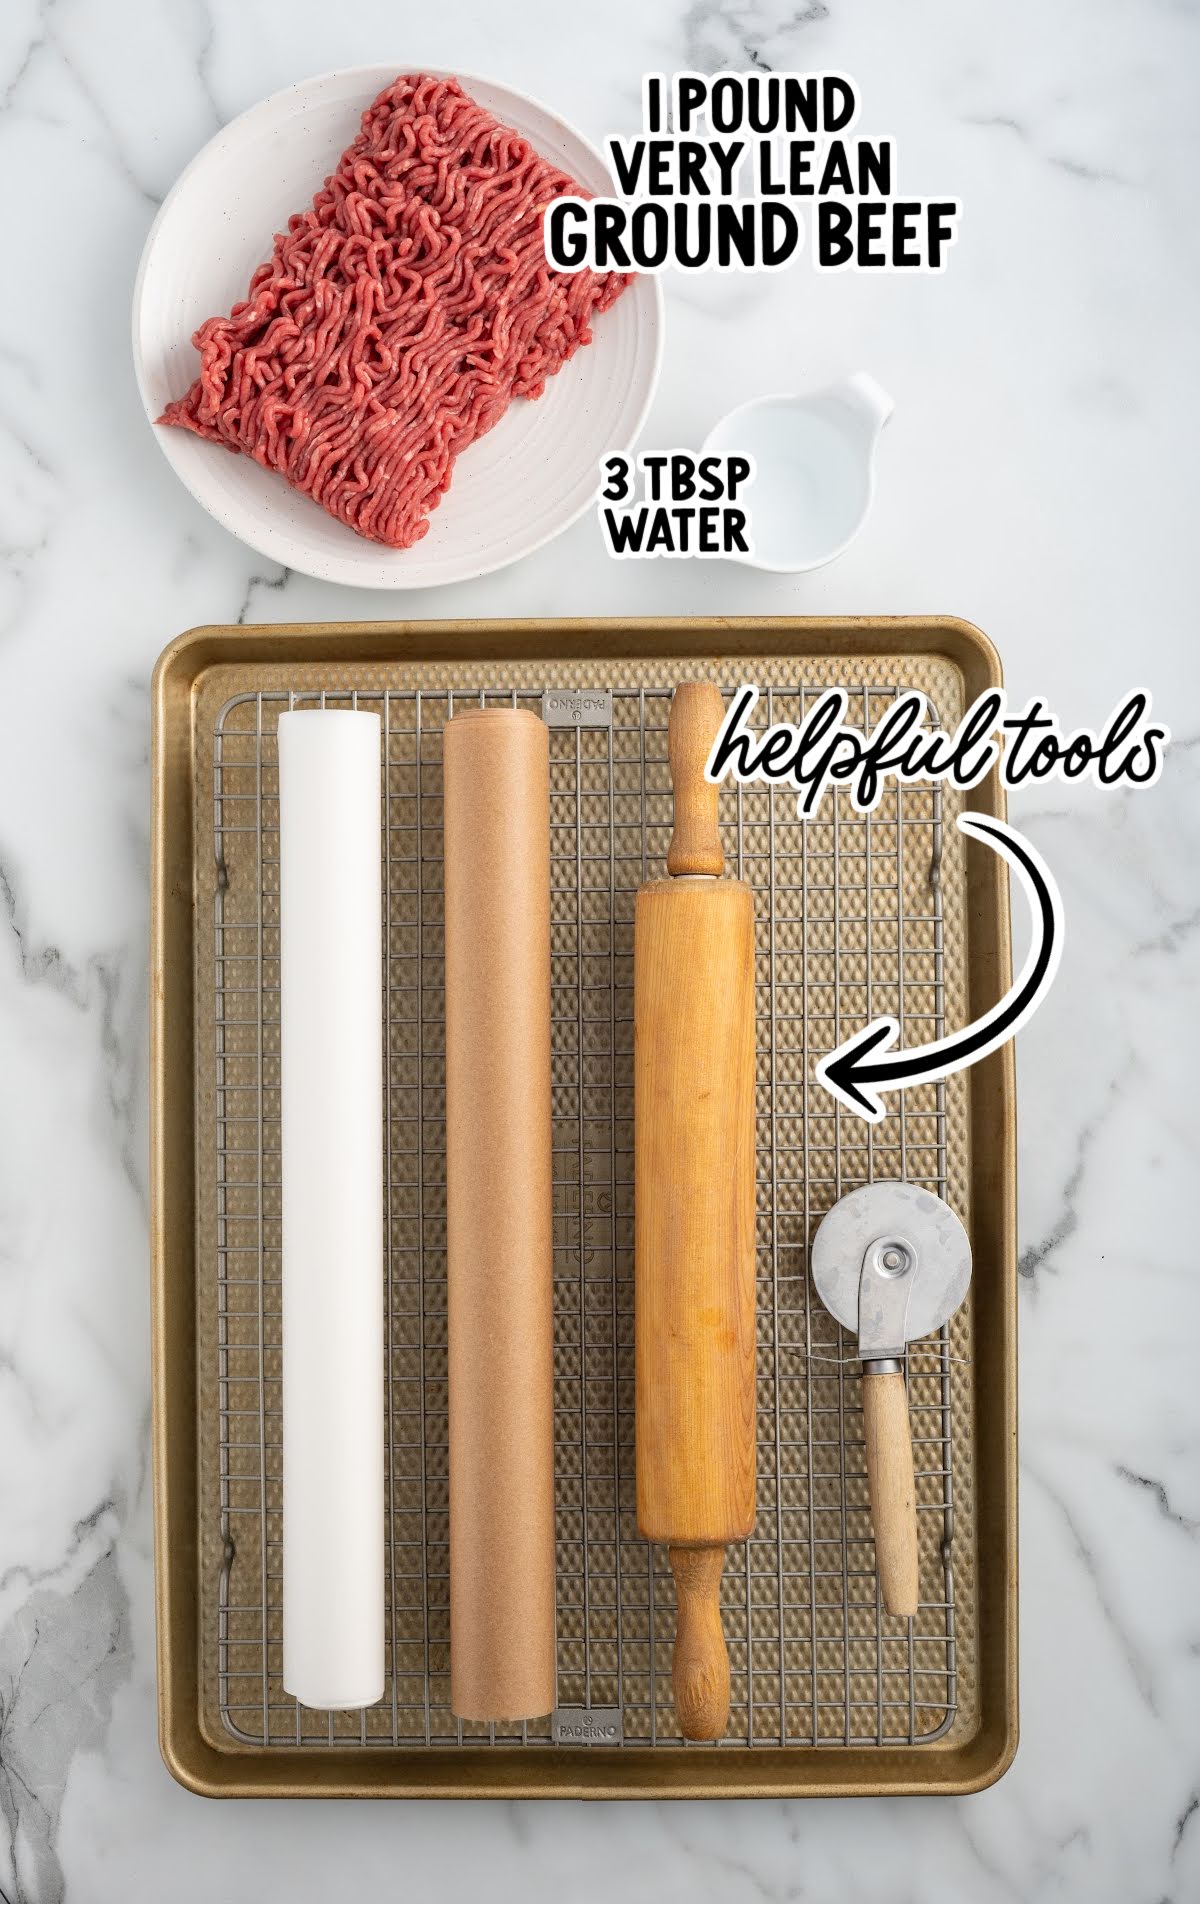
Using 90% or higher lean ground beef extends shelf life and prevents that “greasy” feel. If you’re buying beef from the butcher, ask for the leanest grind possible — or trim extra fat before mixing.
How The Prep Steps Set You Up For Perfect Jerky
Paying attention to little details keeps the texture chewy and the shape consistent. The final result is that the jerky looks like it came from a professional dehydrator, only you made it right in your own kitchen.
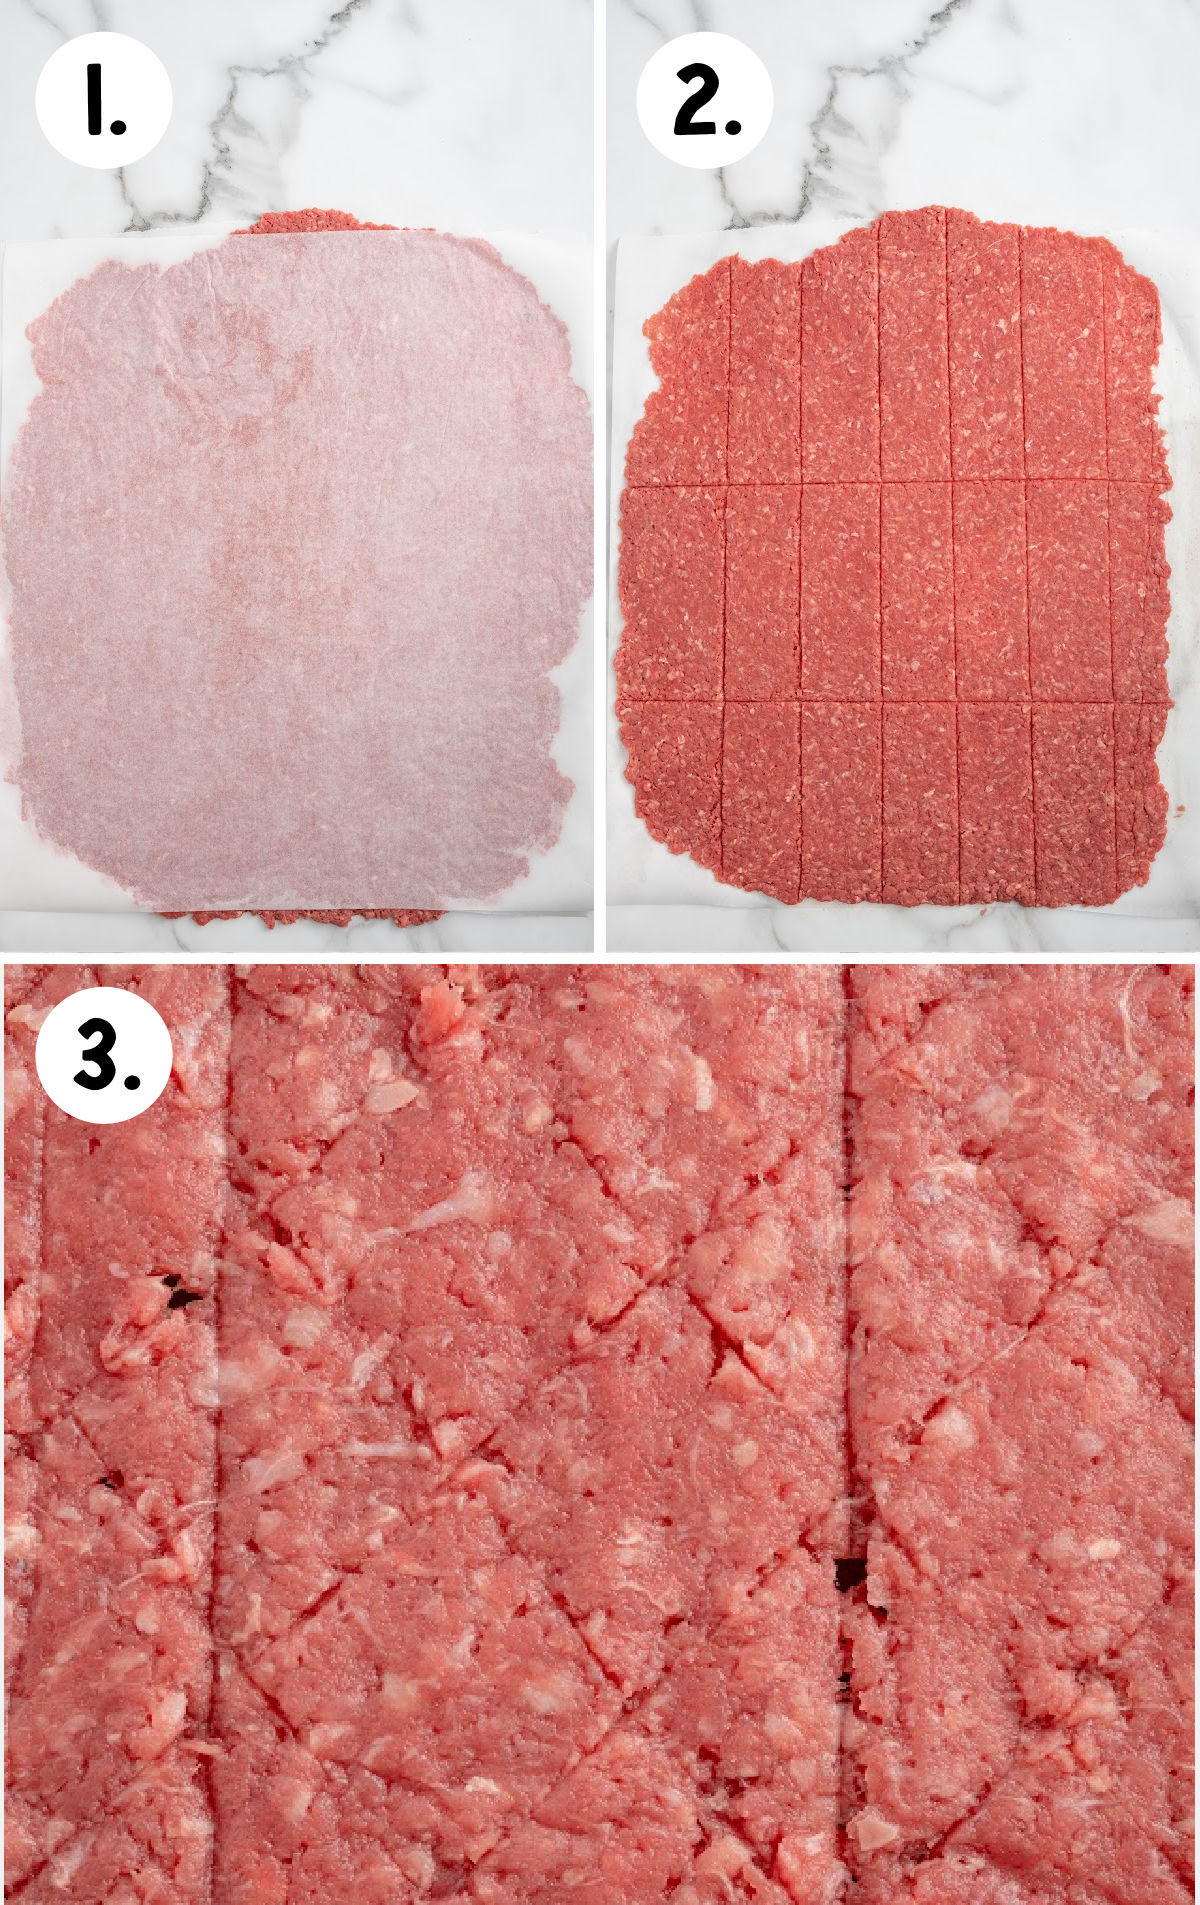
- Rolling the beef thin between wax paper keeps things clean and helps the meat dry evenly — no thick, chewy spots later.
- Scoring it into strips before baking saves time once it’s done and helps the oven heat reach every edge of the jerky strips
- The light crosshatch at the end isn’t just decorative; it helps the pieces snap cleanly once cooled.
Easy Dehydration In The Oven
The low-and-slow oven method this recipe calls for gently removes moisture without cooking the beef to a crumbly texture.
Homemade jerky is all about controlling moisture. Baking at 200°F for four hours dehydrates the meat enough to inhibit bacteria growth while keeping nutrients intact. You’re essentially using your oven like a dehydrator — yet there is no special appliance required.
What To Expect From The Texture
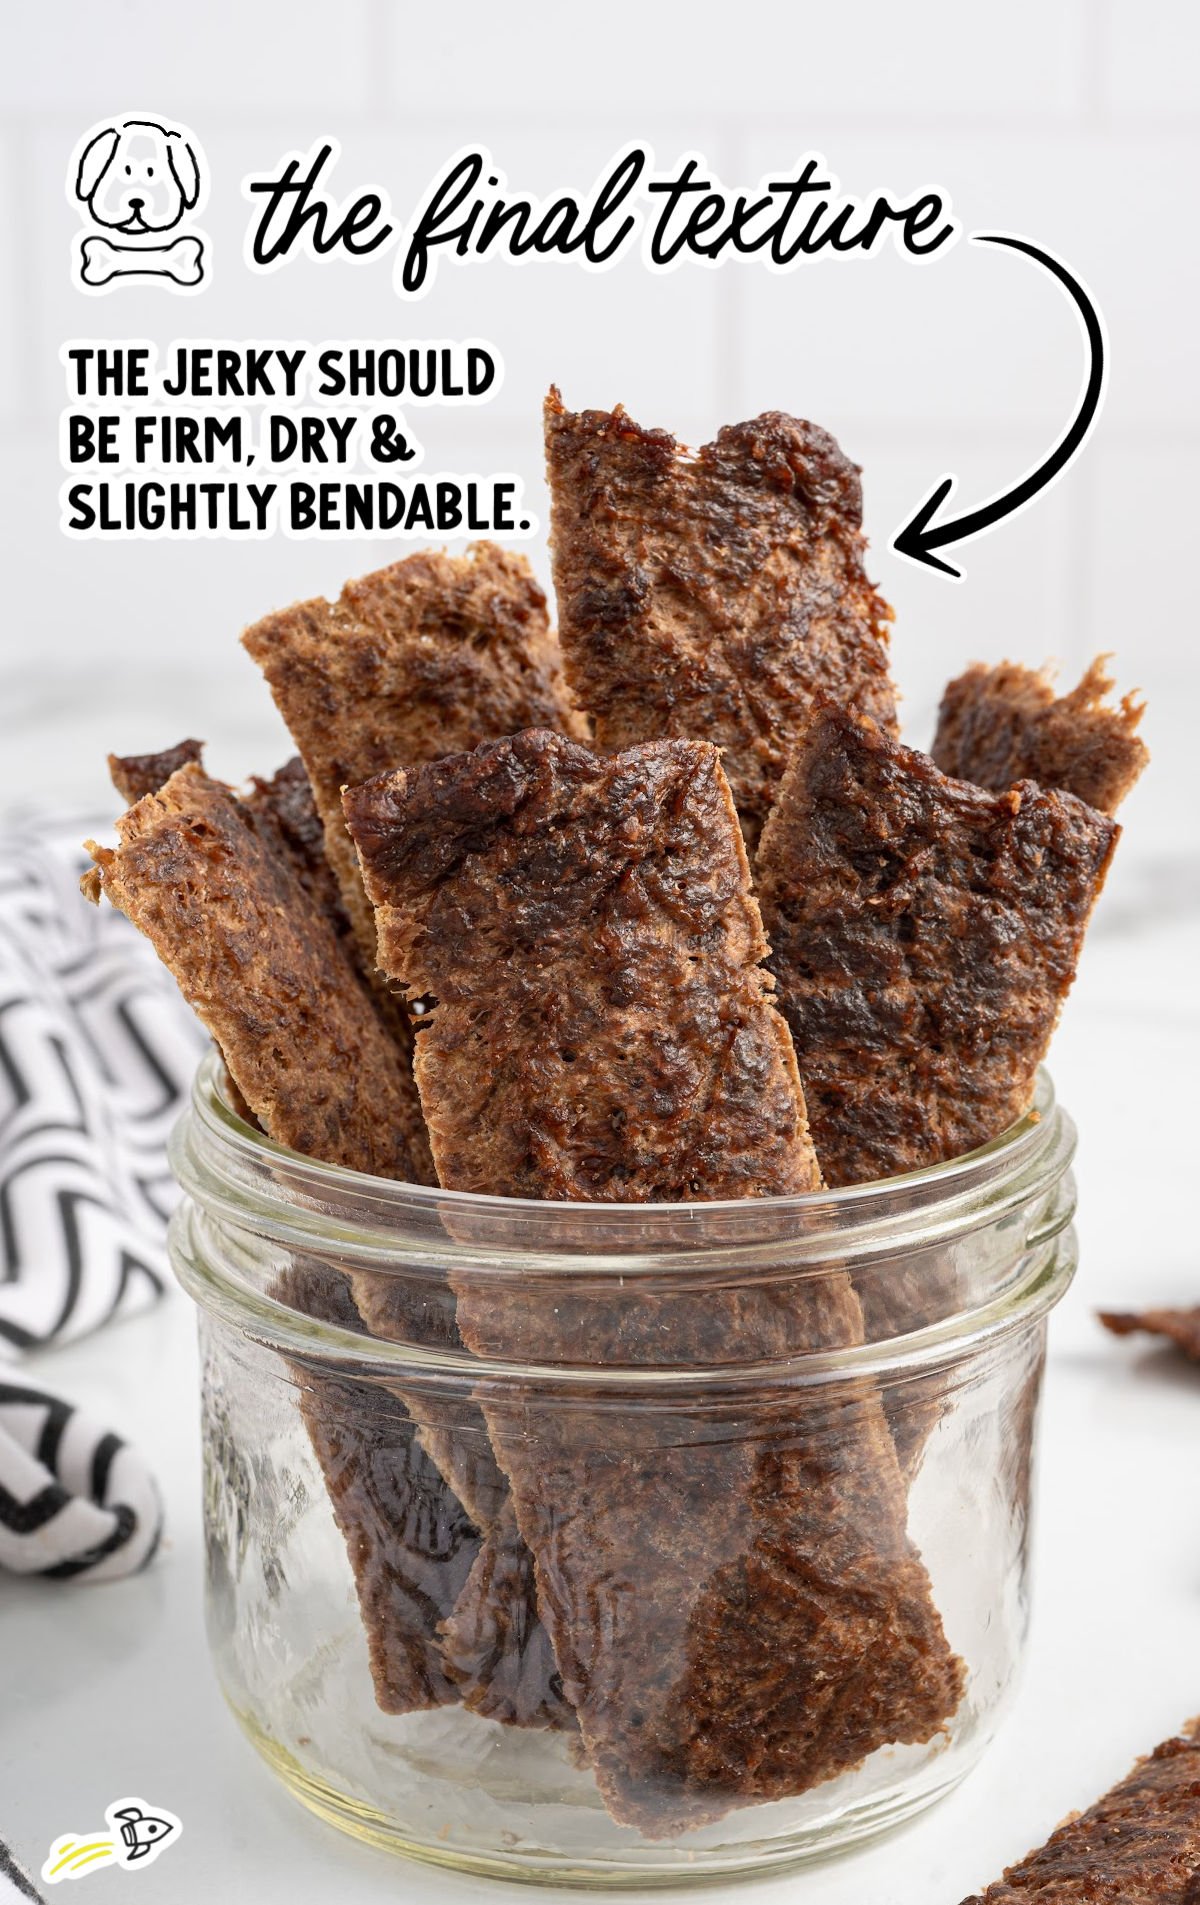
When it cools, if it’s still soft or moist in spots, return this doggie beef jerky to the oven for another 30 minutes. Fully dried jerky breaks cleanly when snapped — that’s how you know you’ve removed enough moisture for safe storage.
Serving Tips & Portion Control
Before introducing any new treat — even homemade ones — it’s always best to check with your veterinarian, especially if your dog has allergies, weight concerns, or a special diet.
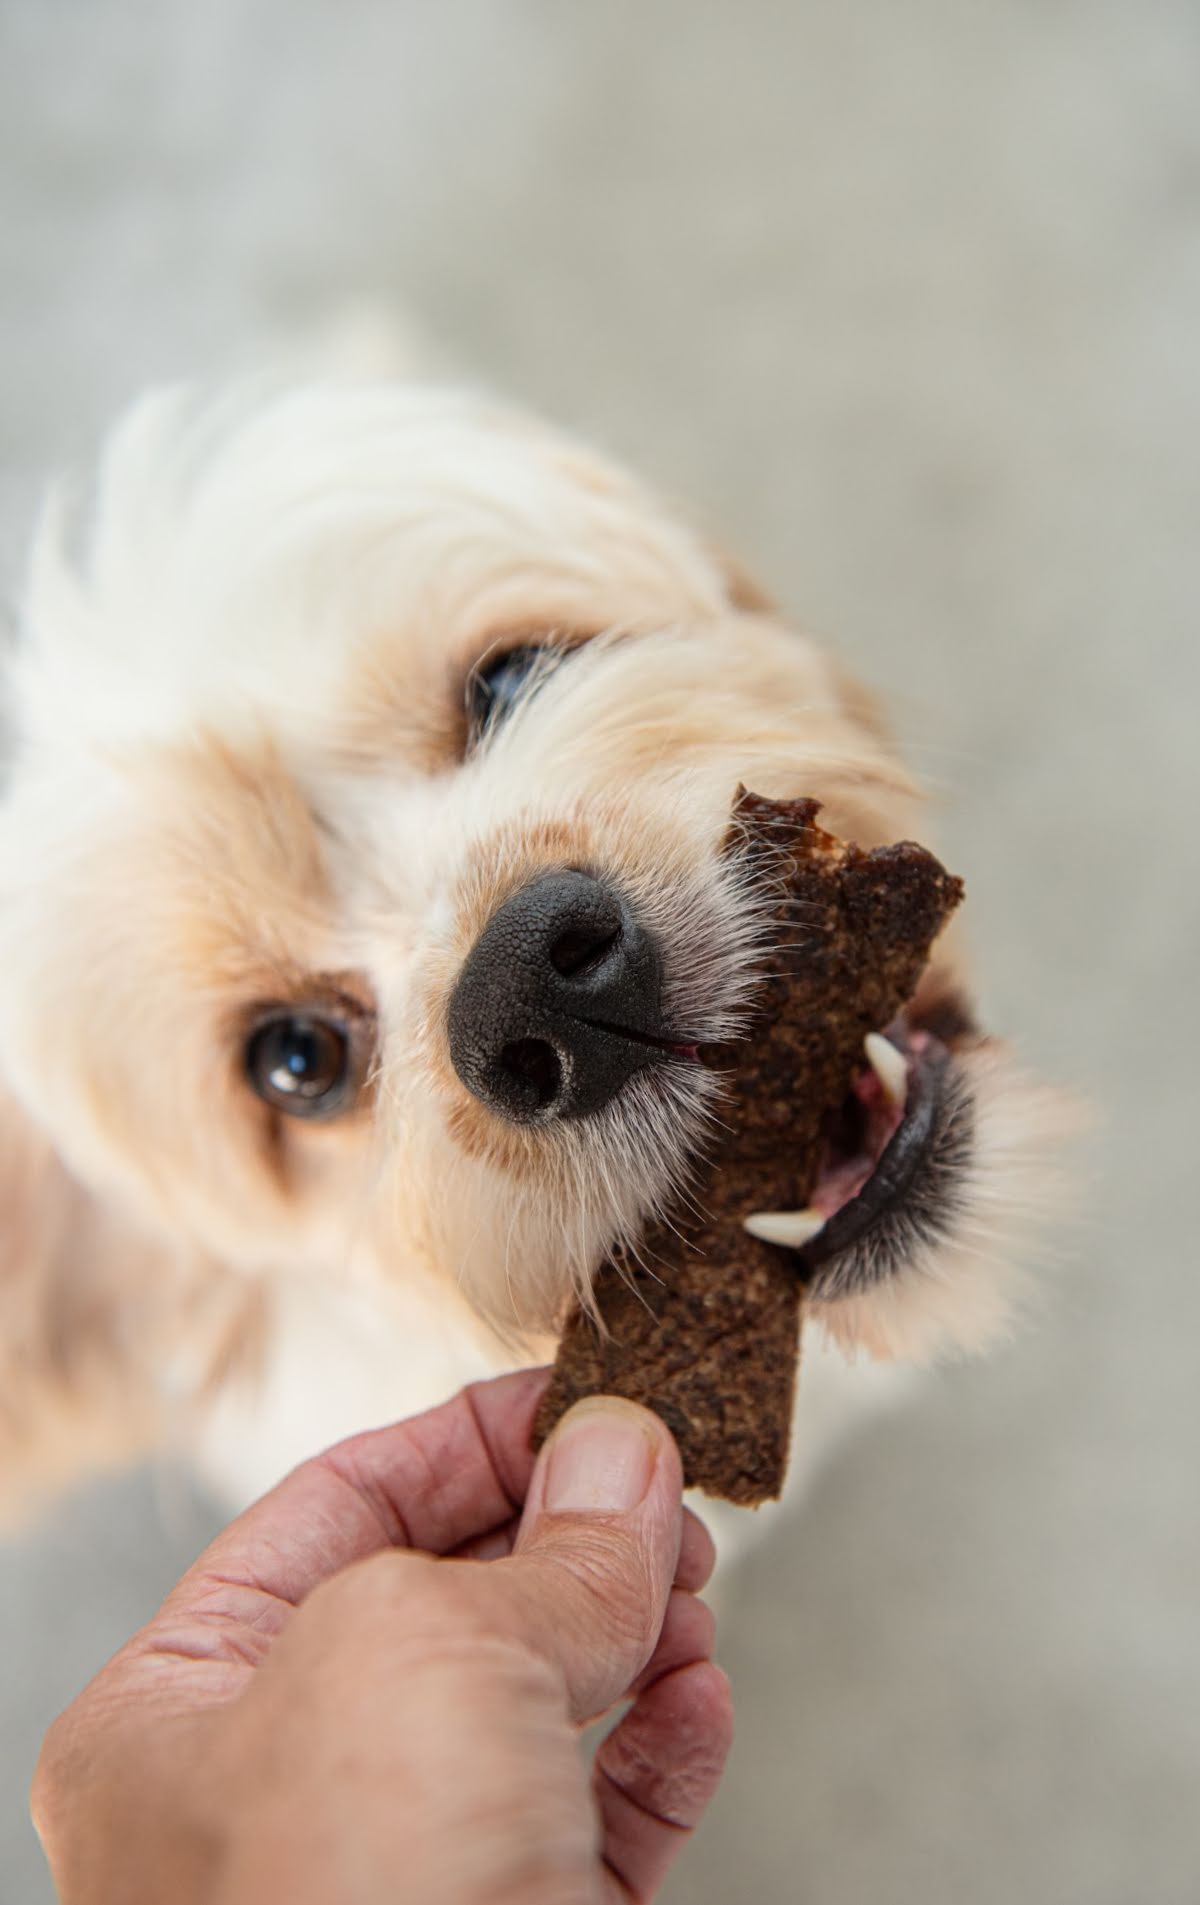
Once you get the go-ahead, these jerky strips make great high-value treats for training or rewards. Because they’re rich in protein, a little goes a long way. Here are a few simple suggestions to start with:
- Small dogs: try dime-sized bites
- Medium dogs: a few half-inch pieces
- Large dogs: full strips or 1-inch chunks
Every dog is different, so use these as a guide and adjust as needed based on your vet’s advice and your dog’s activity level.
Storing And Freezing
Homemade jerky doesn’t contain preservatives, so proper storage is key.
Once the jerky is completely cooled, it’ll keep for about two weeks in a sealed container on the counter, or closer to three in the fridge.
If you like making bigger batches, it freezes just fine, too. Tuck it into a freezer bag, press the air out, label it with the date and keep it in your freezer for up to three months. Let it thaw in the fridge overnight, and it’s ready to go by morning.


Beef Jerky for Dogs
Equipment
- Baking sheet
- Cooling rack
- parchment paper
- Waxed paper
- Rolling Pin
- Pizza Cutter
Ingredients
- 1 pound ground beef, very lean
- 3 tablespoons water
Instructions
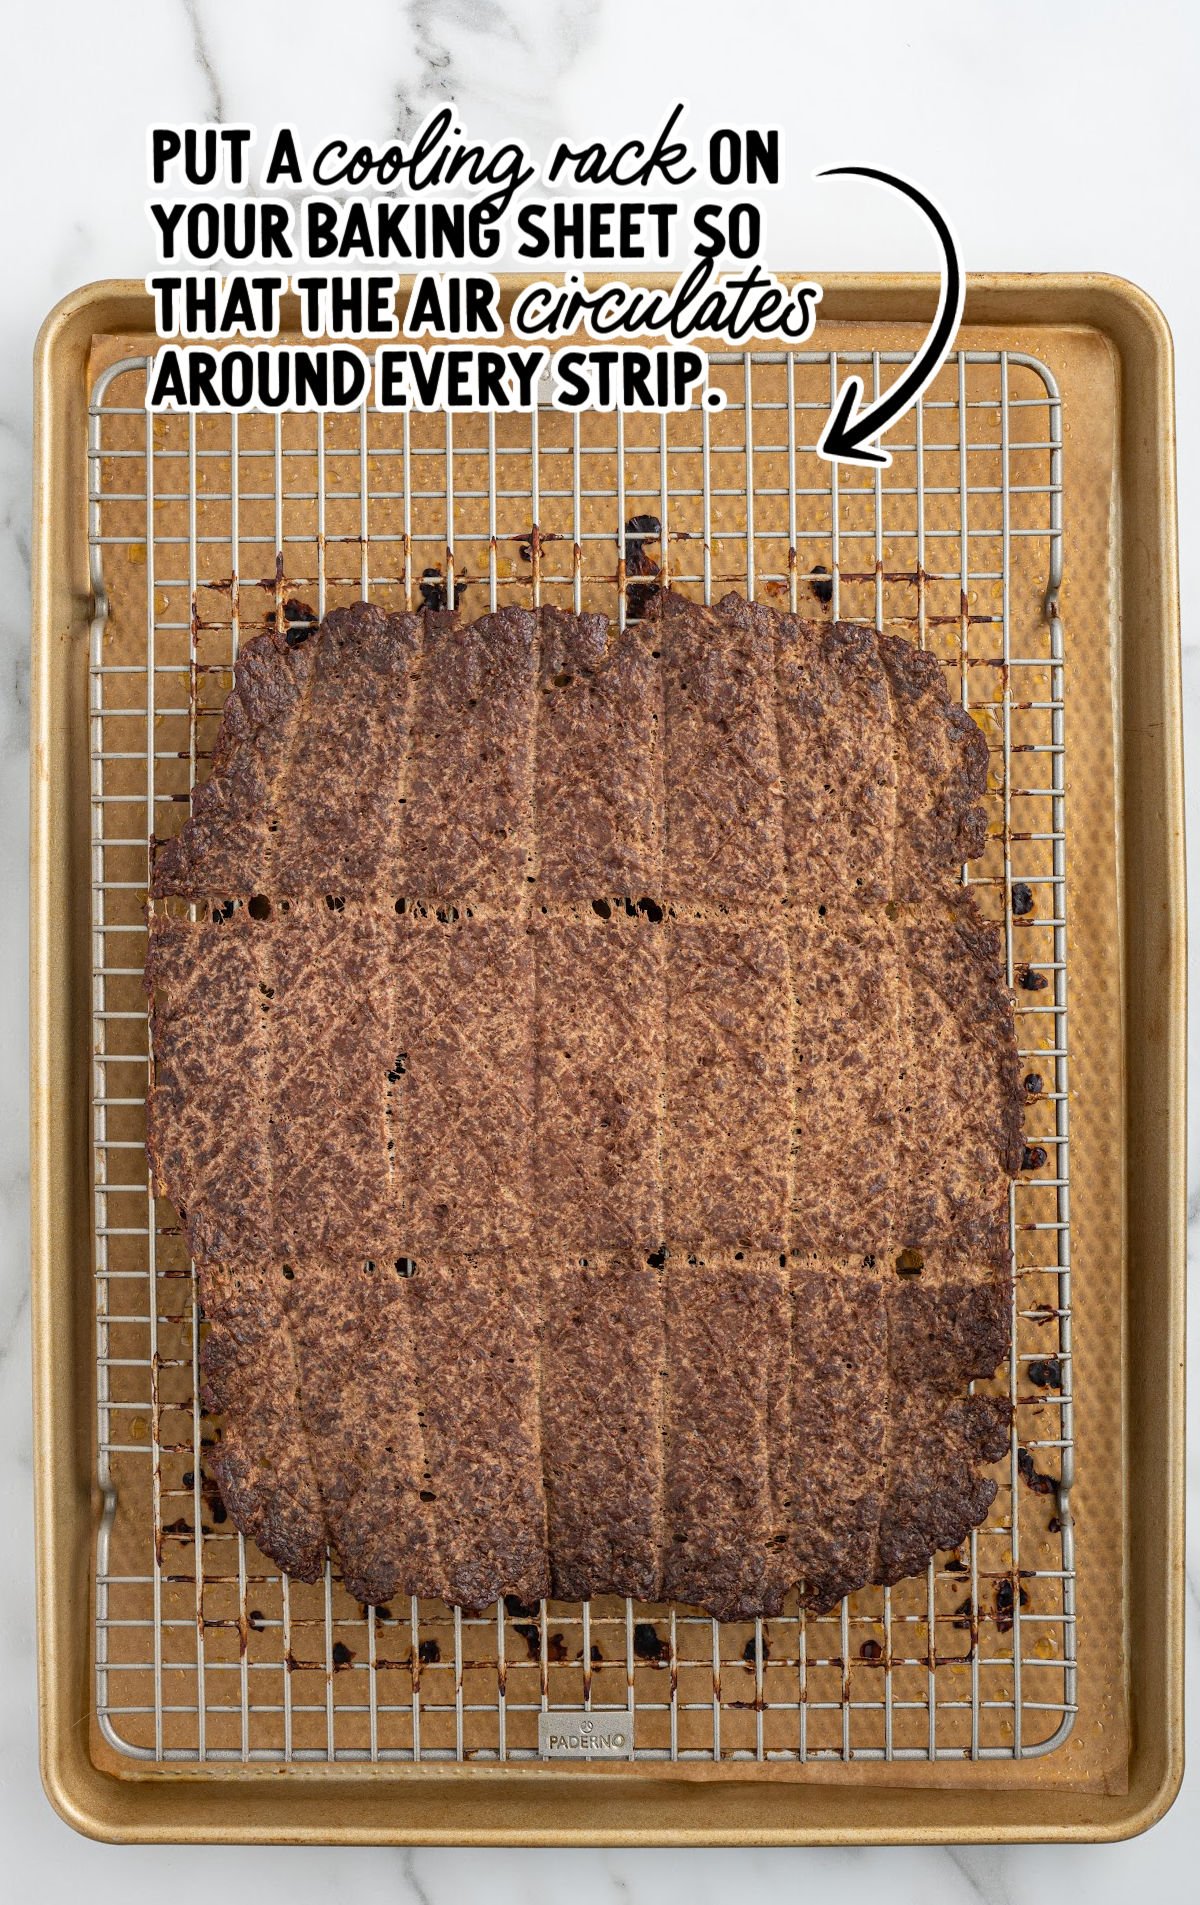
- Preheat the oven to 200°F. Line a baking sheet with parchment paper and place a cooling rack over the parchment paper. Spray lightly with nonstick cooking spray.
- Lay out 2 pieces of wax paper that overlap about 2 inches on your work surface and place the ground beef in the center of the wax paper. (I suggest wearing a pair of disposable nitrile gloves when handling raw meat)
- Mix the water into the ground beef to ensure even moisture distribution before shaping.
- Shape the ground beef into a rectangle and place 2 more long pieces of wax paper that overlap on top of the ground beef.
- Use a rolling pin to roll the ground beef very thin. (Thin enough to cover the entire cooling rack)
- Use the pizza cutter to slice strips 2 inches wide x 5 inches long. Do not separate the treats.
- Place the sprayed cooling rack upside down on top of the ground beef.
- Use the edges of the wax paper to pick up ground beef and the cooling rack and flip over so that the ground beef is on top of the rack.
- Score a shallow diamond pattern on top of the ground beef.
- Bake for 4 hours. The treats should have a dark brown color and will feel dry and rigid when cooled.
- Allow the beef jerky to completely cool before storing. Break, or cut with kitchen scissors, the jerky into bite size pieces according to your dog’s size and dietary needs.
Notes
- Ground ginger or cinnamon can be added to the raw ground beef before rolling out and slicing.
- Ground organ meat can be added to the ground beef. Organ meat is high in vitamins, minerals and healthy fats.
- You can also cook the beef jerky in the air fryer. Cook at 225°F for 40 to 45 minutes.
Nutrition


Leave a Comment