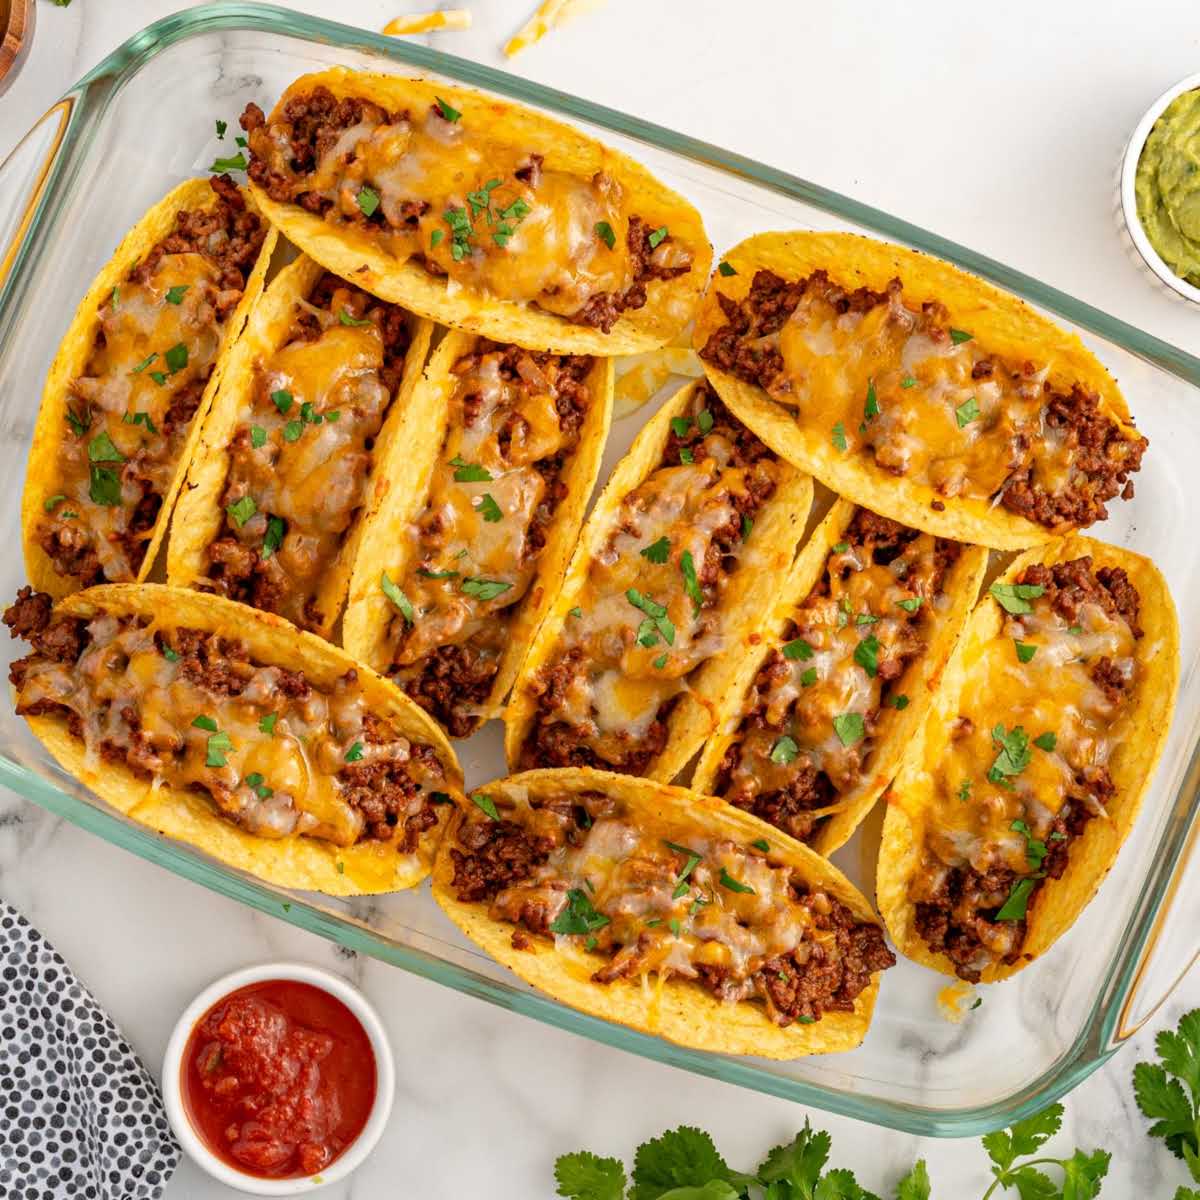


There’s something about baked tacos that makes dinner feel effortless but still special. The shells toast lightly while the cheese bubbles and seals everything together. Each bite gives you crunch, spice, and a creamy melt from the cheese — without the shell breaking in your hand.
This post isn’t just about putting tacos in the oven — it’s about how to make them come out perfectly every time. From how to keep the shells crisp to the best way to layer the filling, these are the tricks that make all the difference.
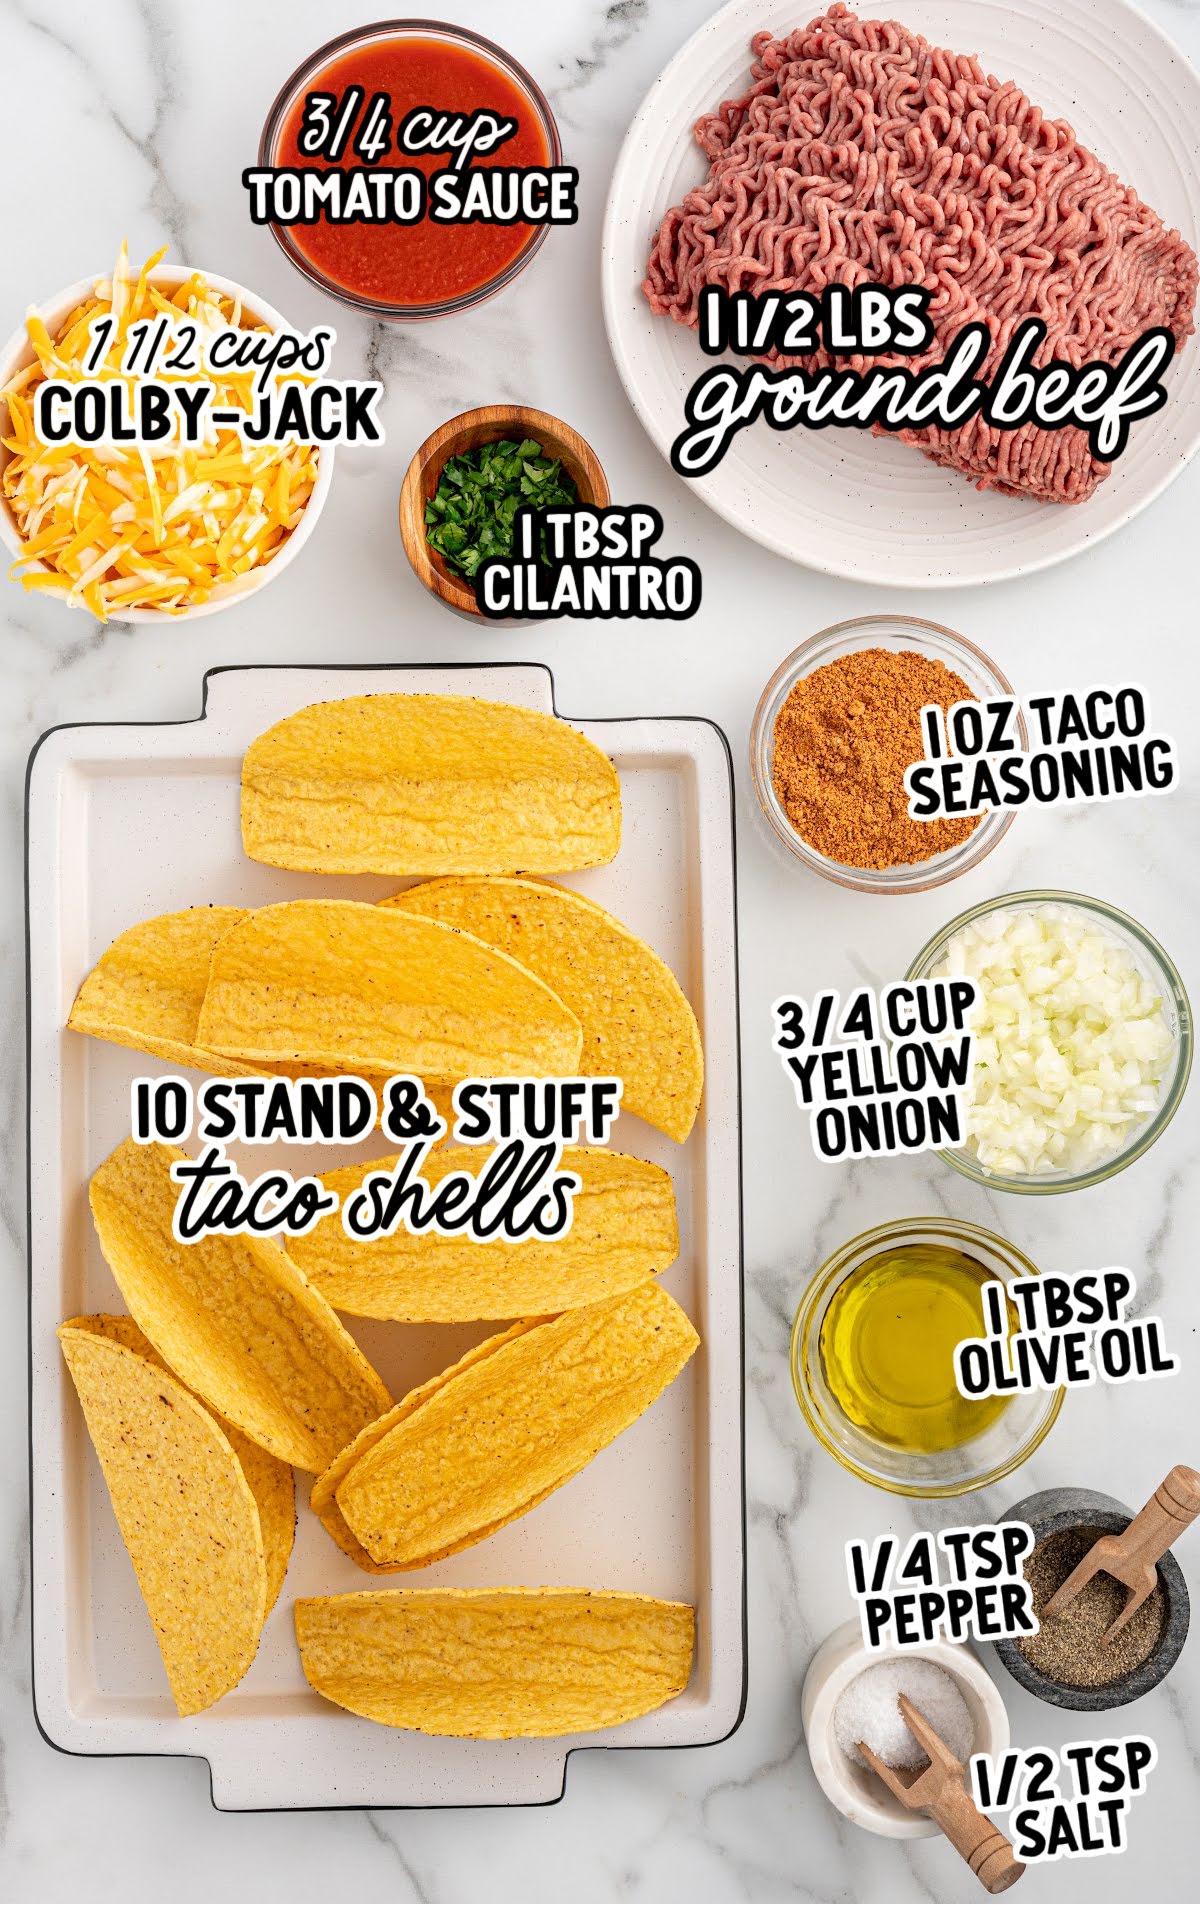
Ingredients You’ll Need To Make Tacos In The Oven
Little Tweaks That Keep It Interesting – You can swap the beef for ground turkey, or stir a spoonful of refried beans into the bottom of each shell before adding the filling.
Notes About The Cheese In This Recipe – Pre-shredded cheese is convenient, but it contains anti-caking starches that make it melt unevenly. Hand-shredding your cheddar-jack gives you a smoother melt that creates that signature gooey “seal” across the taco.
Getting The Filling Just Right

Patience when making the filling is what prevents soggy bottomed tacos later.
After browning and draining the beef, stir in the tomato sauce and seasoning and let it simmer for a few minutes so the flavors soak in.
You’ll see it change from loose and saucy to thick and glossy — that’s how you know it’ll hold together in the shells. Keep the heat on medium and stir often so it stays juicy and evenly coated.
Make Taco Night Easy Again
These baked tacos are the kind of meal that looks like you spent time on it, even though it’s mostly hands-off once the filling’s done. Assembling them is straightforward, and a few pro-level details make a big difference:
- Placing the stand-and-stuff taco shells upright does more than just keep them neat. It allows hot air to circulate evenly around each taco, so the sides stay crisp instead of steaming. Overcrowding the dish traps moisture and softens the shells.
- Spooning the filling into each shell while it’s warm — but not piping hot — prevents steam from softening the bottoms. Fill them only two-thirds full so there’s room for cheese to melt without bubbling over.
- When adding cheese, go edge to edge instead of piling in the center; that even melt helps every bite hold together neatly.
- A quick bake works in this recipe: the shells toast, the cheese melts and bubbles, and the filling stays juicy. Baking longer risks brittle shells that crumble at first bite.
Serving Tips & Pairings
Serve them straight from the pan, hot enough that you can see the cheese stretch when you bite in.
These baked tacos are great for casual dinners, potlucks, or game-day spreads — anywhere you want maximum payoff with minimal stress. Serve them right from the oven with sides that balance the richness:
- Mexican rice or cilantro-lime rice
- Refried beans or black beans with a squeeze of lime
- Corn salad with chili-lime dressing
- Chips and guacamole for snacking before or after
The Easiest Make-Ahead Meal

If I know the day will be busy, I’ll make the filling the night before and refrigerate it once it’s cooled. When it’s time for dinner, I warm it up in the skillet, fill the shells, sprinkle cheese, and bake. That’s it.


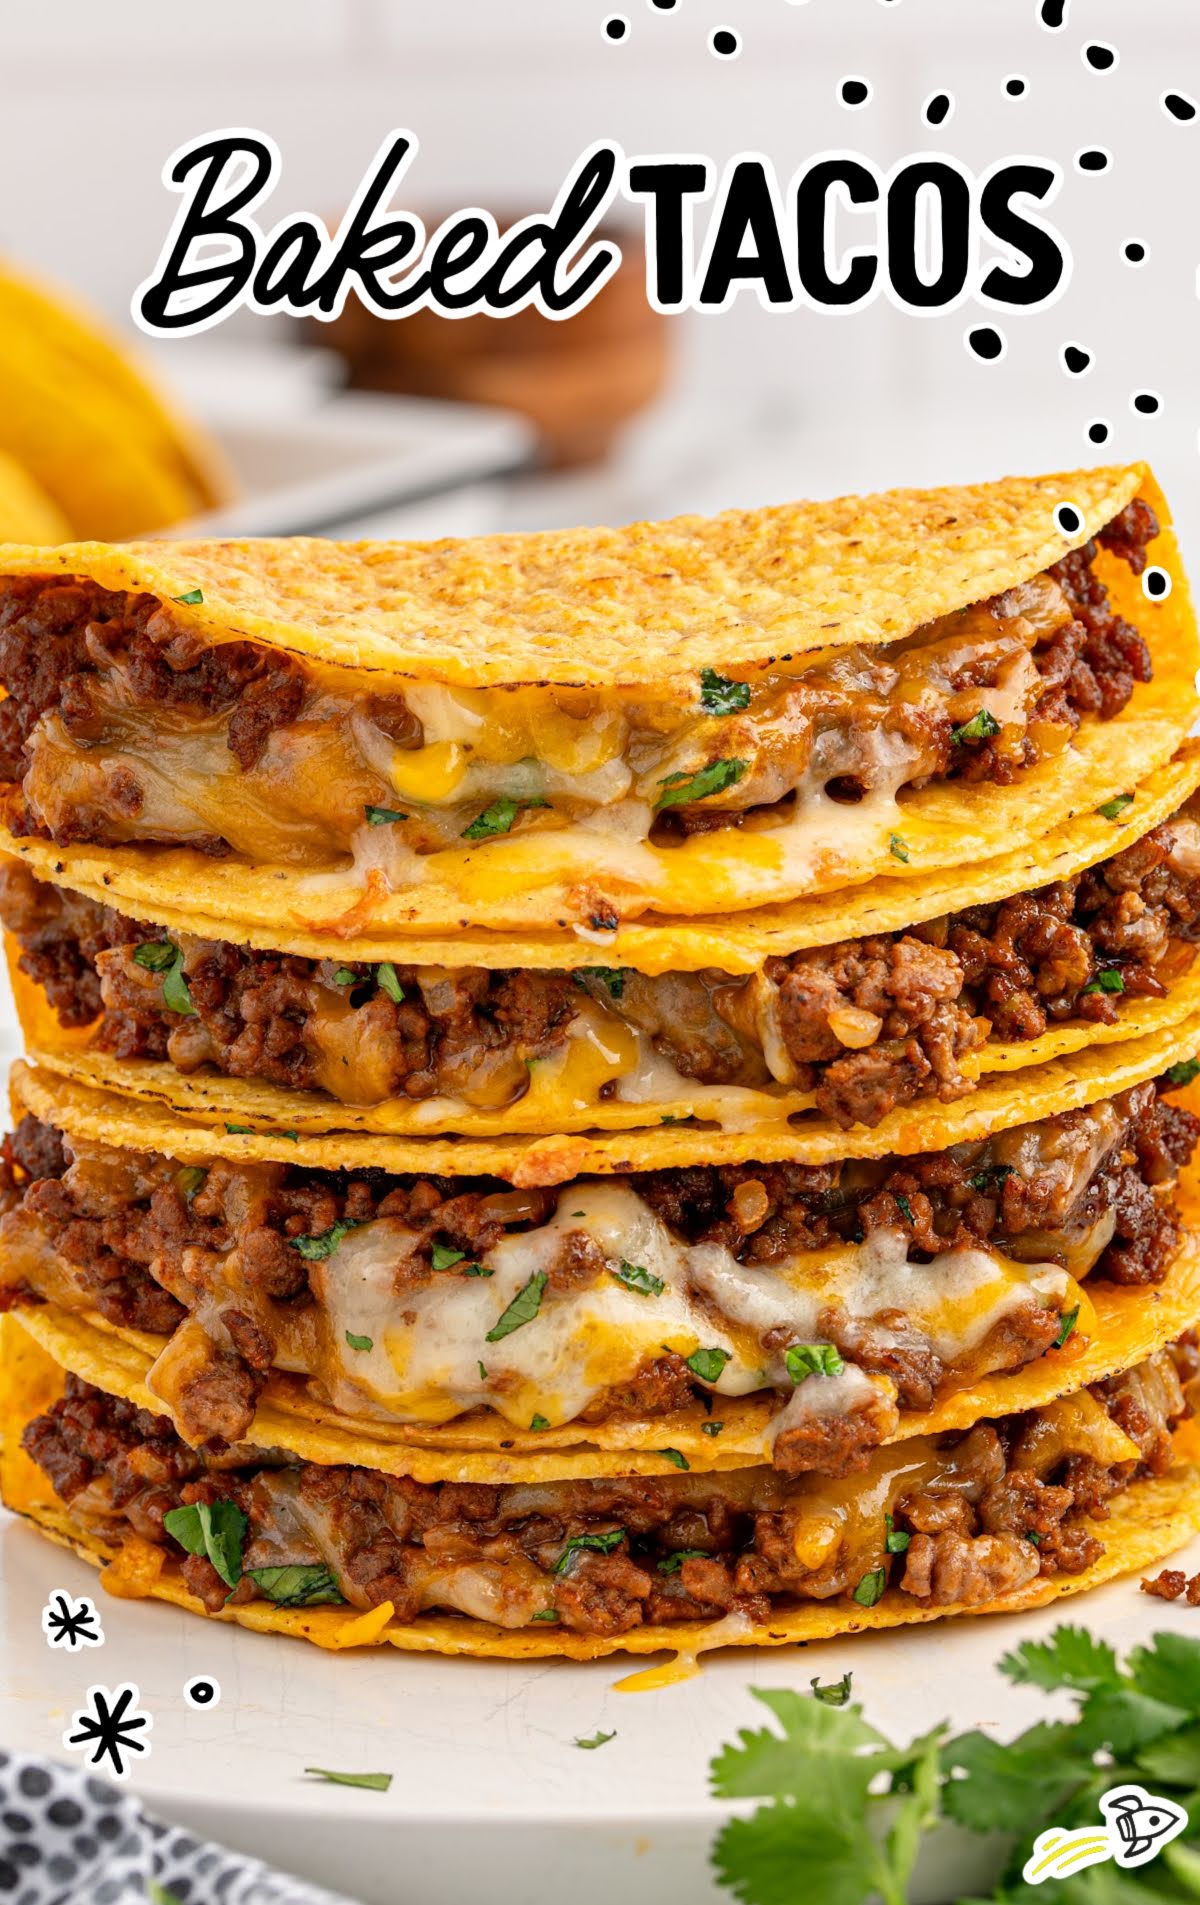
Baked Tacos
Ingredients
- 10 hard stand & stuff taco shells, these are the wide hard corn taco shells with the flat bottoms
- 1 tablespoon olive oil
- 1 ½ pounds ground beef, 85%-15% ground round used
- ¾ cup diced yellow onion
- ½ teaspoon salt
- ¼ teaspoon black pepper
- ¾ cup tomato sauce
- 1 ounce packet taco seasoning
- 1 ½ cups shredded cheddar-jack cheese
- 1 tablespoon finely chopped fresh cilantro, optional garnish
Instructions
- Preheat the oven to 400°F.
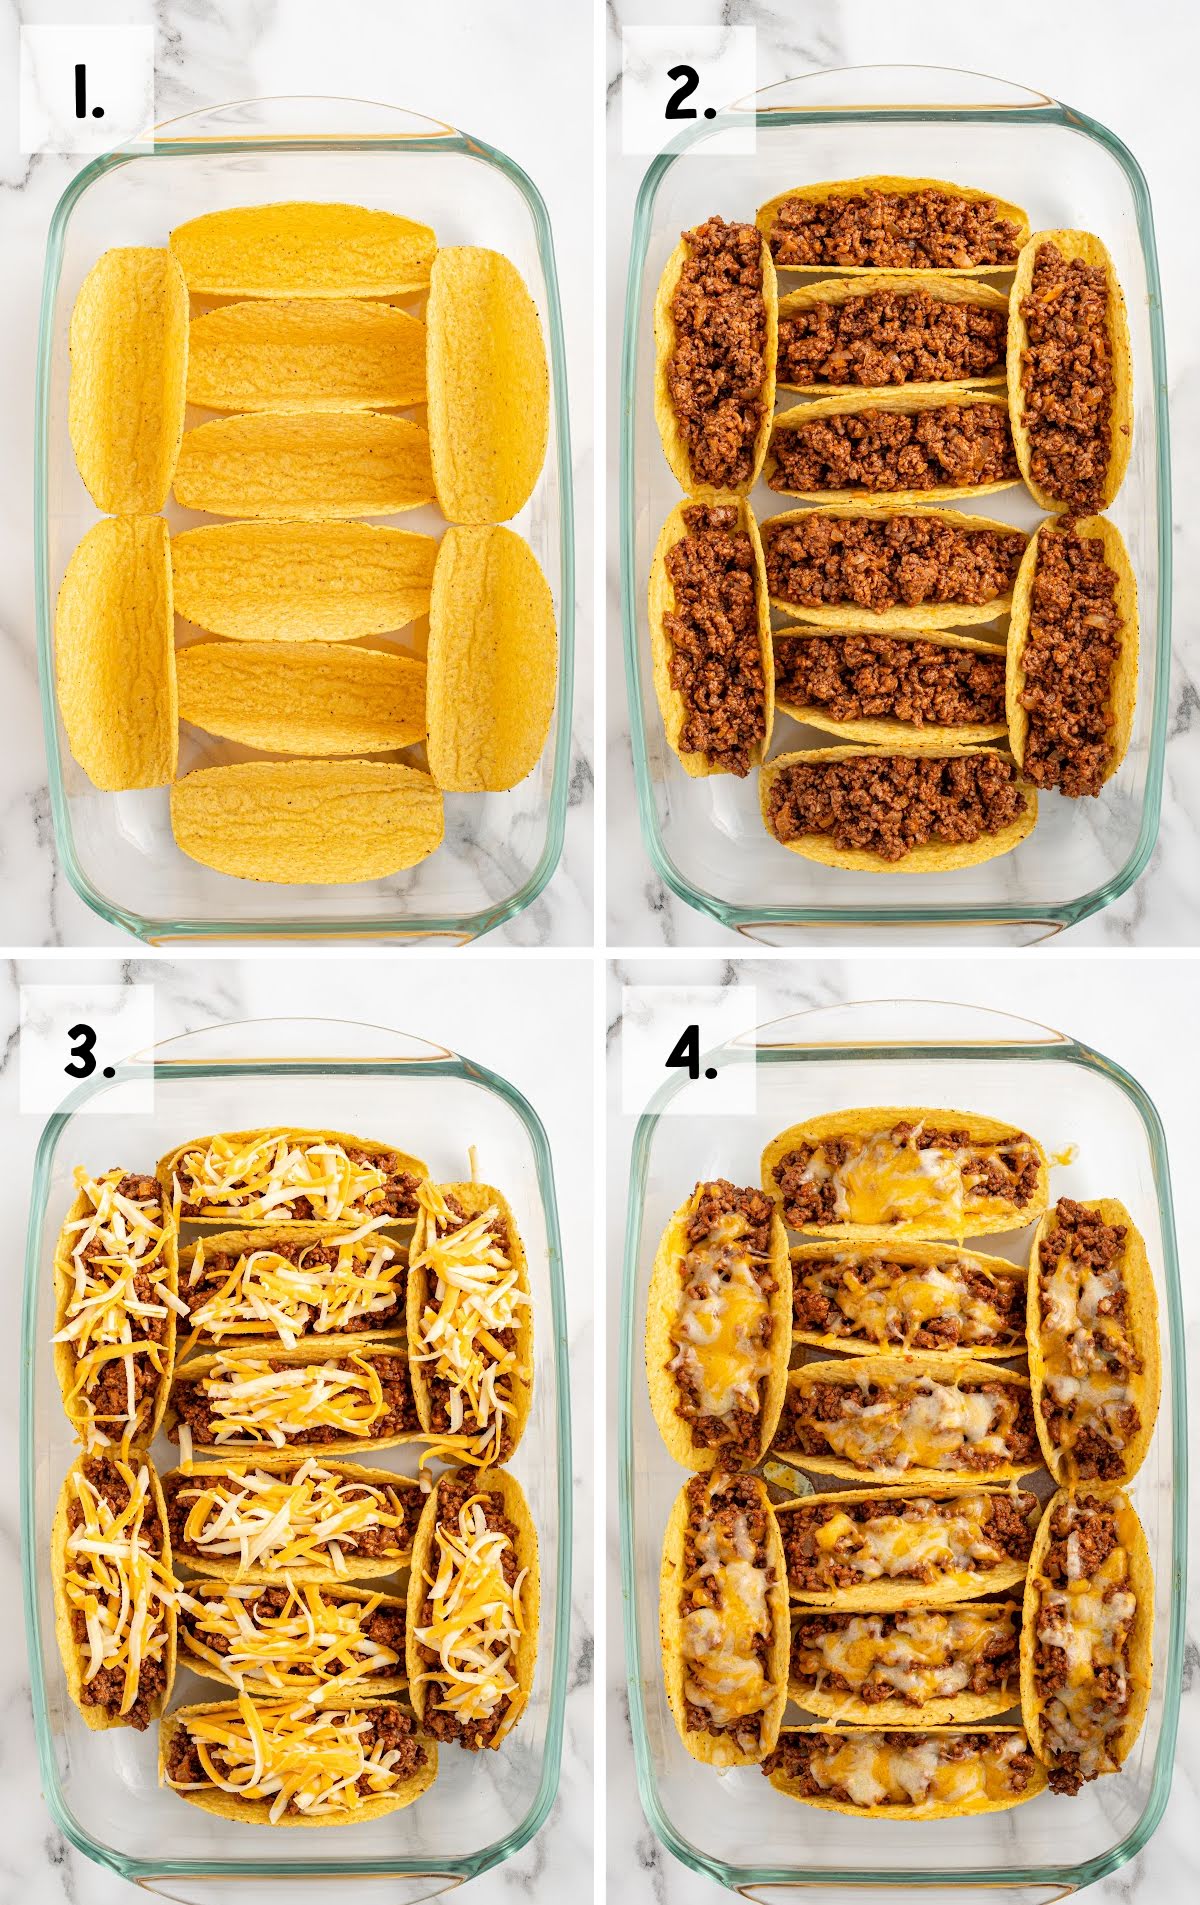
- Place the hard taco shells, standing upright, into a 9×13 baking dish being sure not to overcrowd the dish. This will allow the shells to crisp up evenly when baked.
- To a large skillet, over medium-high heat, add the olive oil. Once the oil is hot, add the diced yellow onions, ground beef, salt and black pepper. Cook for 8-10 minutes or until no pink remains. Break up the ground beef while cooking for even browning. Drain off as much of the excess grease as possible before adding the remaining ingredients to the skillet.
- Stir in the tomato sauce and taco seasoning to the cooked ground beef and cook for another 2-3 minutes or until the taco meat has absorbed as much of the sauce as possible without drying out. If your taco filling is too wet when you add it to the taco shells, it can cause the bottoms of the shells to become soggy when baked.
- Fill each of the hard taco shells with approximately ⅓-½ cup of the taco filling. Be sure to divide the filling evenly between each of the hard taco shells.
- Sprinkle the tops of each of the filled taco shells with the shredded cheddar-jack cheese being sure to evenly distribute the cheese between each of the tacos.
- Bake for 5-7 minutes or just until the cheese is melted and the hard taco shells are crispy.
- Remove the baked tacos from the oven and lightly sprinkle the optional garnish of chopped fresh cilantro over the baked tacos before serving.
Notes
- If not using the stand & stuff hard taco shells, you will fit more of the standard hard taco shells in your 9×13 baking dish. Be sure to place them into the baking dish so they are not falling over, but standing upright.
- A family sized box (9.4 ounces) of Old El Paso brand Stand & Stuff hard taco shells contains 20 shells. Making this a great option to easily double the recipe if feeding a larger crowd or if your family eats more than two tacos a serving.
- You can substitute the cheddar-jack cheese with another good melting block cheese such as monterey jack, mild cheddar, colby-jack or spicy pepper jack cheese. Any combination of these cheeses would taste delicious. Be sure to shred by hand a block of your choice of cheese as I find that it melts much smoother than the pre-shredded bagged varieties that contain additional ingredients to prevent clumping.
- You can add your favorite additional taco toppings such as shredded lettuce, diced tomatoes, diced avocado or sour cream after removing the baked tacos from the oven and before serving.
- If using a homemade taco seasoning blend, you will need three tablespoons for this recipe.
Nutrition


Leave a Comment