
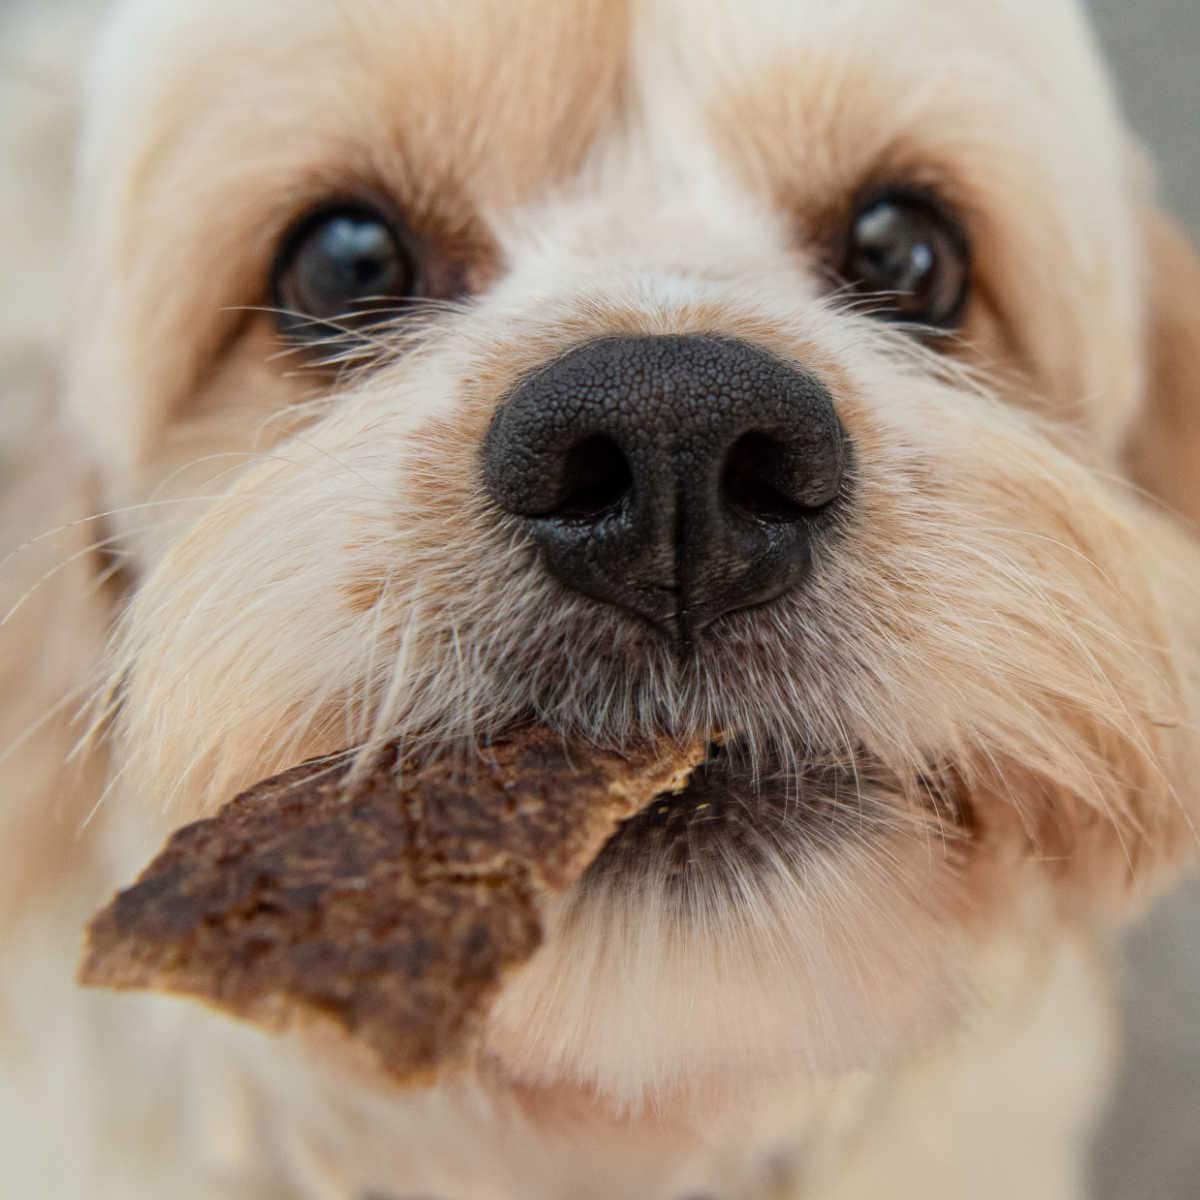

Jerky is the treat that works when nothing else does. Owners save it for nail trims, vet visits, and the moments when calling your dog back has to work the first time. Dogs learn the sound of the jar. They stop leaving the kitchen once the oven comes on.
My beef jerky for dogs uses two ingredients, lean ground beef and water. There’s no salt, no sugar, and nothing added to make it last on a shelf. The only thing that goes wrong is drying it too far. There’s a test below that tells you when it’s done.
Store-Bought Beef Jerky Isn’t Safe For Dogs
Store-bought jerky made for people relies on salt. Most brands also carry garlic powder or onion powder in the seasoning. The Merck Veterinary Manual reports that garlic and onions damage red blood cells in dogs whether they’re raw, cooked, dehydrated, or granulated. The cases vets see most often involve the concentrated forms, like powders and dry soup mixes. Garlic runs three to five times more toxic than onion.
Signs of anemia usually appear several days after the dog eats it, not the same day. Call your vet if your dog gets into a bag rather than waiting to see whether he seems fine.
Why I Use Lean Ground Beef
Most jerky recipes start with a roast that you slice yourself. Slicing raw beef thin enough takes a sharp knife and a steady hand. Most of those recipes have you freeze the roast partway first to make it possible.
Ground beef skips the knife. A rolling pin flattens it instead.
Ground jerky also breaks down faster once your dog is chewing. That helps with a senior dog or one who has lost teeth.
Fat is the trade-off. Ground beef carries more of it than a trimmed roast. Fat is also the part that turns bad in storage. I buy 90% lean or higher. At a butcher counter I ask for the leanest grind they have.
Seasonings To Skip
Plain dried beef looks like it’s missing something, and reaching for the spice rack is a normal instinct. However, most of what you’d reach for causes problems.
- Salt is the one people add out of habit, because that’s how jerky for people works, and a dog’s kidneys aren’t built to process it.
- Garlic, onion, and nutmeg are toxic.
- Soy sauce brings the salt problem back in liquid form.
I skip liquid smoke too. It’s what gives store-bought smoked treats their smell, and dogs do respond to it, but it isn’t adding anything your dog needs.
Roll The Beef To An Even Thickness
The whole sheet needs to be the same thickness before it goes in the oven. A thick spot stays soft while the thin parts around it dry out.
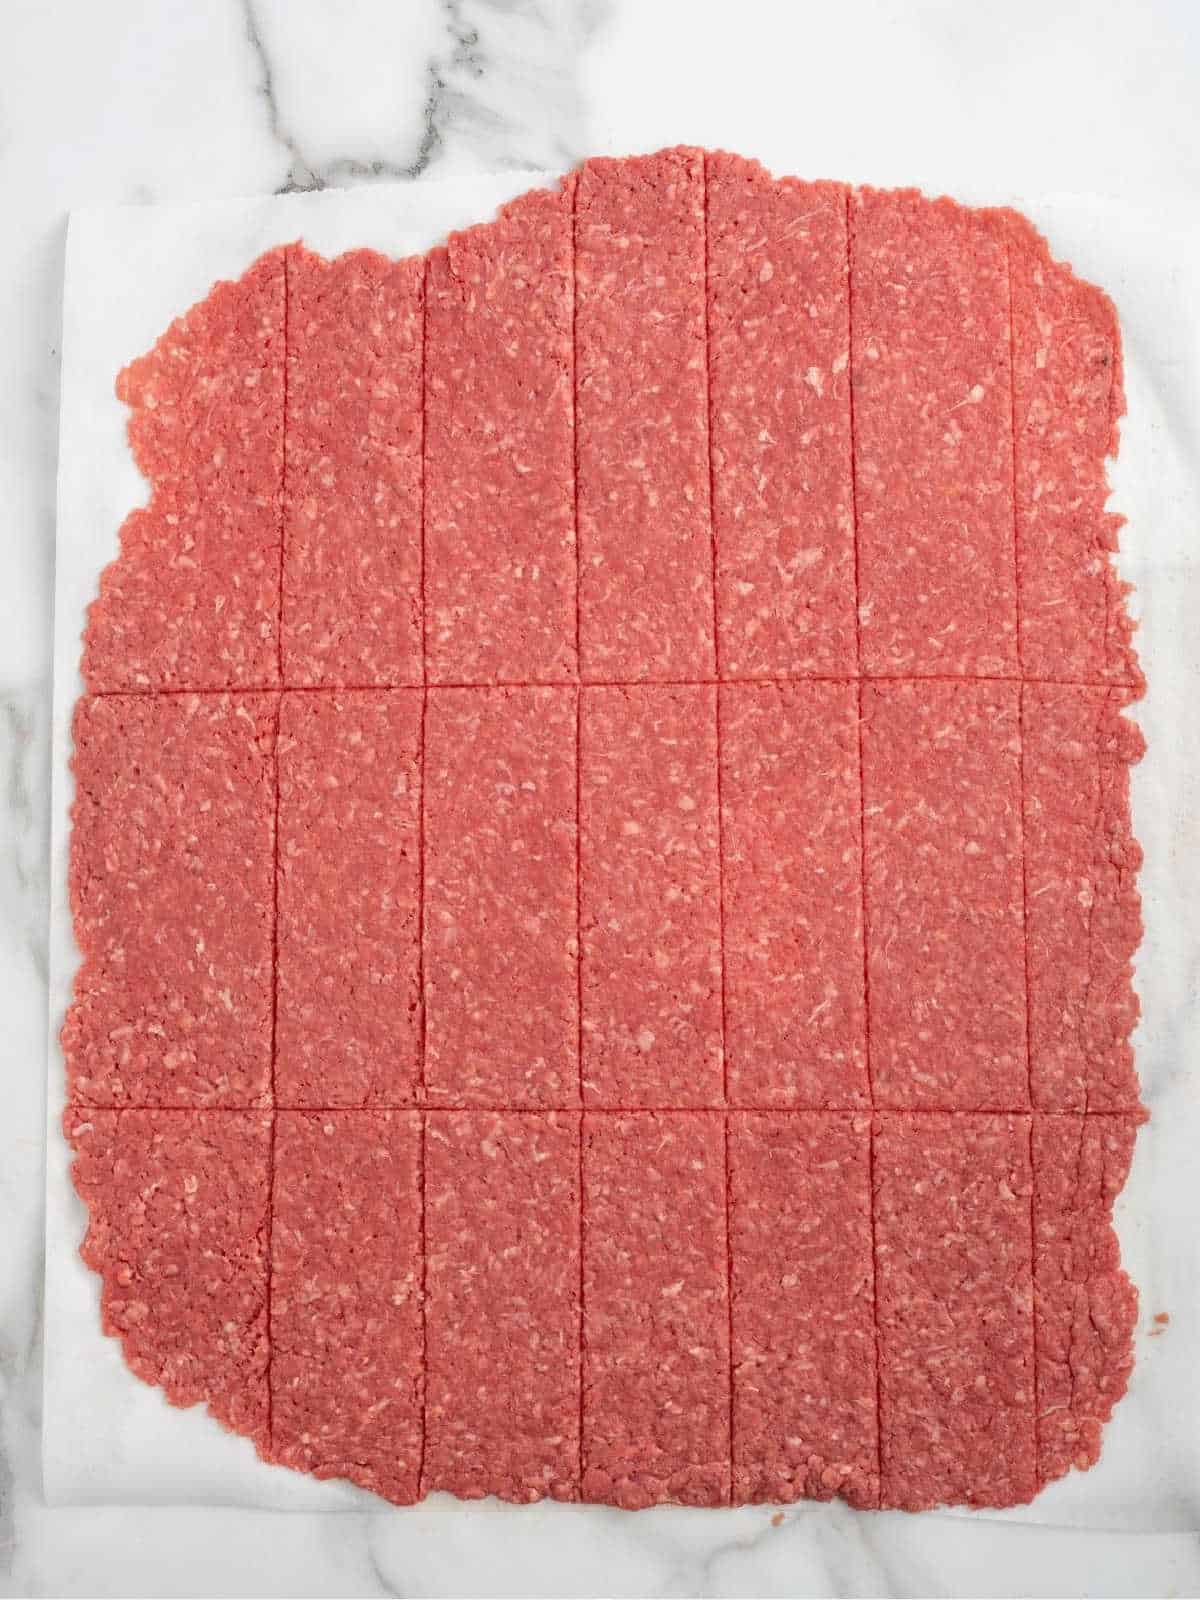
Roll from the middle out to the edges. Then run your hand over the top and roll out any ridge you feel.
How To Tell When It’s Done
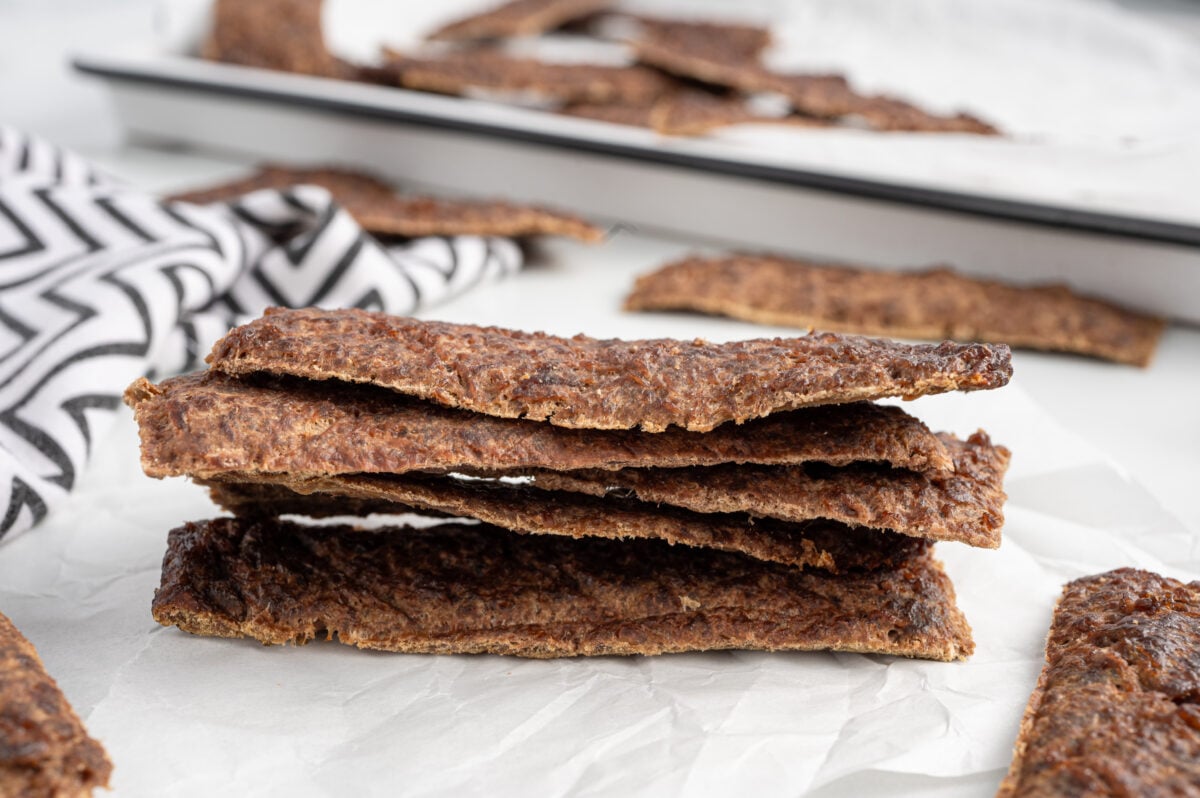
Four hours in, the tray can look finished before it actually is. Ovens run differently and sheets roll to different thicknesses, so the clock is just an estimate.
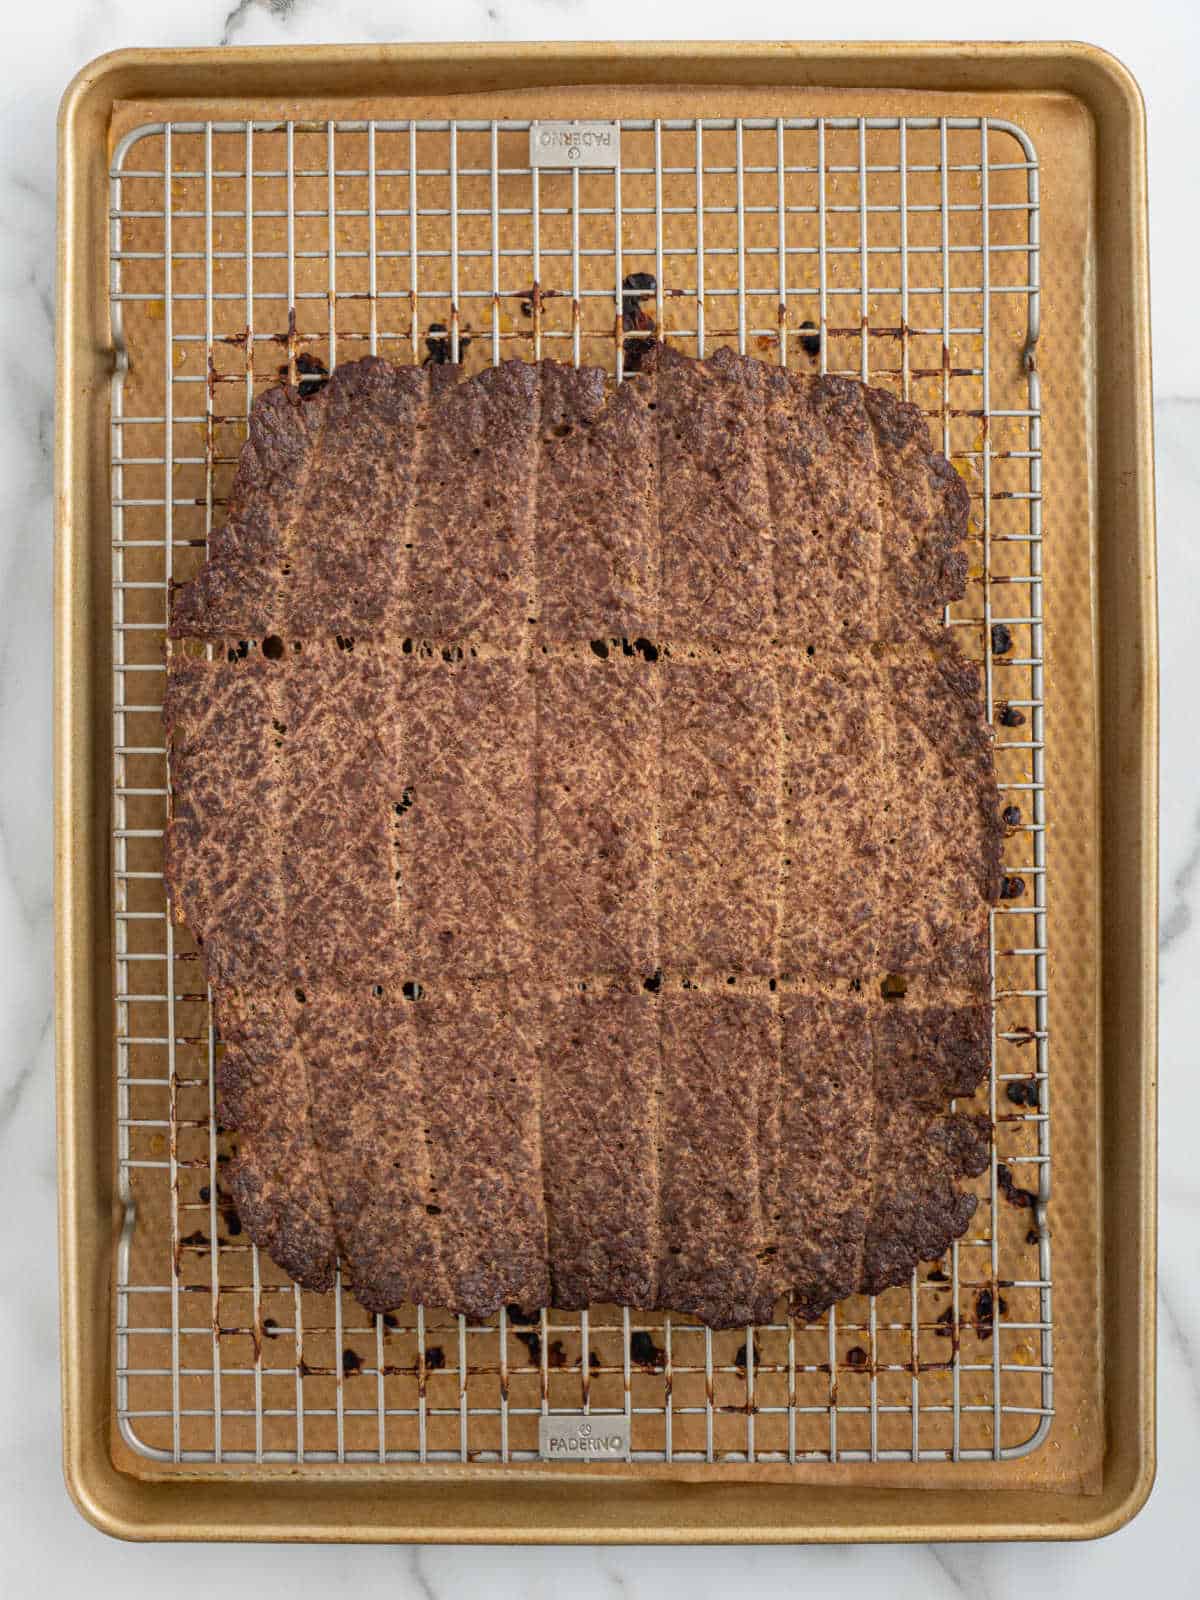
The bend test will help you decide when it’s ready. Pull one strip from the oven and let it sit on the counter for five minutes. Jerky always feels softer warm than it will be once it’s cold. Then bend it.
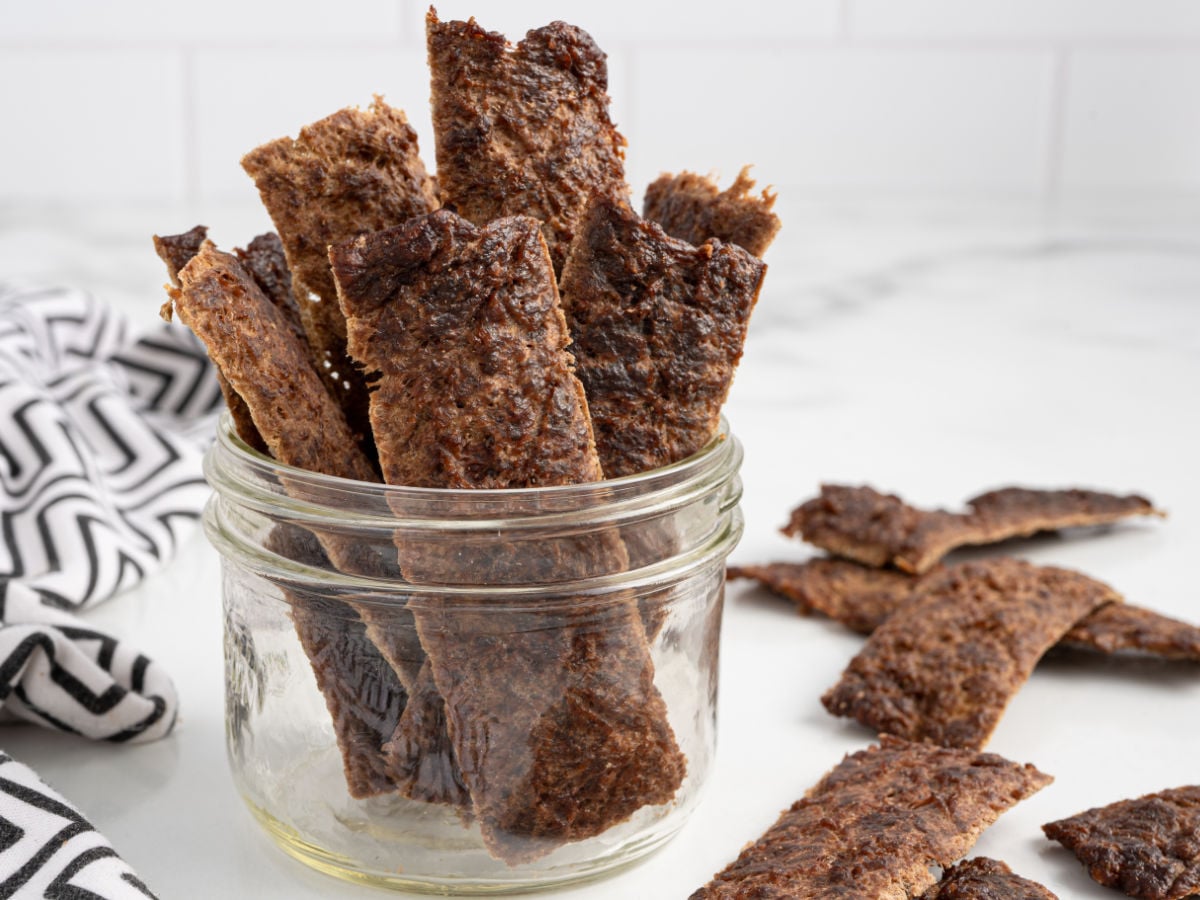
The strip should crack along the fold without breaking in two. The surface should look dark brown and matte with no shine on it. A strip that bends holds together as a chew. A strip that snaps is gone in one bite.
- If the strip flexes with no cracking at all, it needs another 30 minutes.
- If it snapped clean in half, the jerky dried longer than it needed to. It’s still safe to give your dog. Break the batch into smaller pieces and use them as training rewards.
How Much To Give
Before introducing any new treat, even homemade ones, it’s always best to check with your veterinarian, especially if your dog has allergies, weight concerns, or a special diet. This is concentrated protein and fat, even at 90% lean.
Once you get the go-ahead, these jerky strips make great high-value treats for training or rewards. Because they’re rich in protein, a little goes a long way.
Here are a few simple suggestions to start with:
- Small dogs: dime-sized
- Medium dogs: half-inch
- Large dogs: 1-inch
- Senior dogs: break even smaller pieces than you think you need
Every dog is different, so use these as a general guide and adjust as needed based on your vet’s advice and your dog’s activity level.
Storing Beef Jerky For Dogs
Homemade jerky doesn’t keep the way a store-bought bag does. Nothing in this recipe is keeping the batch safe on a counter, so I treat it like cooked meat.
- An airtight container in the fridge holds it about a week.
- Freeze whatever you won’t use in that first week. Do it the same day you make the batch, not after six days in the fridge. It keeps three months frozen.
- Use several small bags instead of one big one. Then you can thaw a single bag overnight and leave the others frozen. Once a piece has thawed, don’t put it back.
- Let the strips cool all the way before you seal anything. Warm jerky gives off steam. A sealed container traps that steam against the meat you just spent hours drying out.
Check a piece before you hand feed it to your dog. It should smell like dried beef and nothing else. Throw the batch out if it smells sour, feels softer than when you stored it, or shows any mold.
There are more of these recipes for your furry friends in my dog treat recipes.
Beef Jerky for Dogs
Equipment
- Baking sheet
- Cooling rack
- parchment paper
- Waxed paper
- Rolling Pin
- Pizza Cutter
Ingredients
- 1 pound ground beef, 90% lean or higher
- 3 tablespoons water
Instructions
- Heat the oven to 200°F. Line a baking sheet with parchment, set a cooling rack on top of it, and coat the rack with nonstick spray.
- Lay out 2 pieces of wax paper that overlap about 2 inches on your work surface and place the ground beef in the center of the wax paper. (I suggest wearing a pair of disposable nitrile gloves when handling raw meat)
- Work the water through the beef until it feels evenly damp all the way through.
- Pat the beef into a rough rectangle. Cover it with 2 more overlapping sheets of wax paper.
- Roll the beef out from the middle toward the edges until the sheet is thin enough to cover the whole cooling rack. Run your hand over the top and roll out any ridge you feel.
- Peel off the top sheets of wax paper. Cut the beef into strips 2 inches wide by 5 inches long with a pizza cutter, leaving the strips connected to each other.
- Set the sprayed cooling rack face down over the beef.
- Grip the edges of the bottom wax paper and flip everything over together, so the beef lands on top of the rack.
- Score a shallow diamond pattern across the surface.
- Bake for 4 hours. The strips should be dark brown and matte with no shine. Let one cool on the counter for 5 minutes, then bend it. It should crack along the fold without breaking in two. If it flexes with no cracking, return the pan to the oven for another 30 minutes.
- Cool the jerky completely before it goes into a container. Break it apart along the scored lines, or cut it with kitchen scissors, sizing the pieces for your dog.
Notes
- Stir ground ginger or cinnamon into the raw beef before you roll it out. Skip salt, garlic, onion, nutmeg, and soy sauce.
- Ground organ meat can go in with the beef for more vitamins, minerals, and fats.
- Store in an airtight container in the fridge for up to 1 week. Freeze the rest the same day in small portions for up to 3 months. Thaw overnight in the fridge and do not refreeze.
Nutrition











Leave a Comment