May 26, 2023
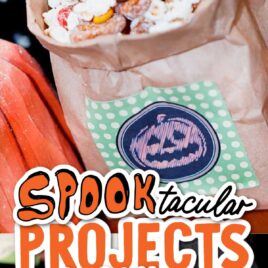
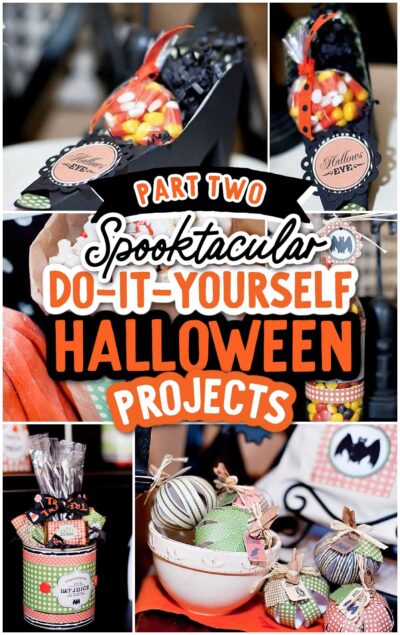
Review Post23 Spooktacular DIY Halloween Projects Part 2
Table of Contents
- Halloween Projects Part 2
- Idea #14: Altered Soda Bottle/Treat Favor
- Idea #15: Halloween Treat Favor Bag
- Idea #16: Halloween Card
- Idea #17: Halloween Treat Tin
- Idea #18: Halloween Paper Treat Sack
- Idea #19: Mummy Oreo Pops in Coffin Display
- Idea #20: Altered Tin Can/Treat Favor
- Idea #21: Spooky Sucker Halloween Medallion
- Idea #22: 3-D Paper Pumpkins
- Idea #23: Distressed Wood Blocks (“TRICKS”)
- Be sure to check out more great Halloween project ideas:
- Plus, you don't want to miss 50 Best Party Games For Kids
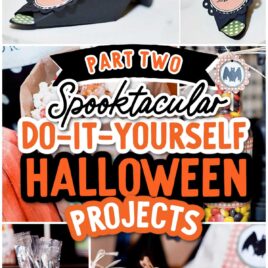
Jen Carver from Banner Events and her crafty side-kick, Vivian Kerr, have created 23 spooktacular projects perfect for a Halloween party. Conjure up a list of supplies and you’ll be creating your own ghoulish Halloween fun in no time. Andrea Pasion Photography gives us a raven’s eye view of all the crafts, decorations, party favors, Halloween games, and gifts featured in this second post of our two-part series. Don’t forget to check out Spooktacular DIY Halloween Projects Part 1!
See Also:
- Check out 9 Paper Plate Halloween Crafts for Kids
- Never get bored with these 11 Boredom Busting Halloween Crafts
- Don’t miss out on these Unique Ways to Hand Out Halloween Treats
- Get crafty this Halloween with 14 Halloween Kids Crafts Made from Toilet Paper Rolls
Halloween Projects Part 2
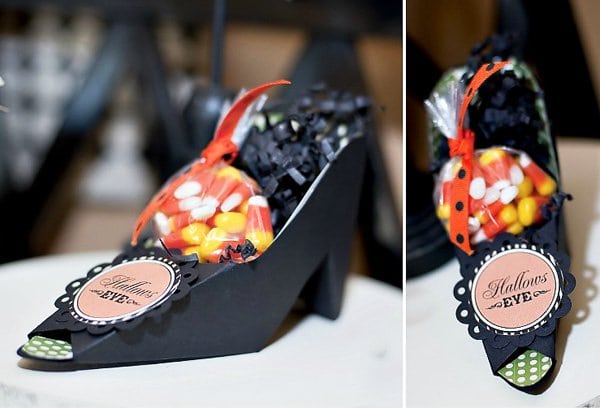
Perfect for a ‘Ghouls Night Out’ this witch shoe treat is a unique party favor idea. We used printable pattern papers as the shoe insole and party circles as the toe embellishment. Simply fill each shoe with a little paper shred and a cute cellophane bag of treats.
Idea #14: Altered Soda Bottle/Treat Favor
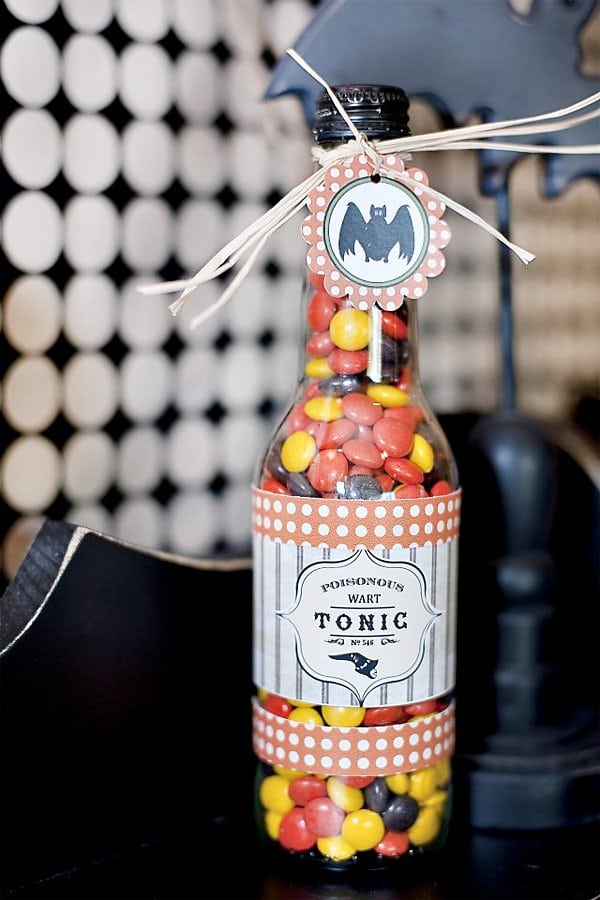
If you love Jones Soda, don’t throw out the bottles when you are finished drinking from them. They are perfect for filling with small candies like candy corn, chocolate chips, and M&Ms. Add a little raffia or ribbon, a favor tag, and a label for a cute Halloween favor!
Idea #15: Halloween Treat Favor Bag
Add a little creativity to a basic bag of treats by designing a “tent” style favor bag topper out of printable paper and Halloween embellishments.
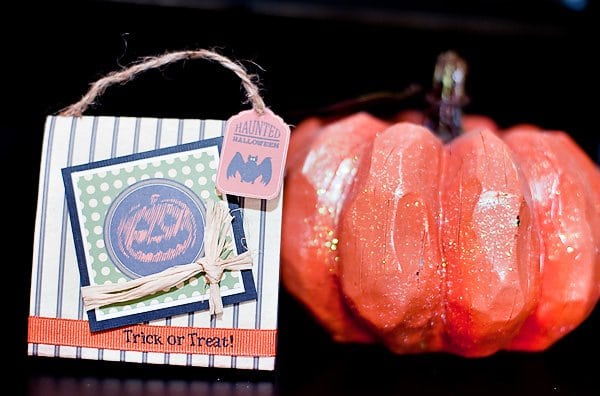
Idea #16: Halloween Card
We don’t know about you, but when crafting, we always have a pile of scraps left over. One of our favorite ways to use leftovers is by creating cards. This is an example of a simple Halloween card. We used glue dots to give the pumpkin a little dimension.
Idea #17: Halloween Treat Tin
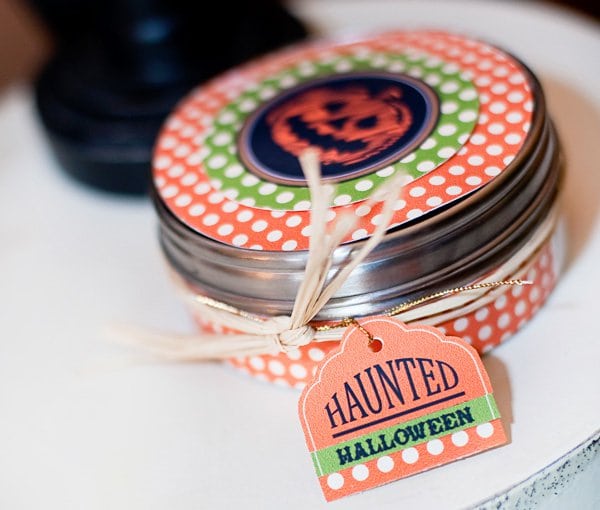
Thinking outside the box (or in this case, the tin), we came up with the idea to use IKEA spice tins to package custom Halloween-wrapped mini candy bars. We added a printable label and dressed up the sides of the tin with coordinating papers.
Idea #18: Halloween Paper Treat Sack
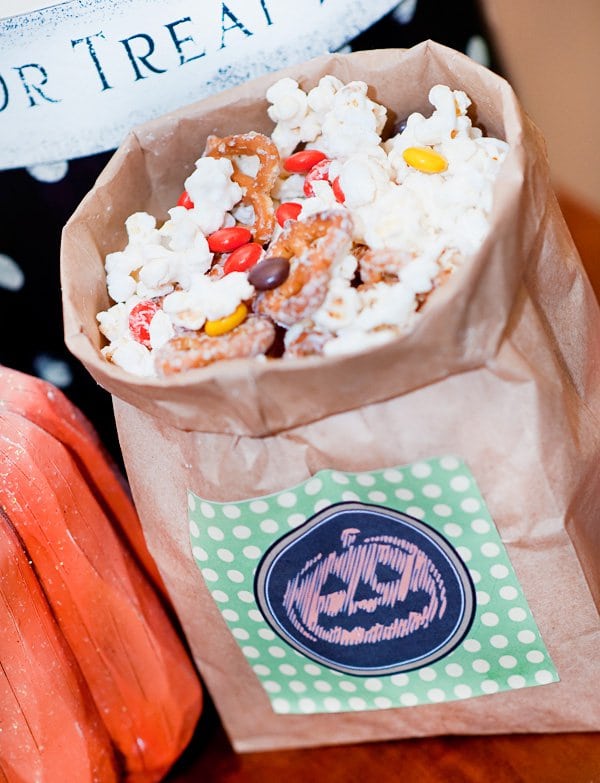
It’s always a great day when you can use the materials you already have on hand to create something new and fun! Can you believe that a plain old paper sack can be the perfect base for cute packaging? We rolled down the sides of our bag, added some raffia, a sticker label, and a tag, and filled our paper treat sack with our favorite white chocolate popcorn snack mix. It’s the perfect treat to share with family and friends.
Idea #19: Mummy Oreo Pops in Coffin Display
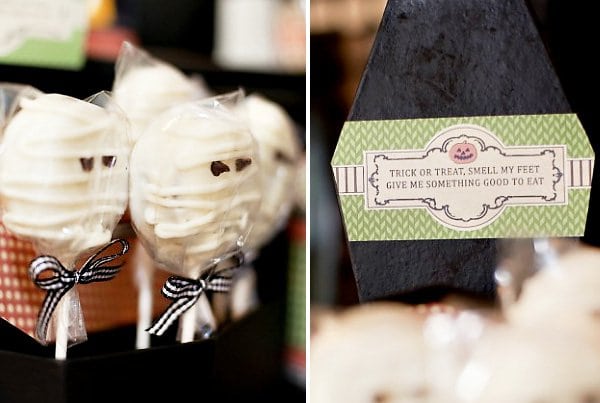
Displaying desserts in unique ways is so much fun. We painted paper mache coffin boxes discovered at our local craft store. Each coffin was lined with coordinating printable papers and the lids were embellished with cute treat labels cut down for size. We filled the coffins with Styrofoam from which we could display orange cream ice cream push-up pops.
Idea #20: Altered Tin Can/Treat Favor
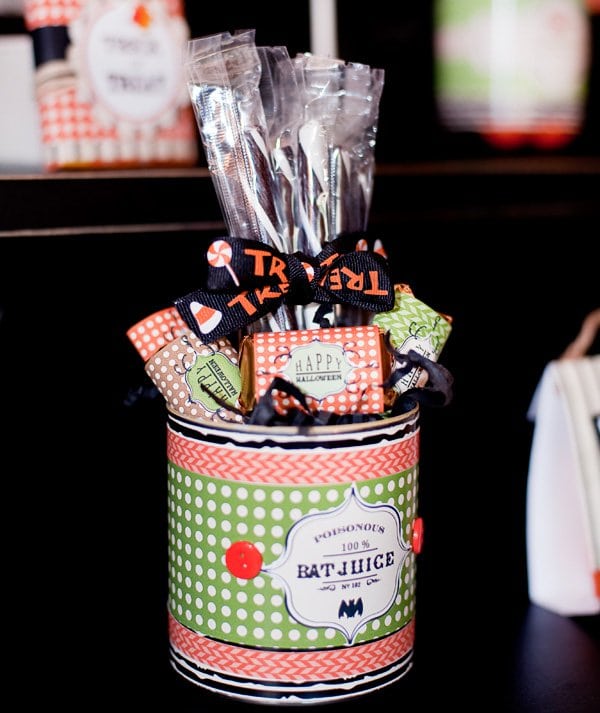
Recycled materials make for some inexpensive DIY projects. Instead of discarding your aluminum cans, save them! Stick them in the dishwasher to sterilize them, or give them a good handwashing. Add fabric or paper wrappers and decorate them with cute labels, ribbons, and buttons! Fill them with paper shreds and your favorite Halloween treats.
Idea #21: Spooky Sucker Halloween Medallion
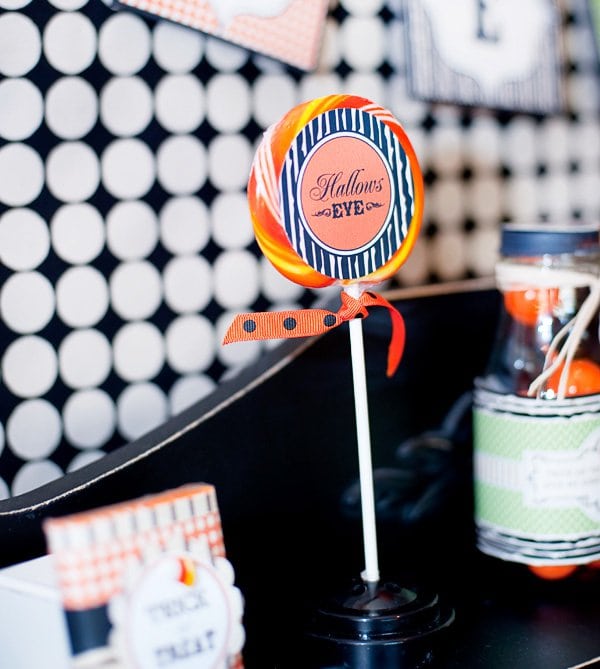
Add some Halloween pizzazz to an ordinary sucker! Simply punch out a two-inch Halloween circle topper and adhere to the sucker! Add ribbon.
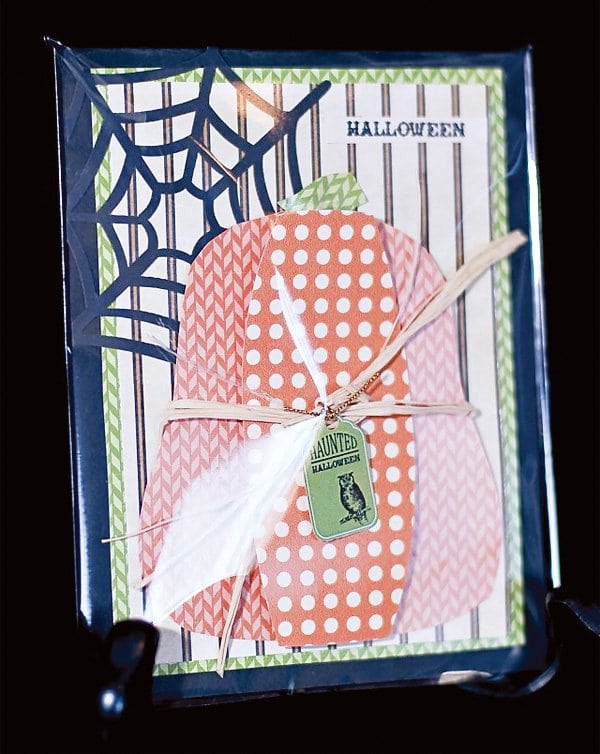
Idea #22: 3-D Paper Pumpkins
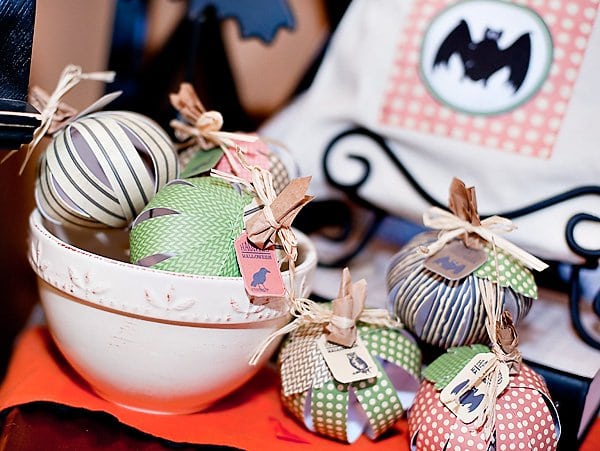
If you’re searching for a Halloween craft that’s easy enough for kids to do, these 3-D pumpkins are just the ticket! Make from strips of patterned paper and attach with brads at the top and bottom. Add a hand-cut leaf, twisted paper bag stem,, and embellish with raffia and a printable hang tag. You can make one or create an entire bowl full to make a festive centerpiece. Or, carefully stick a small gift or treat in the center to give away as a favor!
Idea #23: Distressed Wood Blocks (“TRICKS”)
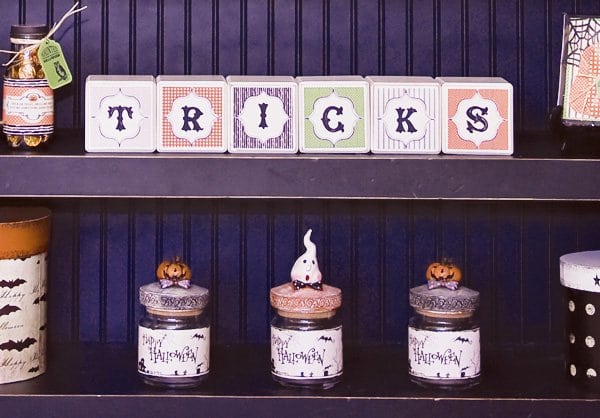
If you are looking for an easy and inexpensive Halloween décor item for your home or office, this may be it! Cut some wood blocks (or purchased pre-cut wood blocks from a craft store). Sand and paint them in your favorite Halloween color. We left ours a nice neutral color and distressed the edges. Modge Podge or apply adhesive to printable words (ours were included in the Anders Ruff Halloween set). With so many ideas to choose from, you are now ready to get going on your own spooktacular Halloween DIY projects!
Be sure to check out more great Halloween project ideas:
Plus, you don’t want to miss 50 Best Party Games For Kids